
Had some boards I wanted to replace on the land side of our dock. They look good in the picture but the underside is all tore up.
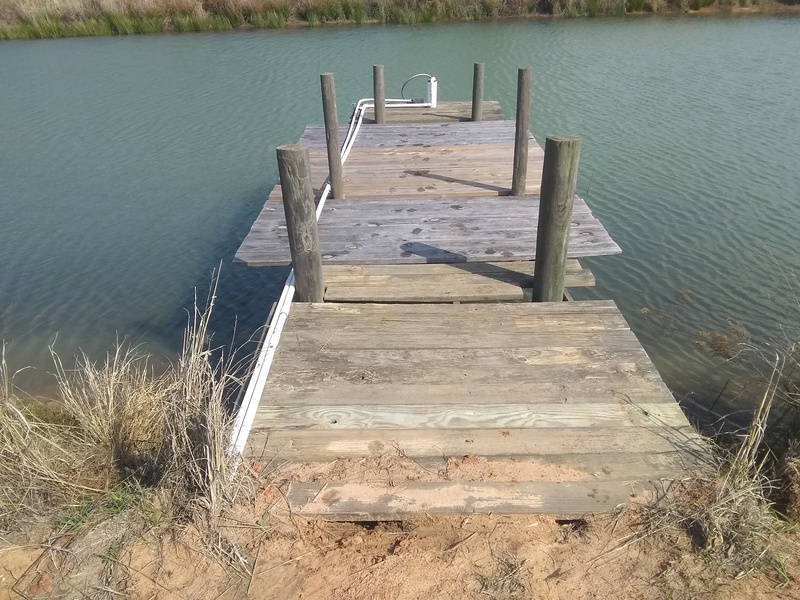
Just did a rip and replace
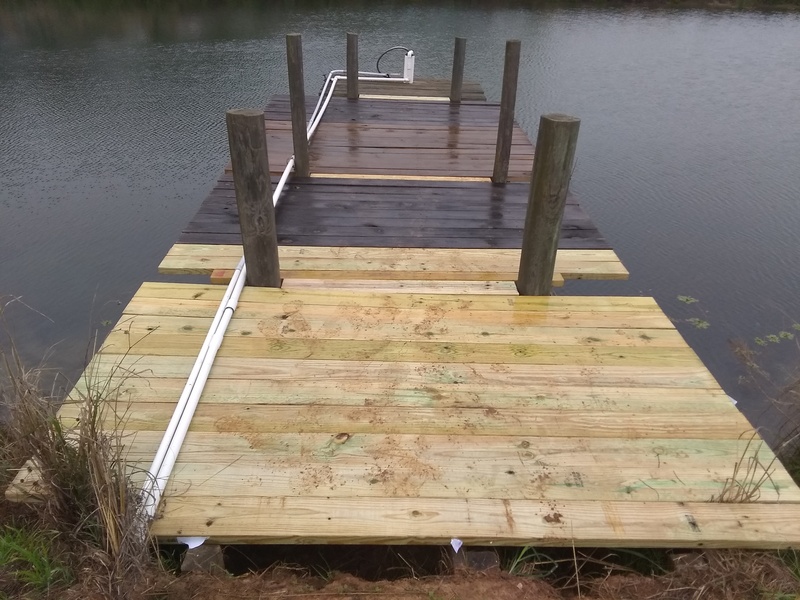
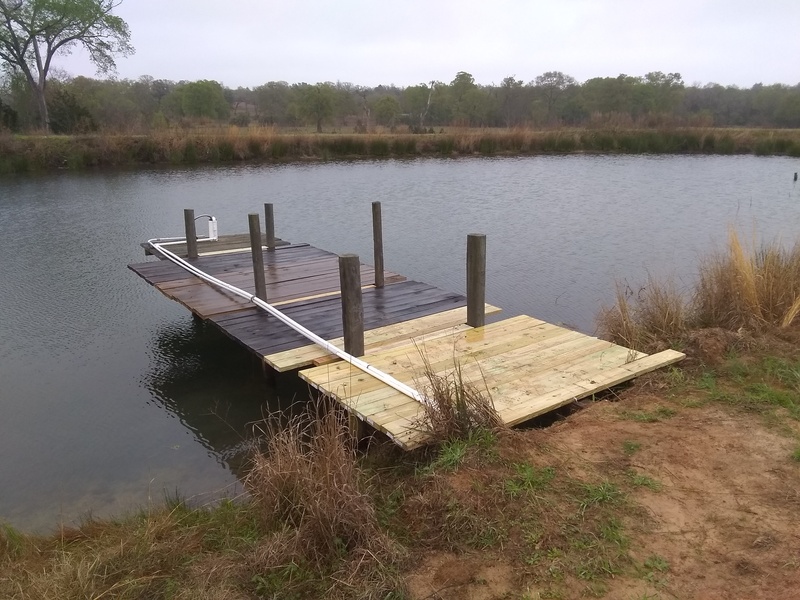

Had some boards I wanted to replace on the land side of our dock. They look good in the picture but the underside is all tore up.
Just did a rip and replace
Quick post about my salt bath annealing setup. The original idea came from Johnny’s Reloading Bench (again)
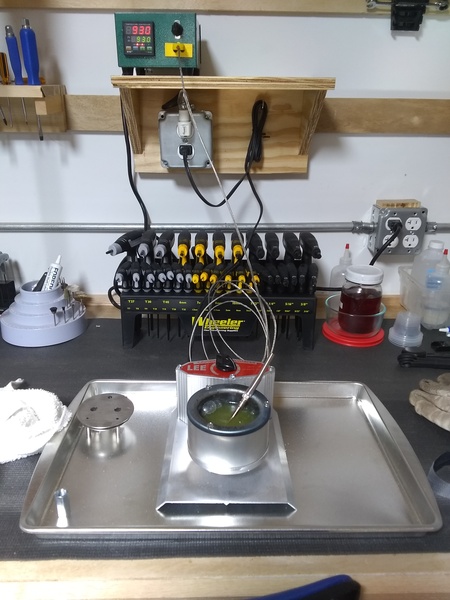
Turns out I really don’t anneal near as much as I thought I would. This setup has been working fine for as little as I do.
I use the PID more than anything else.
I watched these 3 great videos from Johnny’s Reloading Bench and decided to make one.
MYPIN PID Temperature Controller – Demo and Parts List
MYPIN PID Temperature Controller – Building and Wiring the Controller
MYPIN PID Temperature Controller – Initial Programming, Testing, Auto-Tuning
There are more great videos, but for this I am only concerned with the above.
I used a panel mount outlet in mine instead of piping the cord out the back. Everything else is the same. All parts he lists fit.
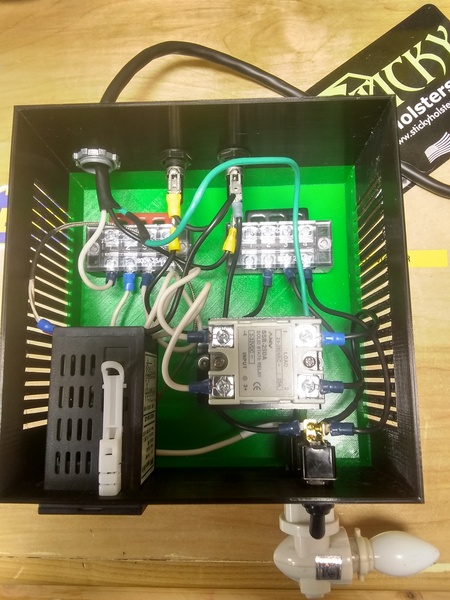
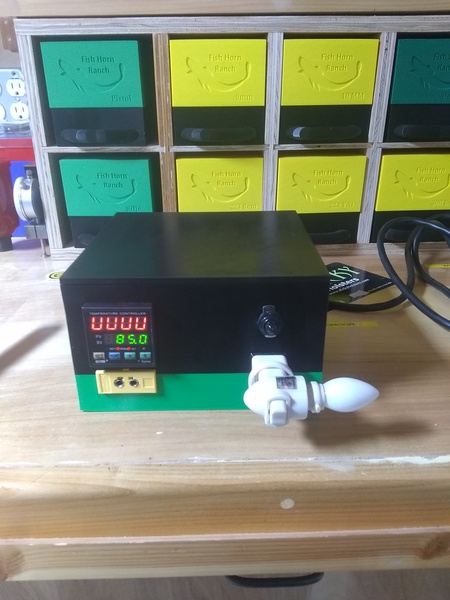
Front with lid and high speed test light:
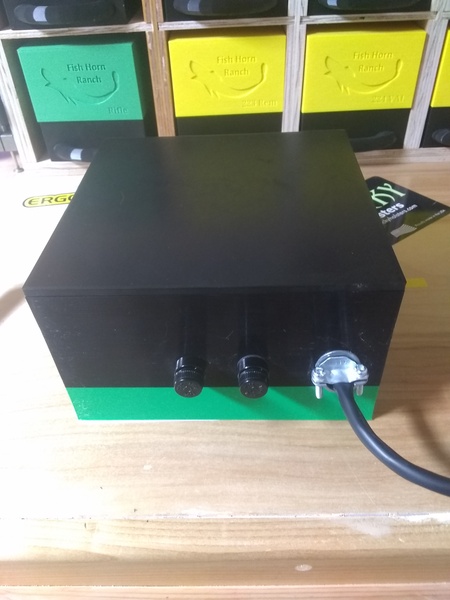
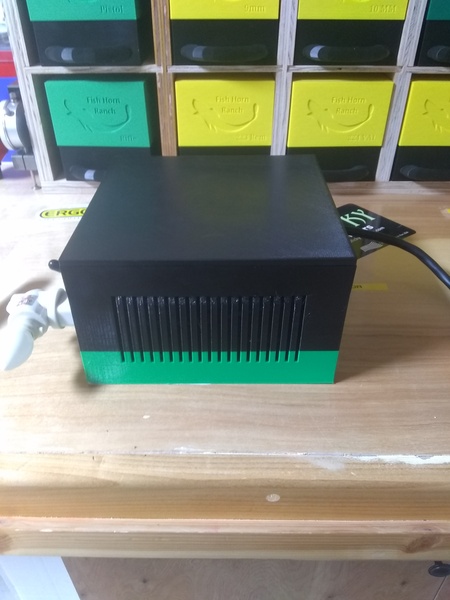
Back and Side shots:
As always, If you want me to print you one let me know in the comments.
You can download it from Thingiverse
Got me a Harbor Freight parts washer and moving thing to put it on. There are a ton of videos on modifications and how to put it together on the internet. Not going to put you through all that. Just going to show what I did.
I will not be using this for heavily soiled auto parts or farm equipment. Mostly weapons and parts, and to ‘finish’ clean other items.
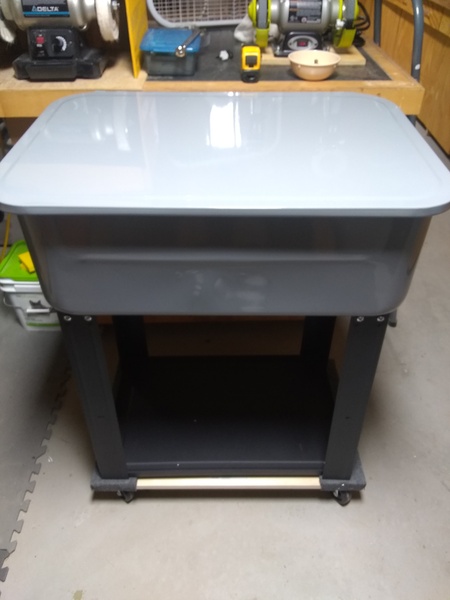
I purchased the Oriflo With Hose (OR101H) Flow-Thru Parts Washer Brush and Immersion Water Heater from Amazon. The rest of the items I had laying around.
I did not realize the heater came with a timer, the price was the same as the ones with the timer. I removed it and put a standard plug in it place.
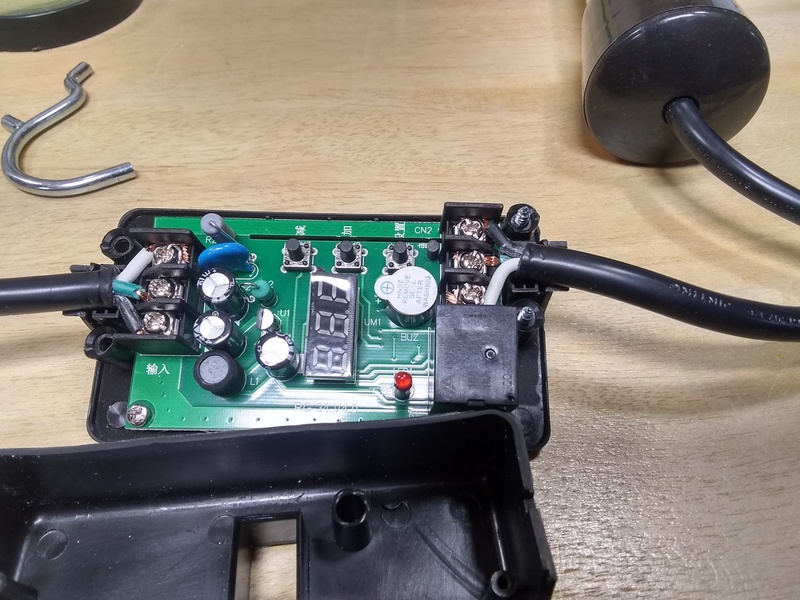
Before I put the plug back on, I drilled a hole above the full line for the cord and put a grommet in.
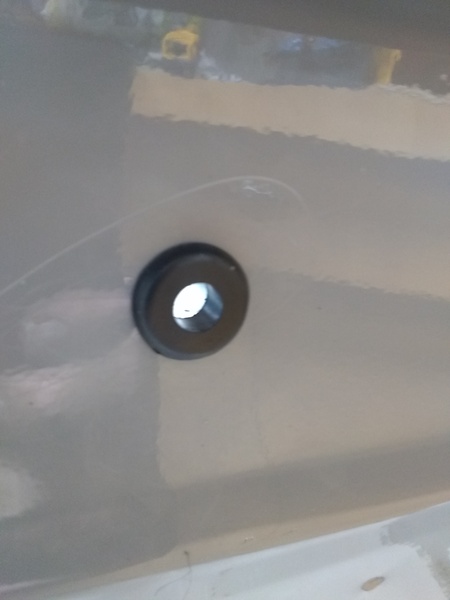
Ran the cable and put the plug on:
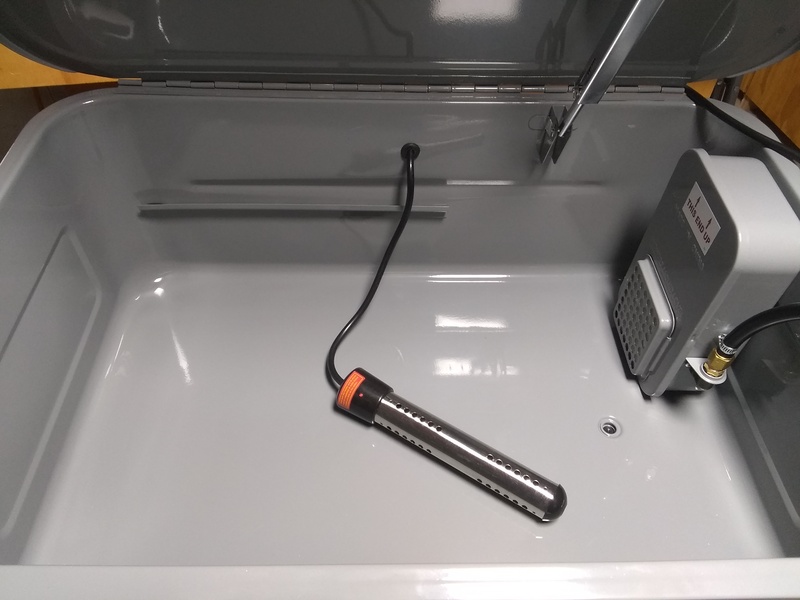
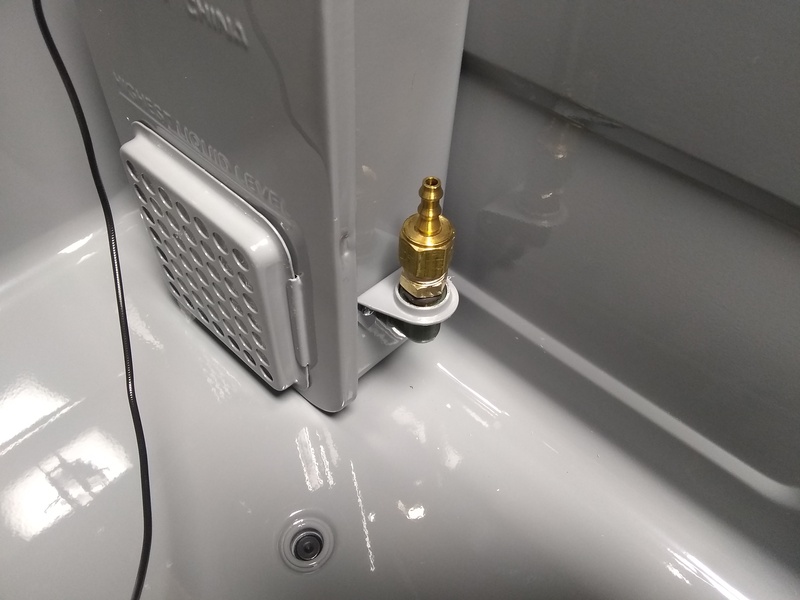
I dont want the big metal sprayer thing. I took it off and put a fitting in its place:
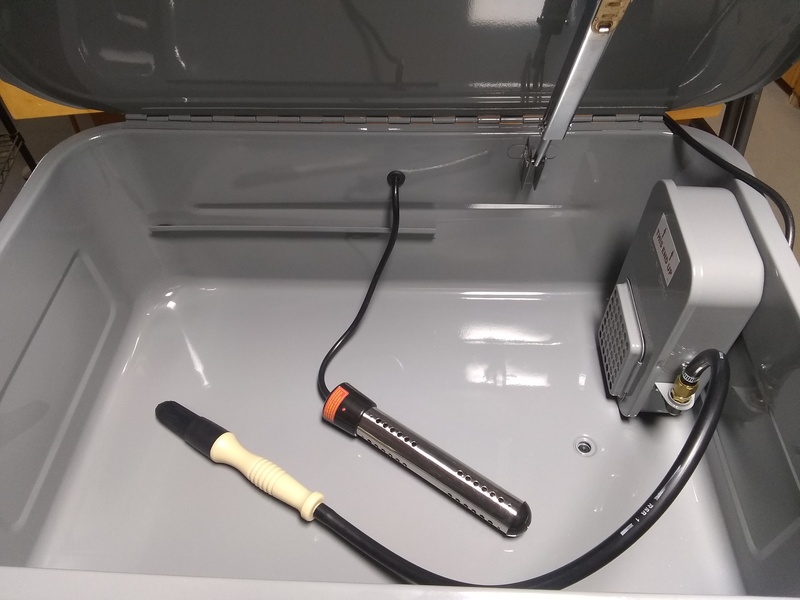
I cut the end off the brush hose. It was designed to fit over the end of the metal sprayer. I then slid it over the fitting and clamped:
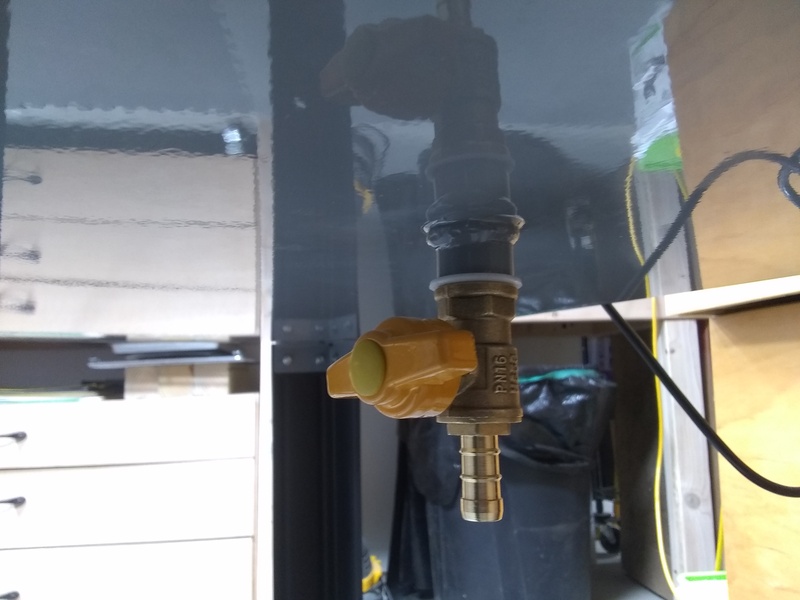
I had to order the drain plug as it is metric:
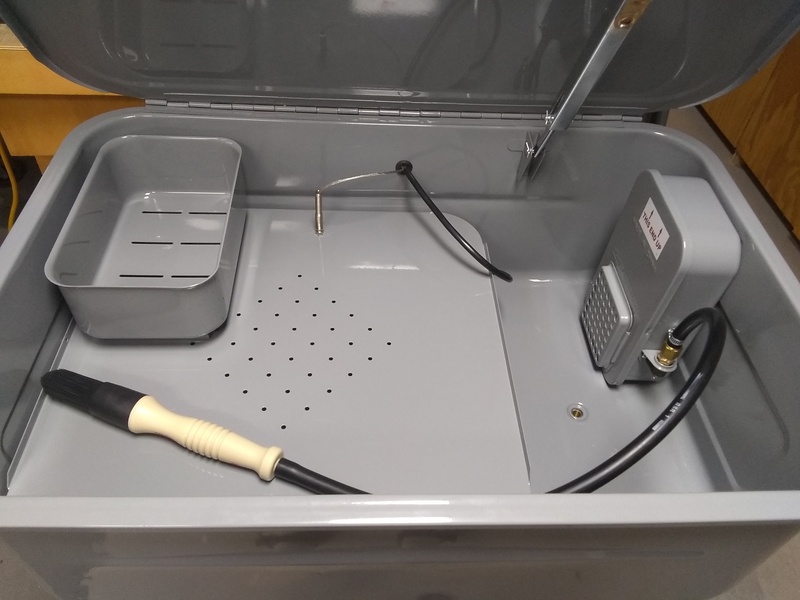
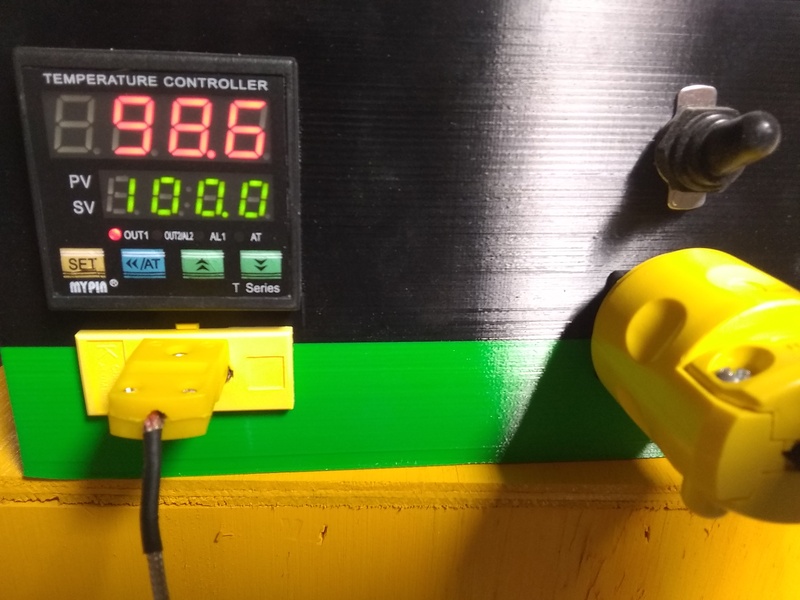
I built a PID for casting and I have an extra temperature sensor. I drilled a hole in the wash shelf and ran the cable through the grommet.
The only other modification I made for now is putting a block of wood on top of the power switch to stop some of the wobble.
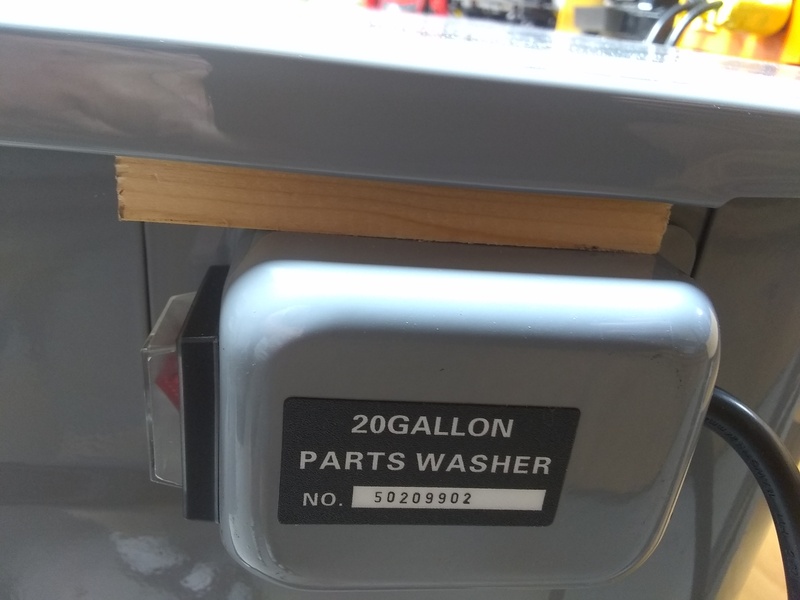
Next up is testing.
Sweet success! I used plain water for the the just in case. It took a long time for the flow to start. So long that I removed the brush and blew air through the tube to make sure it was clear. That must have primed it, started flowing after that.
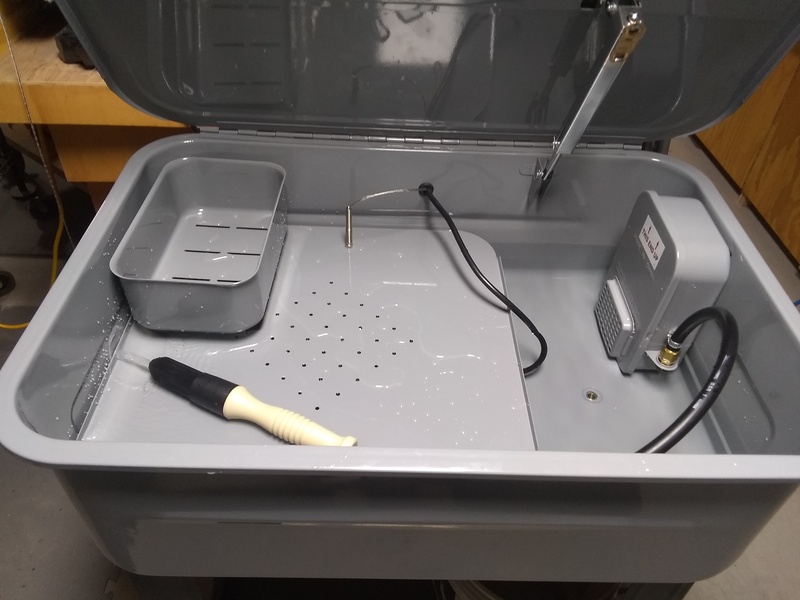
No leaks at the drain after 24 hrs….
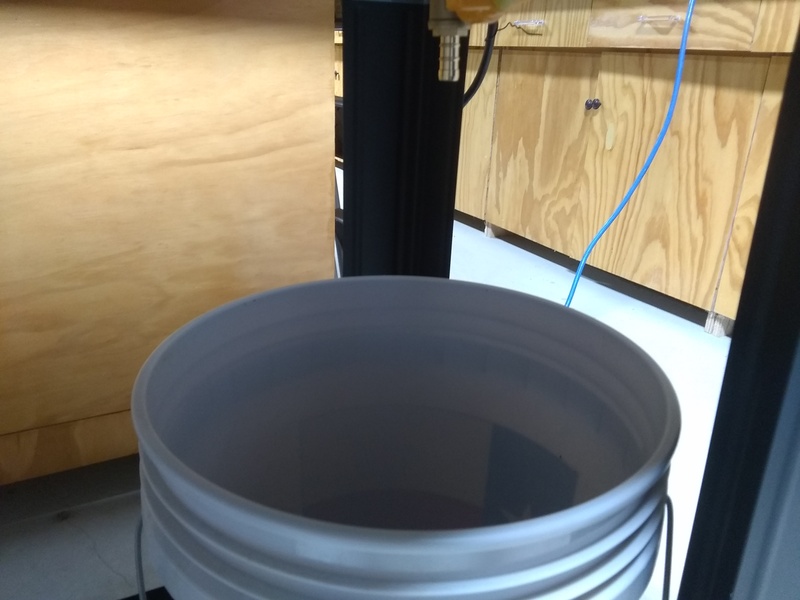
The PID worked as well. Set it at 100 degrees for now. Can adjust as needed.
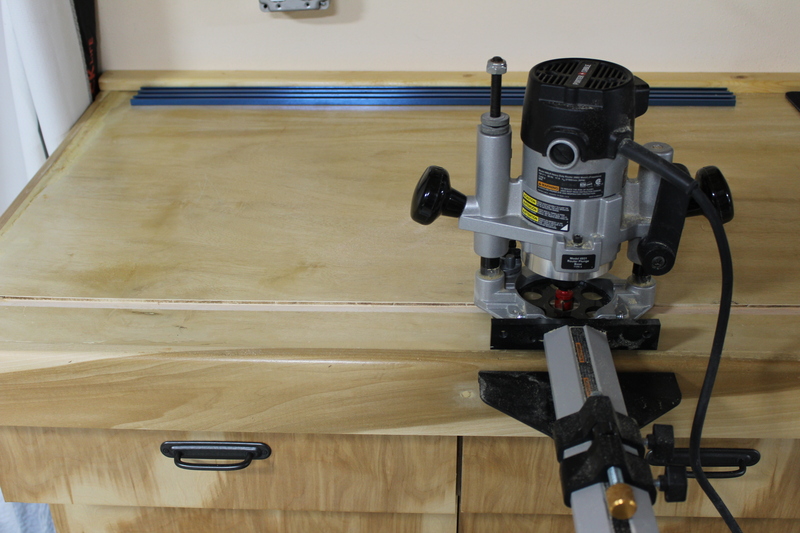
I wanted to add some T-Track to the end of the counter in the office. I could then do some medium and light work in the Better cooled Office area.
I started by making a couple passes with the router, going a bit deeper each pass until I got to the right depth. ½ inch.
Then I tapped it in and made sure it was flush:
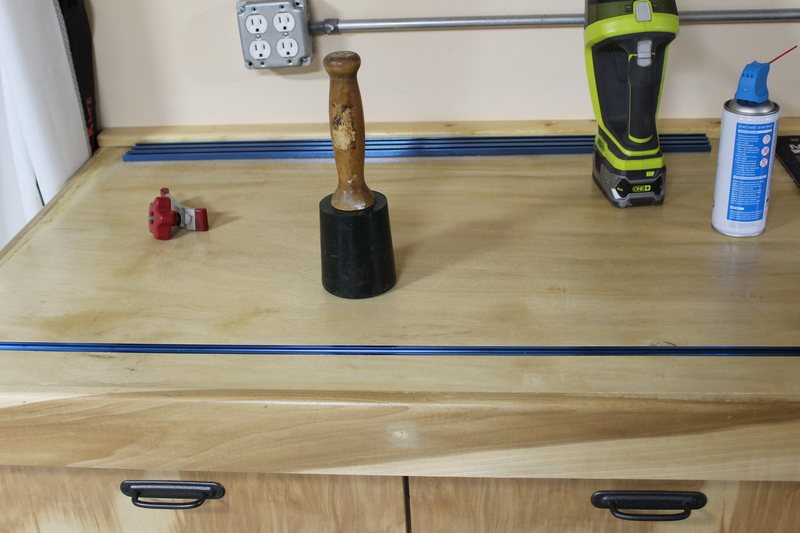
Got it screwed and and tested with the Present Arms setup.
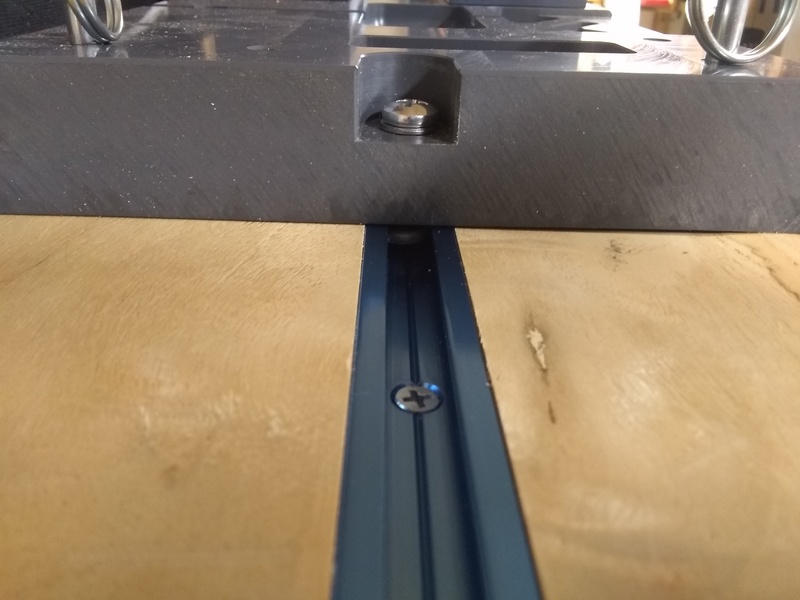
Works great!
Quick post to show a 4 kW system I picked up for free! Luck, Right Place, right time.
We will be ground mounting this 18 panel system by our farm meter by our well pump. I am not sure if the inverter works, even if it does not, I can pick one up cheap enough. The next step will be to lay out the mounting area and start laying pipe!
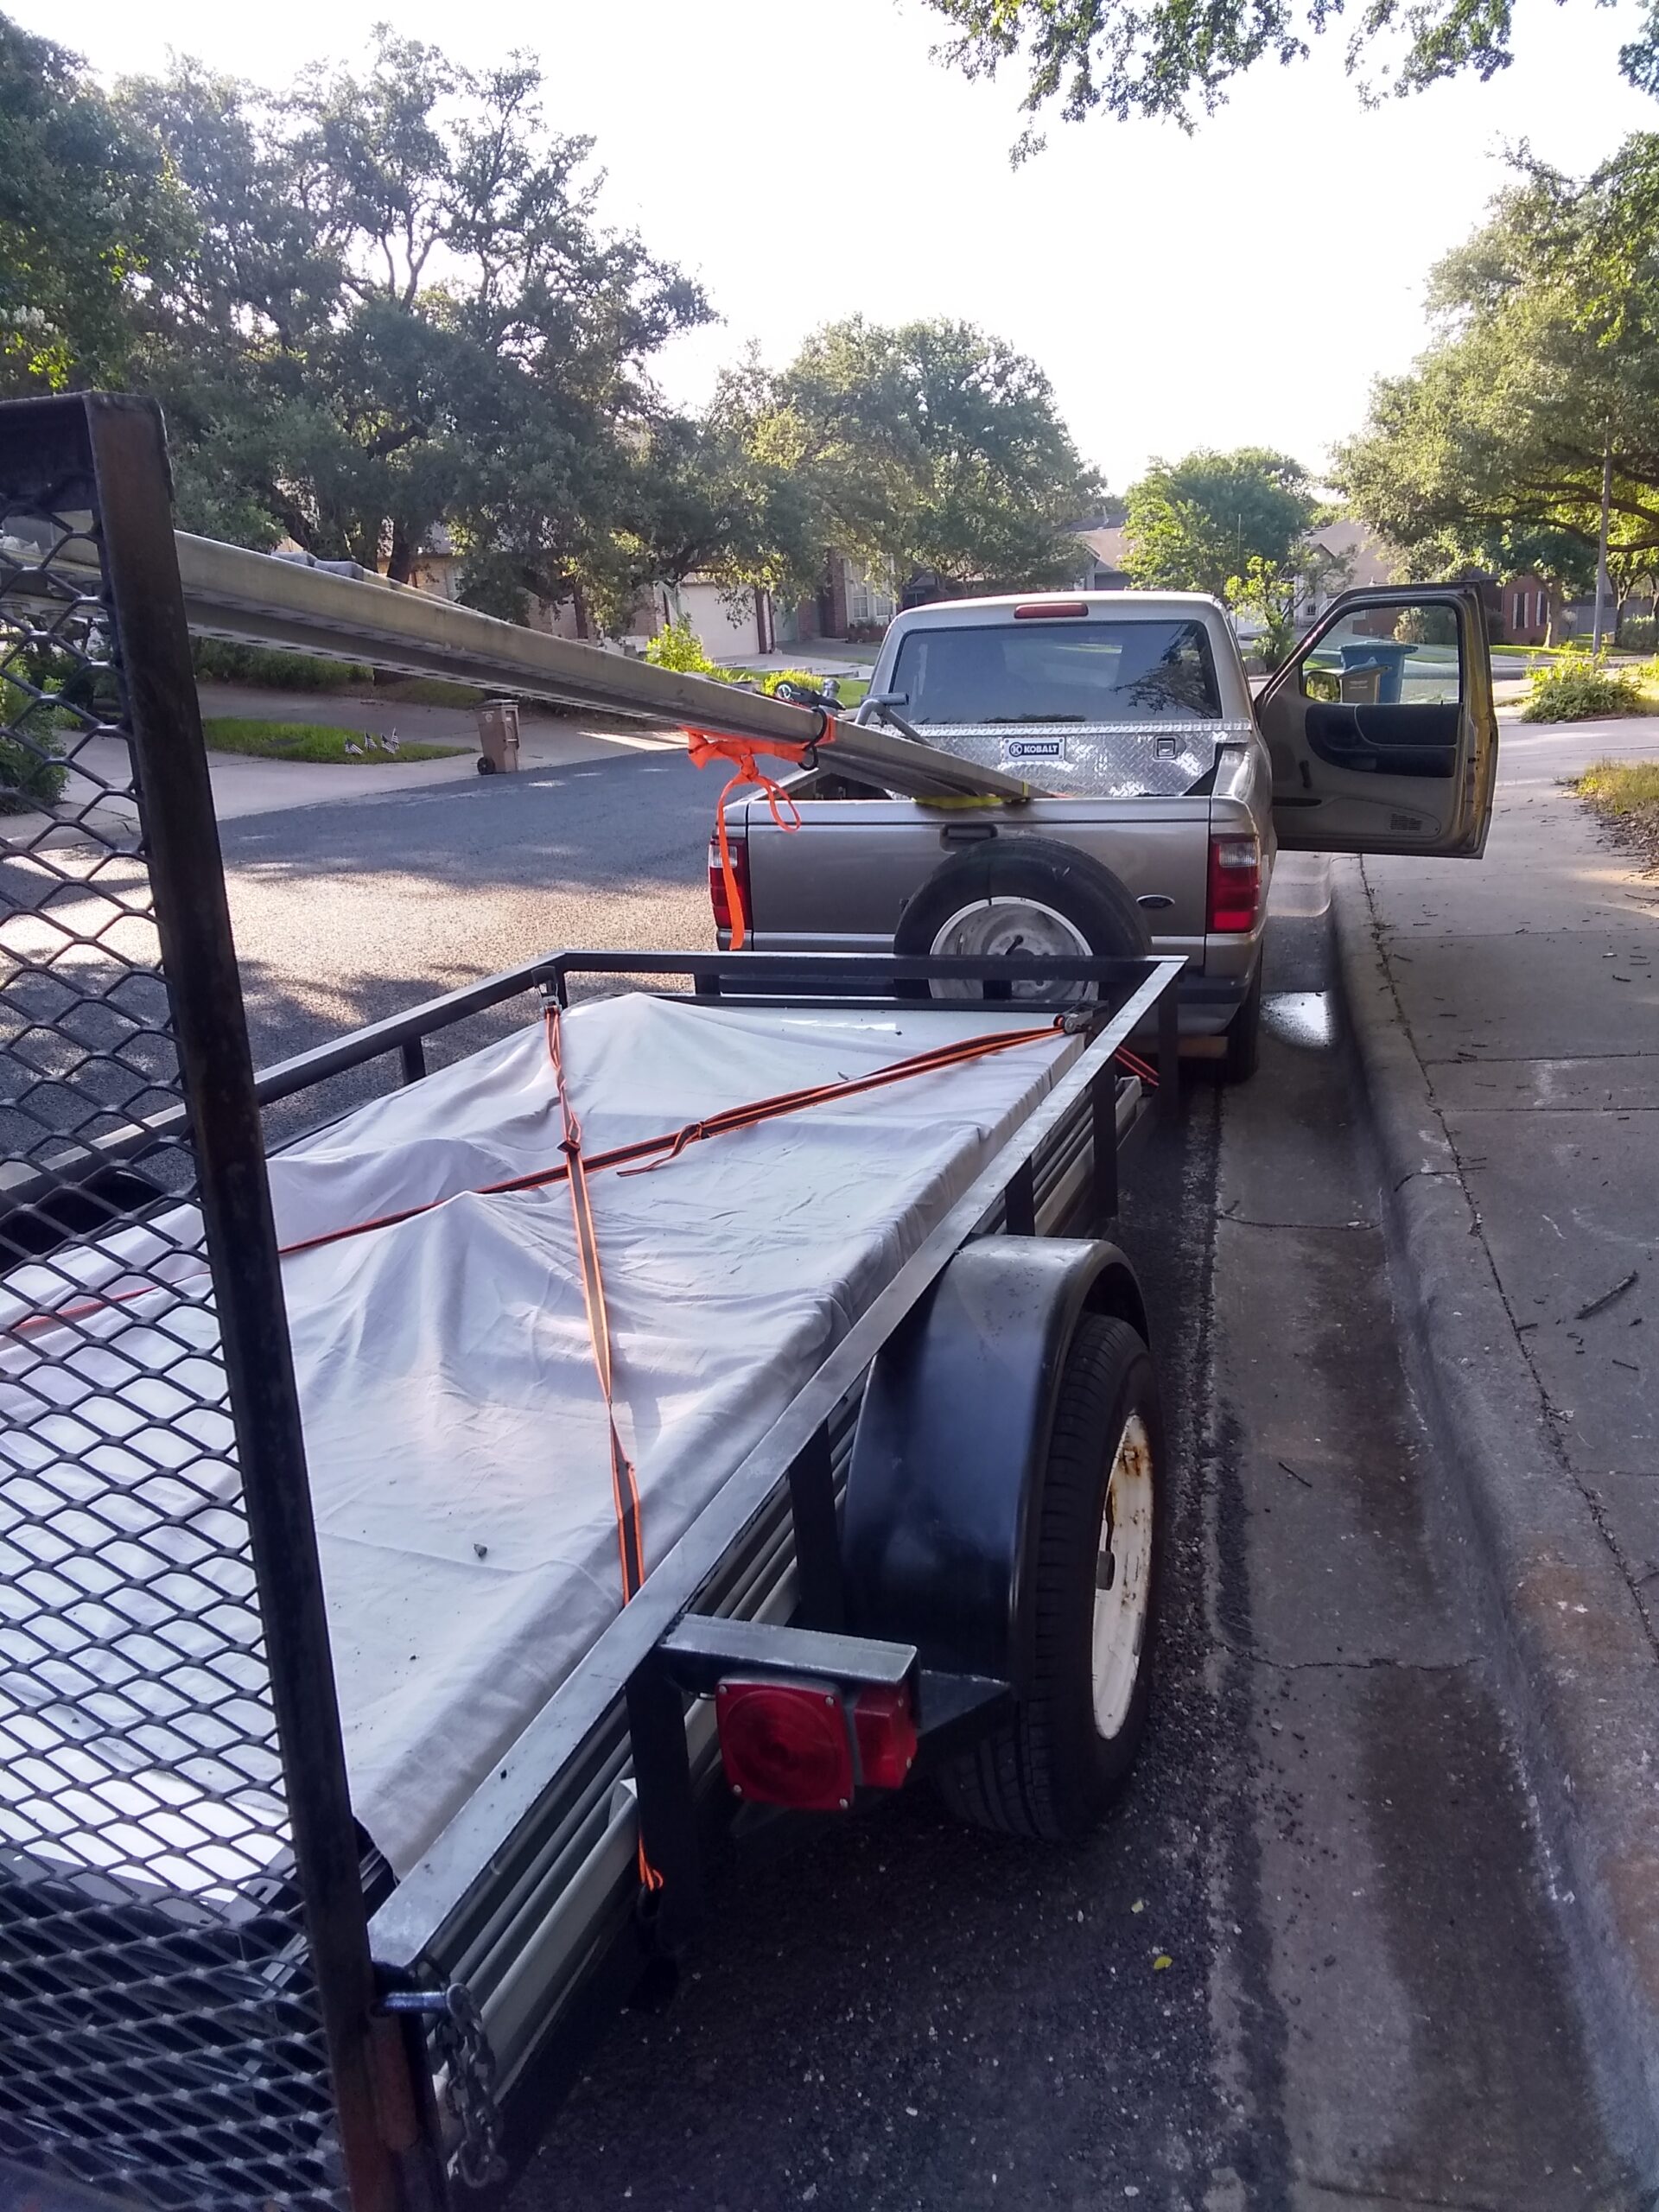
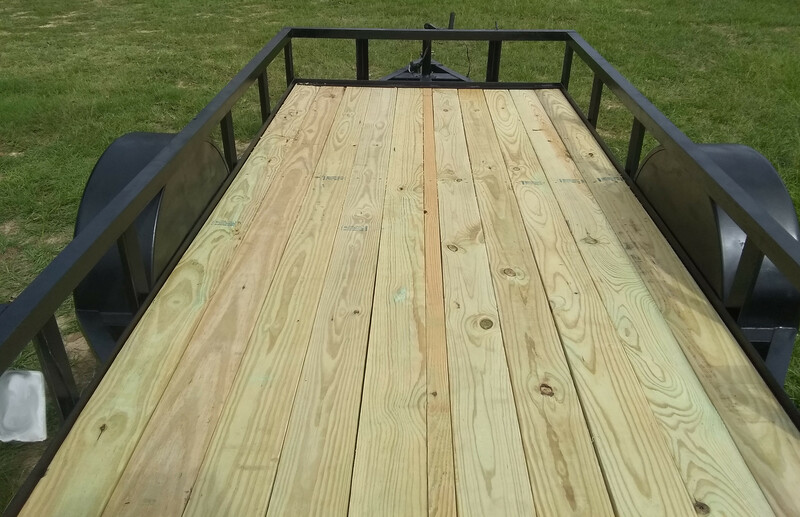
The old single axle trailer needed a timber replacement.
First is easily removed the old wood, it just disintegrated, cleaned up the metal and gave it a quick painting.
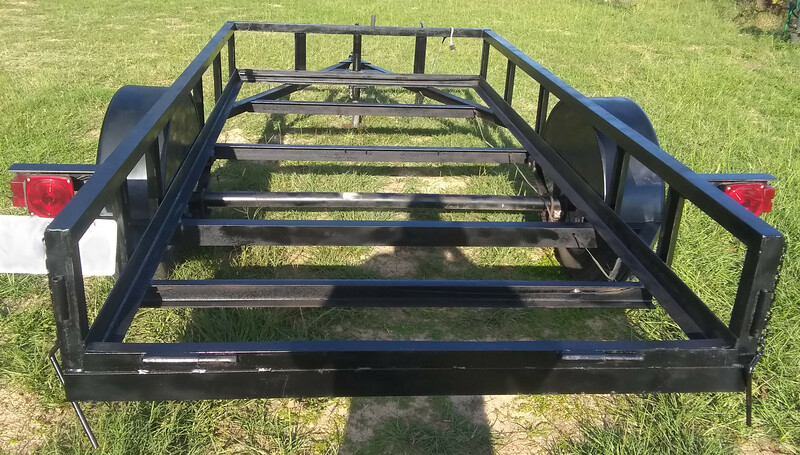
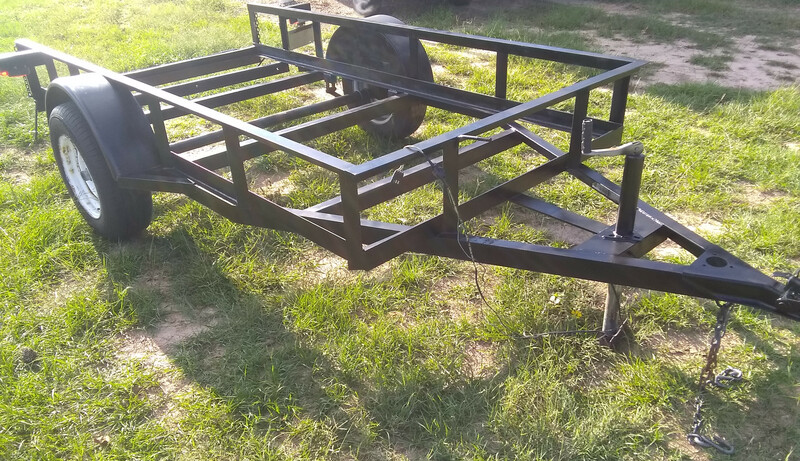
Started sliding in the new treated 2 x 6 x 10 boards.
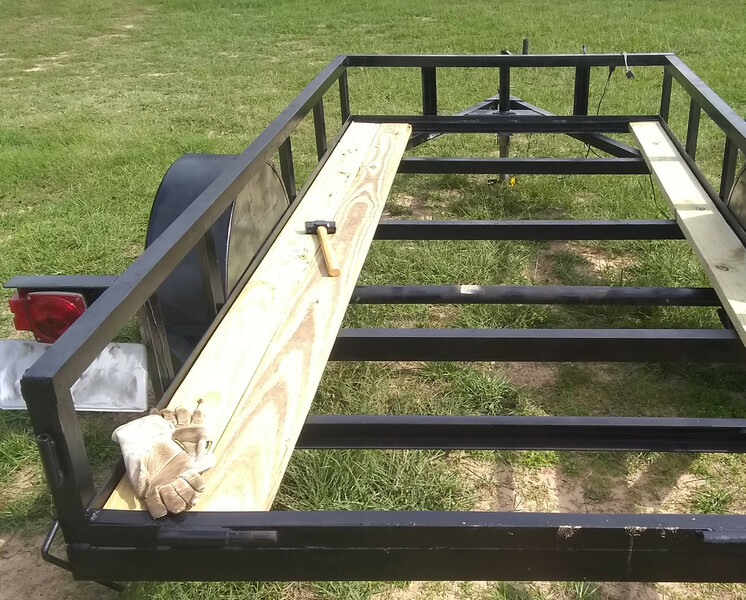
Only thing left is a small sliver:
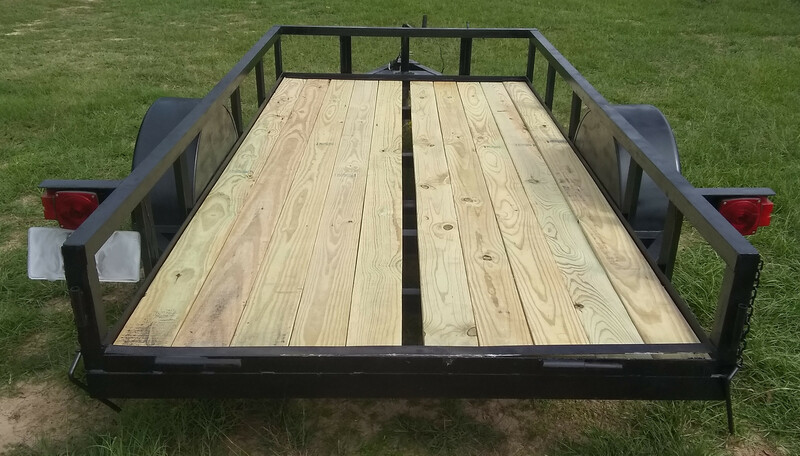
Ripped a piece off the last 2×6, it is thin so I could give it a good bend and poof done!
We had some extra metal from the shop build and the old pump house was getting a bit worn. So, I took the metal and put it over the existing material:
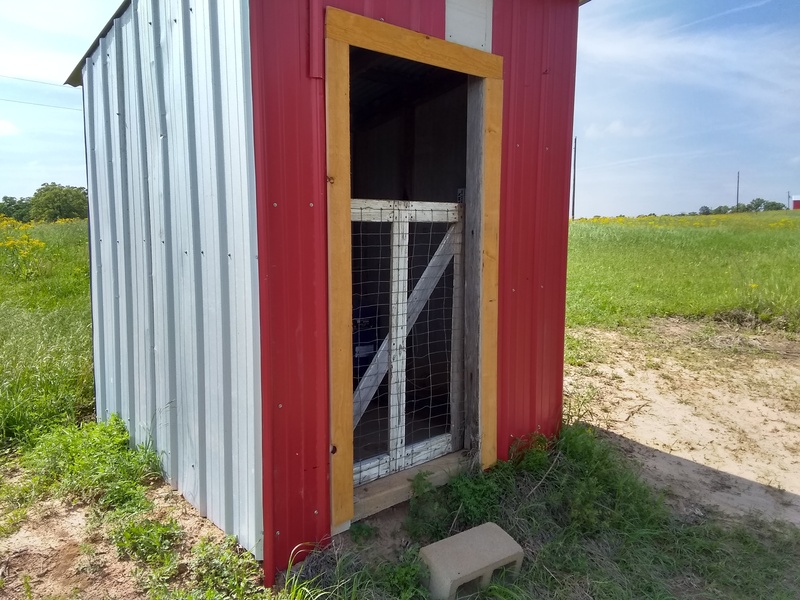
Not the prettiest, but it works.
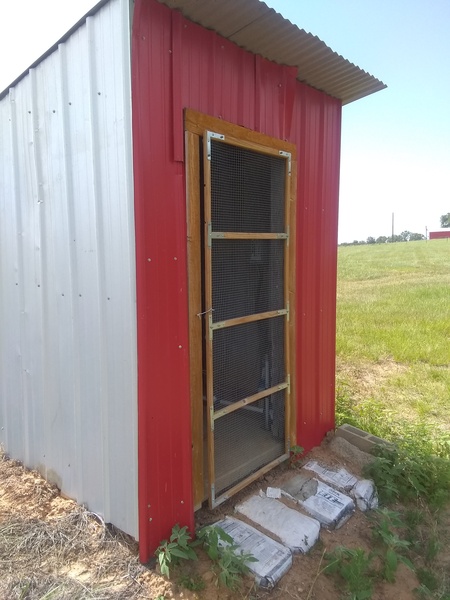
Wanted to update the the picture to show the new door I built:
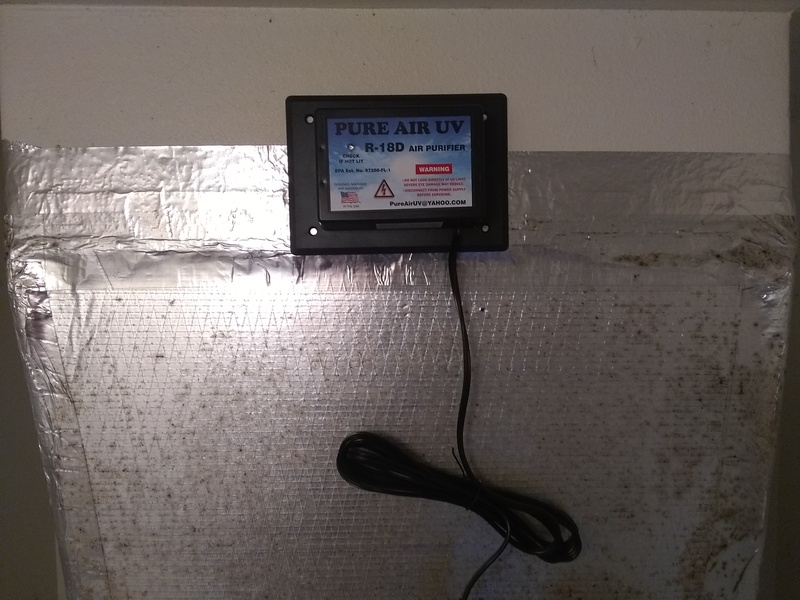
Earlier this week we had our AC system cleaned and sanitized. From vents to the unit. They recommended installing a Whole House UV AIR Purifier. So we did. First we outlined and cutout the holes:
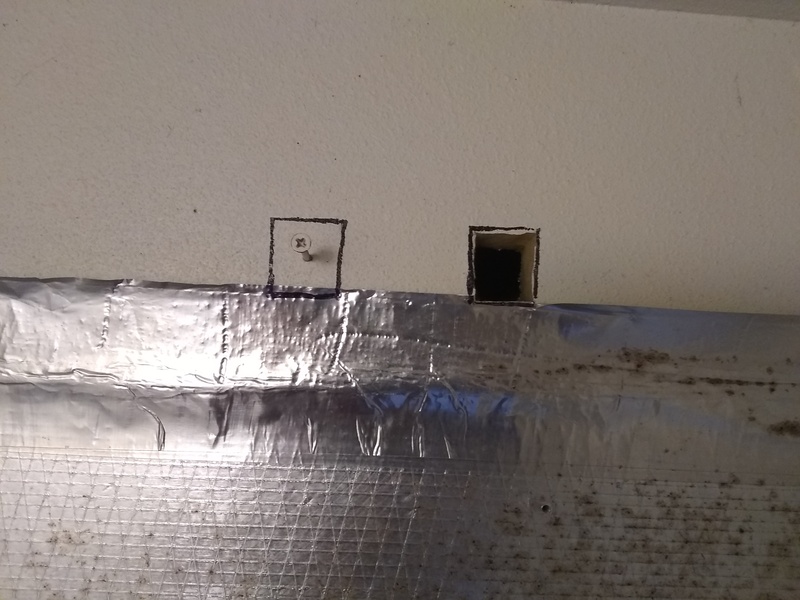
Did a test fit:
Then We got a cheap, as in Dollar Tree, pair of UV protective sunglasses. Popped out a lens, traced it, and cut out a square smaller than the lens.
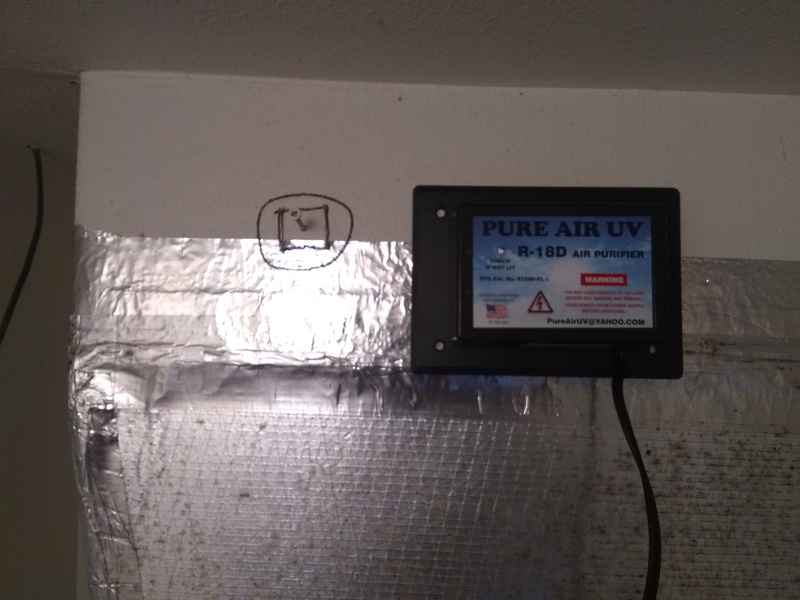
Then tapped it in. This way you can see if the light are working. If you dont do this, you have no real way of knowing if the UV light are really on.
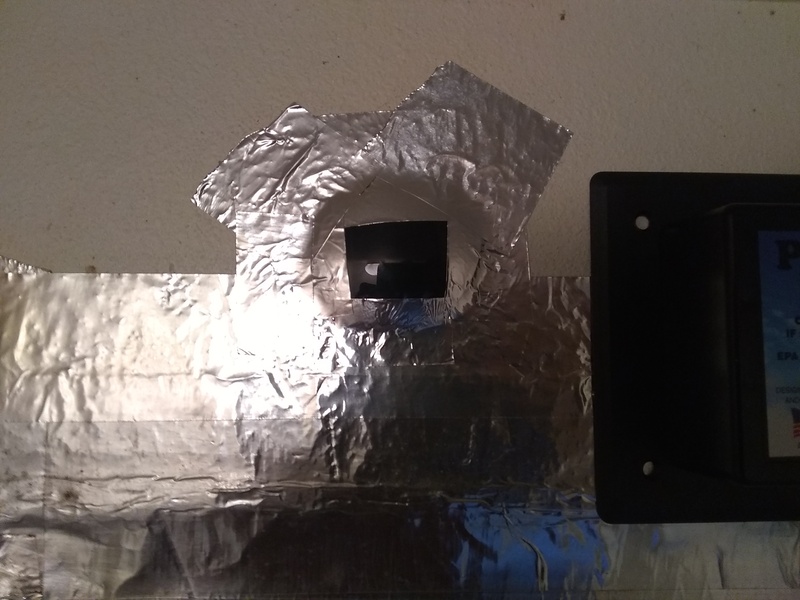
Did a dry run to test things out:
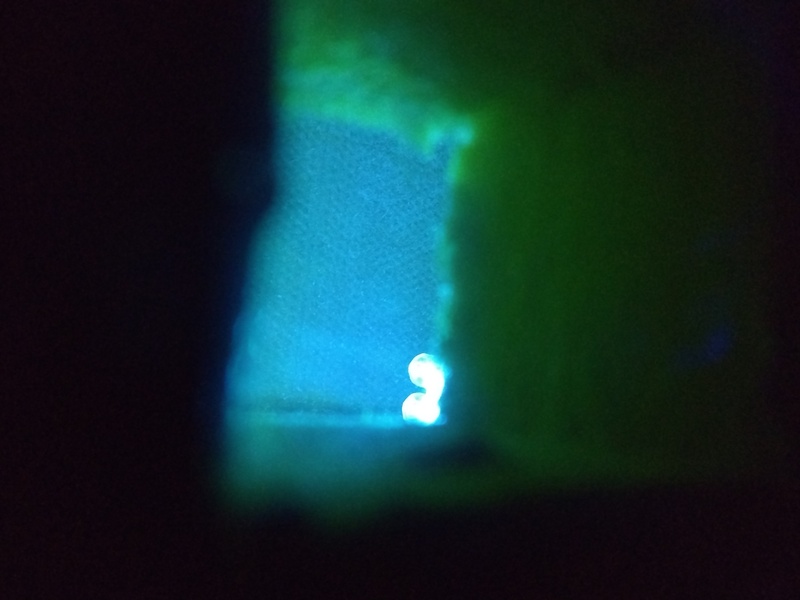
And:
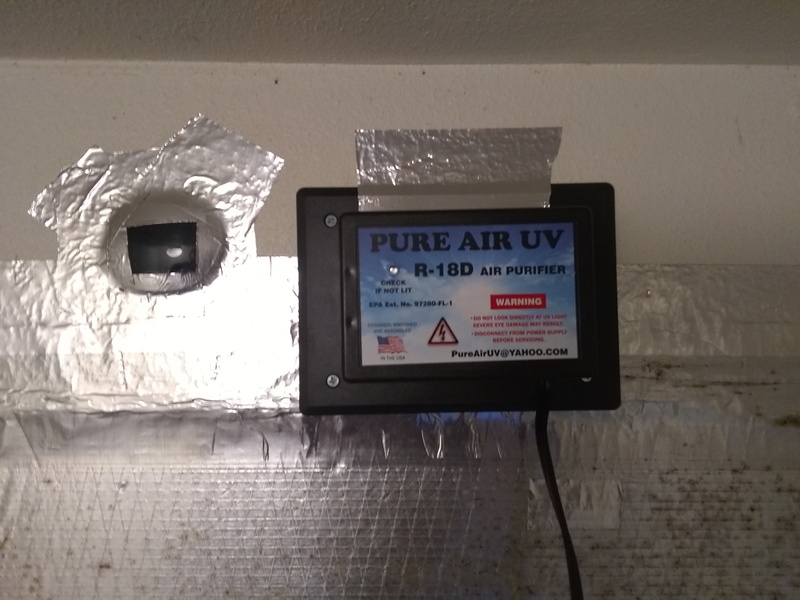
Success! Taped everything up.
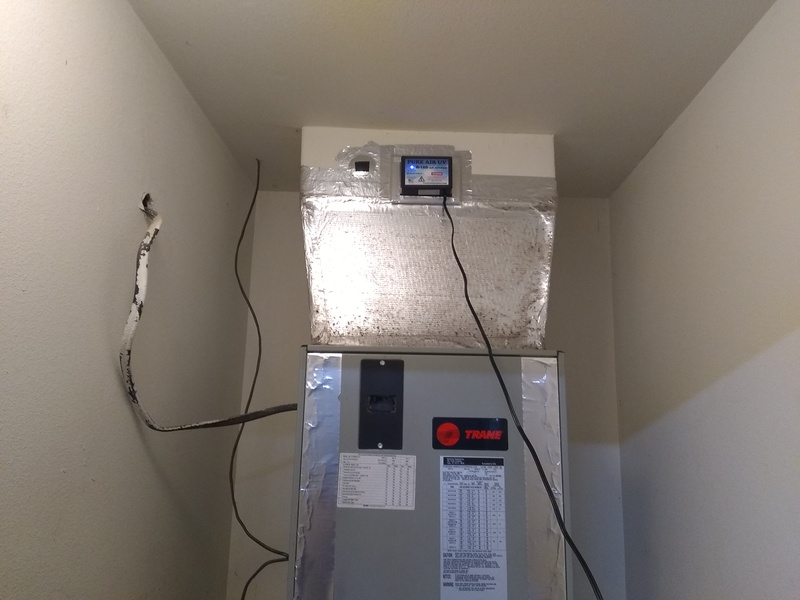
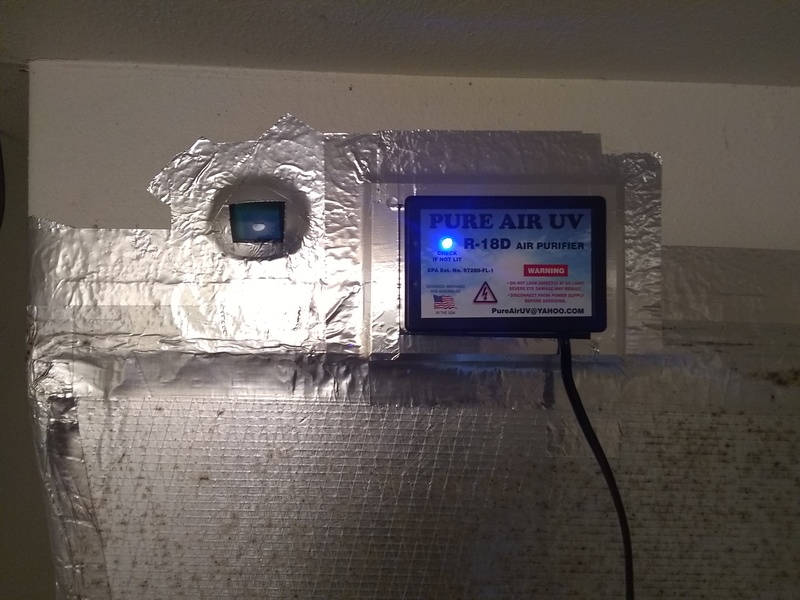
We now have UV light, purified, and super duper cleaned for the whole house.
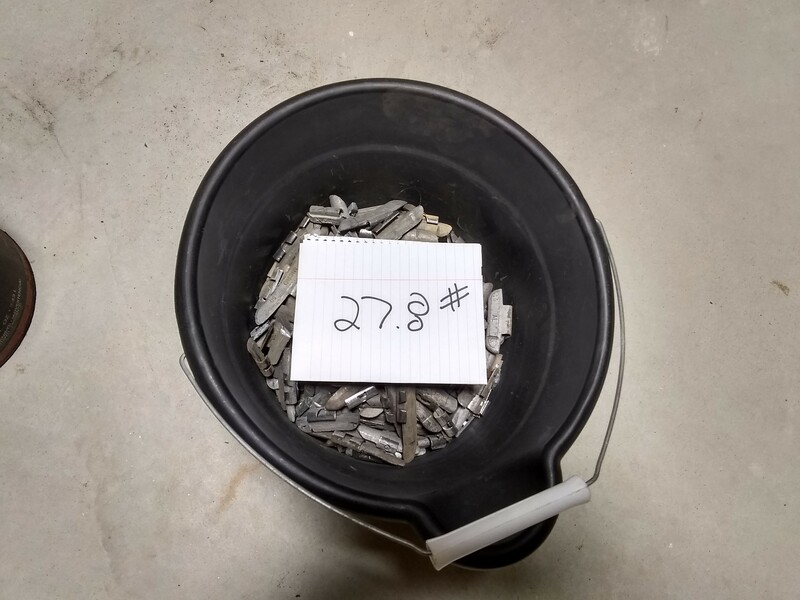
Started collecting and separating wheel weights for casting.
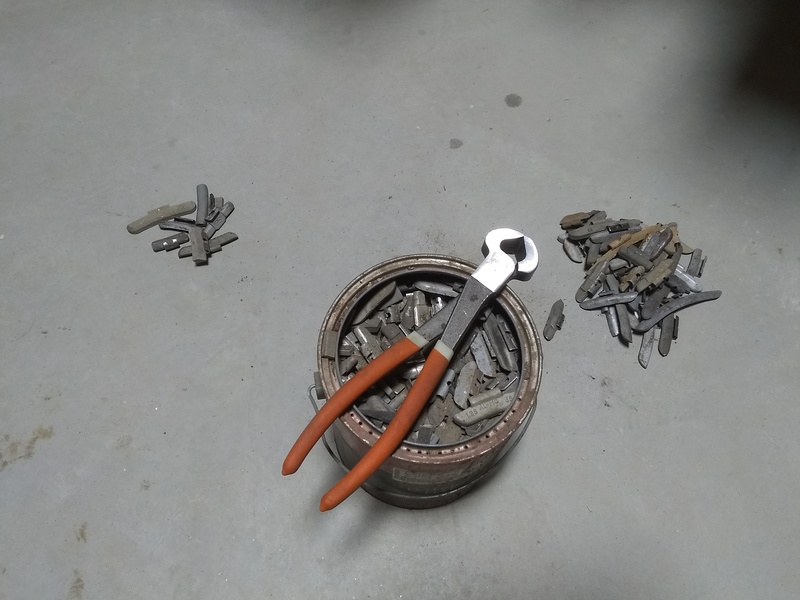
I use the pinch method for the initial separation. Lots of info on YouTube about this. In a nutshell. If you can pinch and leave a mark its lead. If you can’t it is not.
Ended up with 27.8 pounds of wheel weight
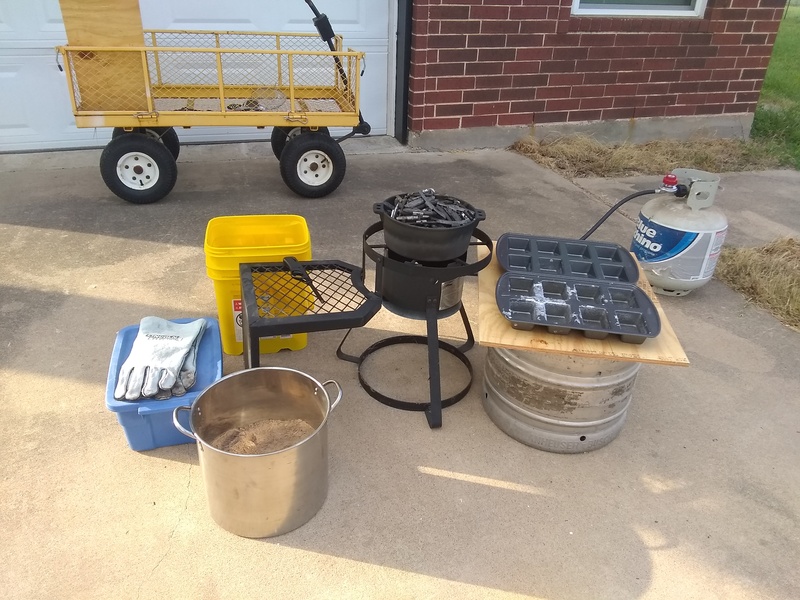
Got everything setup and melted them down.
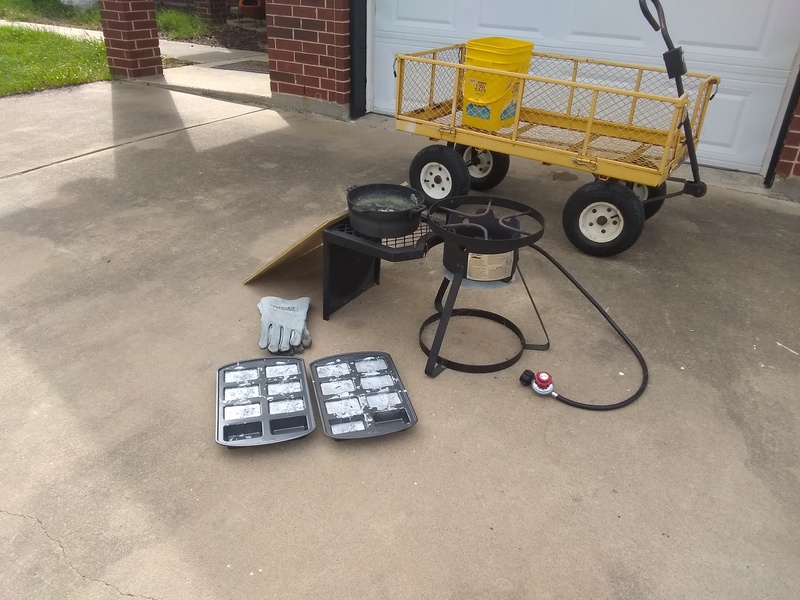
Letting the last batch cool:
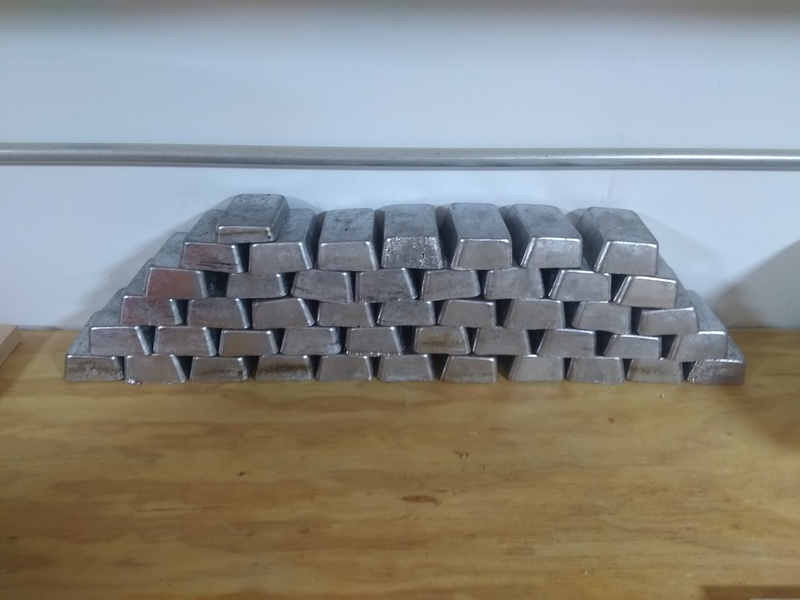
Stacked and ready to start casting
| Metal | Fahrenheit ( f ) | Celsius ( C ) |
| Phosphorus | 111 | 44 |
| Selenium | 423 | 217 |
| Tin | 449 | 232 |
| Babbitt | 480 | 249 |
| Bismuth | 521 | 272 |
| Cadmium | 610 | 321 |
| Lead | 621 | 328 |
| Zinc | 787 | 420 |
| Aluminum Alloys | 865-1240 | 463-671 |
I got the pot up to ~700 degrees. everything still solid at that point was scooped off with the ladle. I did a saw dust flux and poured the ingots.
You must be logged in to post a comment.