

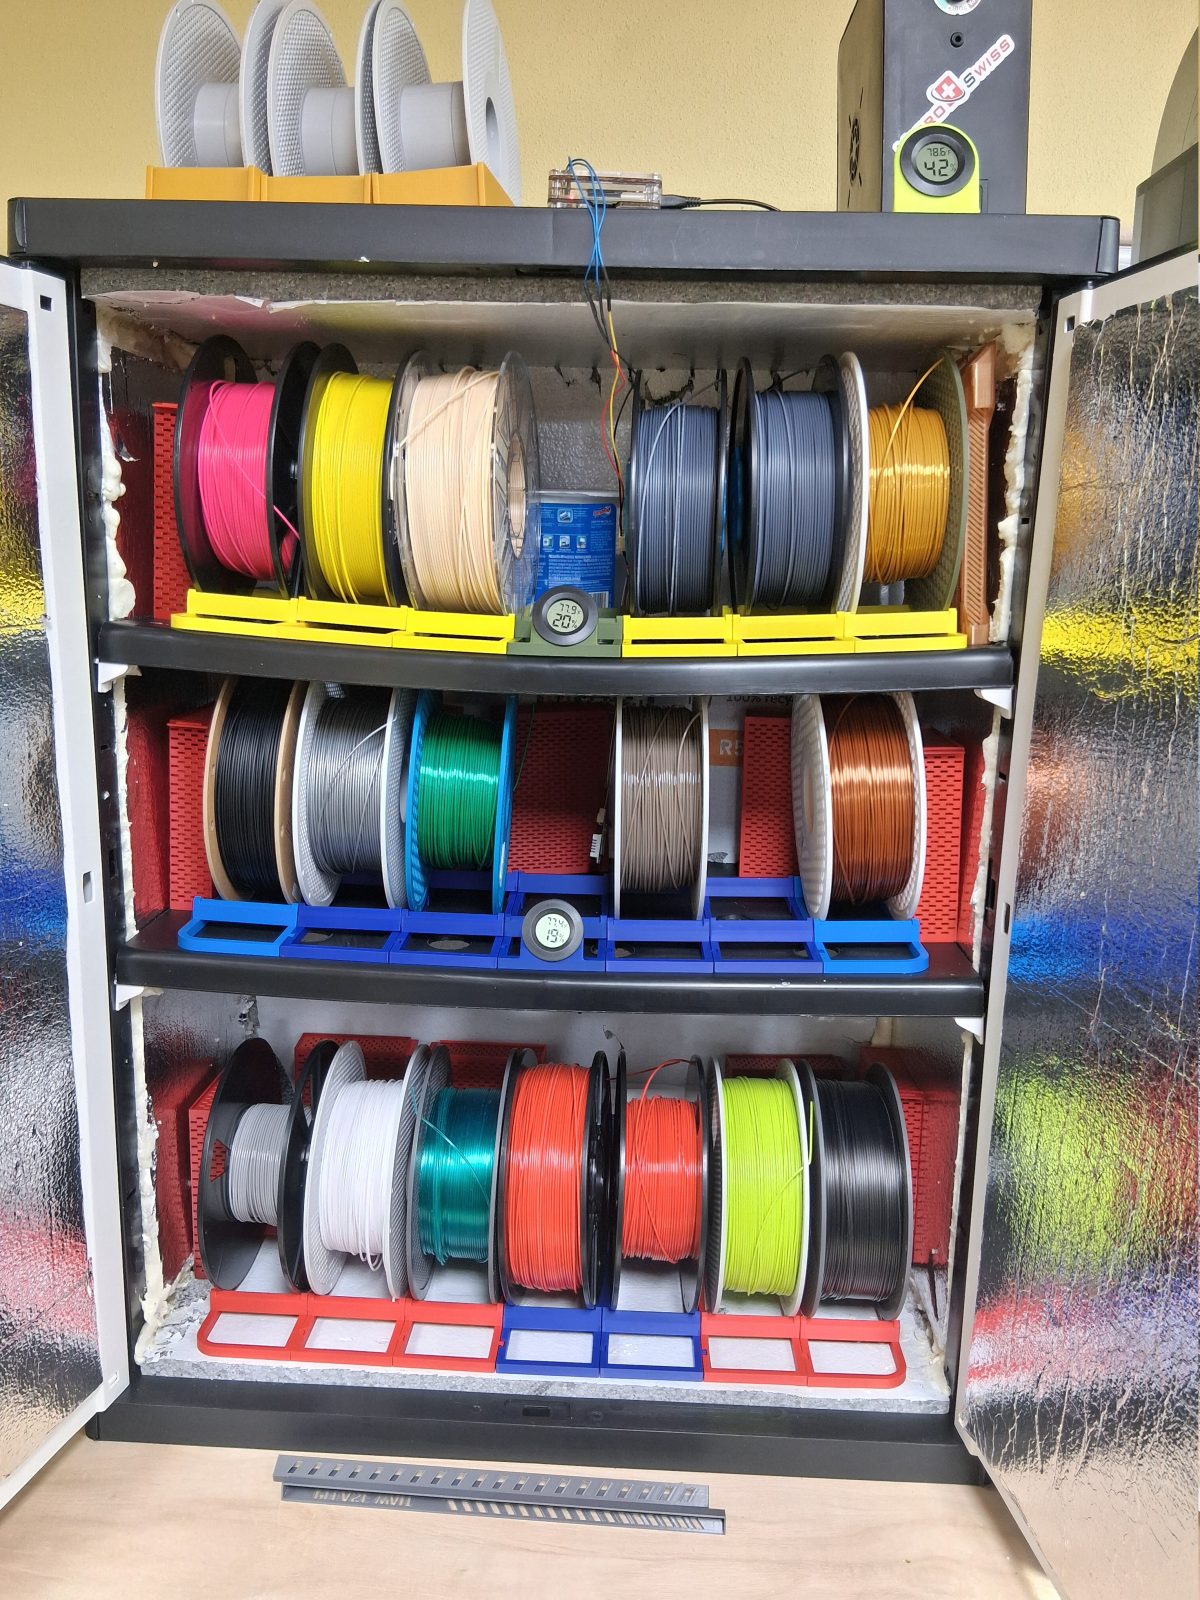
I built a cabinet that holds under 40% RH.
I wanted a better solution for my open pack filament storage. I have tried several different things over the years. Here is my latest.
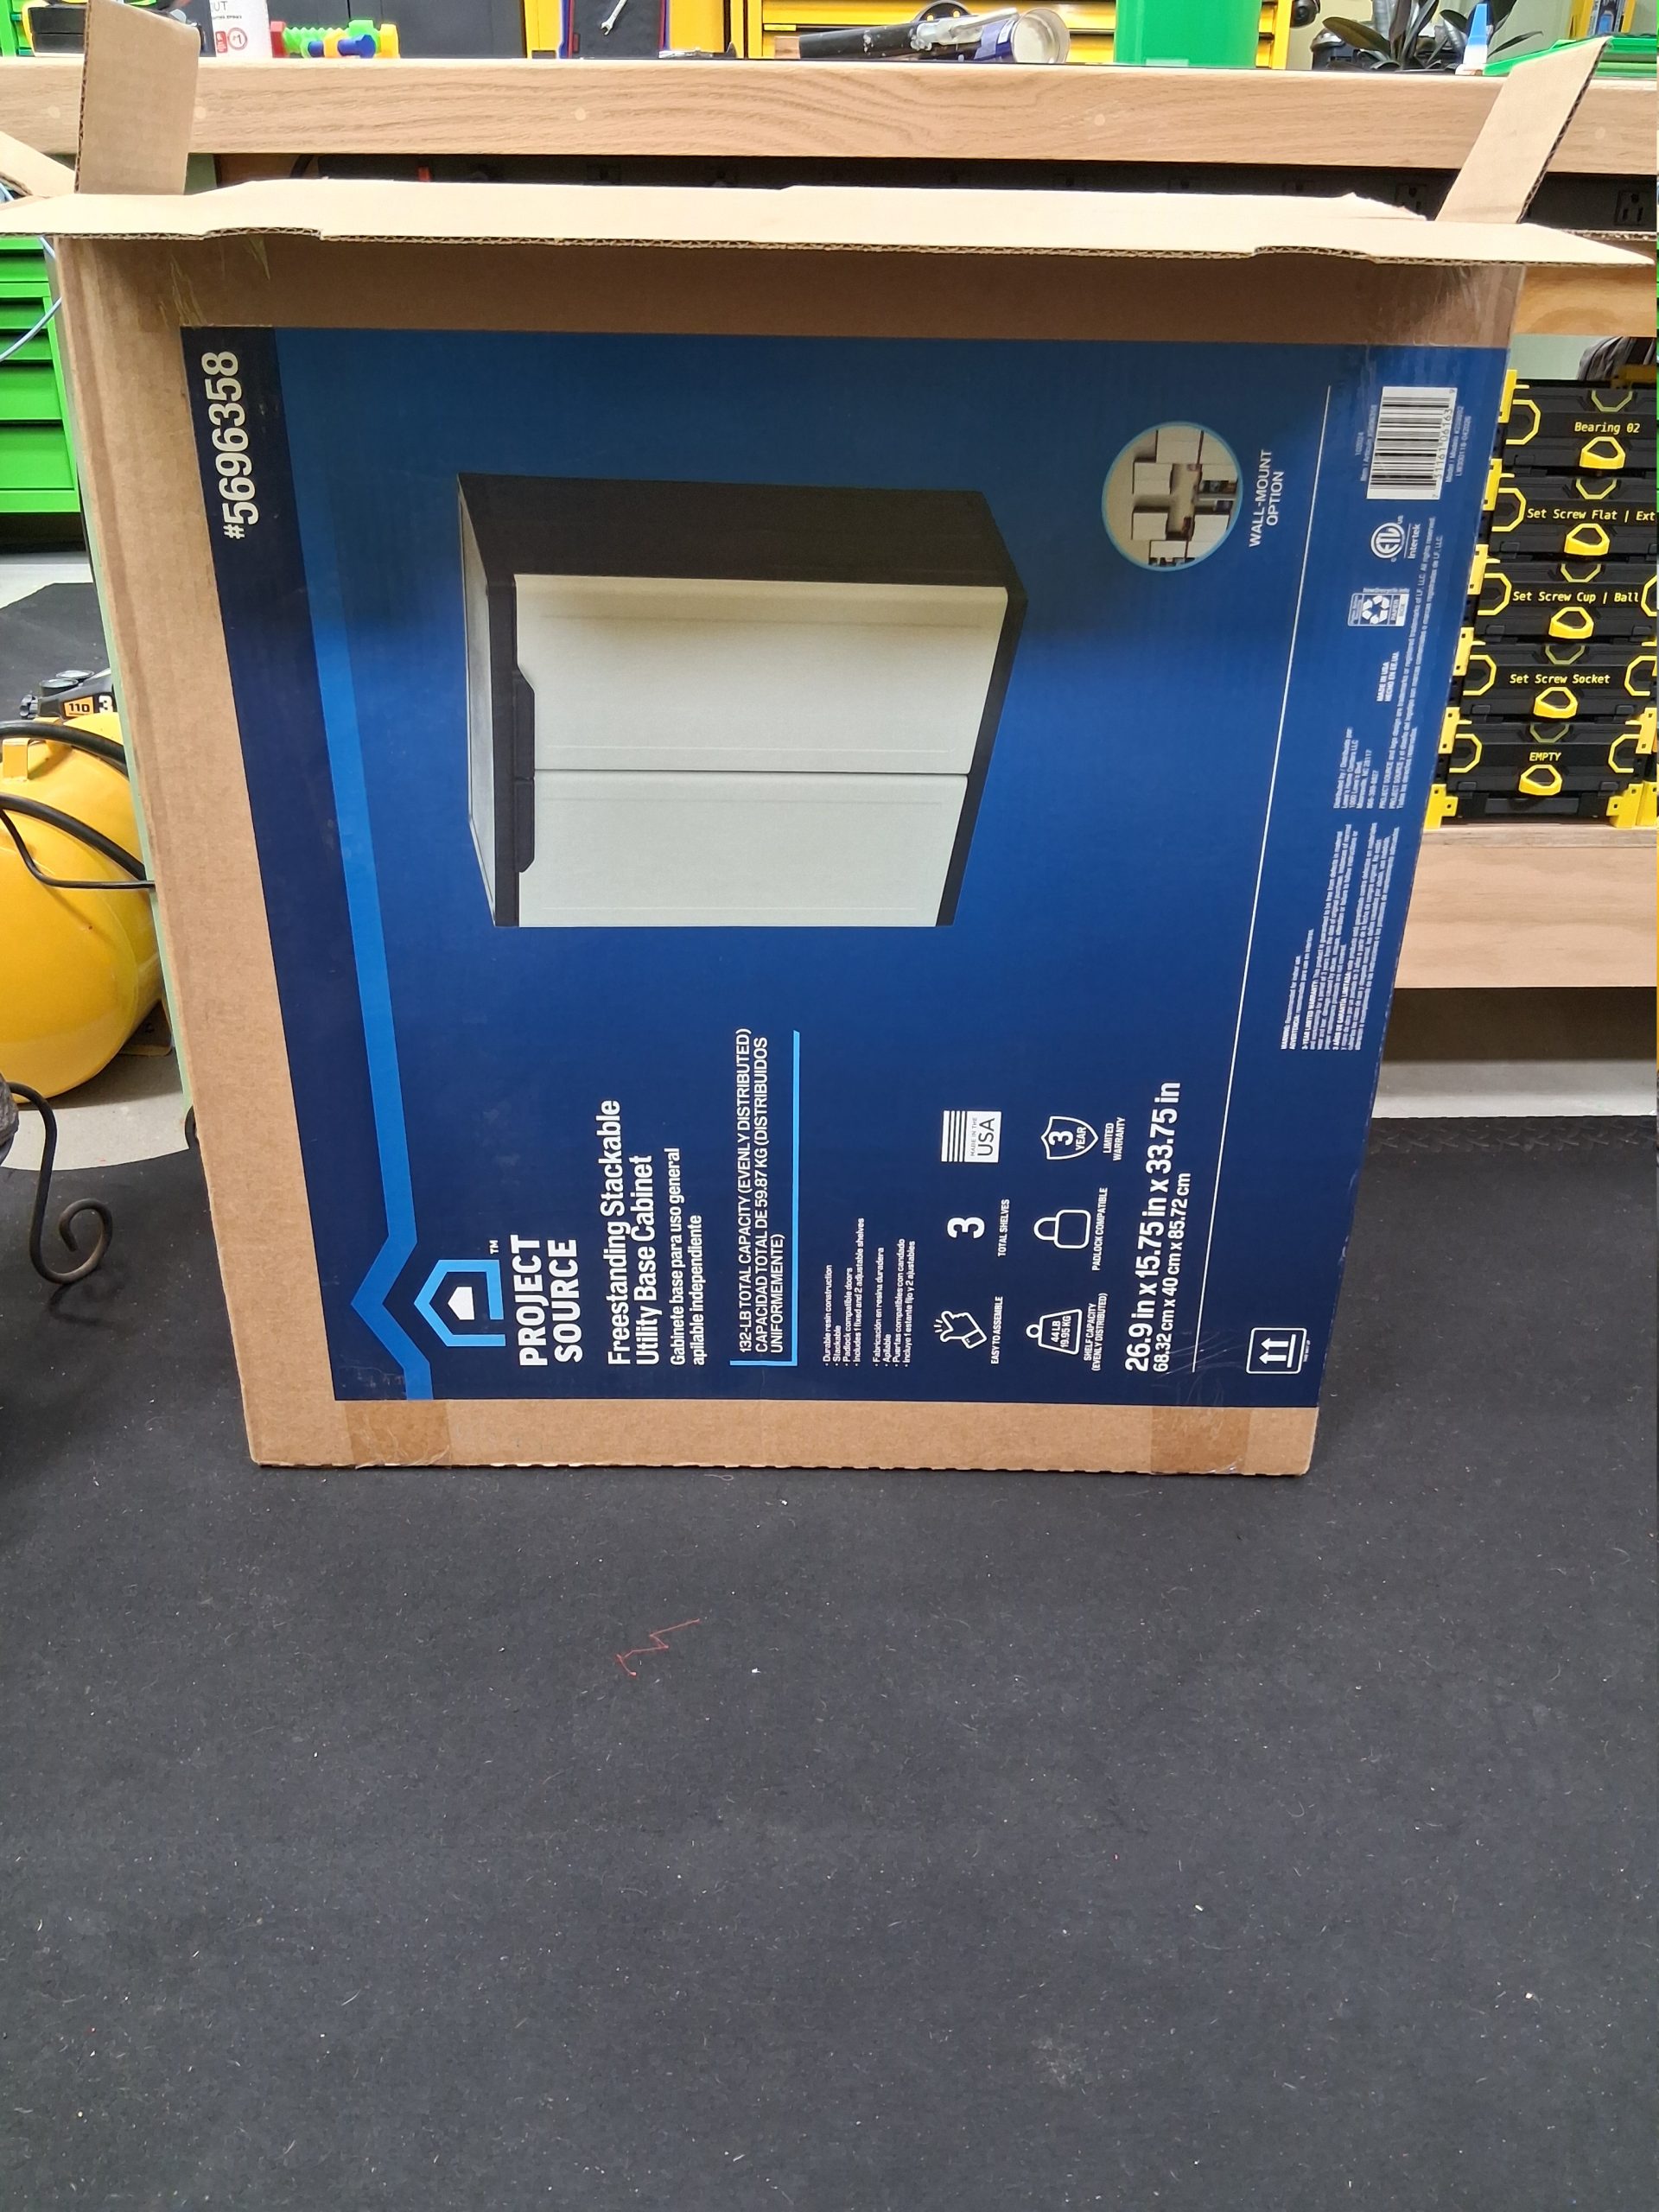
I went out to Lowe’s and bought a Project Source 27 inch plastic cabinet:
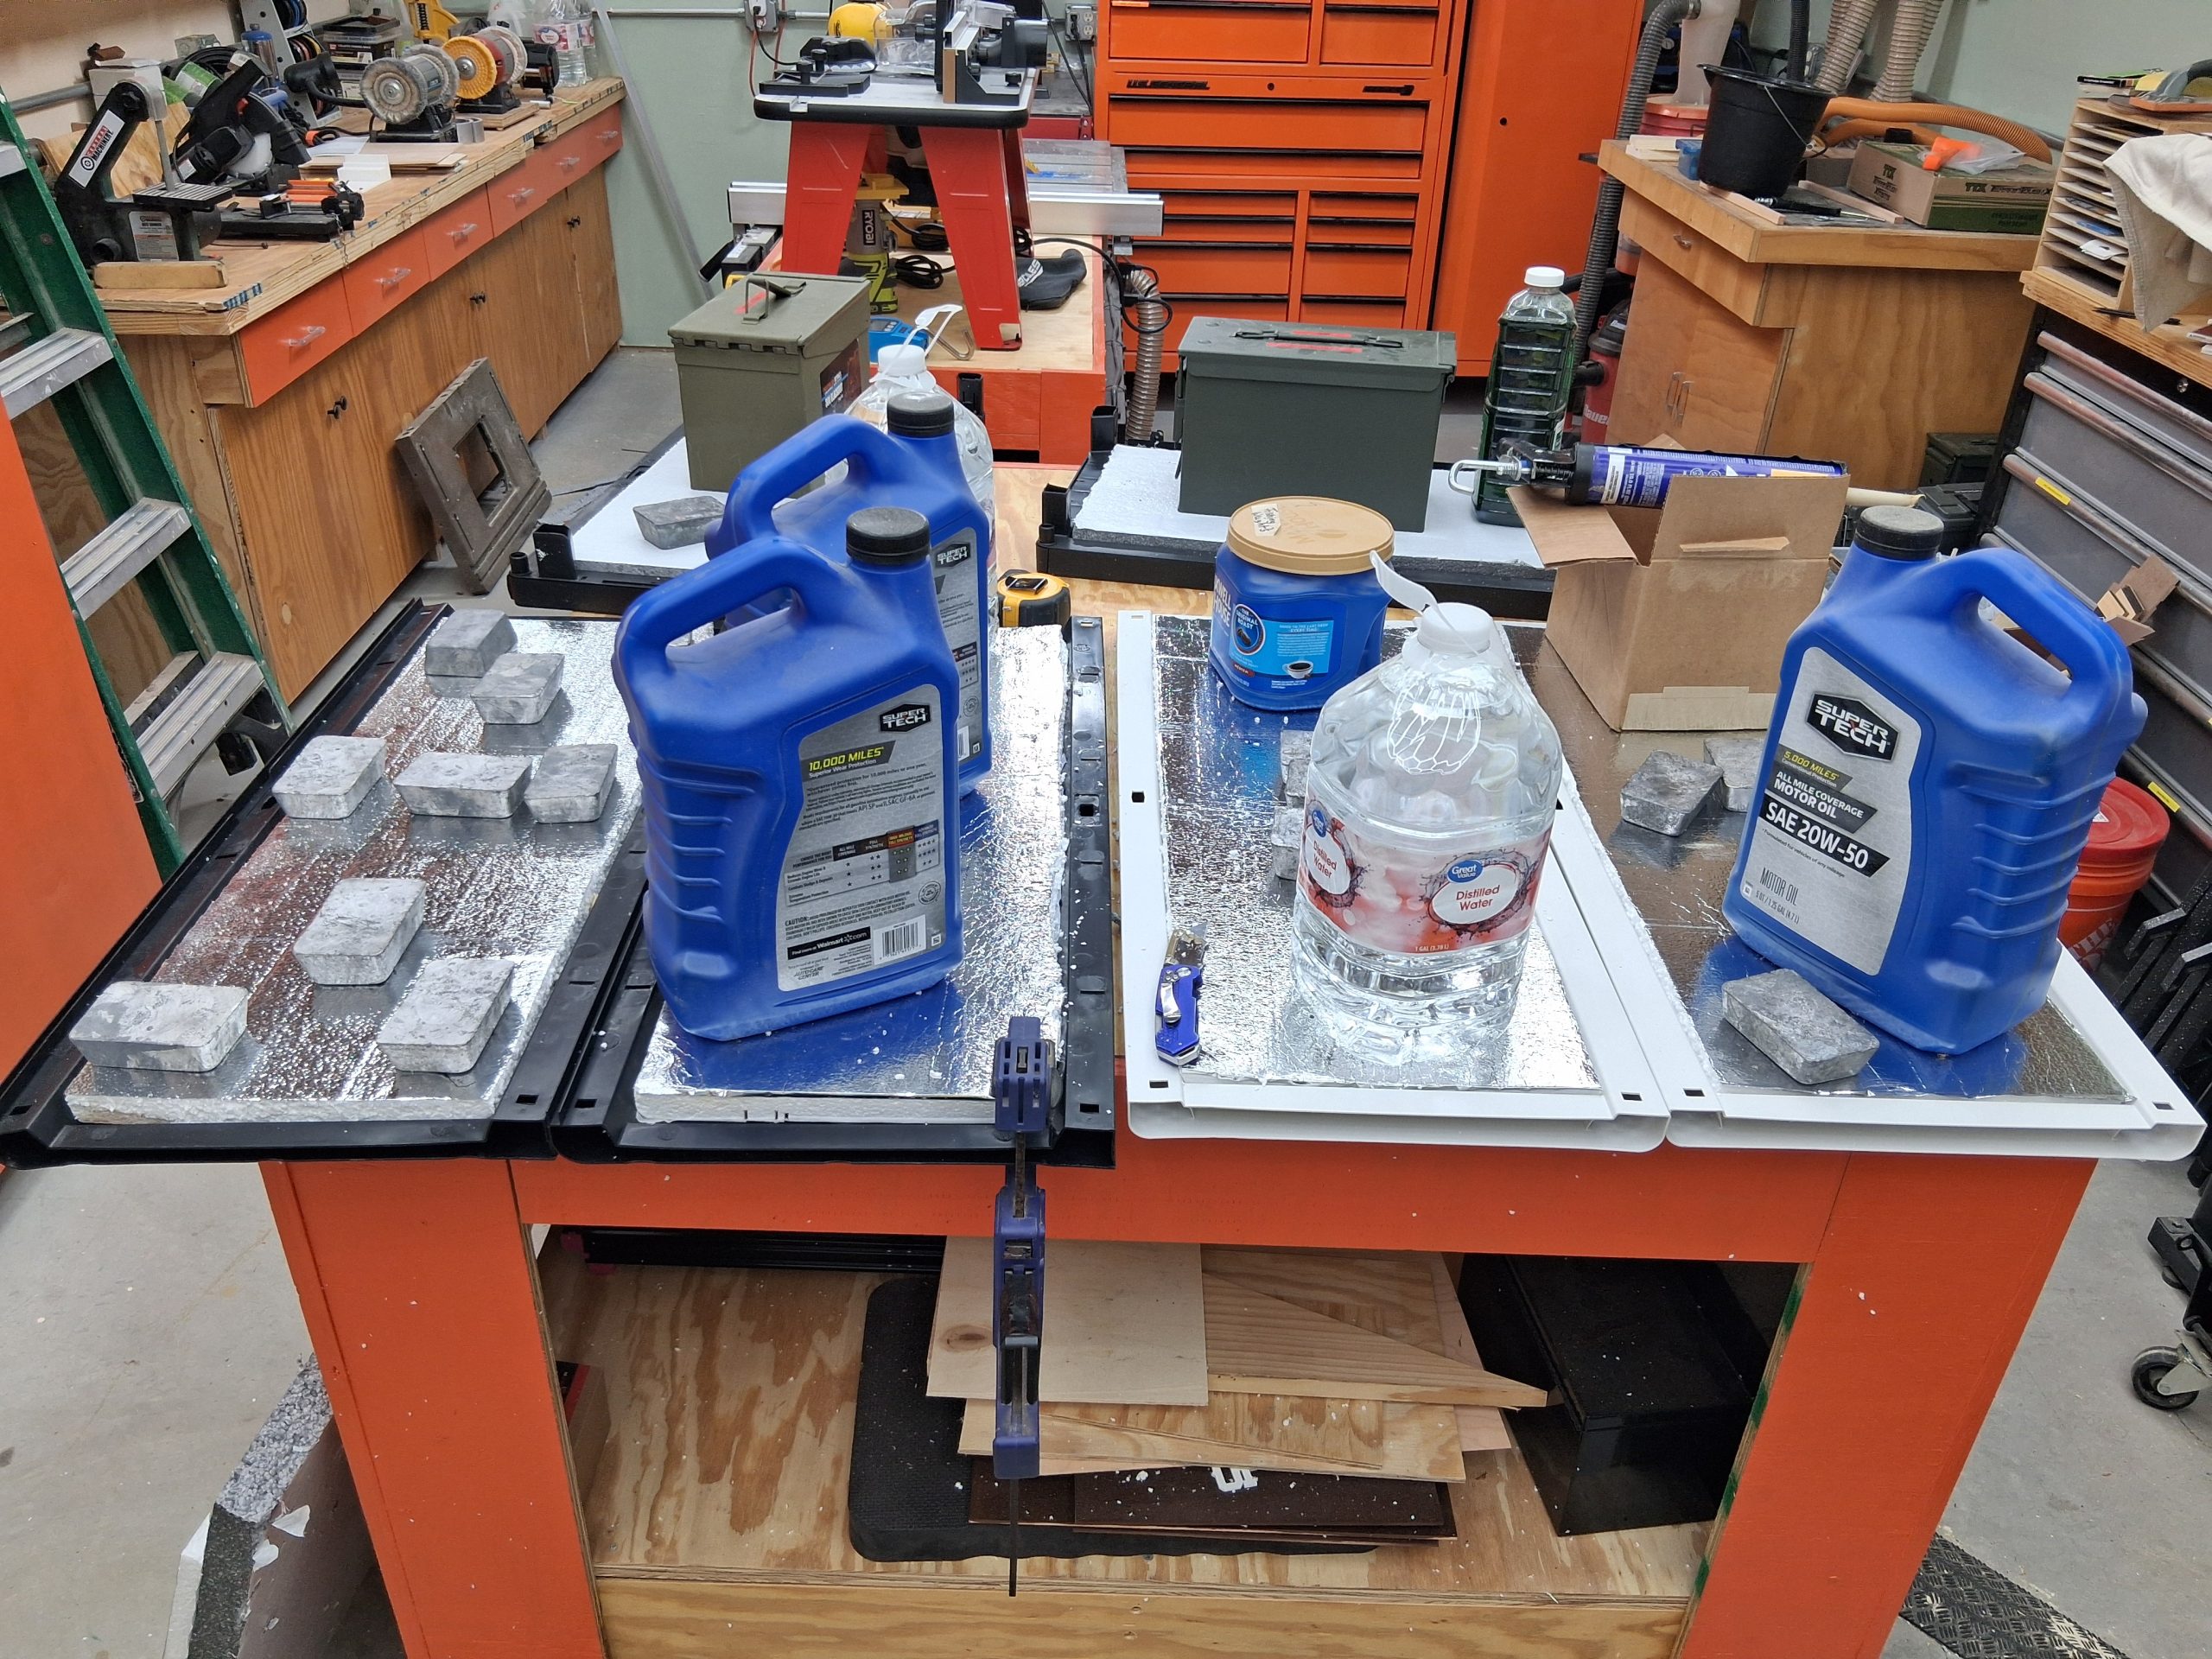
I had a couple different size foam sheets that I use as sacrificial when I am cutting up large sheets of plywood.
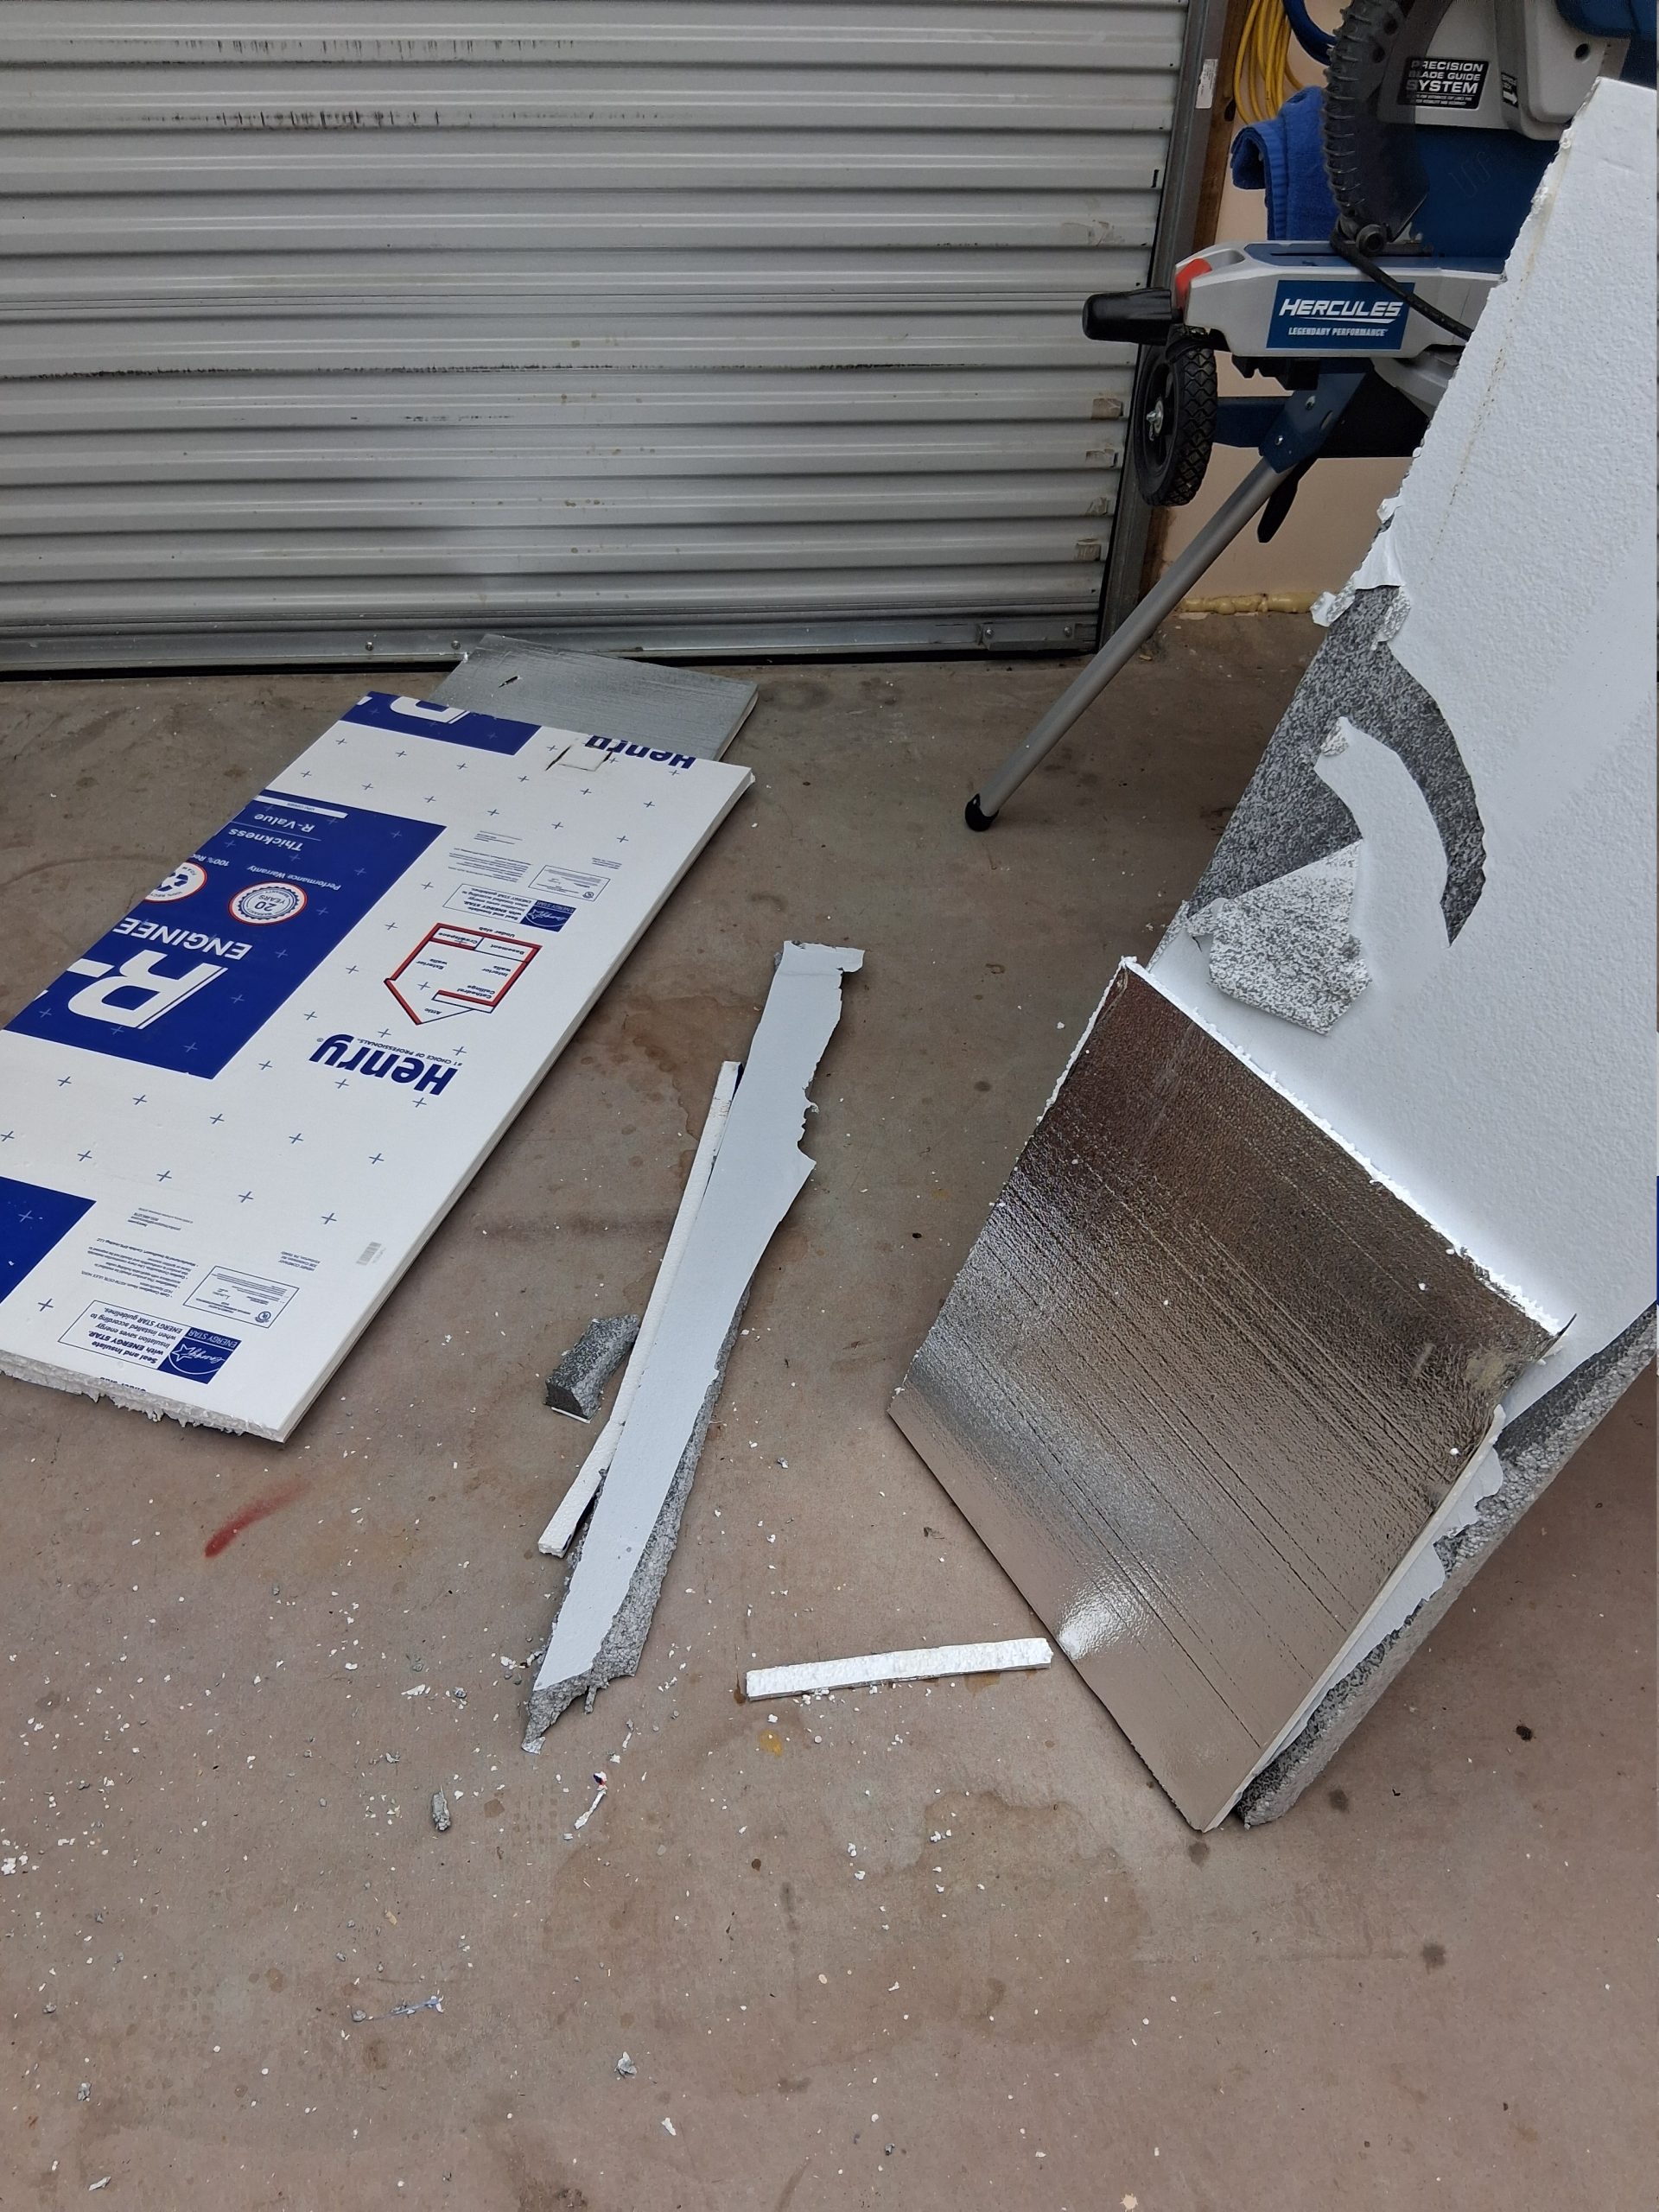
I cut them to fit into the inside of the doors and sides, adhered them with Liquid Nails 10 oz Heavy Duty Construction Adhesive (available on Amazon or at any hardware store):
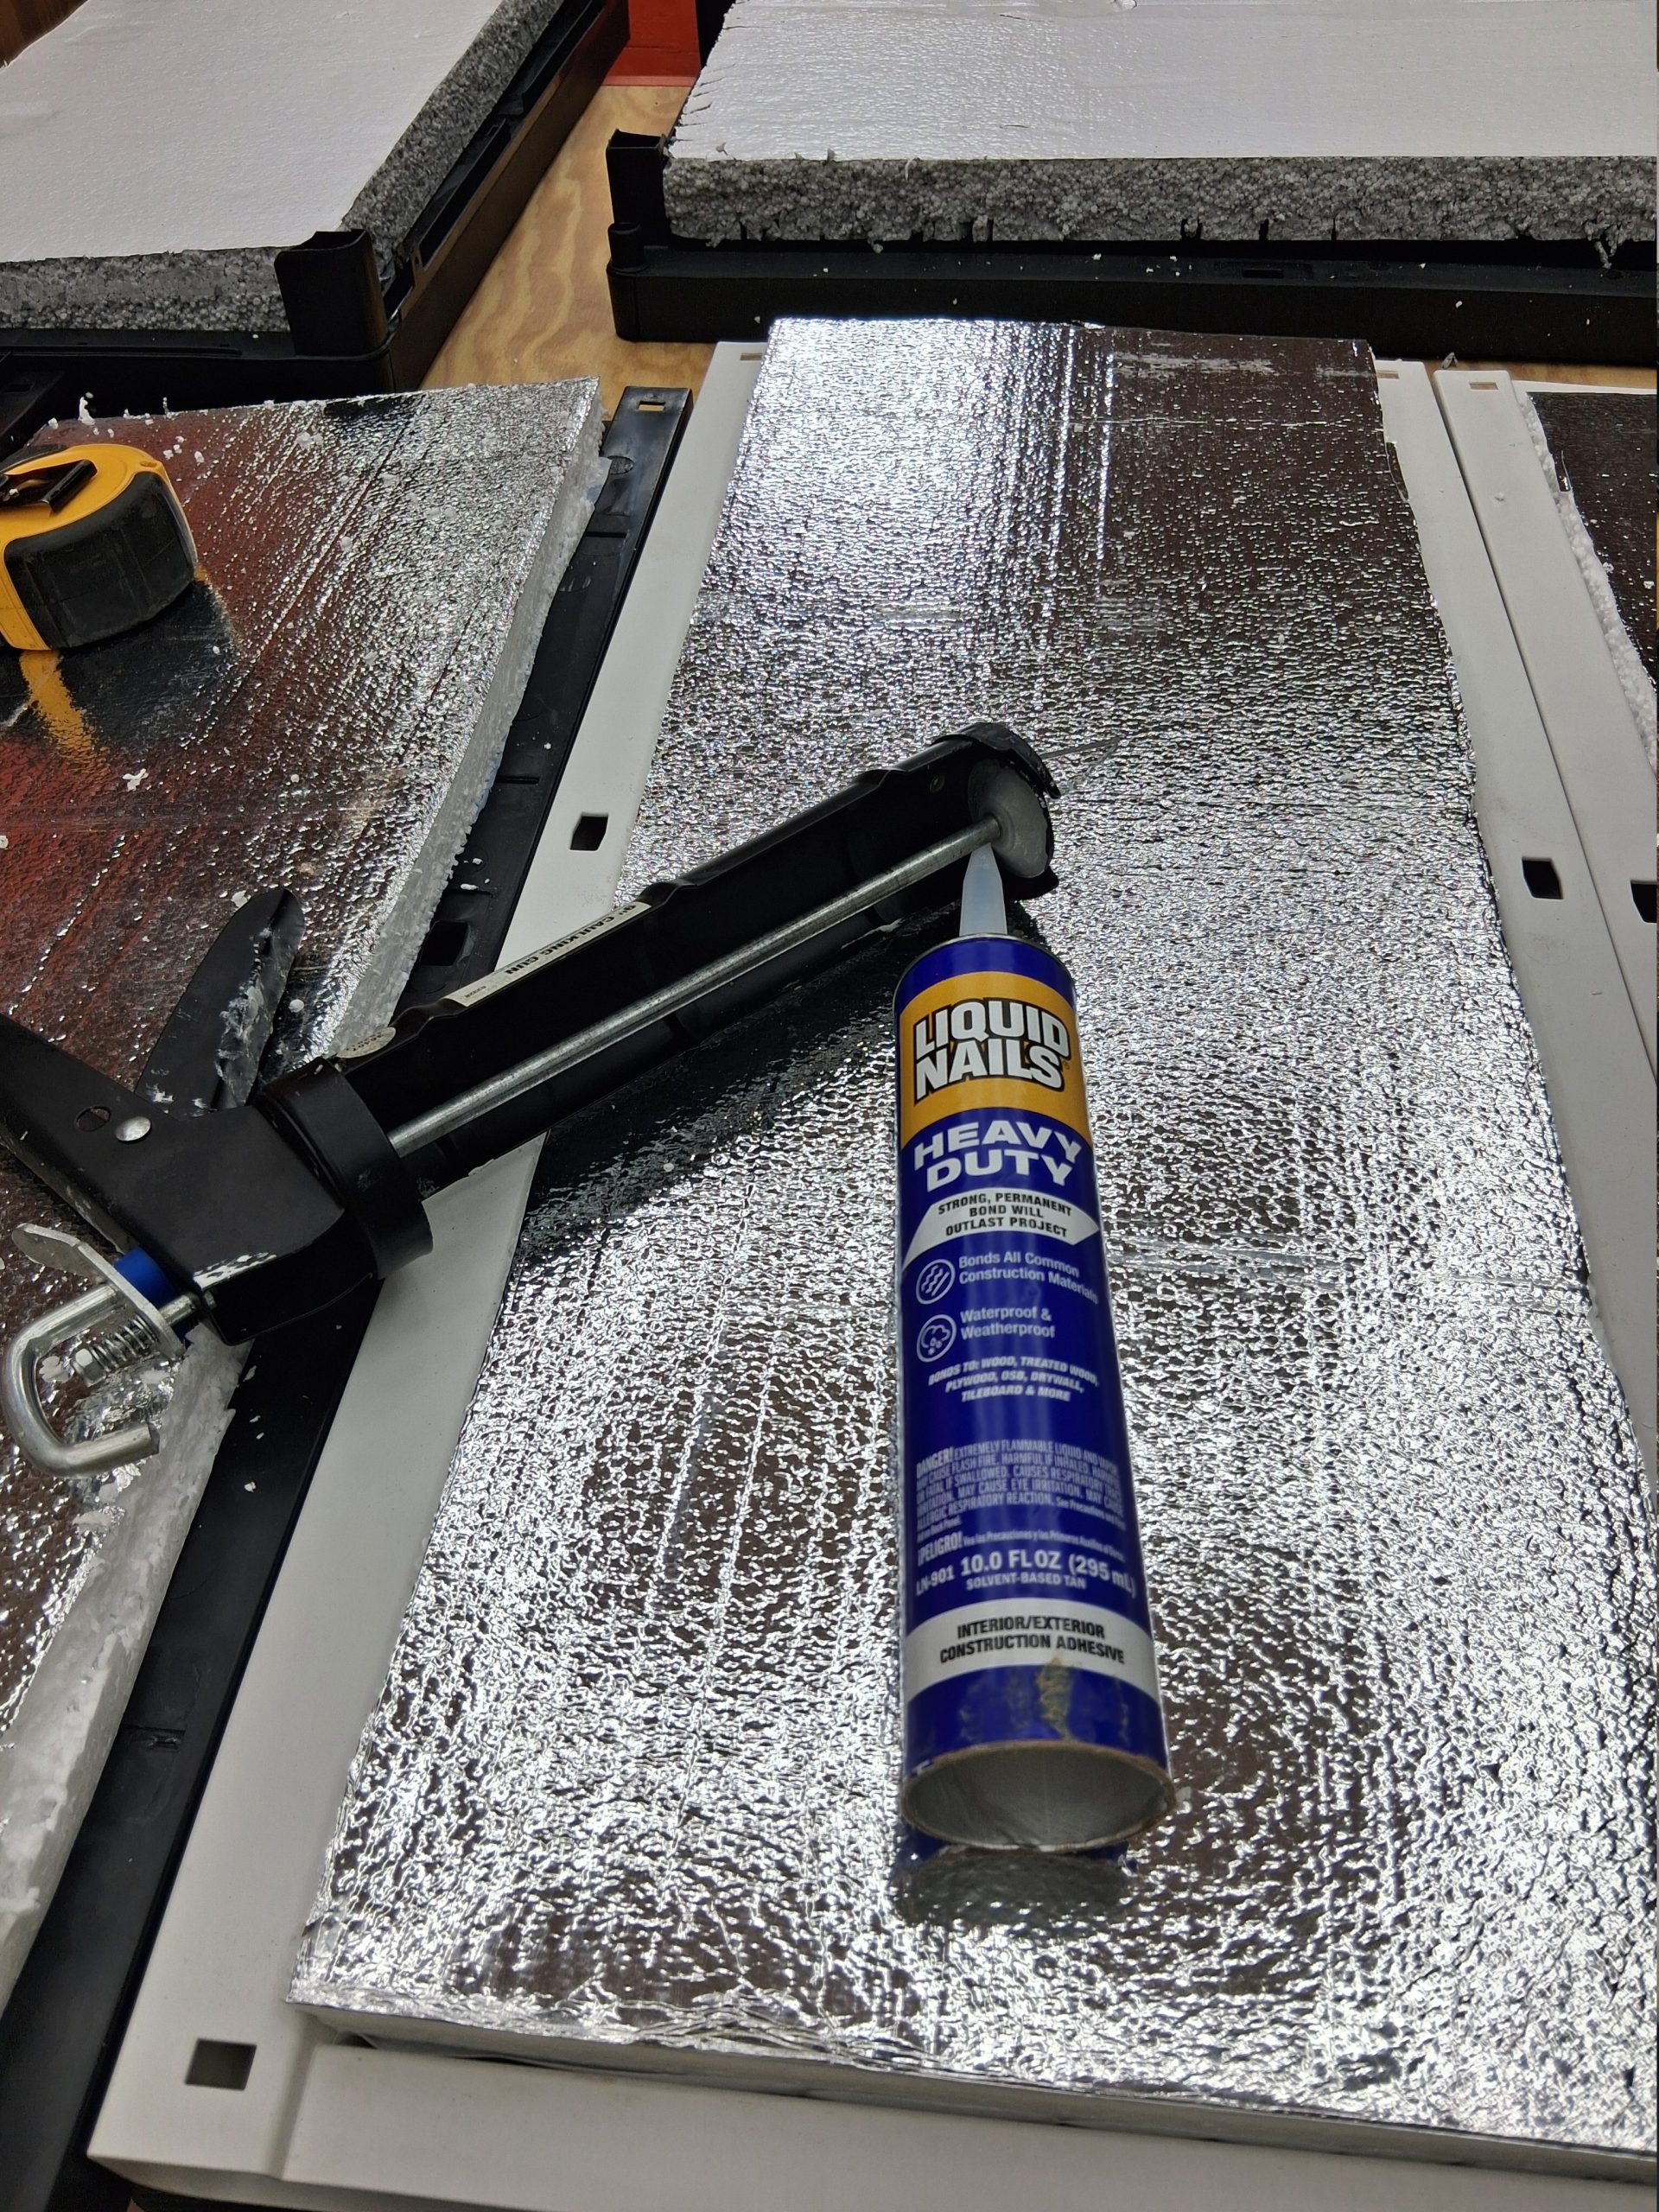
I added some weight on top and let it dry overnight:
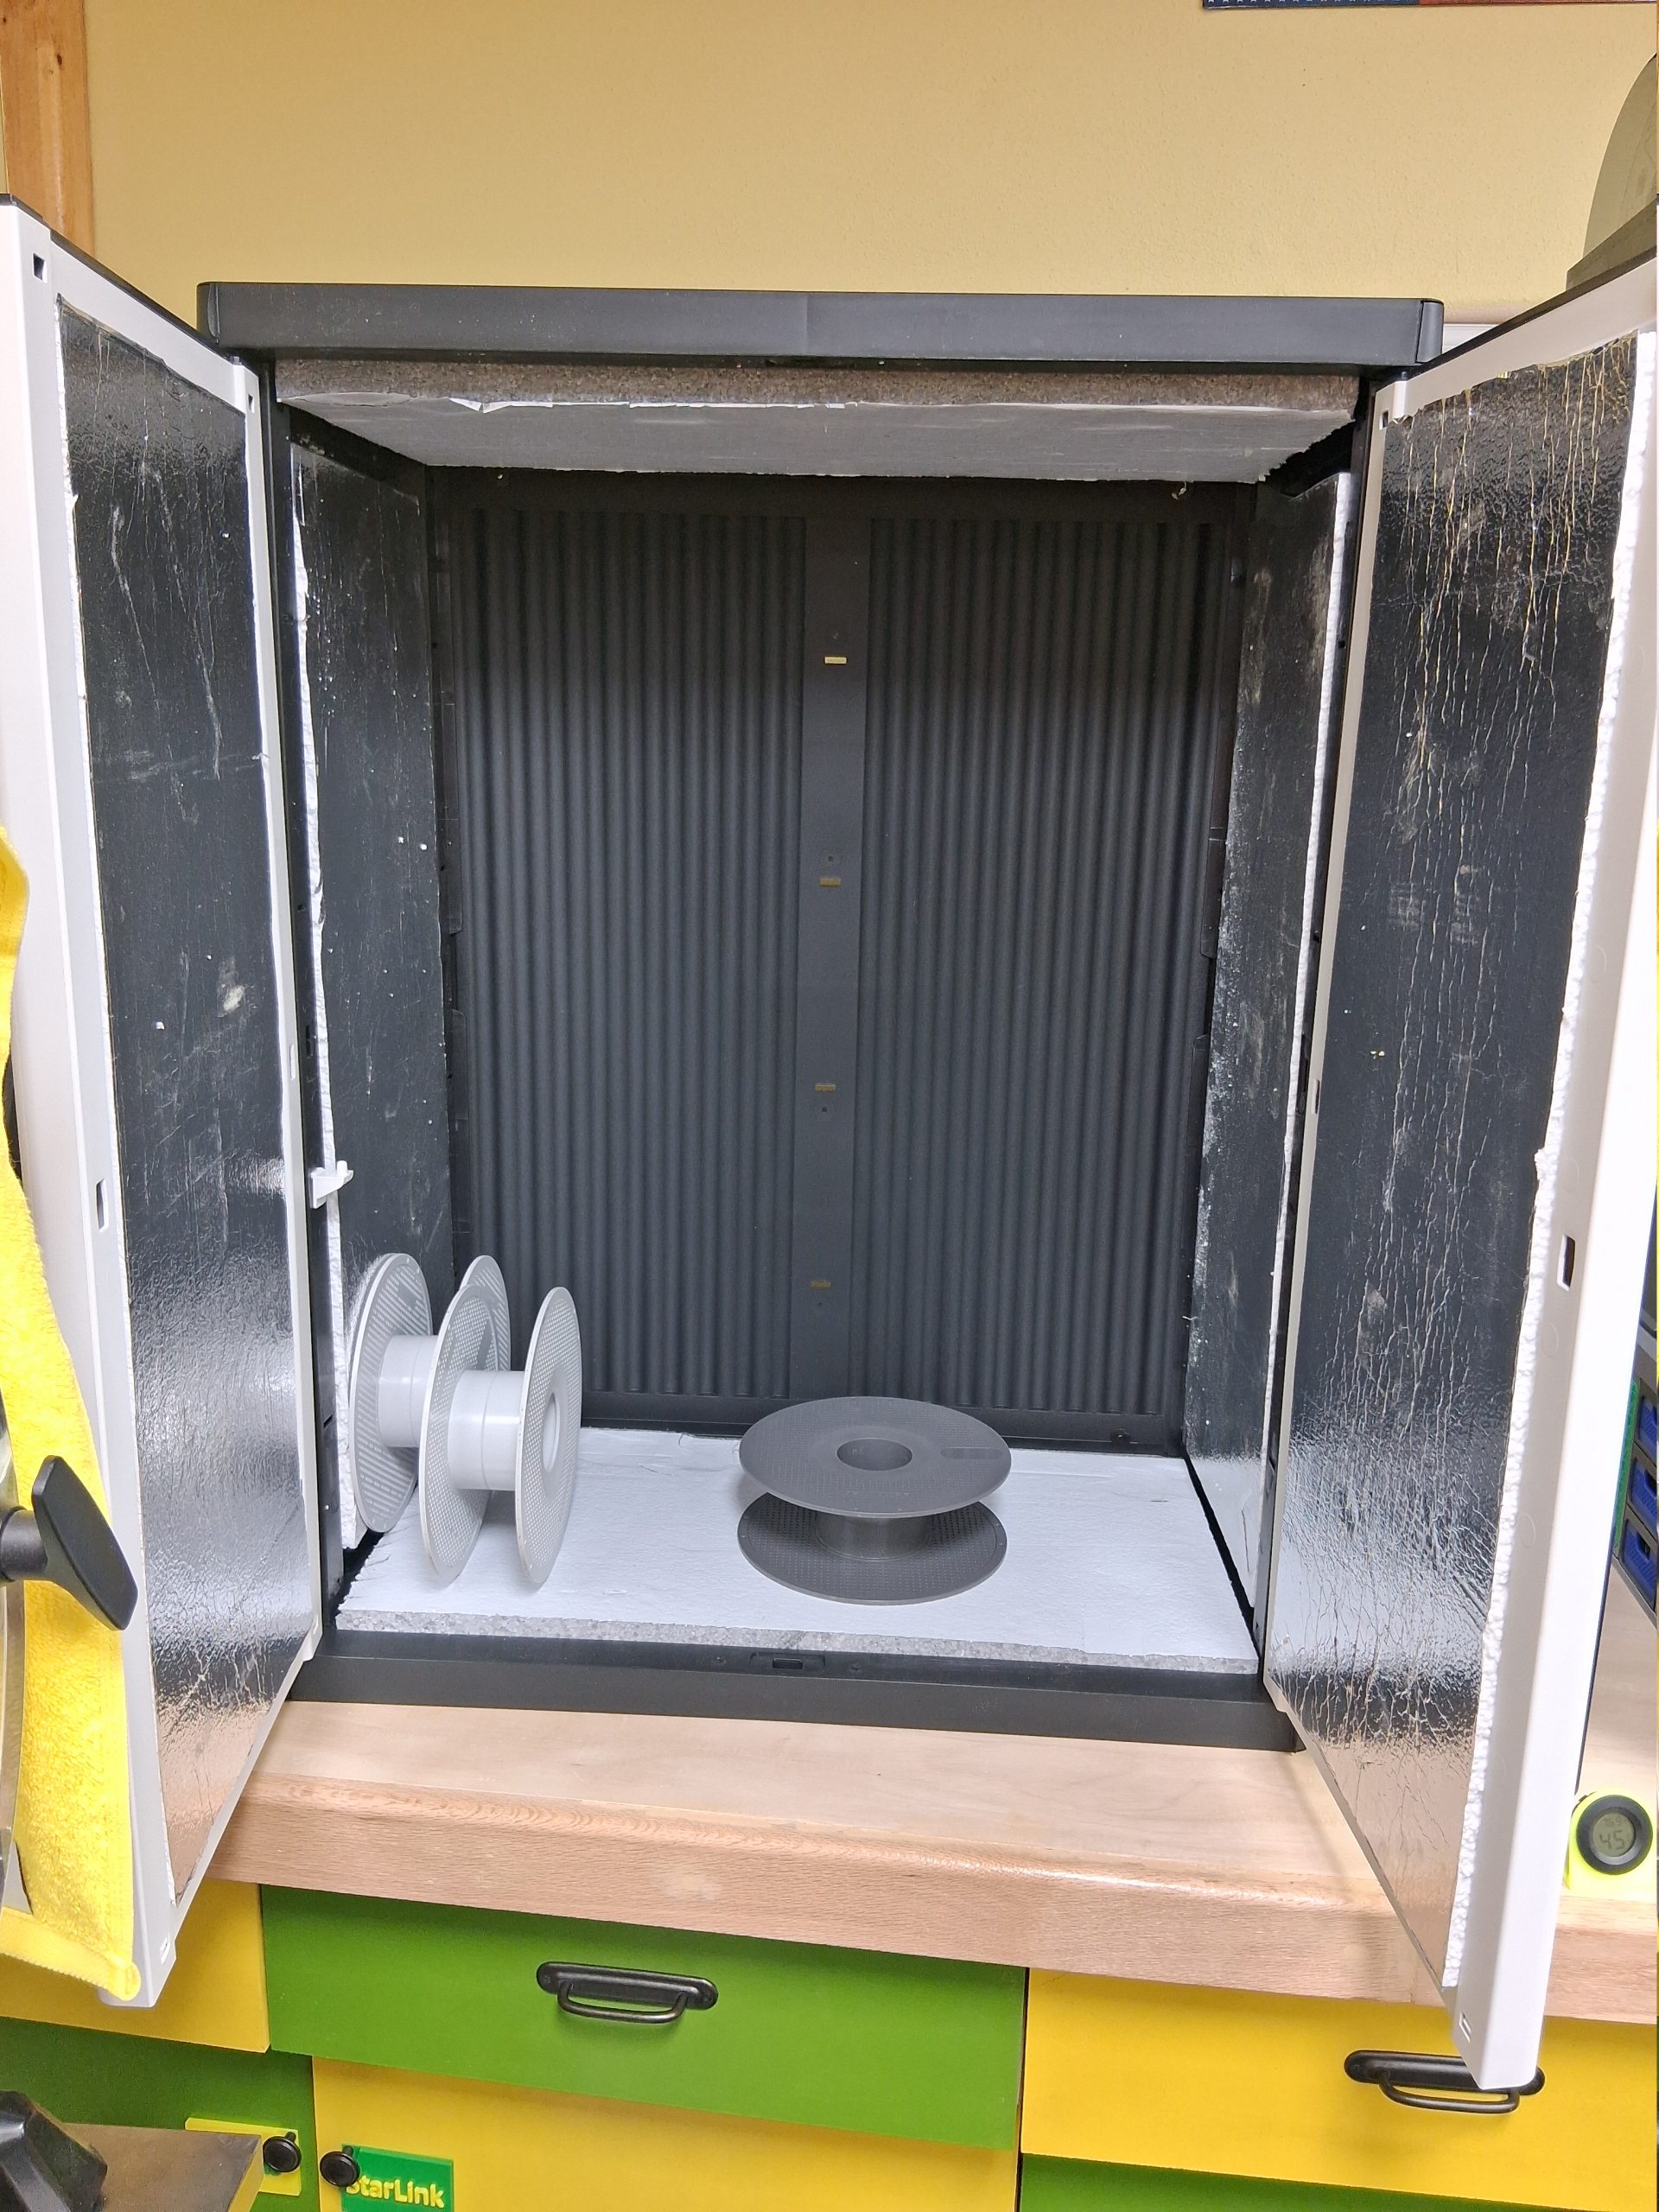
I then put the cabinet together:
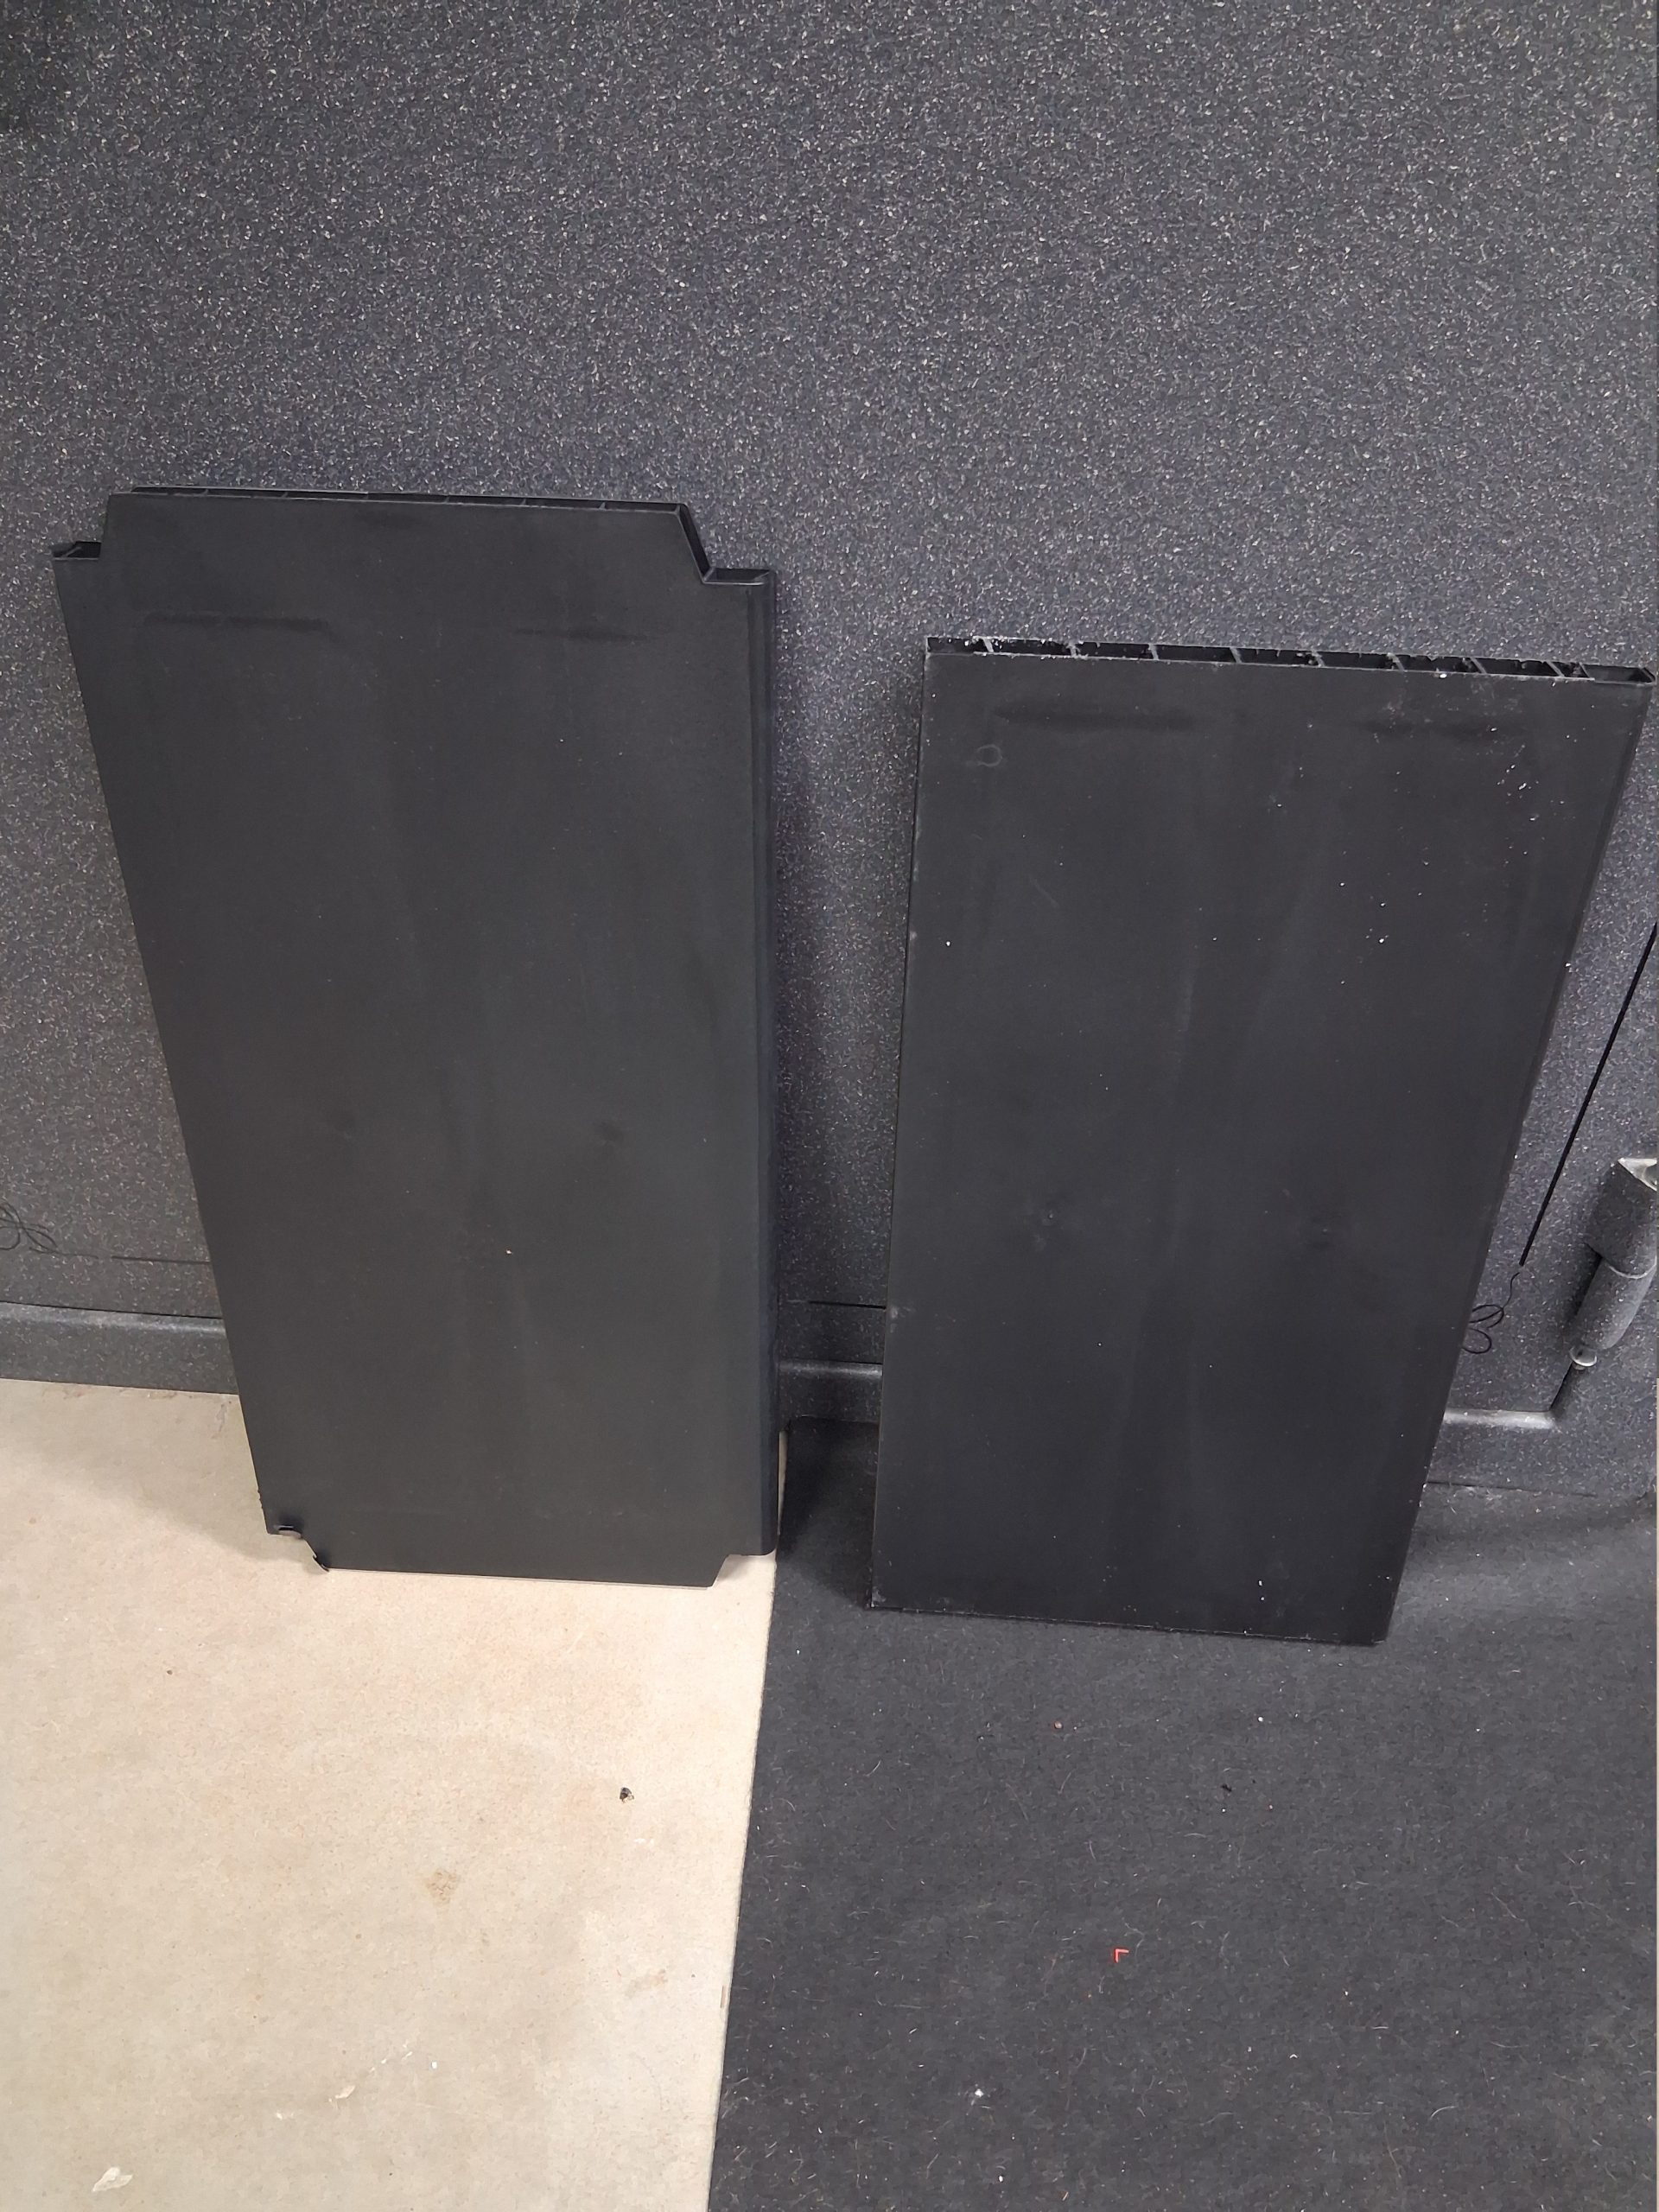
Then I cut the ends off the shelf. In hindsight I would not do this, I would assemble the cabinet, set the shelves and then insulate. I think it would make the shelf stronger. But…here is what it looked like:
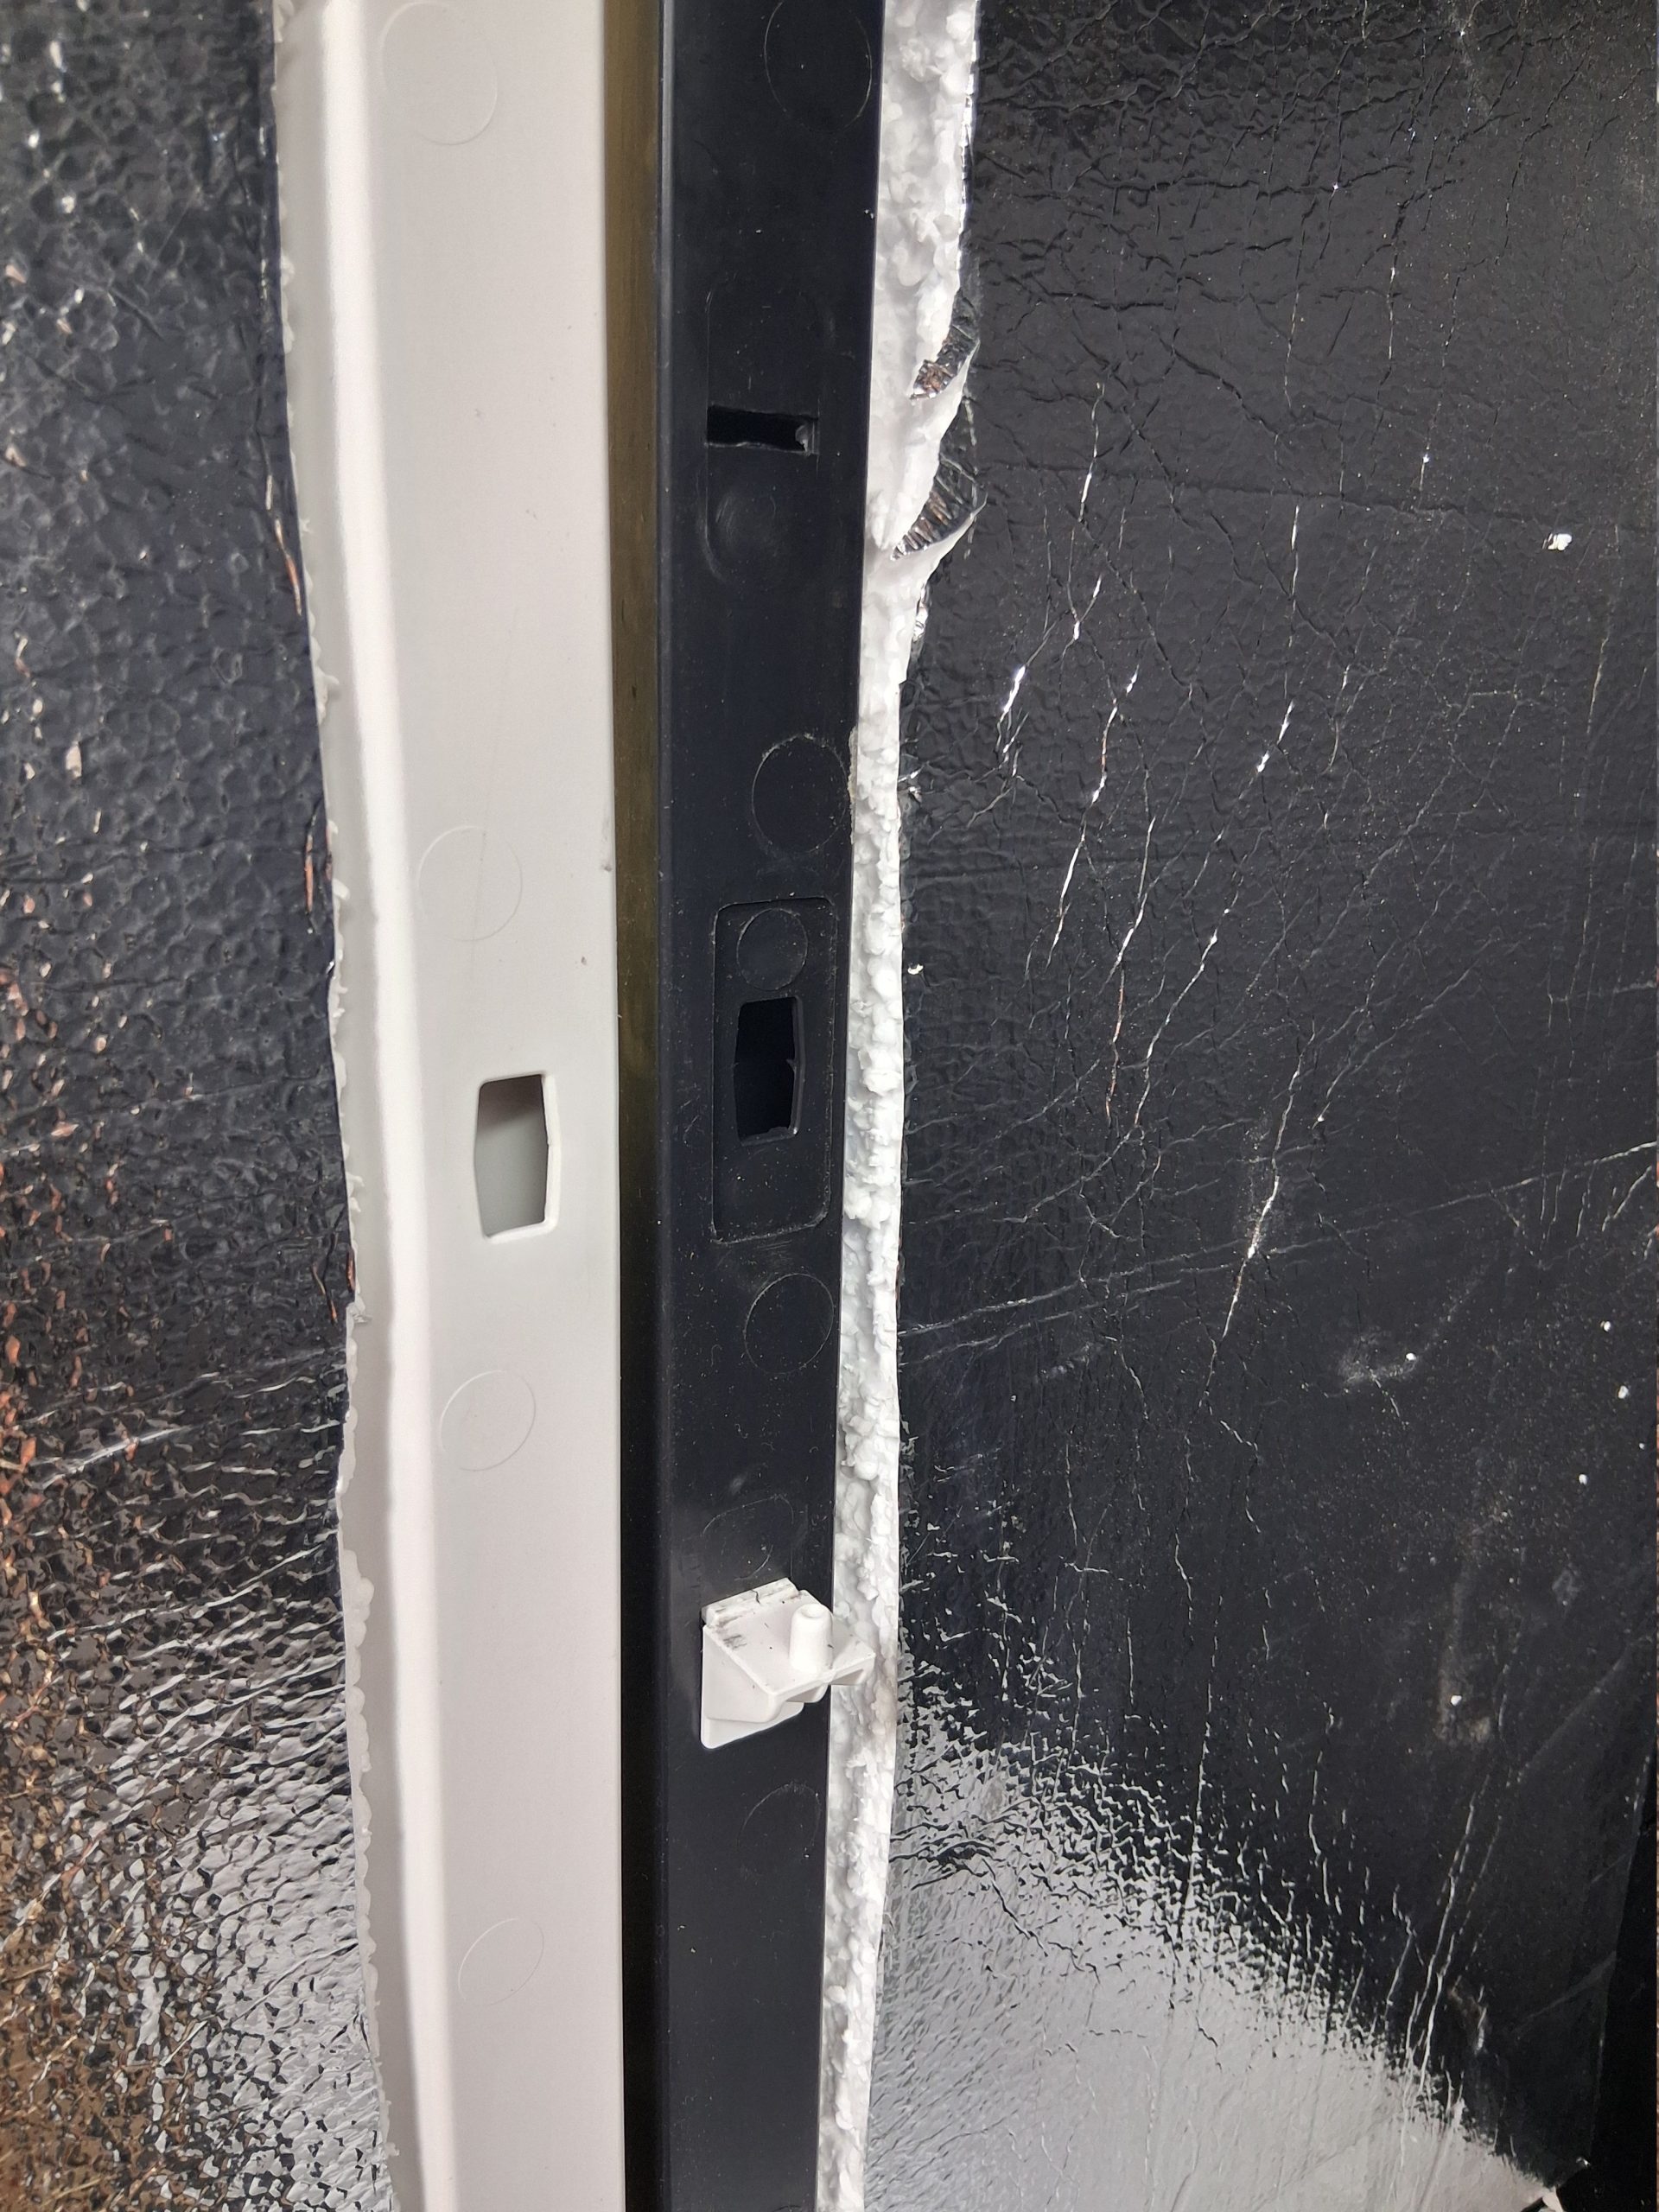
I had to cut a new slot in to adjust the shelf to where I wanted it, measured so they are all the same and cut out with a razor.
Drilled some holes in them to help with circulation:
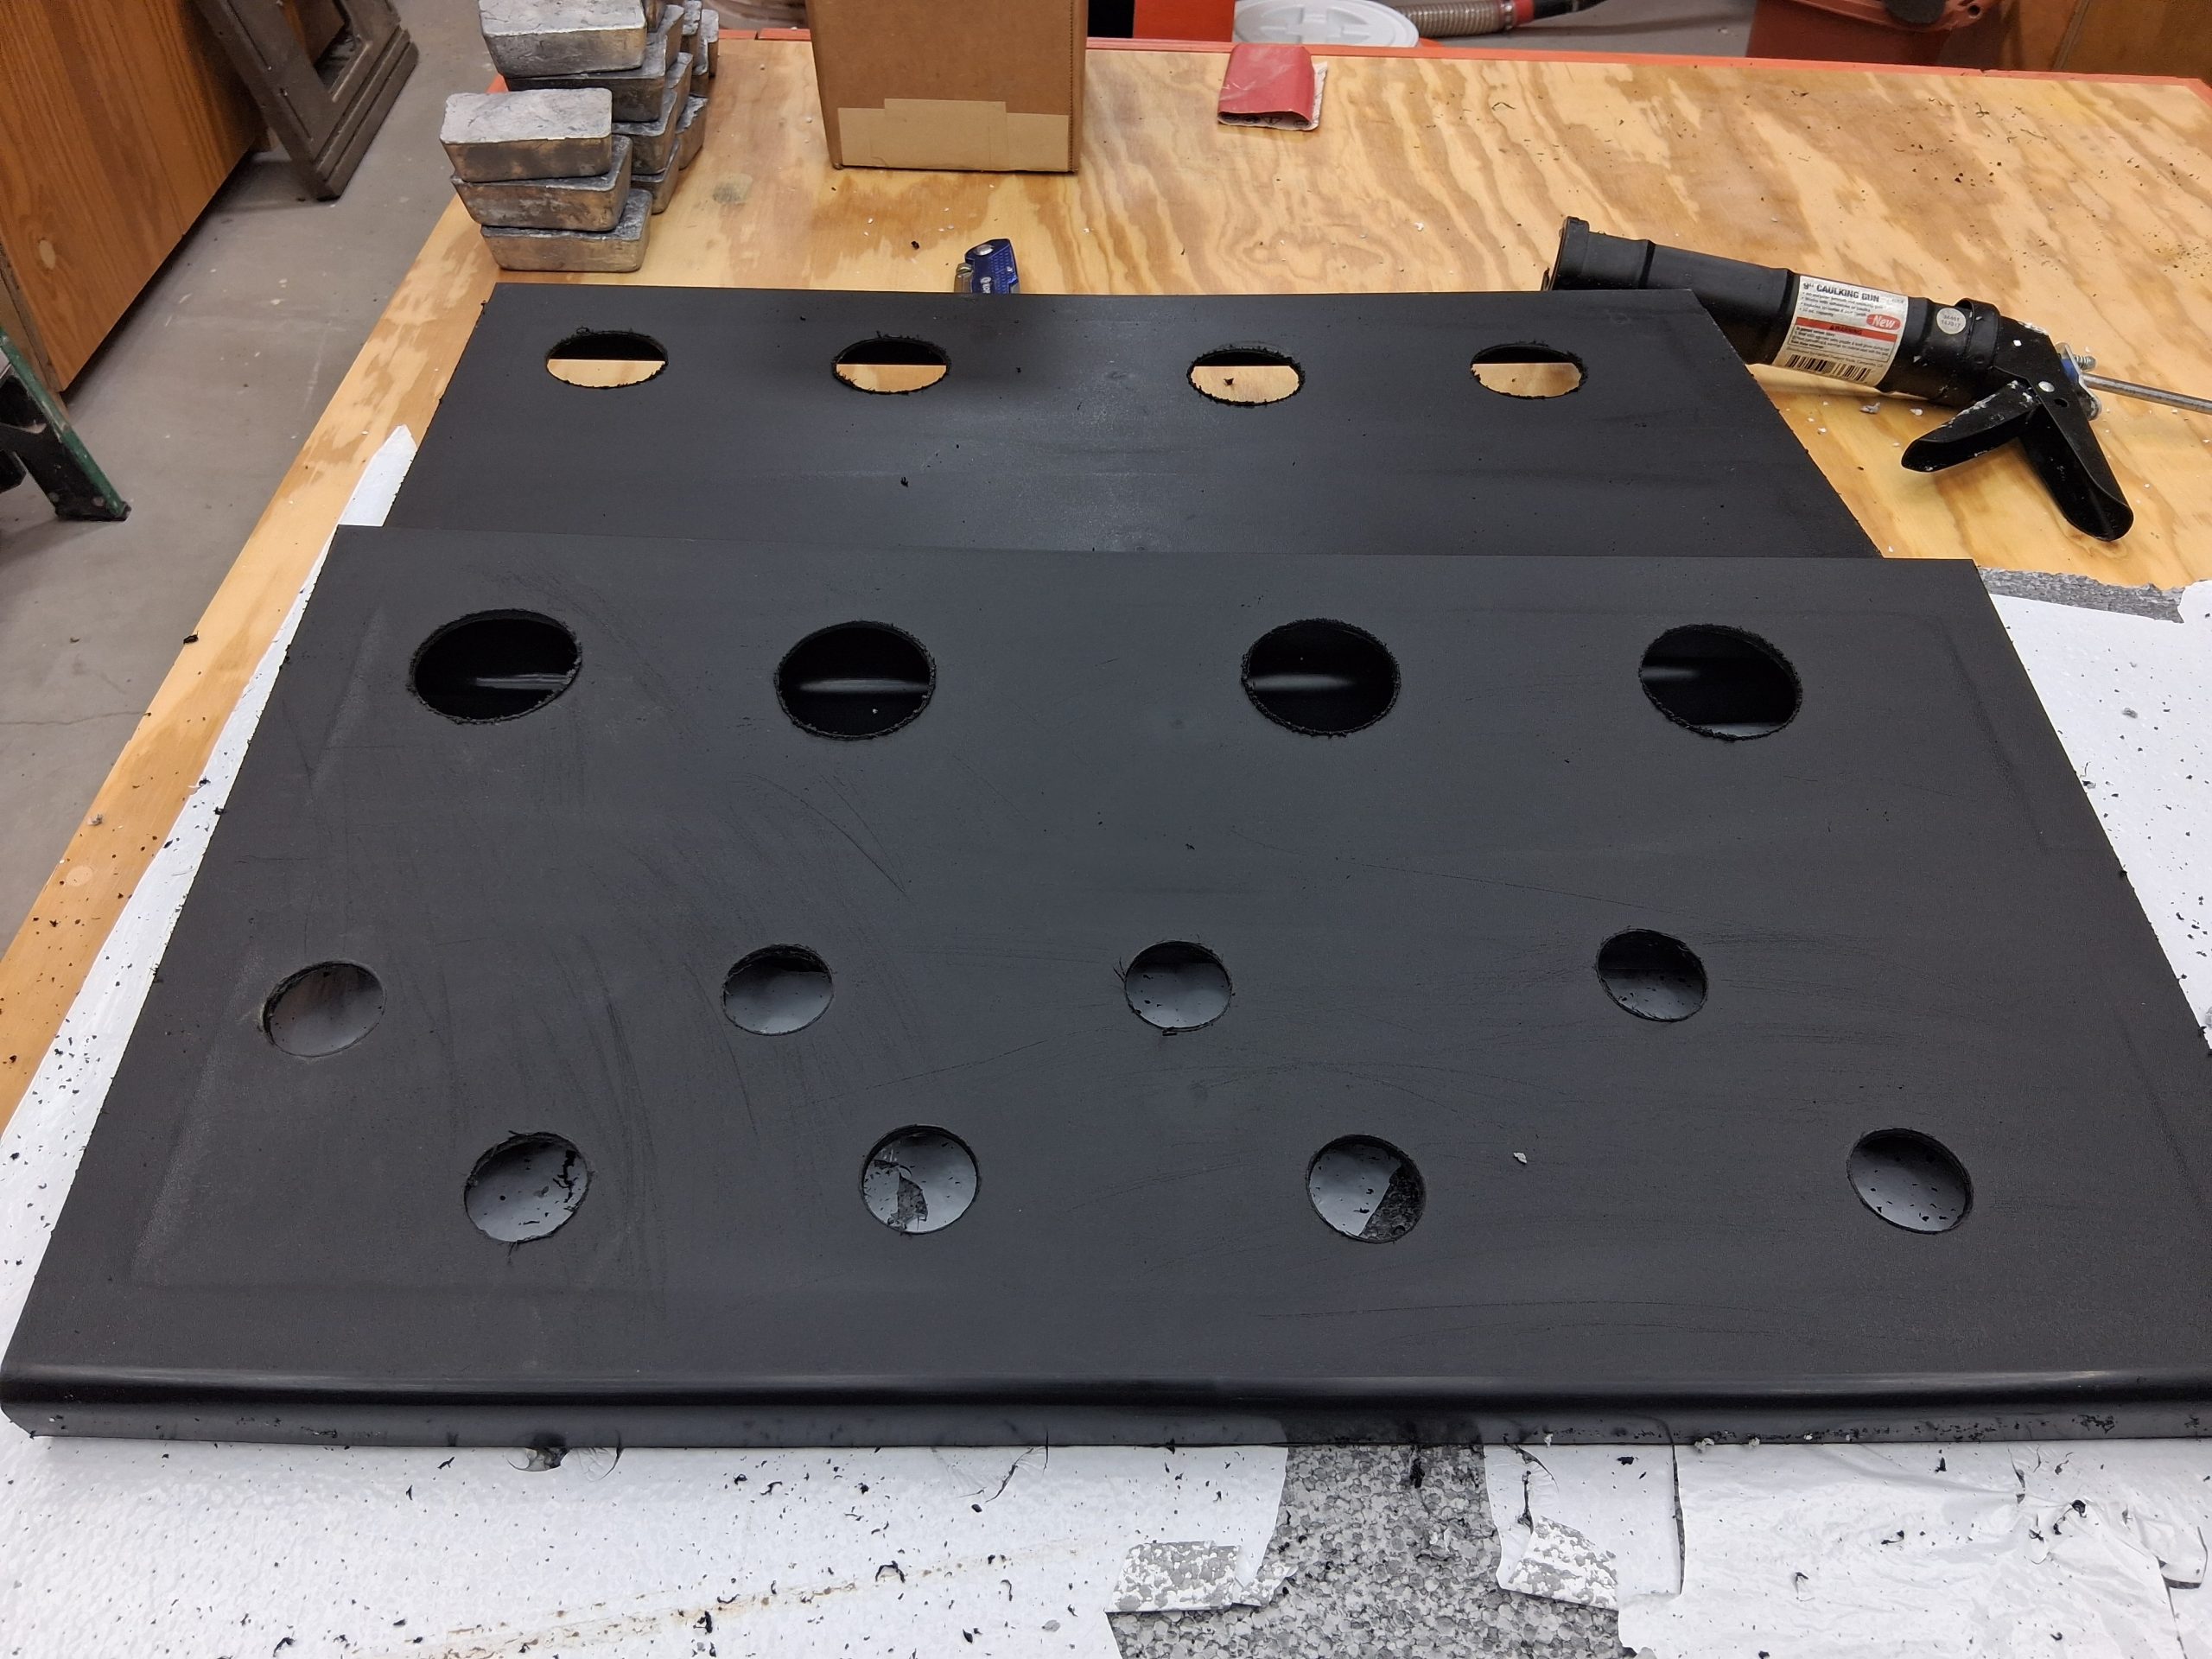
I put the shelves in place and used some Great Stuff Gaps and Cracks Insulating Foam Sealant (available on Amazon or at any hardware store) and foamed any gaps I could find.
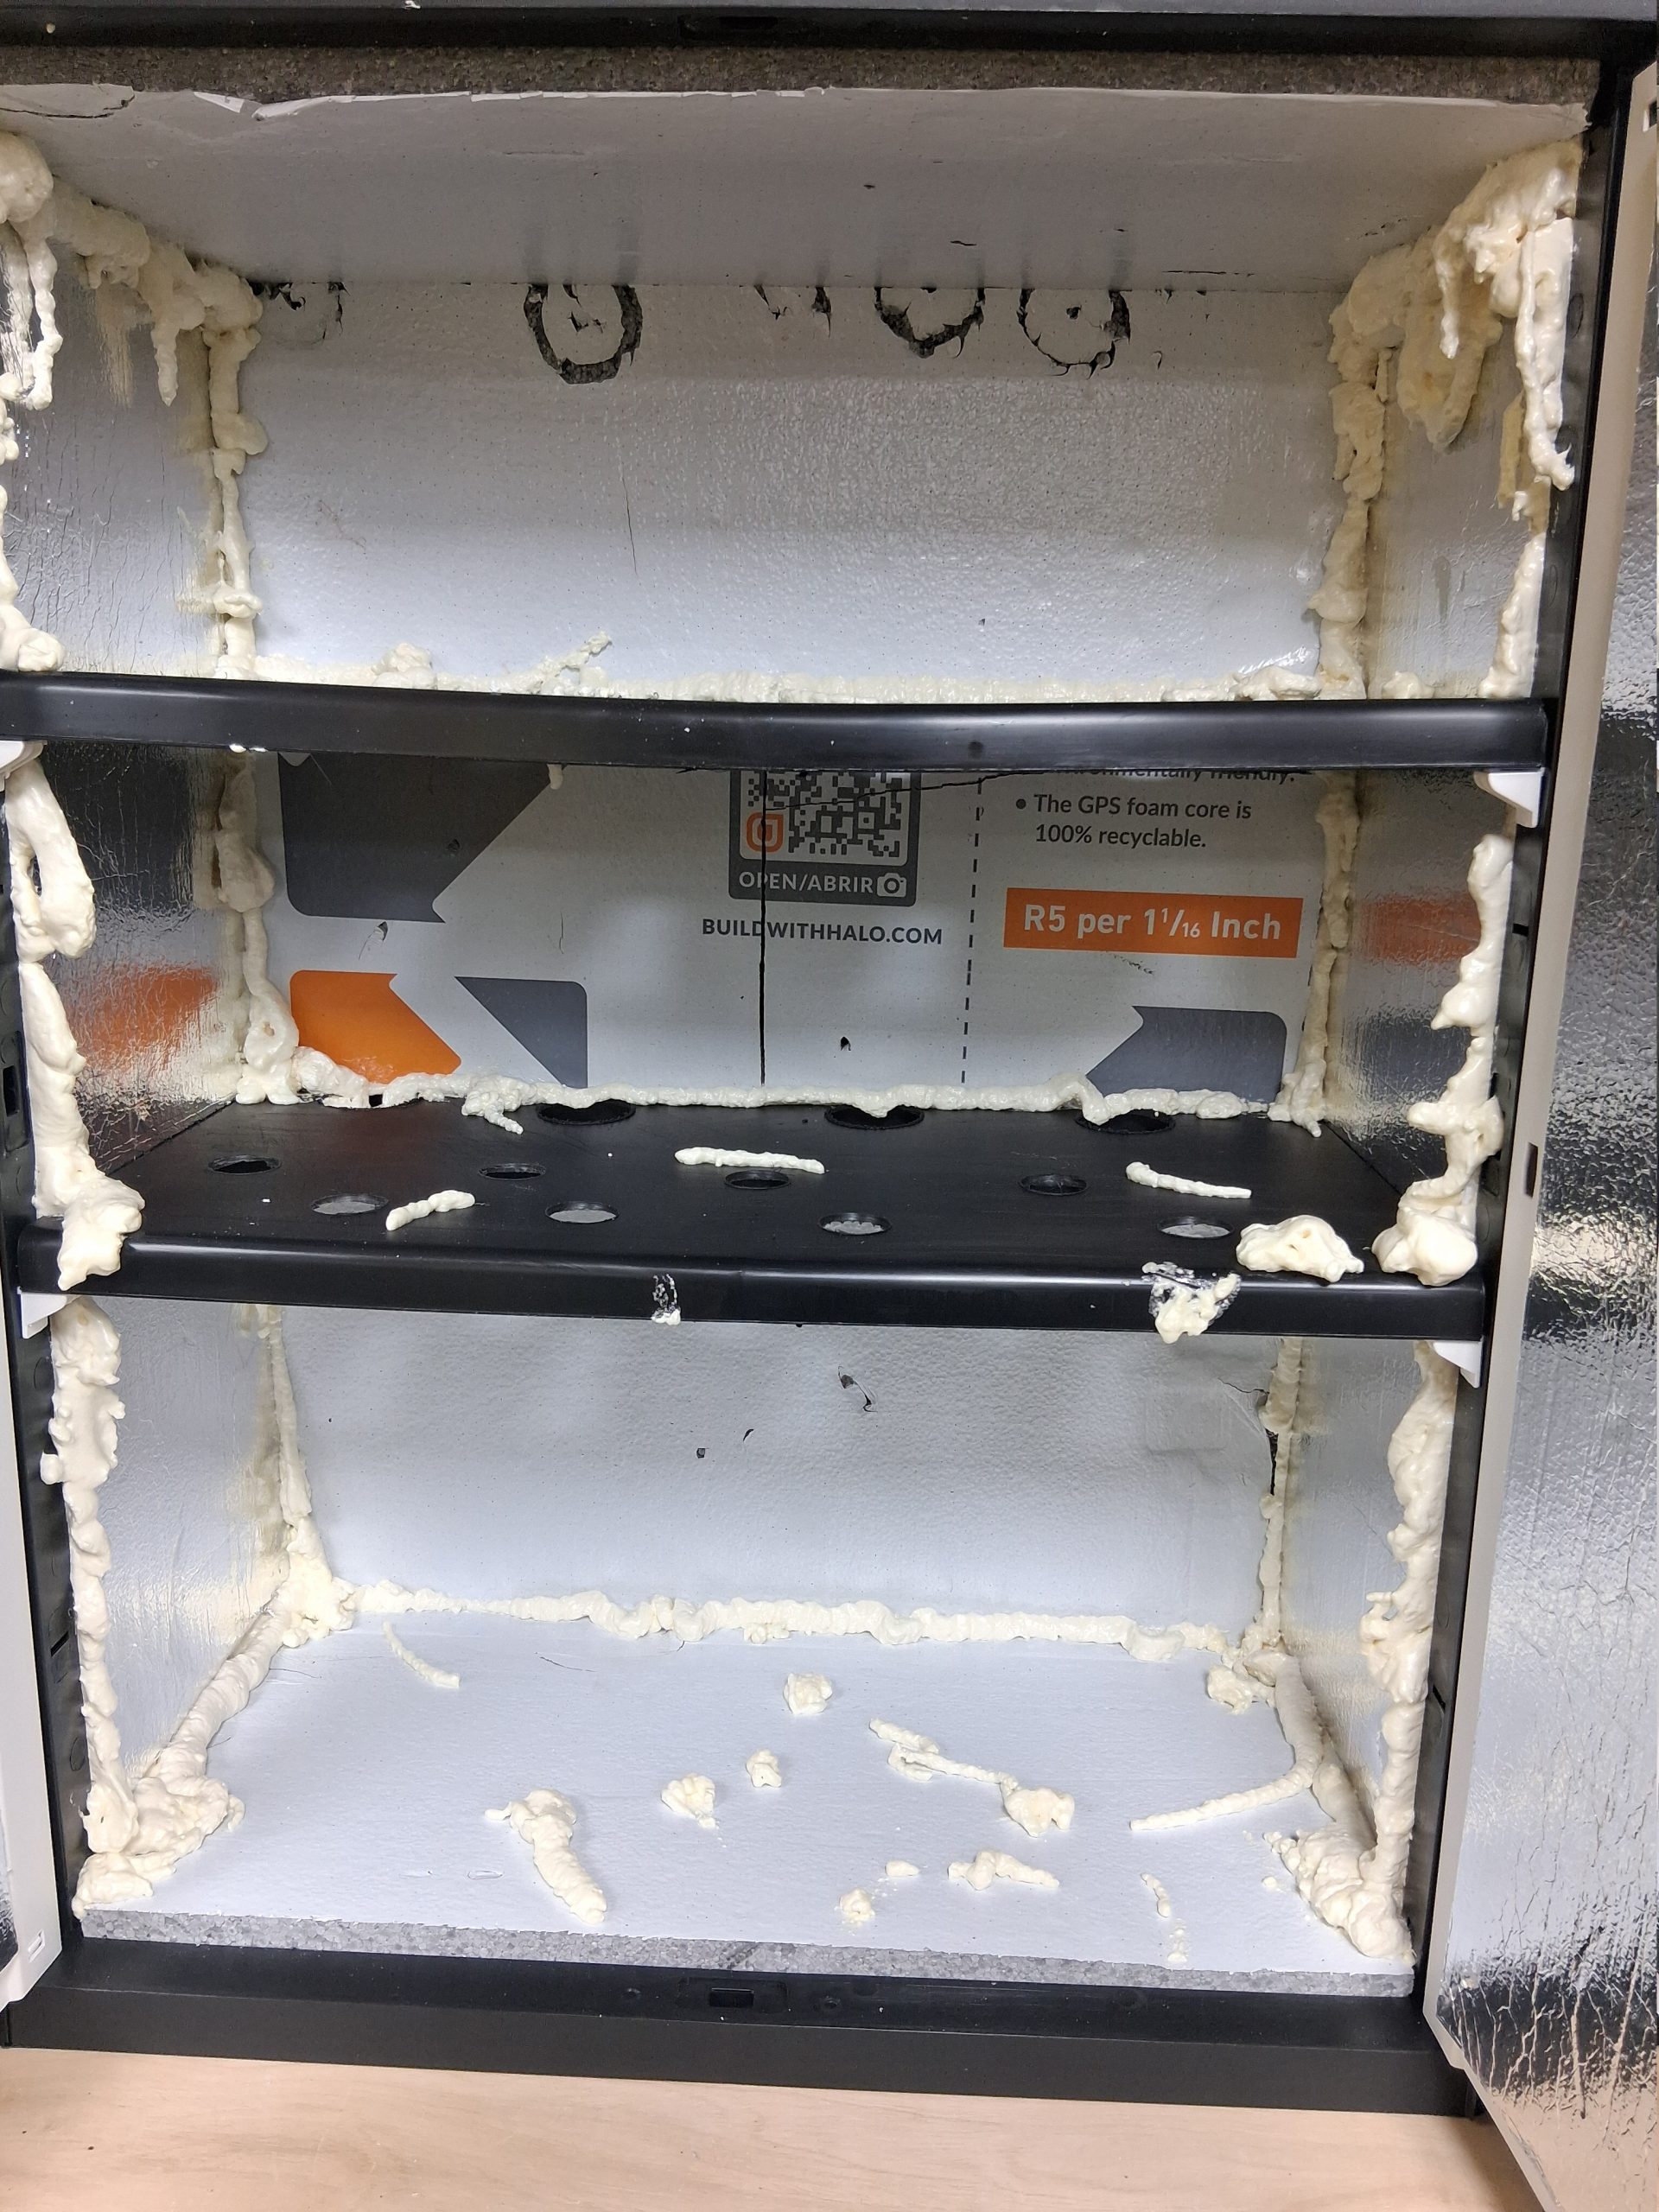
Let the spray foam dry and put the filament in. I did not put any weather sealing around the doors, I wanted to see how it did first. You can see the slight sag in the 2 shelves. But it worked. You can also see the 2 gauges showing the humidity 20% on top and 19% in the middle. Now that is with fresh desiccant, so the RH will go up.
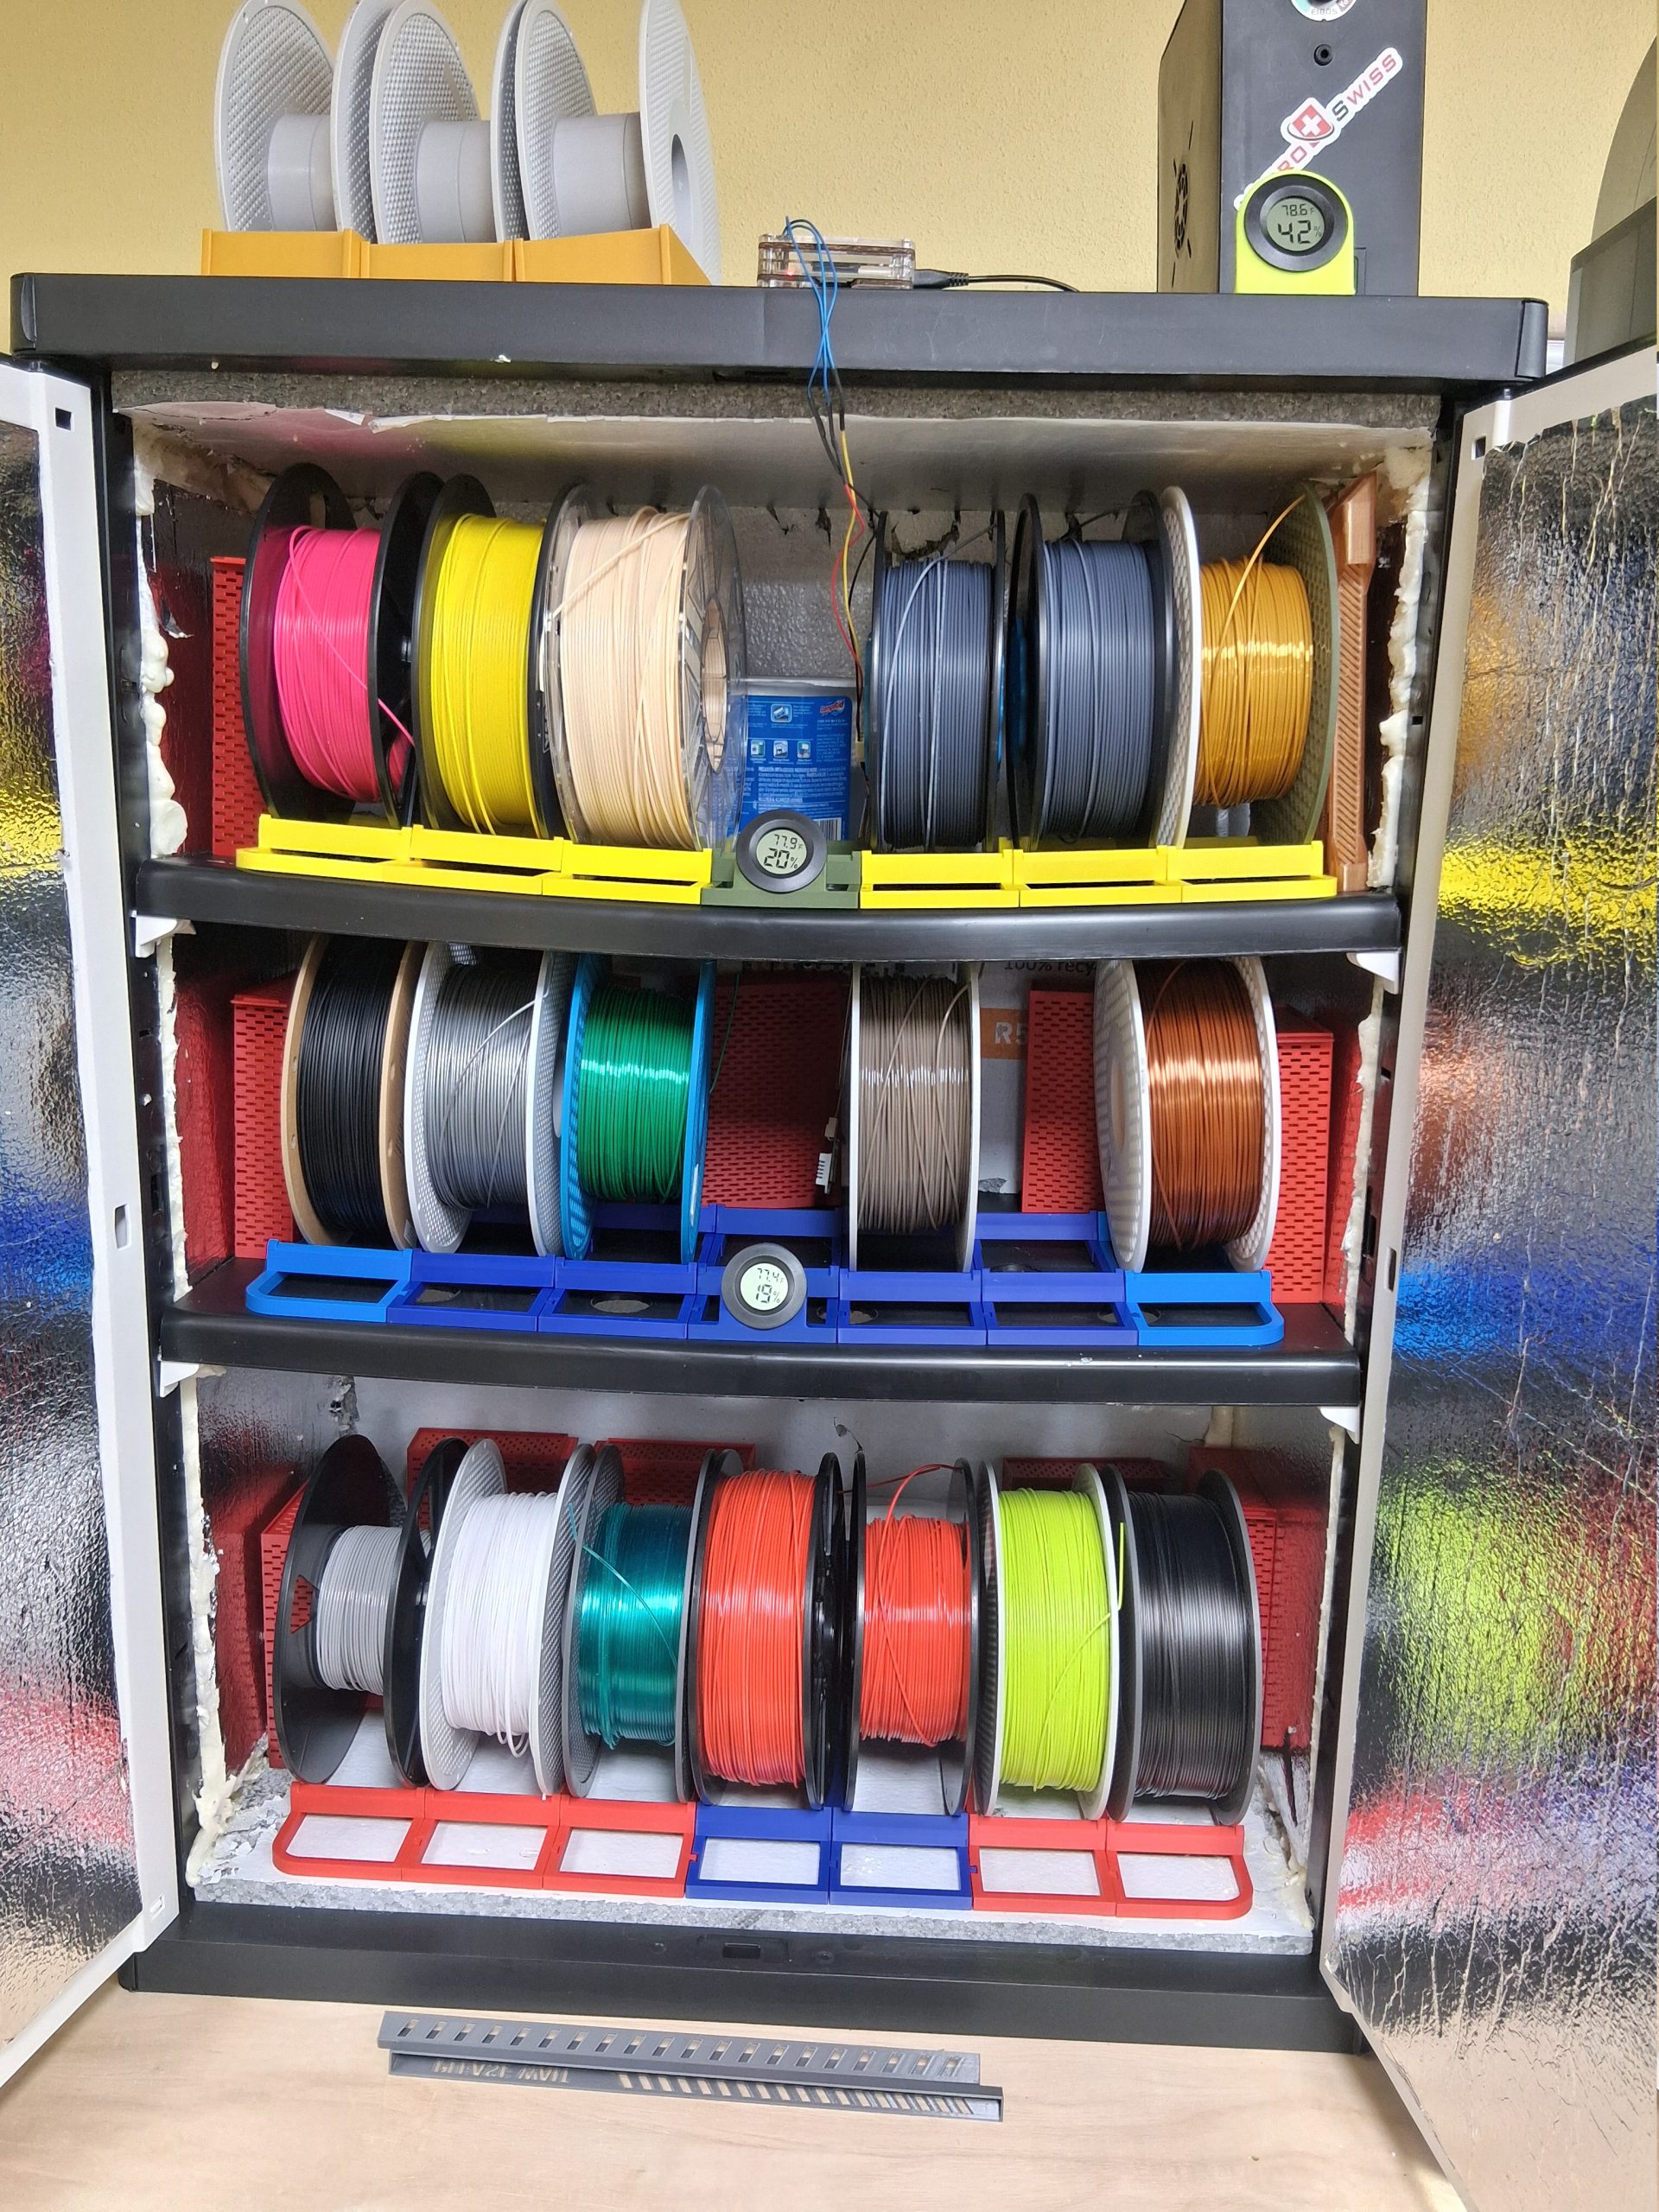
I have 4 of these desiccant boxes on each shelf, as well as one Dollar Tree moisture eliminator.
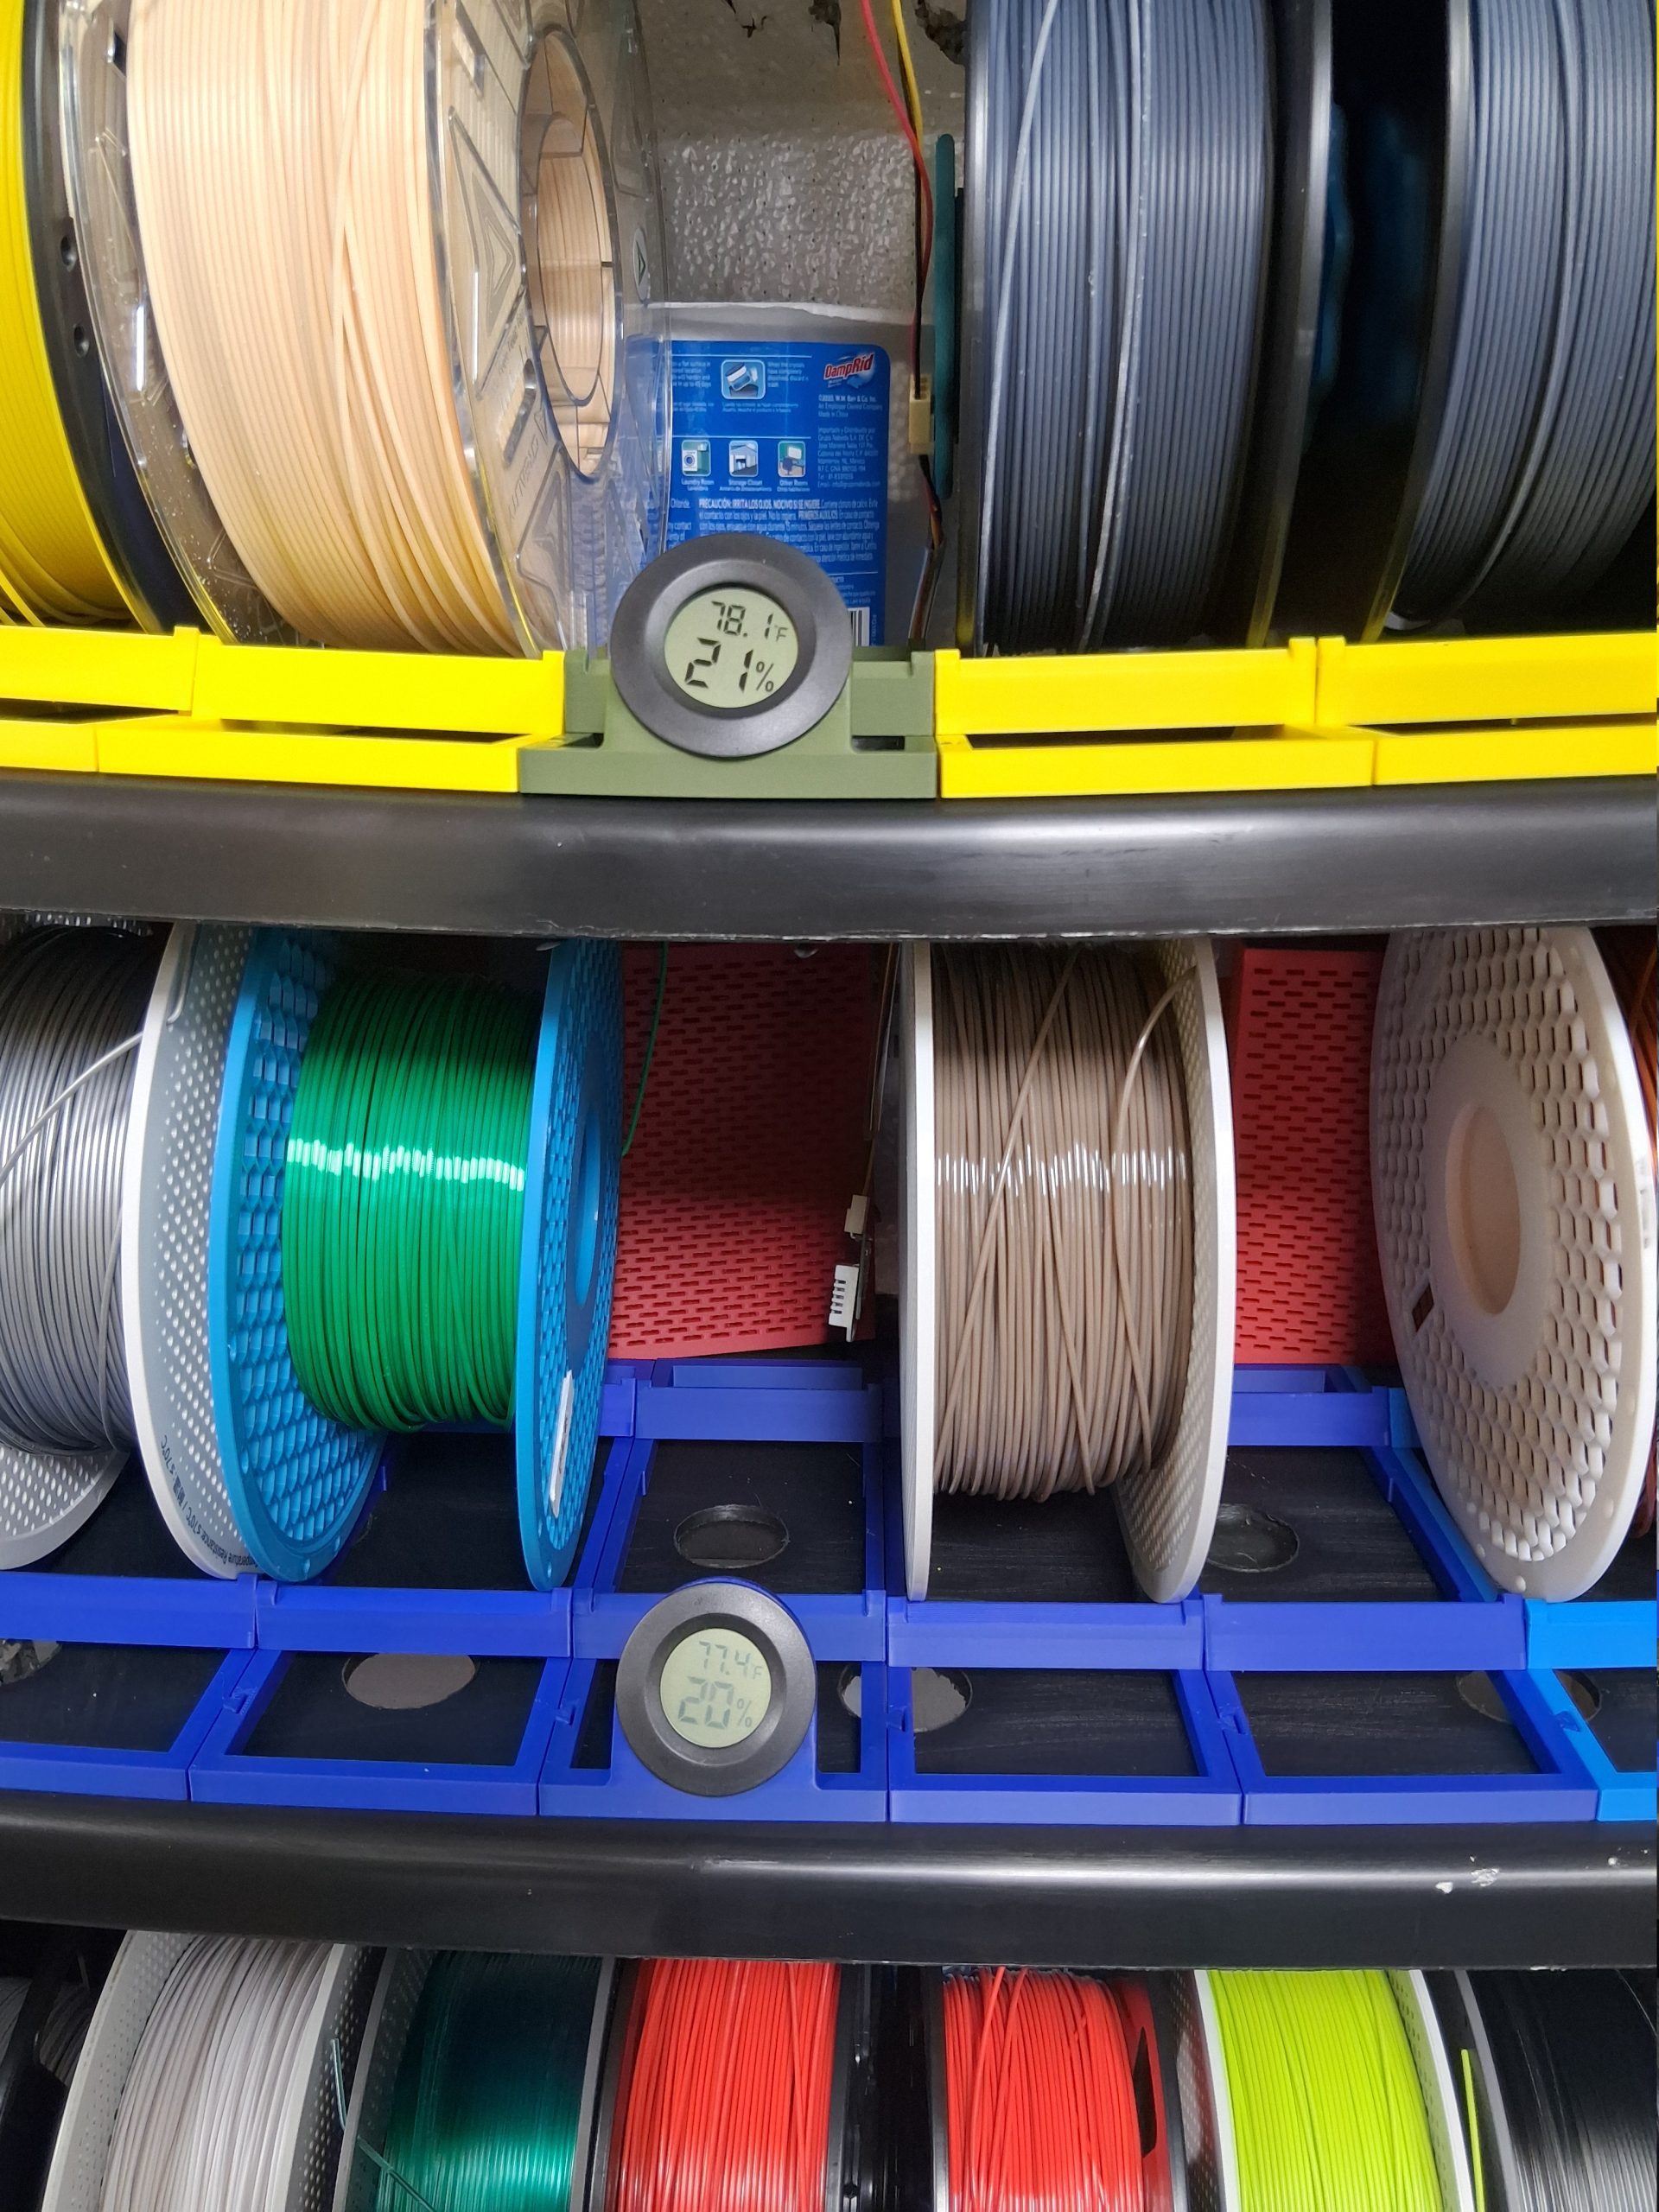
It has been staying well below 40% which is great for PLA. This is a storage cabinet, not a drying cabinet. When it gets closer I will re-generate the desiccant and see how it goes.
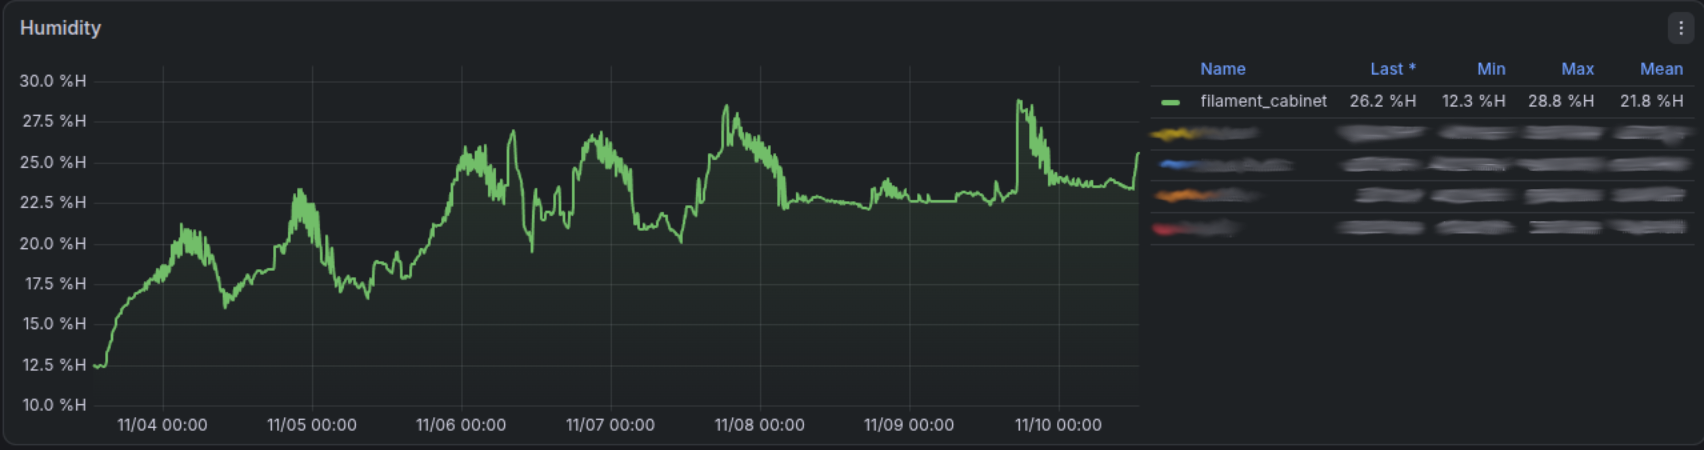
11/04 started at 12.5% RH 11/10 we are at ~26% RH.
The chart shows 12.5% – 45% RH on the left column and dates starting with 11/04 to 11/10 on the bottom. You can start to see a gradual humidity increase.
I will wait and see how often I need to change out the desiccant, I am hoping for once every 30 days. If I do it again, I will build it, set the shelves how I want them and then add the foam board and spray foam.
You must be logged in to post a comment.