Small(er) drawer cabinet

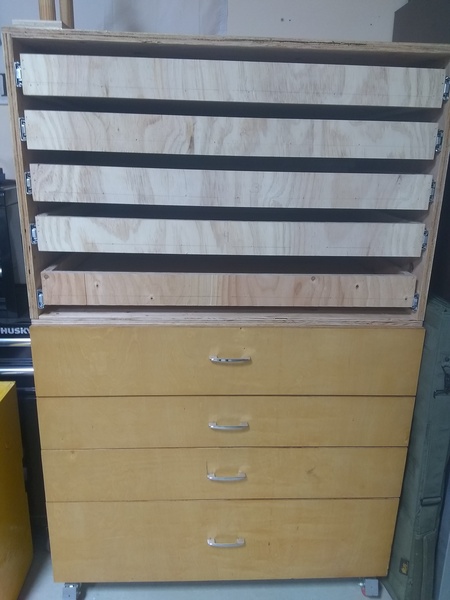
wanted a a tool cabinet with smaller drawers to hold tools. I got tired of looking in a drawer that was over full with junk or wasting space with only one small item.

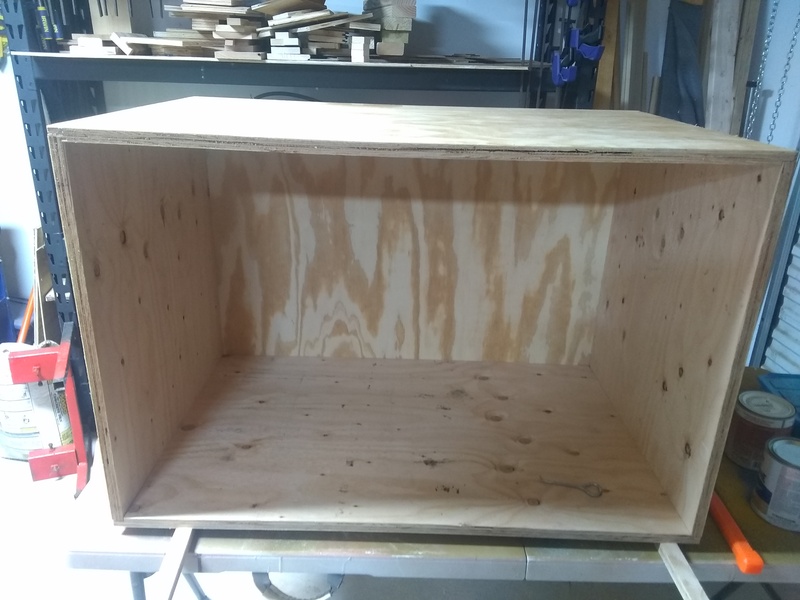
Started by making a standard box out of ¾ ply:

Tool Cabinet Box

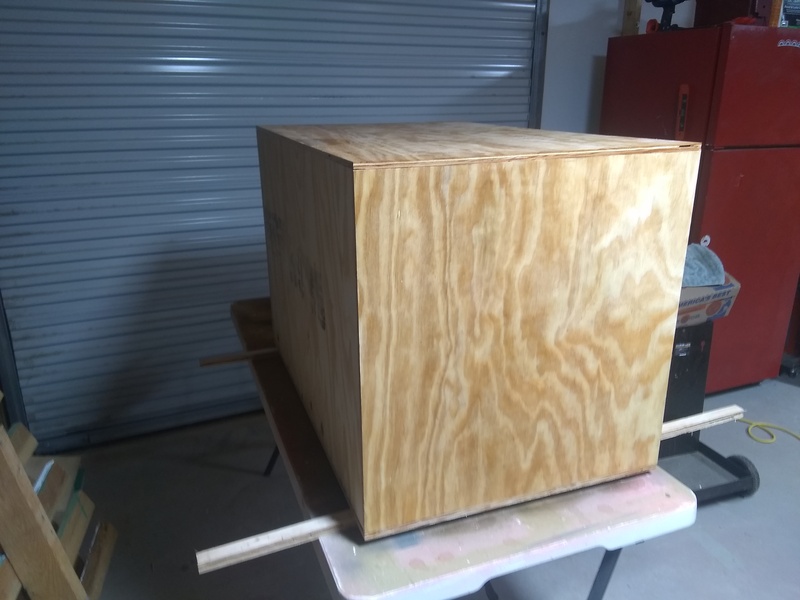
Then I gave it the seal and sand, nothing fancy, just a couple coats to keep the Kool-Aid stains off it.

Tool Box 2 Kool-Aid

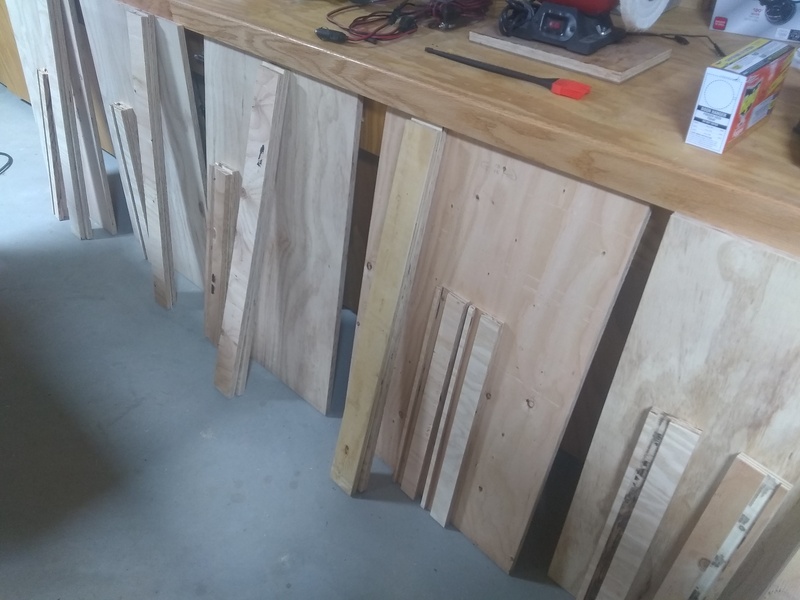
I cut up the wood for 5 drawers:

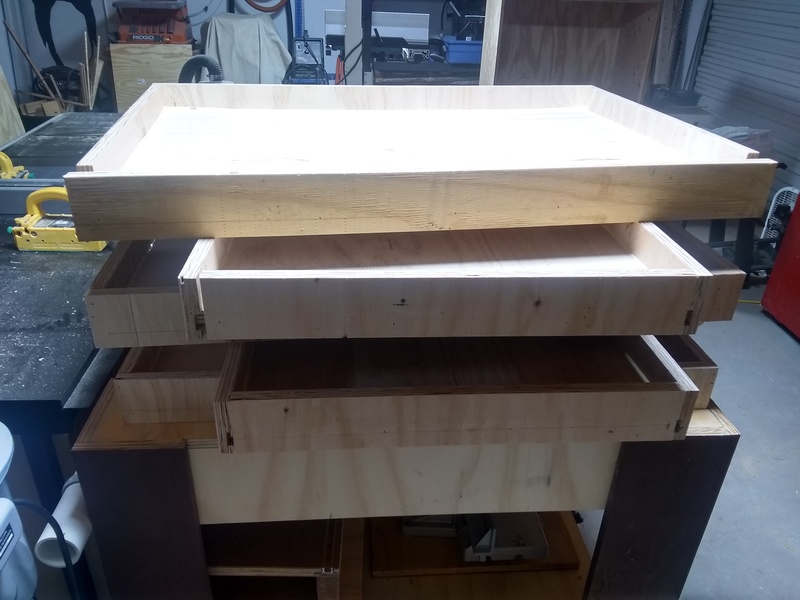
Glued them together, ignore the ugly ones….

Mounted them up with full extension drawer slides. Shout out to habitat re-stores!


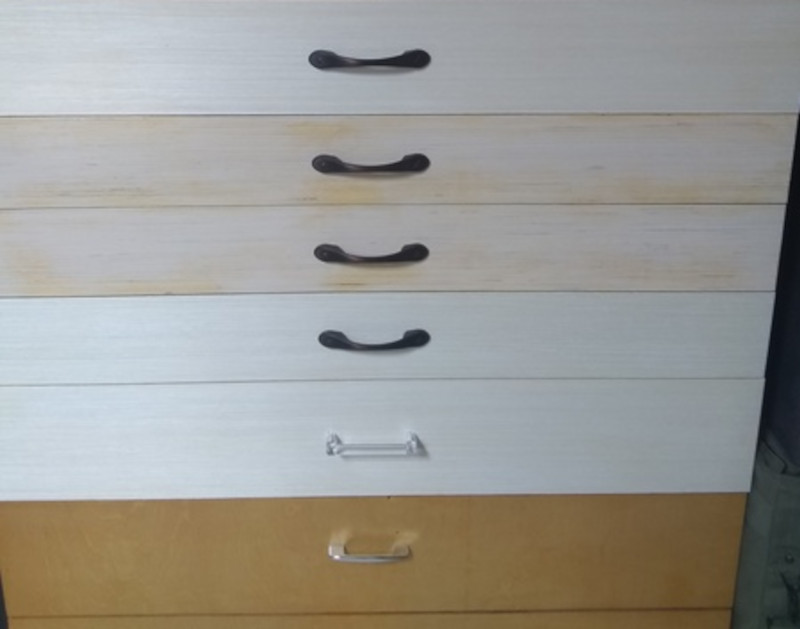
Put the faces on and finished it up with some pulls I had.

Here is an action shot before the face plates made it on:

Chat with us on Discord

Drill Press Table

I made a new DIY Drill Press table to replace the very small one that came with it.

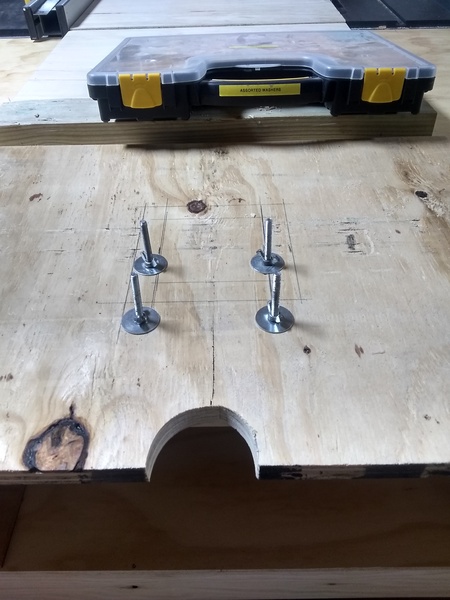
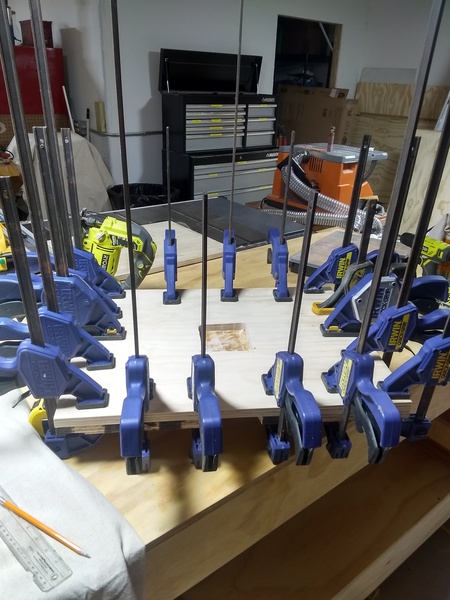
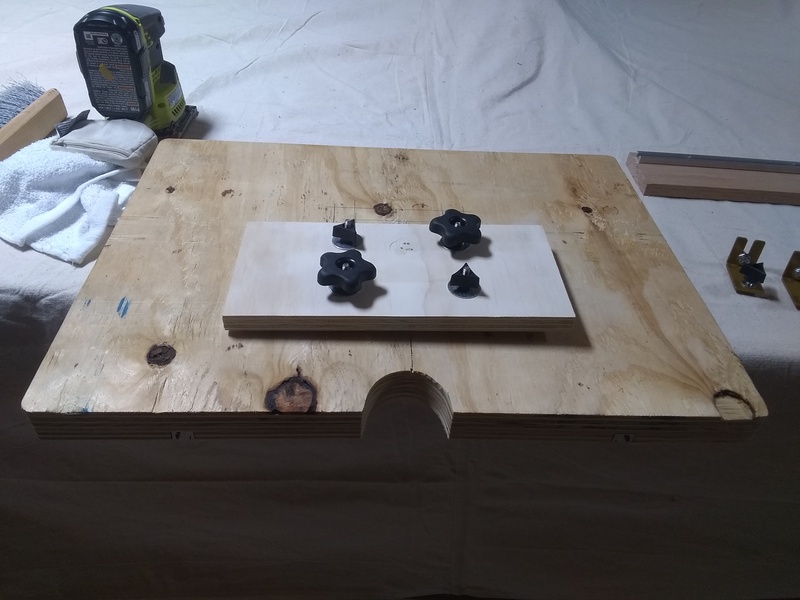
First thing I did was cut a piece of ¾ inch plywood 24 x 18 inches, cut a notch in the back for the support tube and drop in 4 carriage bolts spaced to fit through the existing table. I used the wing nuts and washers to temporary hold them in place.

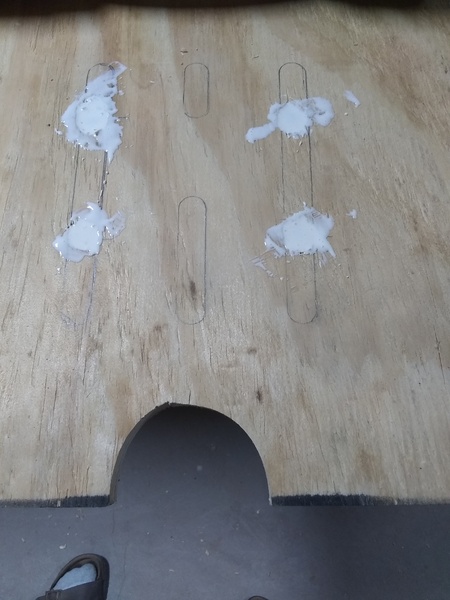
Counter sunk and glued in place

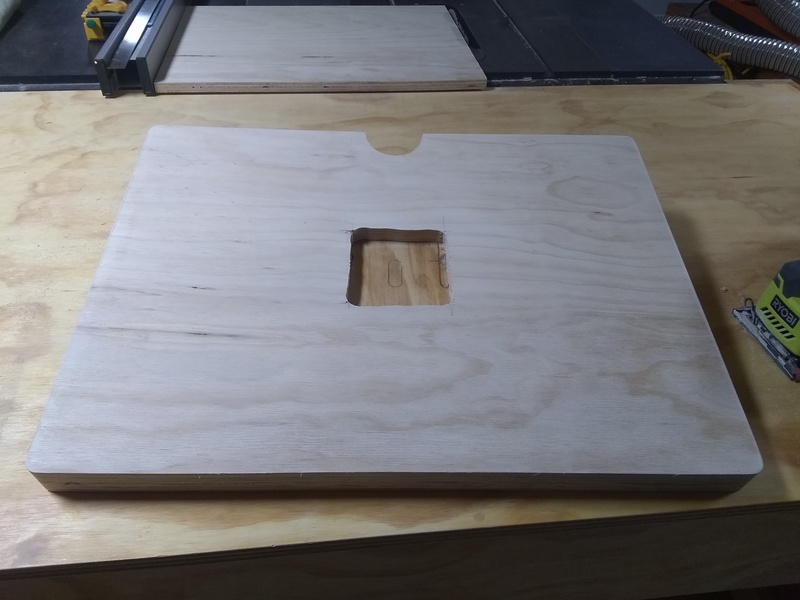
Cut and glued the top plate to it.

clam-a-geton

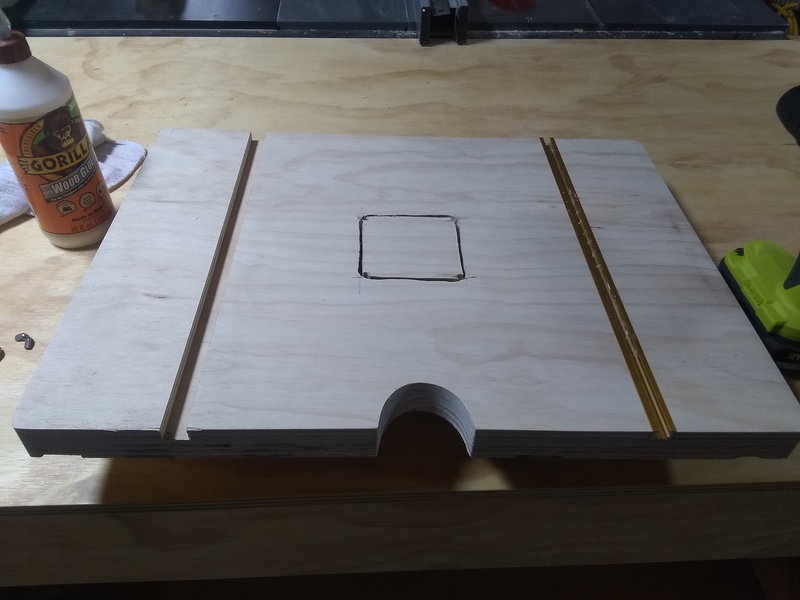
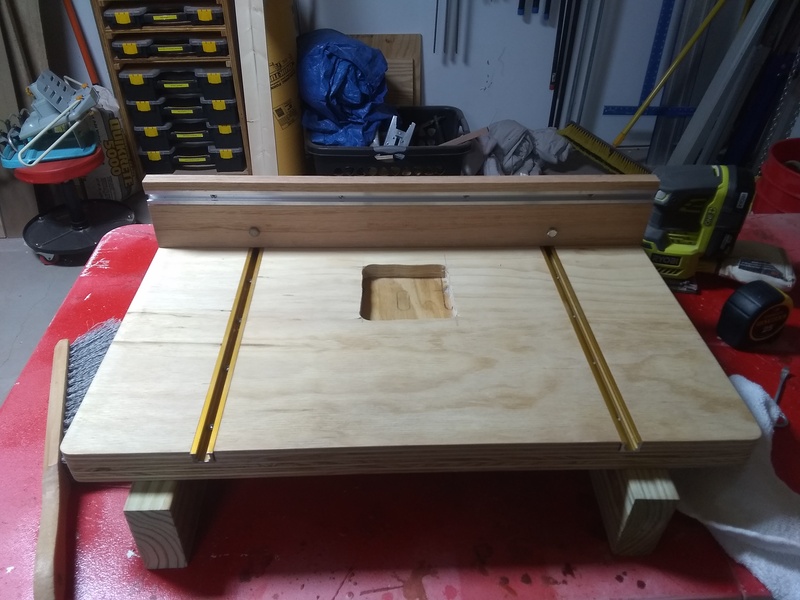
Also notched and cut out a square area for a sacrificial block.

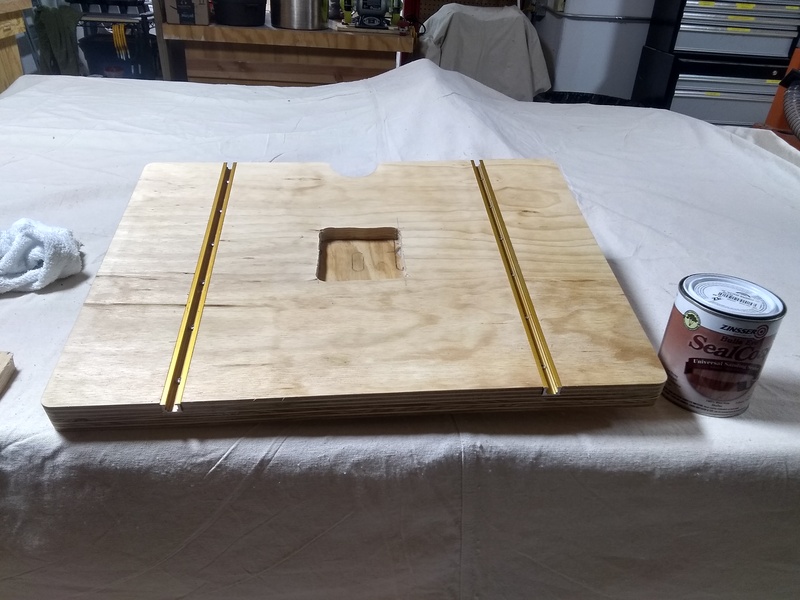
Sanded and added the T-Track

Sealed it up:

Created a base plate and added some knobs I had laying around

Added the fence, and she is done!

Chat with us on Discord

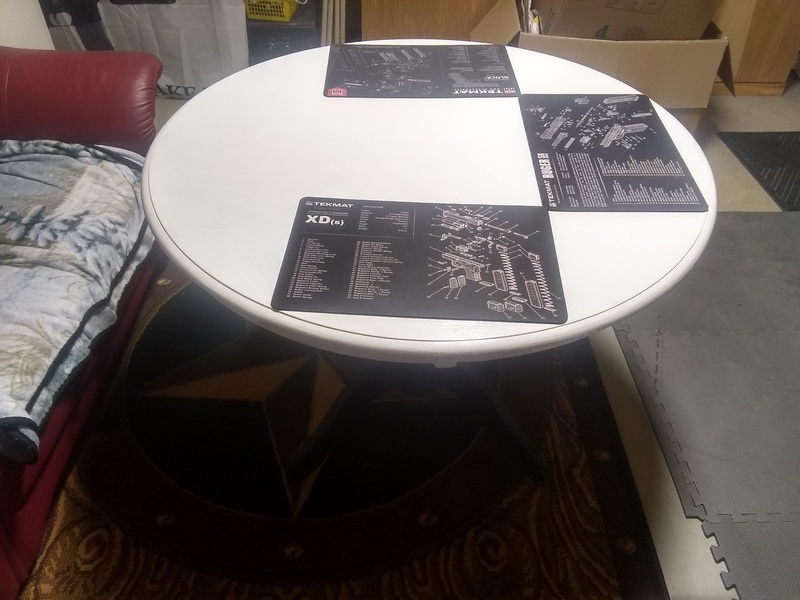
Table Refresh

I got an old table from a friend that was moving and was going to throw it away.

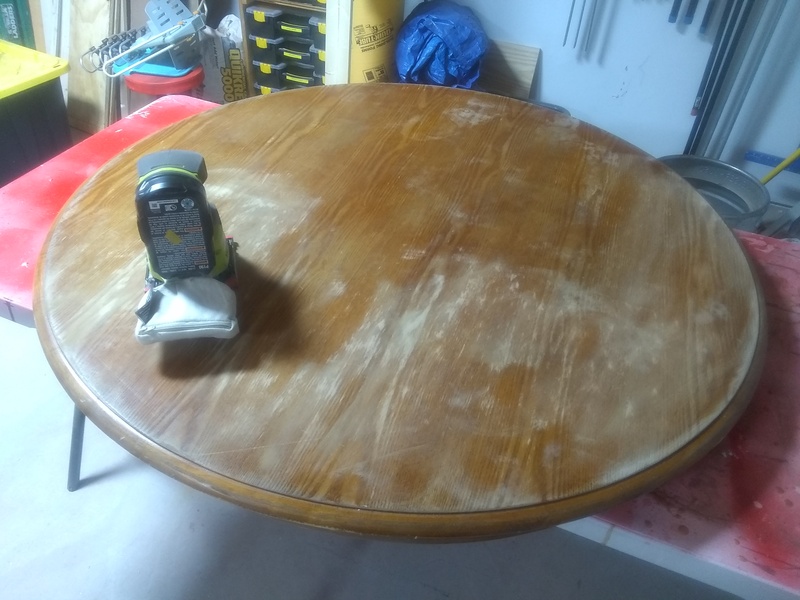
I removed the top and sanded it down.

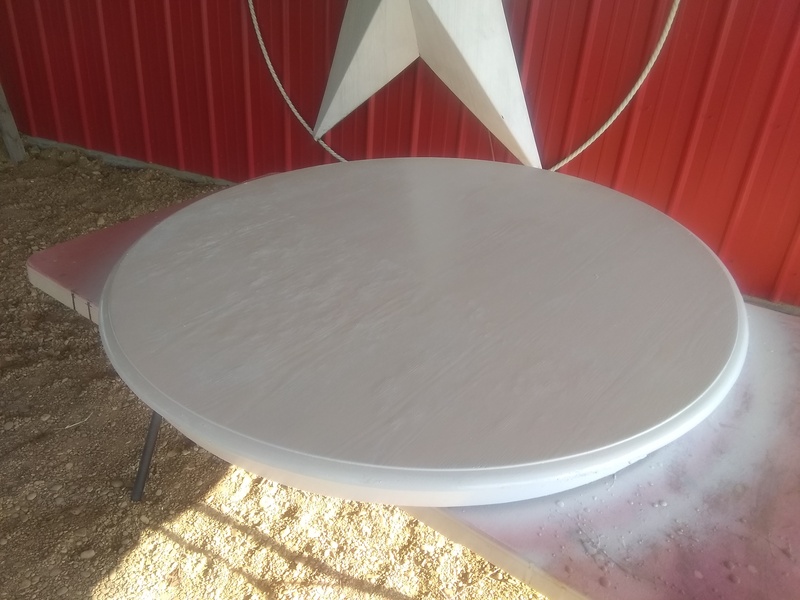
Painted it up.

It has turned out to be a nice addition to the office. I have done many projects sitting at it and hope to do many more.

Chat with us on Discord

Storage bins

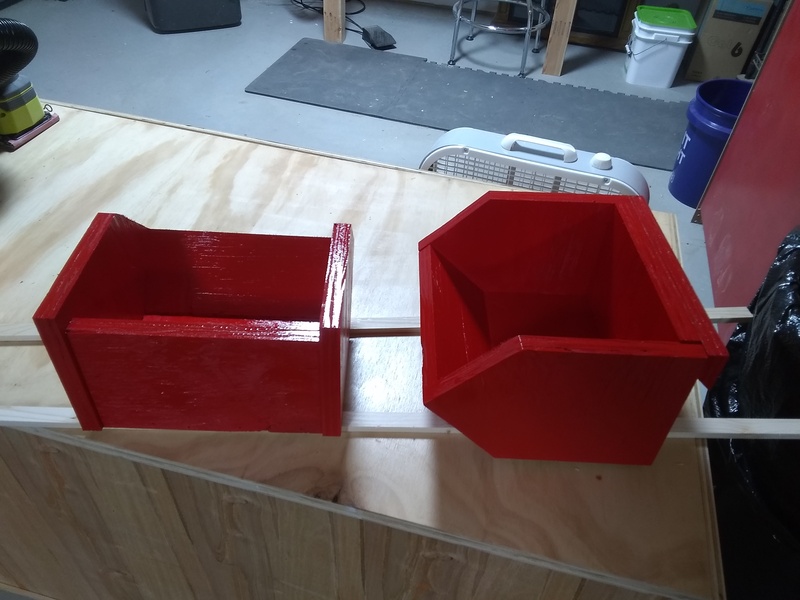
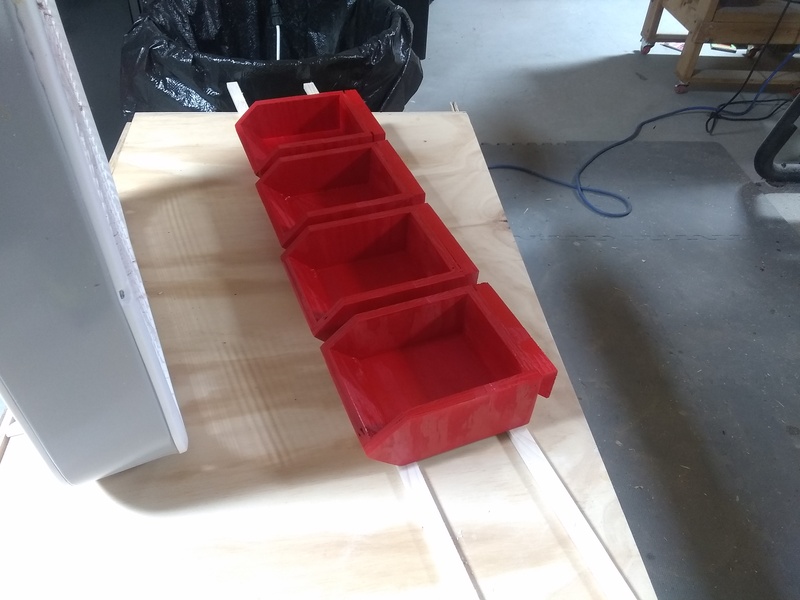
I found some neat storage bin plans here: https://wilkerdos.com/product/storage-bins With some extra plywood I had laying around, I made some.

Made a couple large:

And a couple small:

I think they came out pretty good, just going to use them in the shop. The scrap I had was ¾ “ so the will hold just about anything .

After you get the build down, you can make any size to fit your needs.

Chat with us on Discord

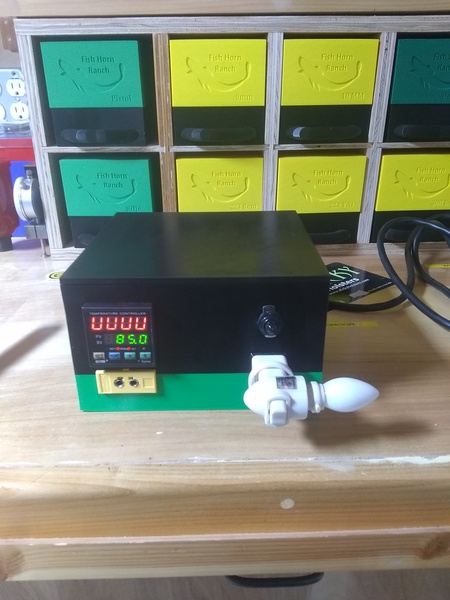
Temperature control with PID

I watched these 3 great videos from Johnny’s Reloading Bench and decided to make one.

MYPIN PID Temperature Controller – Demo and Parts List

MYPIN PID Temperature Controller – Building and Wiring the Controller

MYPIN PID Temperature Controller – Initial Programming, Testing, Auto-Tuning

There are more great videos, but for this I am only concerned with the above.

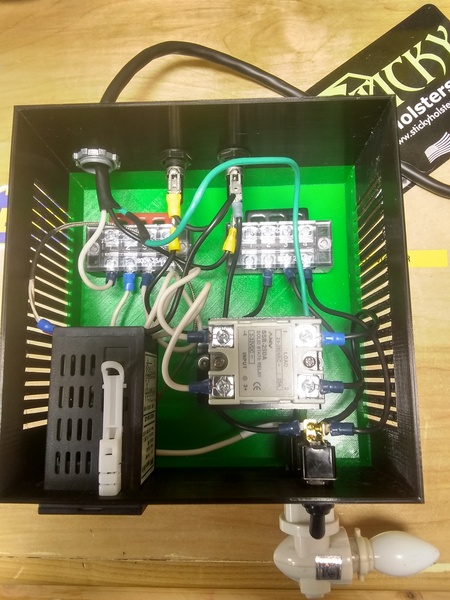
I used a panel mount outlet in mine instead of piping the cord out the back. Everything else is the same. All parts he lists fit.

PID Controller Inside View

Front with lid and high speed test light:

PID Controller Front View

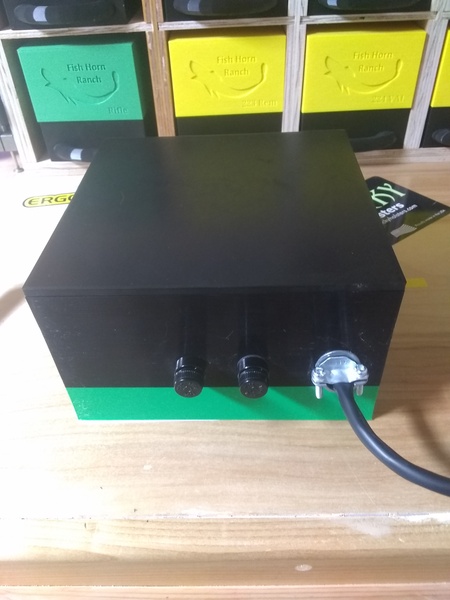
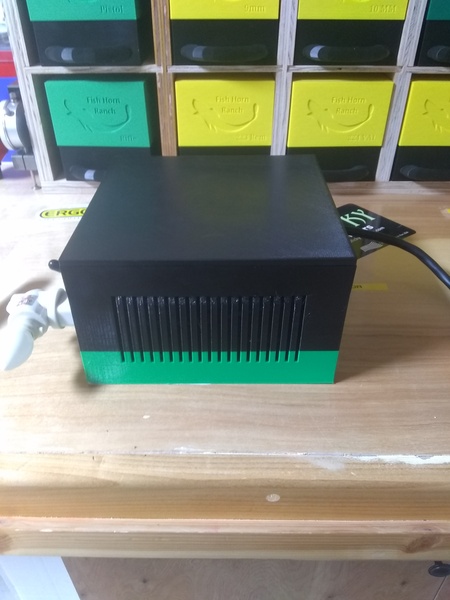
Back and Side shots:

PID Controller Back View
PID Controller Side View

As always, If you want me to print you one let me know in the comments.

You can download it from Thingiverse

Chat with us on Discord

Parts Washer

Got me a Harbor Freight parts washer and moving thing to put it on. There are a ton of videos on modifications and how to put it together on the internet. Not going to put you through all that. Just going to show what I did.

I will not be using this for heavily soiled auto parts or farm equipment. Mostly weapons and parts, and to ‘finish’ clean other items.
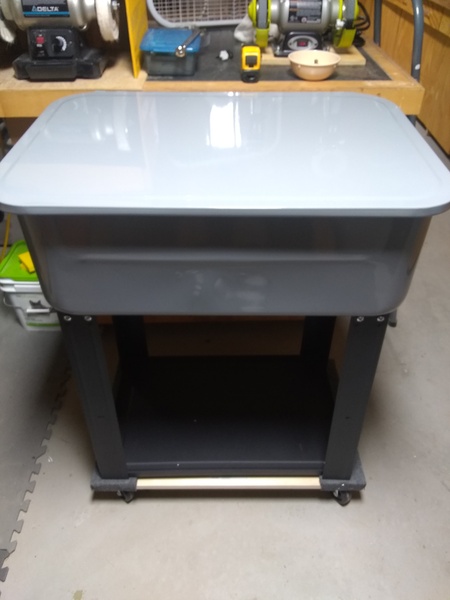
I purchased the Oriflo With Hose (OR101H) Flow-Thru Parts Washer Brush and Immersion Water Heater from Amazon. The rest of the items I had laying around.

I did not realize the heater came with a timer, the price was the same as the ones with the timer. I removed it and put a standard plug in it place.
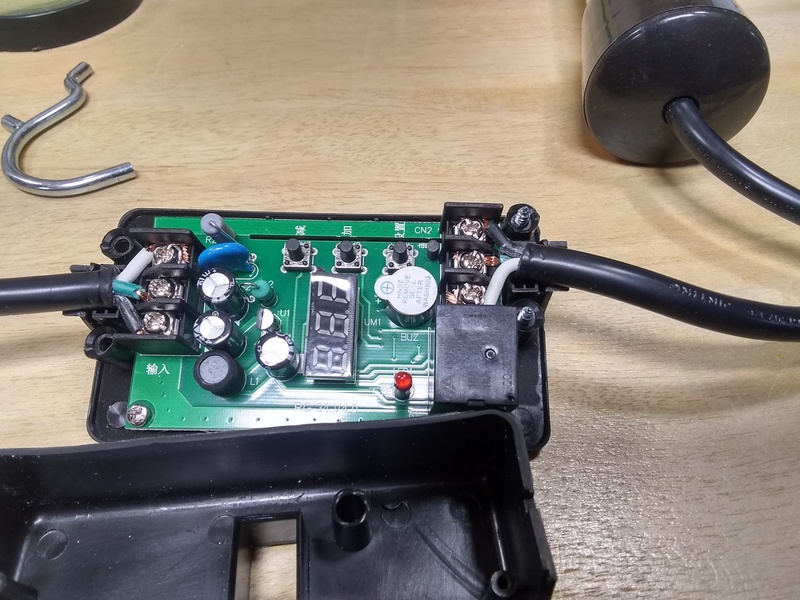
Before I put the plug back on, I drilled a hole above the full line for the cord and put a grommet in.
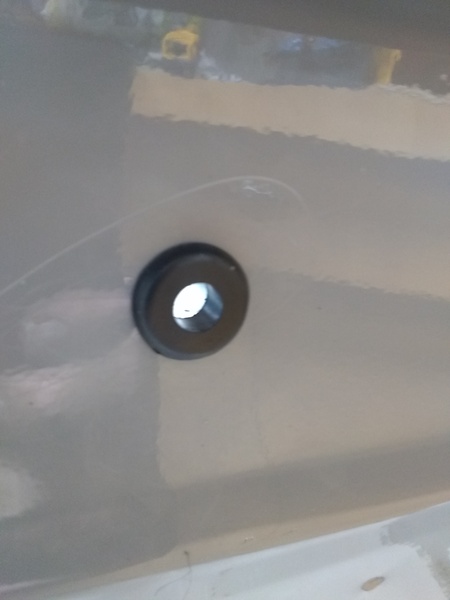
Ran the cable and put the plug on:
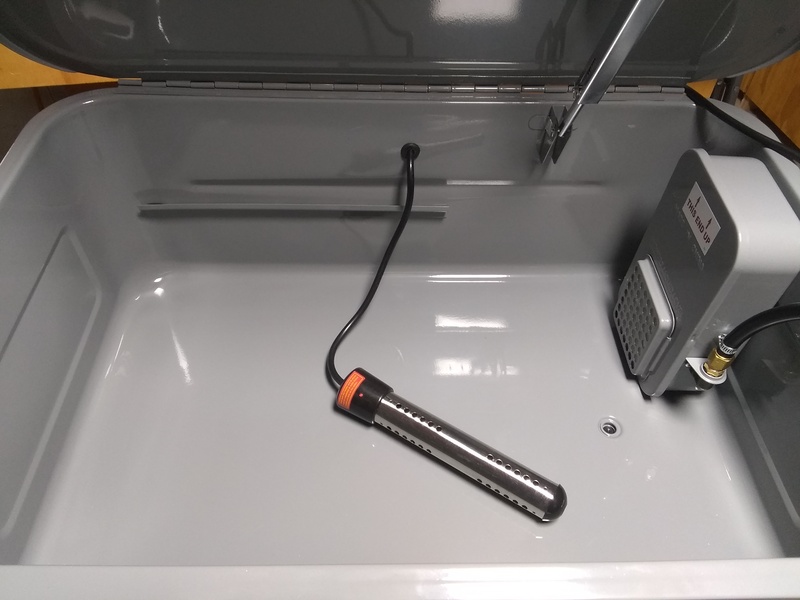
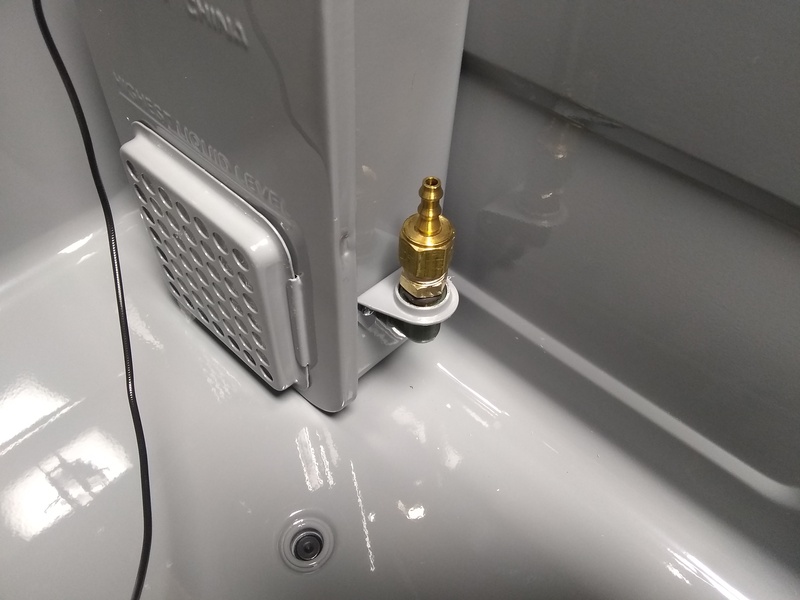
I dont want the big metal sprayer thing. I took it off and put a fitting in its place:
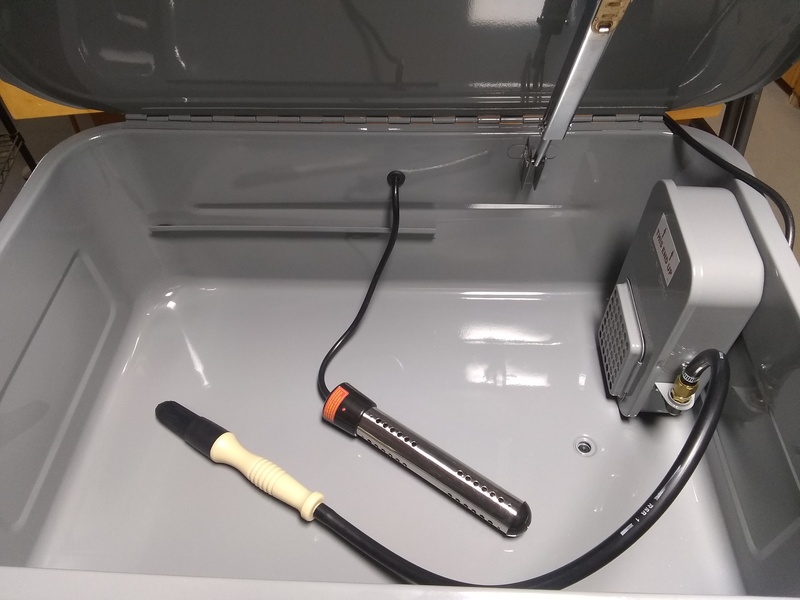
I cut the end off the brush hose. It was designed to fit over the end of the metal sprayer. I then slid it over the fitting and clamped:
I had to order the drain plug as it is metric:
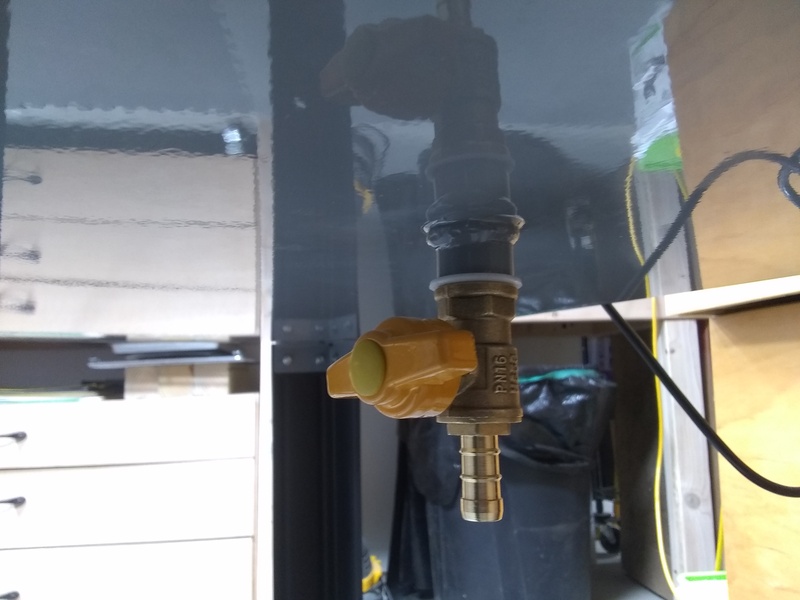
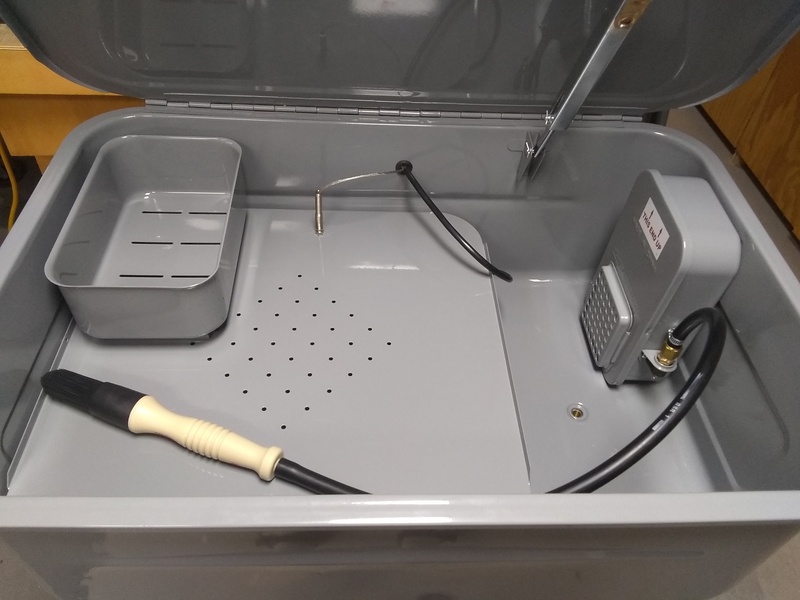
I built a PID for casting and I have an extra temperature sensor. I drilled a hole in the wash shelf and ran the cable through the grommet.
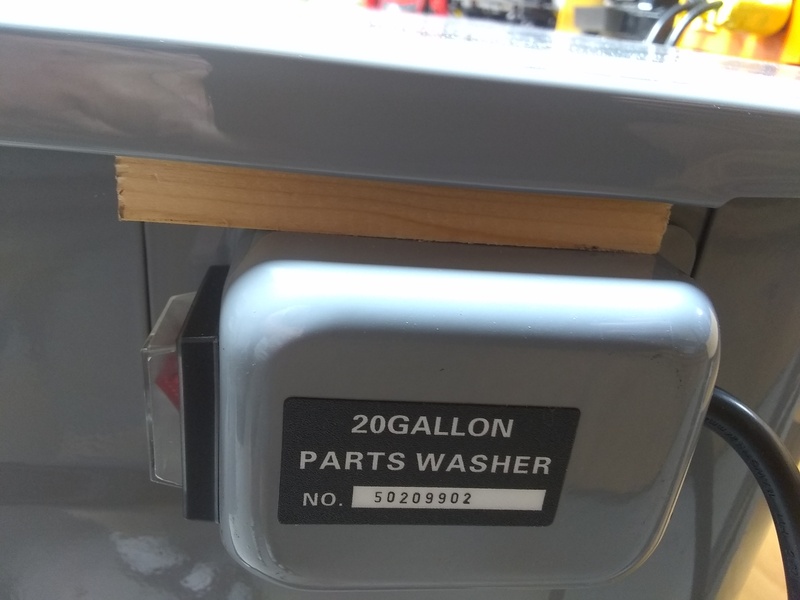
The only other modification I made for now is putting a block of wood on top of the power switch to stop some of the wobble.
Next up is testing.

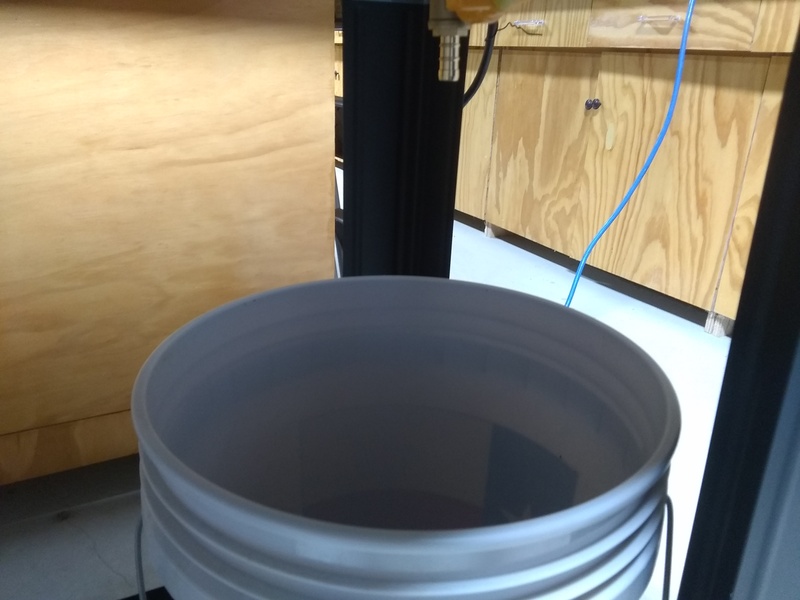
Sweet success! I used plain water for the the just in case. It took a long time for the flow to start. So long that I removed the brush and blew air through the tube to make sure it was clear. That must have primed it, started flowing after that.
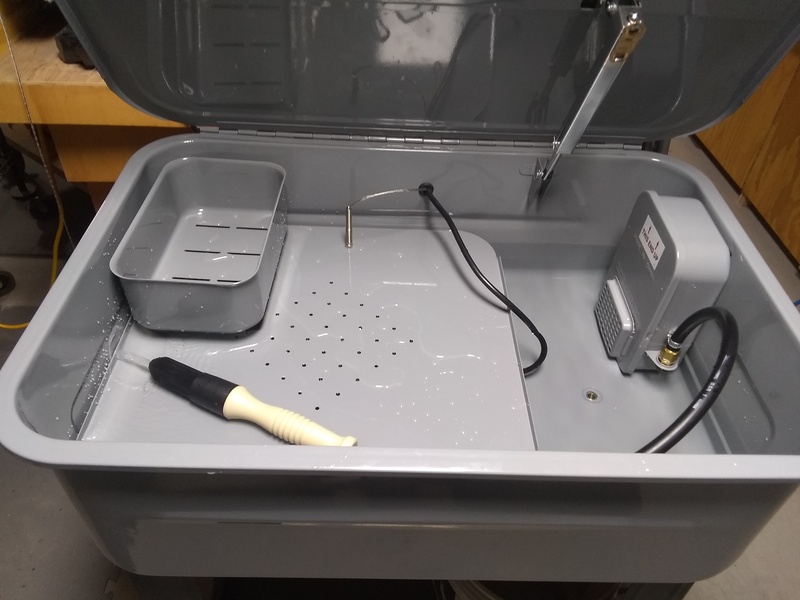
No leaks at the drain after 24 hrs….
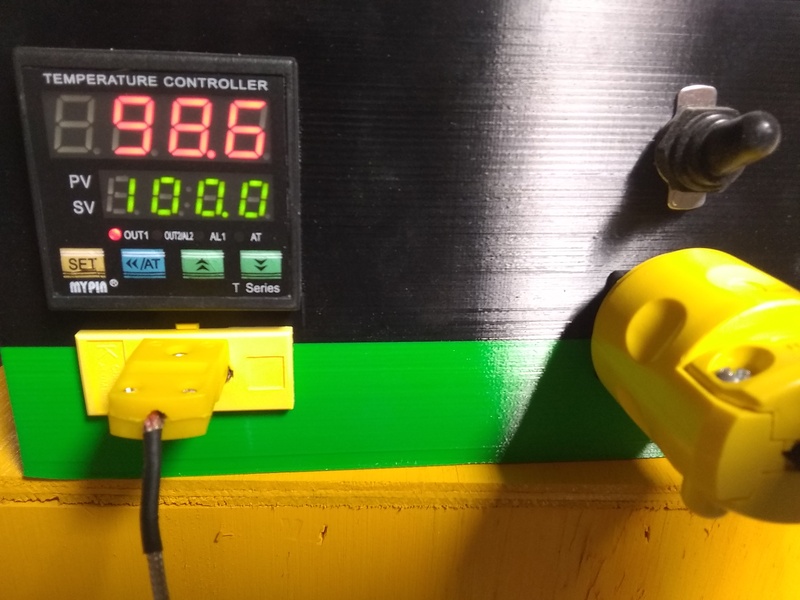
The PID worked as well. Set it at 100 degrees for now. Can adjust as needed.
Chat with us on Discord

Staying on track!

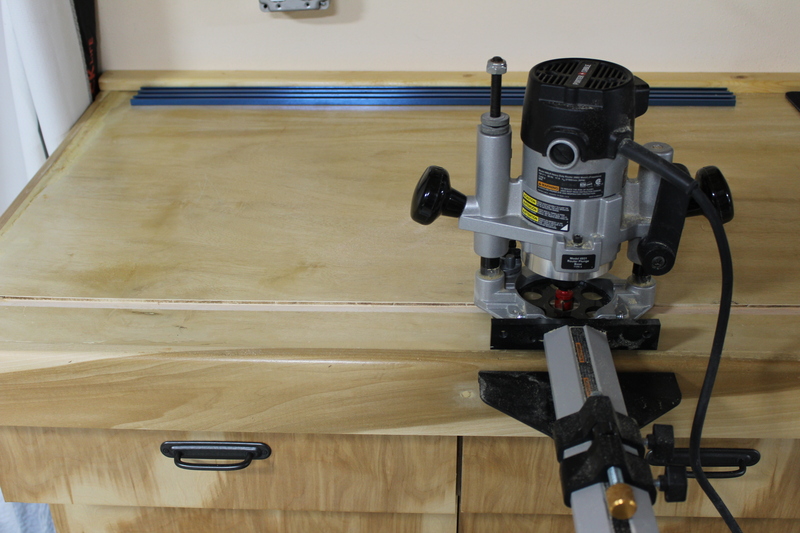
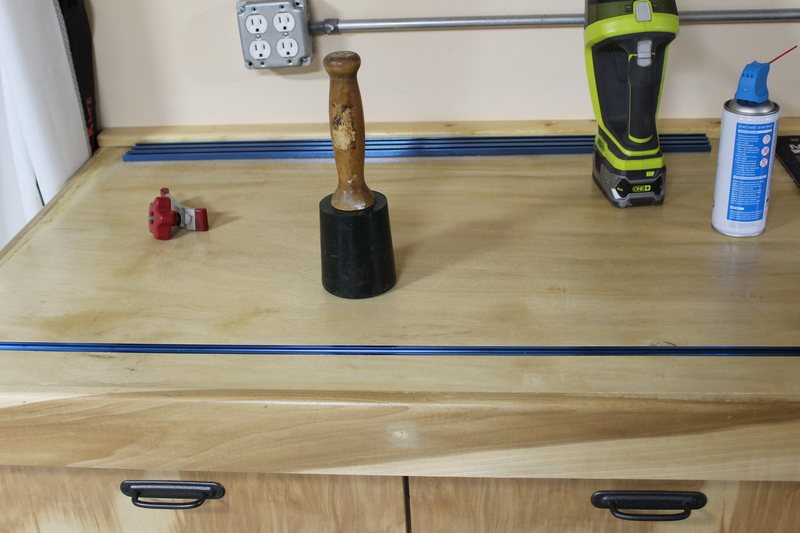
I wanted to add some T-Track to the end of the counter in the office. I could then do some medium and light work in the Better cooled Office area.

I started by making a couple passes with the router, going a bit deeper each pass until I got to the right depth. ½ inch.

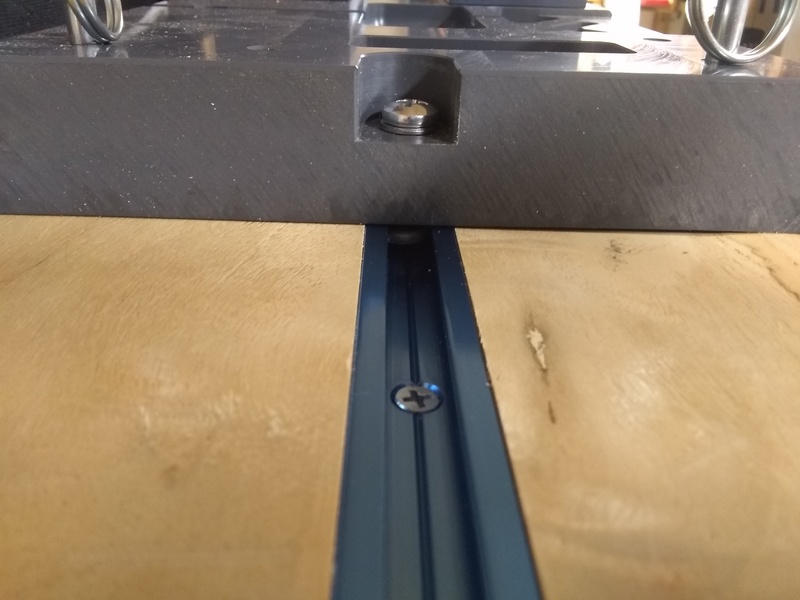
Then I tapped it in and made sure it was flush:

Making it flush
Making it flush

Got it screwed and and tested with the Present Arms setup.

Testing
Testing

Works great! More on the Present Arms setup over on Viking-Armory.com

Chat with us on Discord

Keeping it Cool!

Installed portable Air Conditioners not only to keep things cool but to drop the humidity as well.

First I cut a 4 inch hole in the wall for the exhaust, hit a 2×6 on my first attempt…

Keeping it cool!

Put a vent cover on, sealed and painted it up:

Keeping it cool!

The exhaust pipes on these 2 units gets VERY hot. They might heat the room more than the unit cools it. I bought some insulated ducting and ran the exhaust pipe through it:

Keeping it Cool!

It worked! It is not cold, but it is probably 75% cooler.

Getting the Electrical work done!

One of the first things we did was run power for the lights. I decided to do switched plugs, that way if I wanted to change or add more light I just needed to attach a cord and plug in.

Getting the Electrical work done! lights
Getting the Electrical work done! lights 2

I ran 3 – 20amp circuits in the Shop:

Back area:

Back shop plugs

Front:

Front Shop Plugs

And side:

Shop side plugs

Hung the lights and fan in the office area:

Office Lights

Then ran 2 circuits Back and side. Both are shown here. You can see the hole in the side circuit, I will be adding plugs to the desk area when I build it.

Office Plugs

Thats it for now. I will post some stuff on the AC later…

Shop Wall and Ceiling work

Working on the walls and ceiling. We decided to go with 6 inch tongue and groove. Is was easy to install for the wife and me. We started in the office:

We are starting at the bottom and not going all the way up with our drywall until the ceiling is finished. We are trying to be productive with what we have on hand.

and

We insulated the dividing wall to help with noise reduction and climate control:

Then we started with the shop:

Ceilings complete!

Closed up the drywall in the office:

Finished up in the Shop and store room:

And:

Still need to float and tape, but the heavy lifting is done.

Copy Protected by Chetan's WP-Copyprotect.