Shop interior framing

We got the interior framing done. We started with the external walls:

Then we added the fire breaks: Thanks to the guys on MeWe for helping me decide to add them. https://mewe.com/join/home_workshop_

Next we added the slats to the ceiling:

We got the spray foam done in between things

Got the interior office/man cave wall built. It is 15 feet in and the entire 30 foot length.

And here is the 10×10 storage room:

Next up ceiling and ceiling

Paint Booth Setup

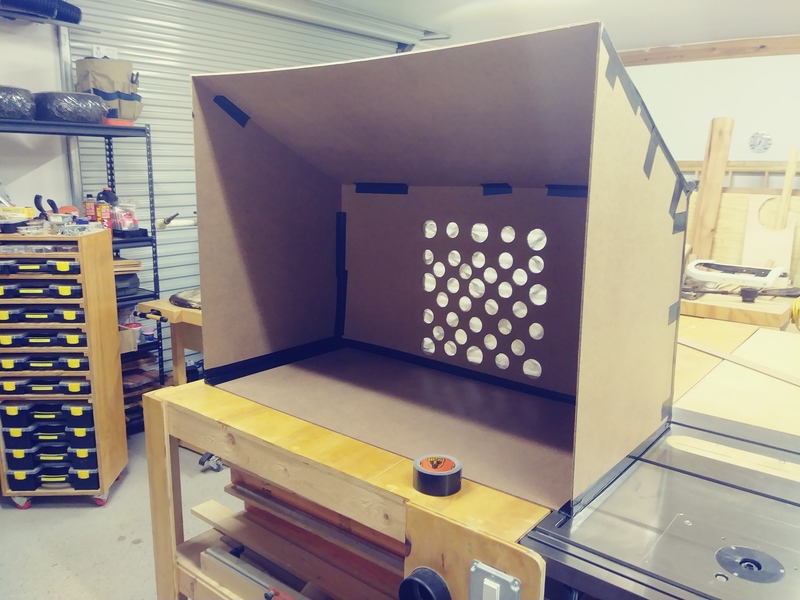
I wanted to build a paint booth for the shop. I wanted it to help keep over spray down and provide at least a little ventilation. Here is what I cam up with.

I had a 4×8 sheet of hard board from another project. I measured everything out and cut it up:

In the back panel I drilled out some 2 and 3 inch holes in a 20×20 square. The same size as an air filter:

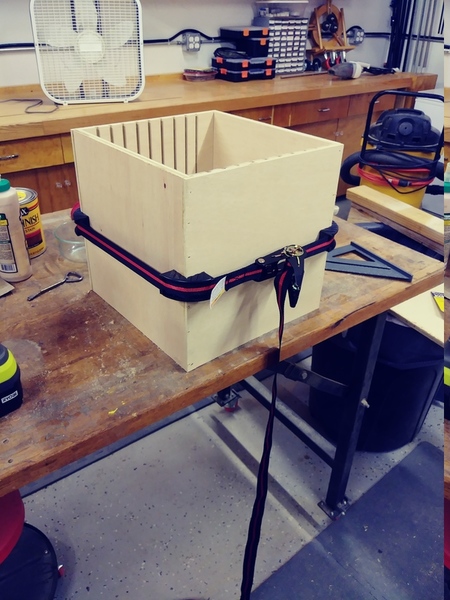
I then made a frame to hold a 20×20 AC filter. Again using scrap I had laying around:

I used Gorilla tape to hold it all together. The hard board is too thin to nail and if I needed to, I could cut the tape and lay it down.

Back Side:

Lastly, I added some lights and a lazy Suzann:

Portable Air Regulator/Dryer

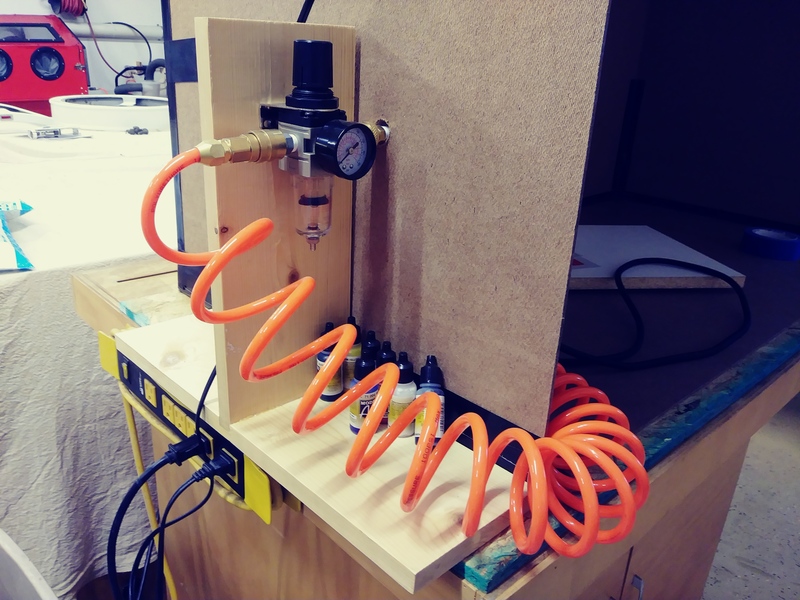
I wanted to make a portable air dryer/regulator for use with my paint booth, air brush or any other system that could and would move around my shop. Here is what I came up with:

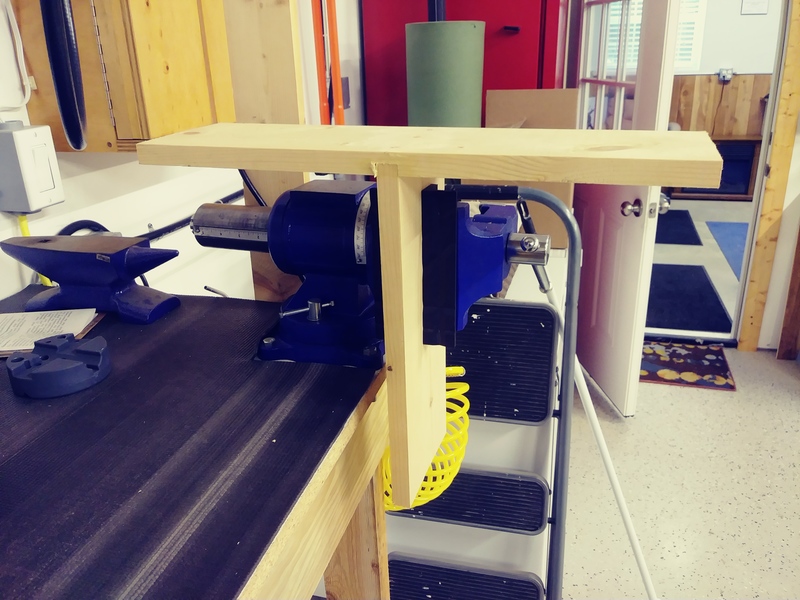
Made a tee with scrap pine 1×6, glued and screwed.

Then added Harbor Freight Dryer/Regulator and coil line. Quick and easy, gets the job done.

Keeping it Solvent!

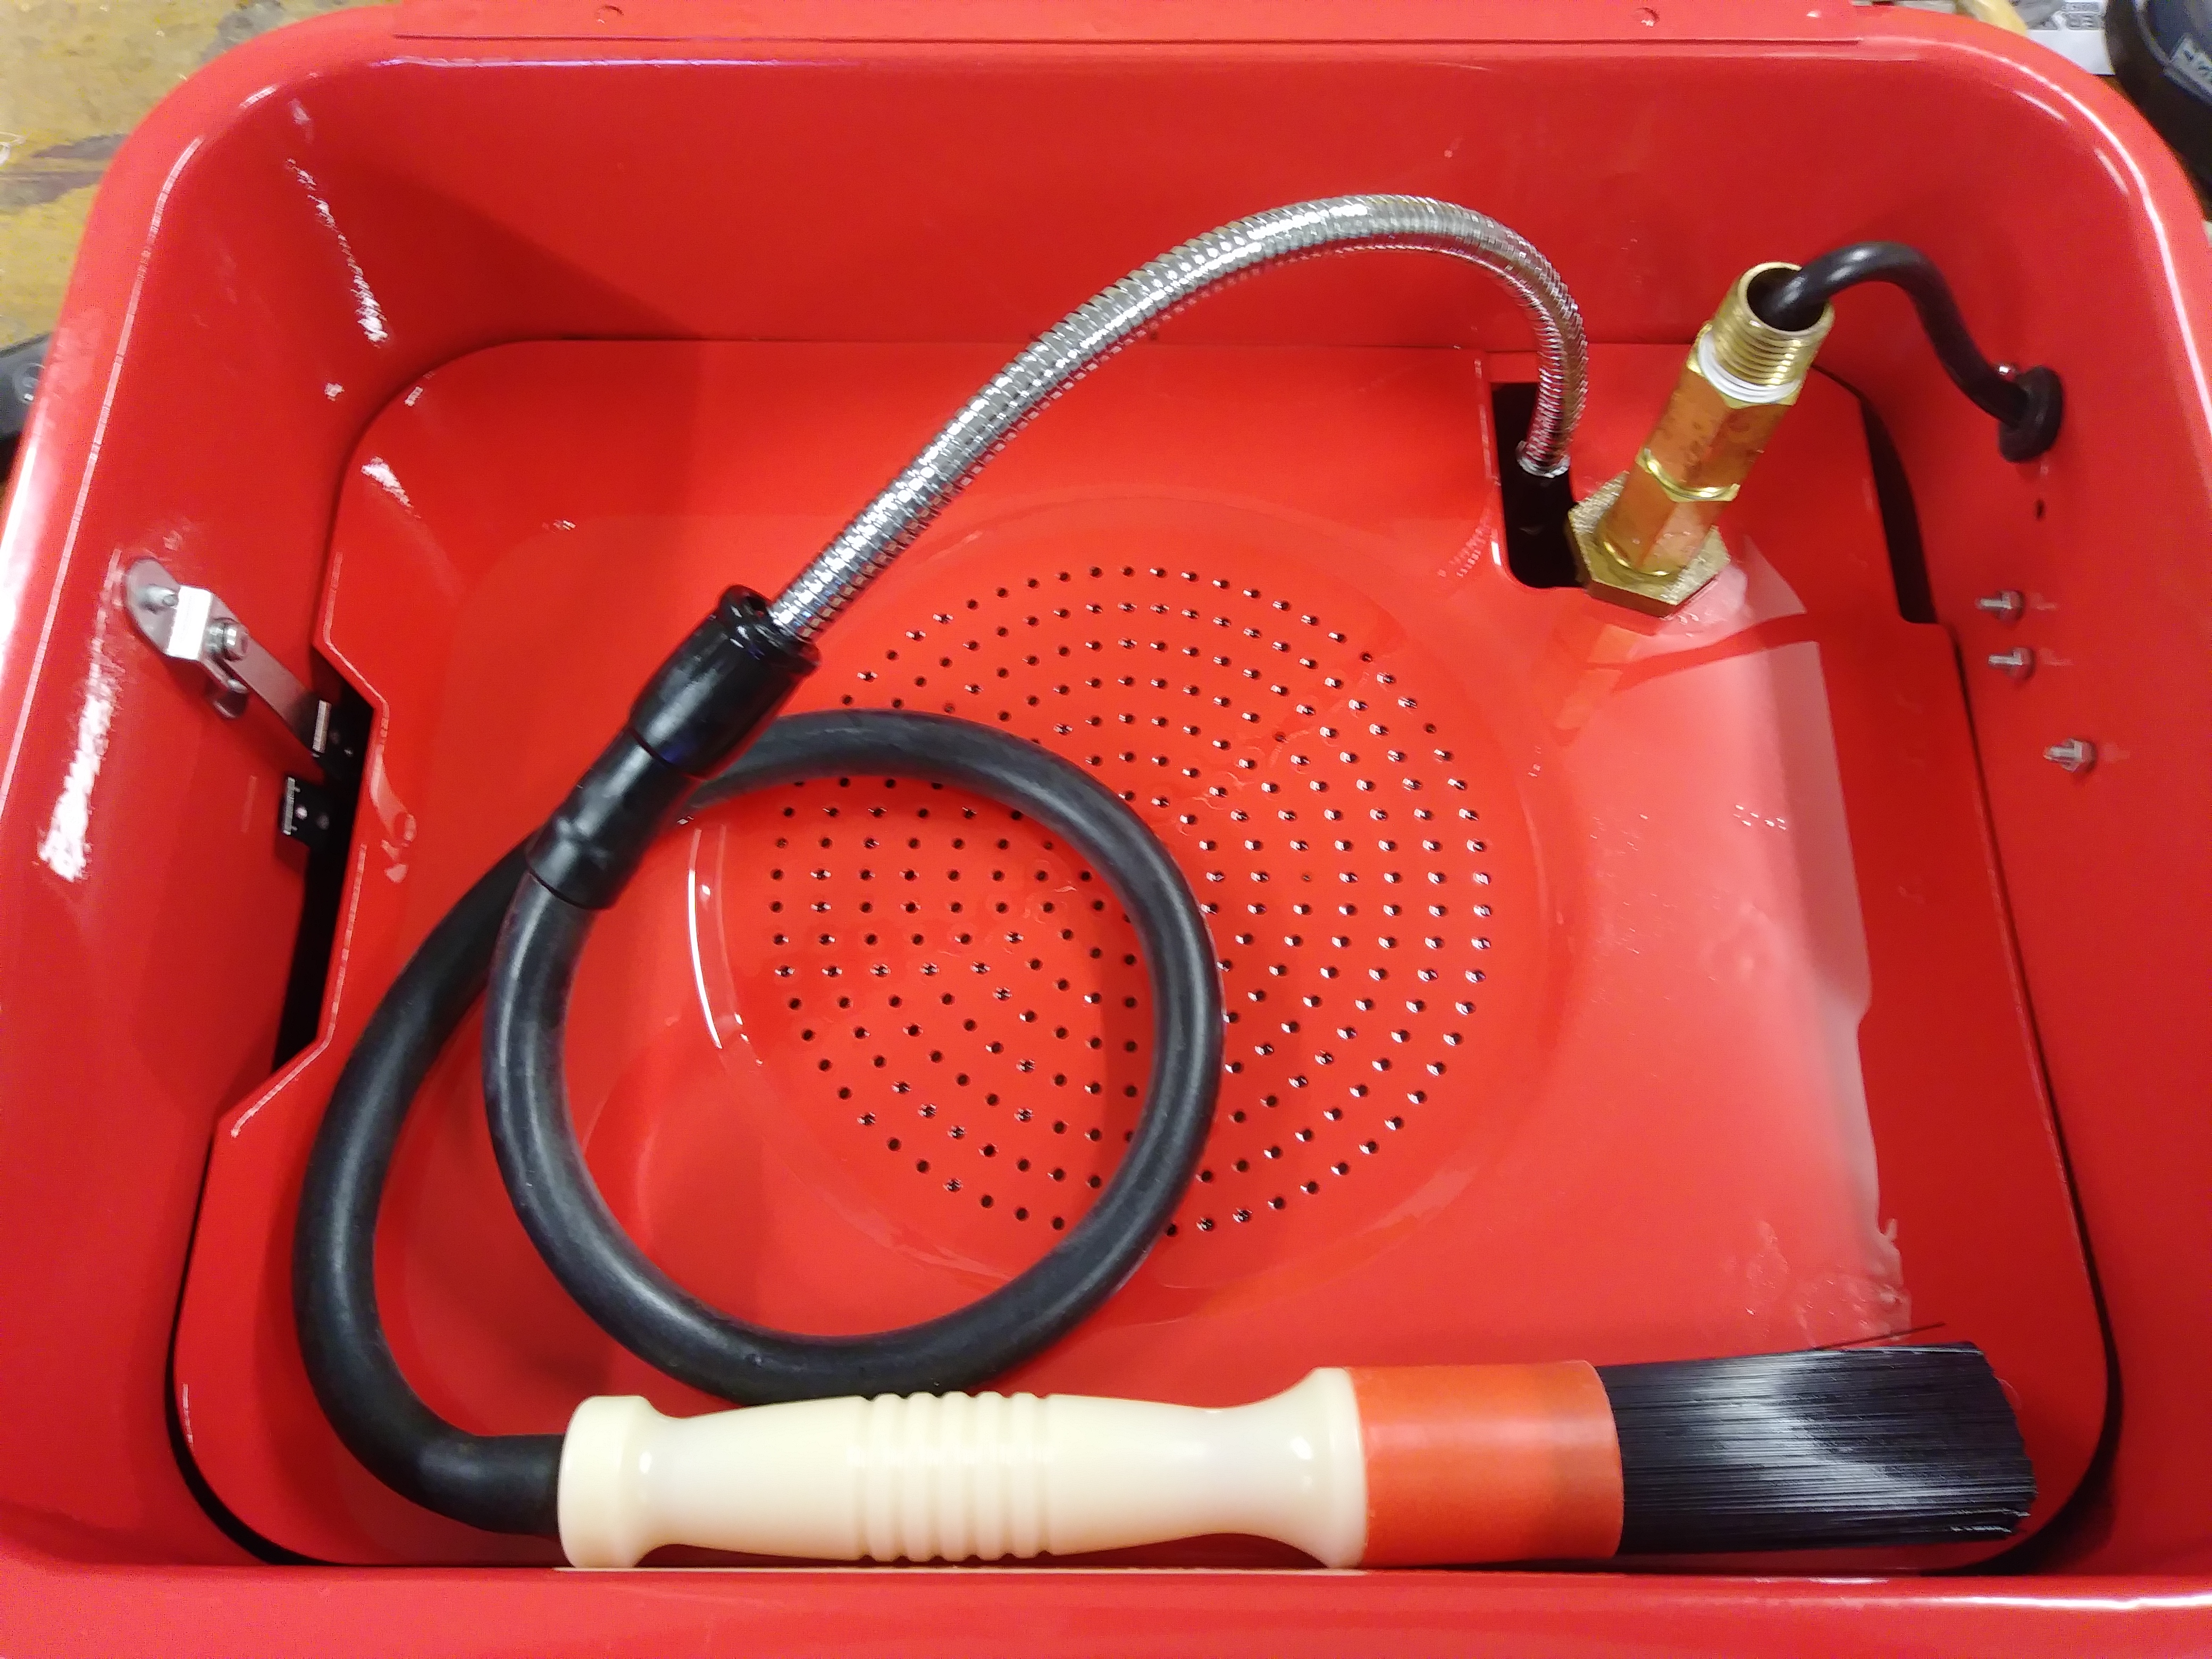
I wanted a solvent tank that will take care of my weapons parts as well as my shop tools. I got the Solvent Tank from Northern Tool and Equipment. Then I mixed up ‘Ed’s Red’ Bore Cleaner and poured it in. Well that was a mistake! I did not read the manual (RTFM), the pump is only for water based solvents:

I replaced the pump with this guy from Zoro.com I had to modify the top plate a bit to get it to fit:

Then I set it all in place and added some brass fittings to help keep the solvent out.

Put the wiring back together:

Added the brush and did a test run. All good!

Band Saw Mill Sled


Started clearing the property and we have some logs smaller logs I want to try to mill up myself.
 
Started by cutting a ¾” sheet of plywood to 24” x 36” and adding in 2, 18” T-Tracks
Measured the distance from the blade side of the miter slot to the blade and used that distance to screwed on the miter bar. Sanded it down and good coat of wax.
Cut 2 13”x36” pieces and put 3/4” rabbits on the ends and back and a 3/4” dado directly in the center:
On one I cut 2 1/4” slots in:
 
Cut 3 support pieces, put a curve on them and glued them in place. Also drilled holes for the T-Track bolts and knobs.
Setup my rollers and mounted everything up:
 
Used the slots to secure the log with screws and went for it:
Think it worked out pretty good:
Copy Protected by Chetan's WP-Copyprotect.