Pistol Cleaning!

This is what I do for deep cleaning my pistols. I do not do this after every range day. I don’t want to get into the endless debate over how over you should clean, that’s up to you.

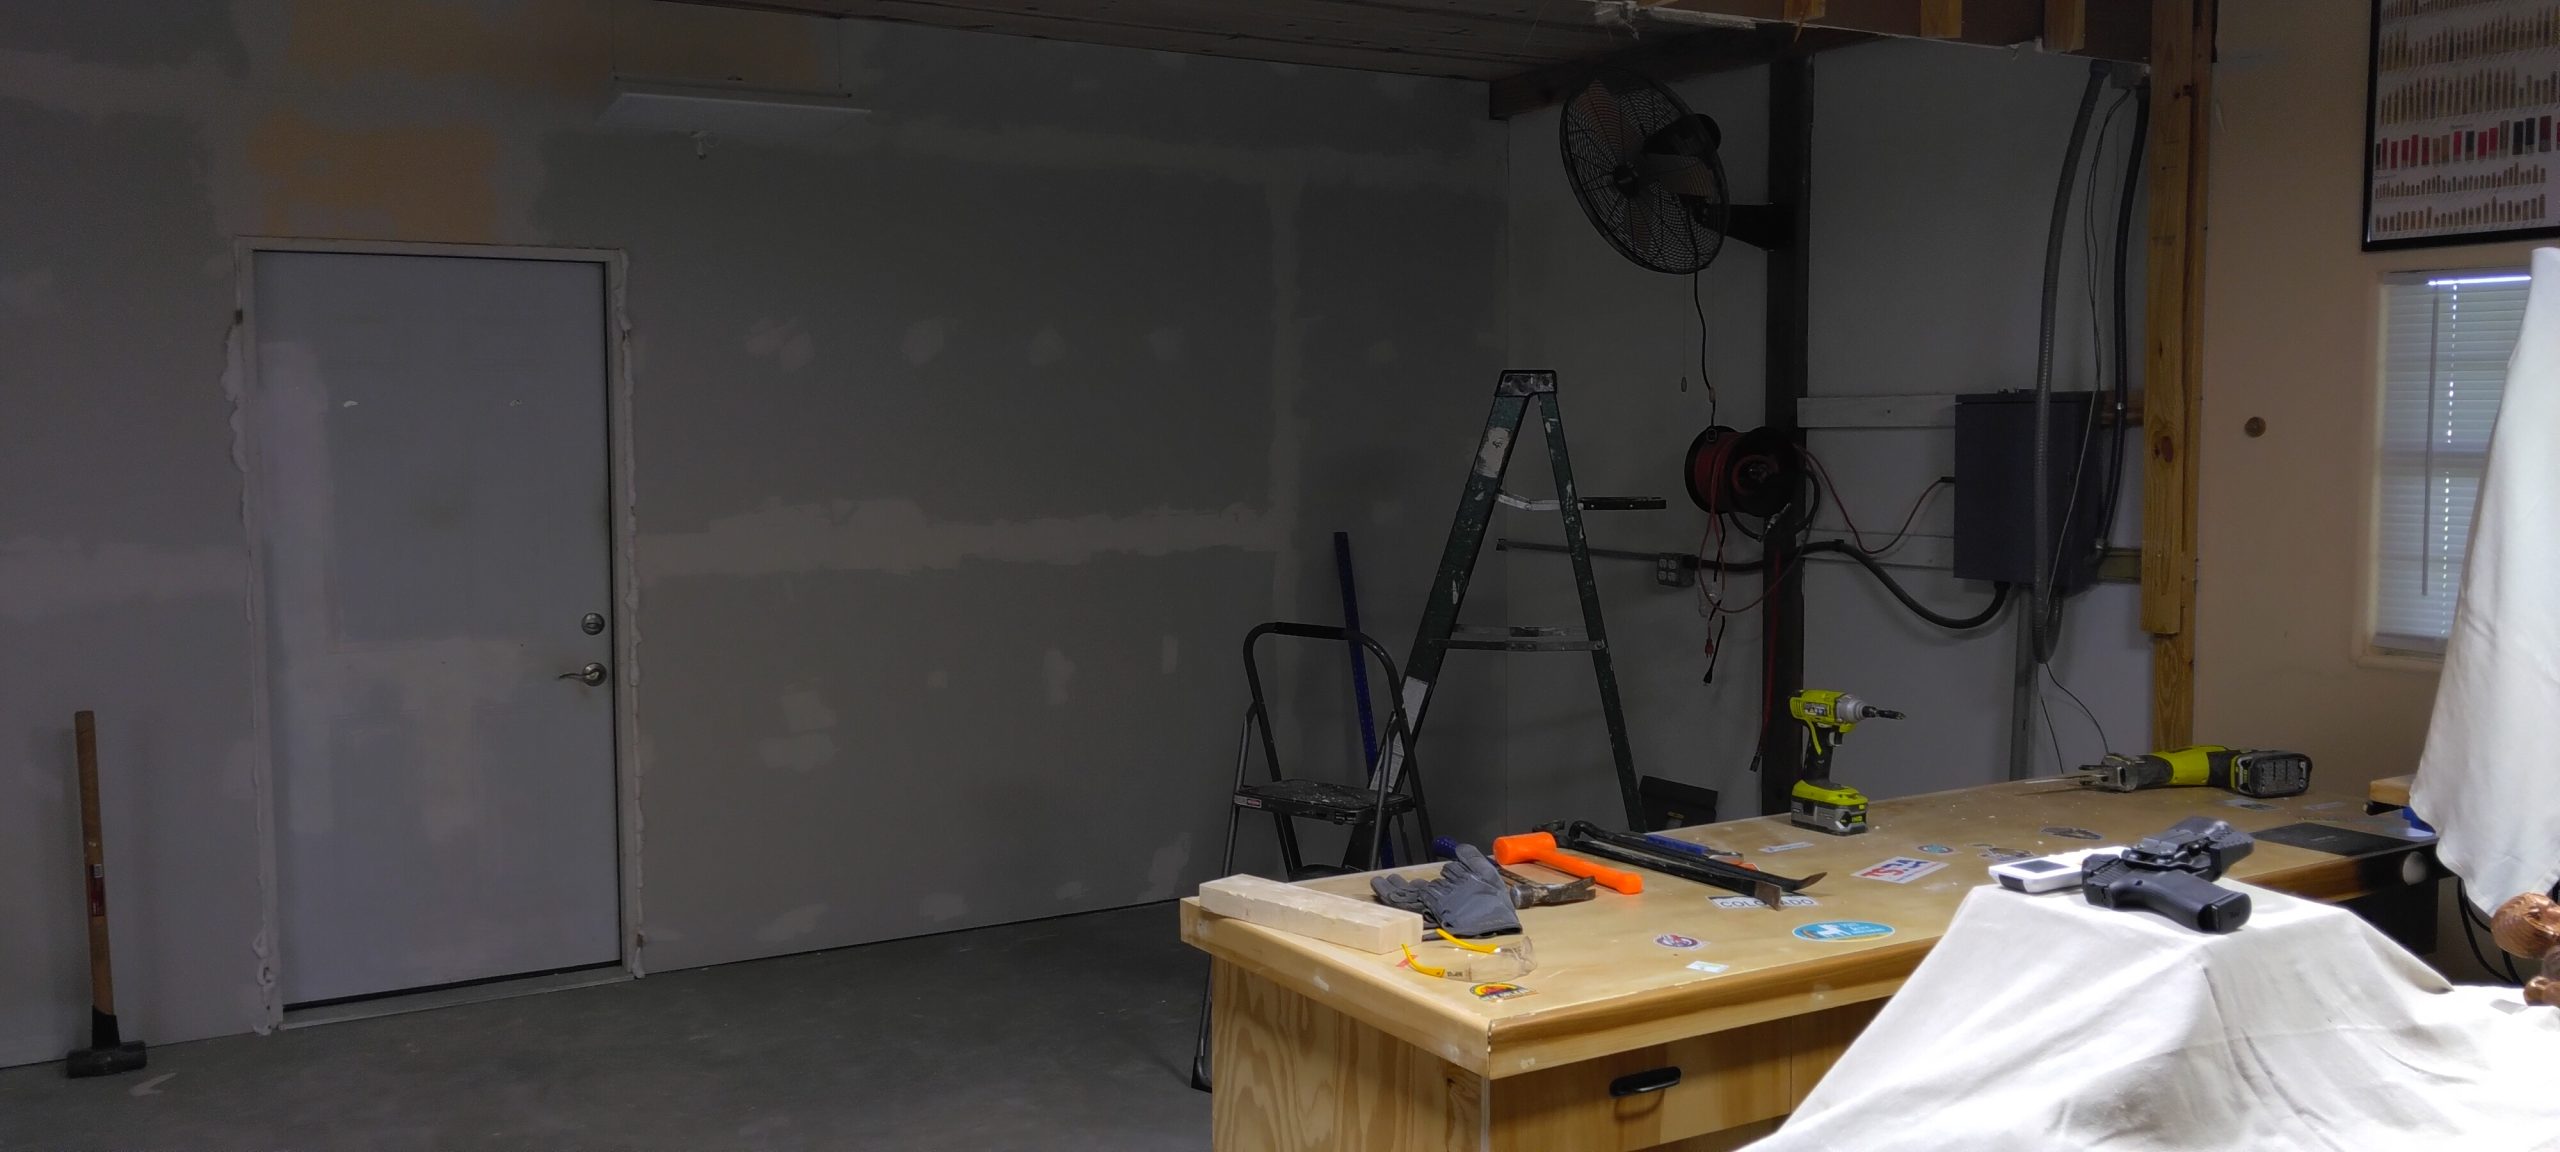
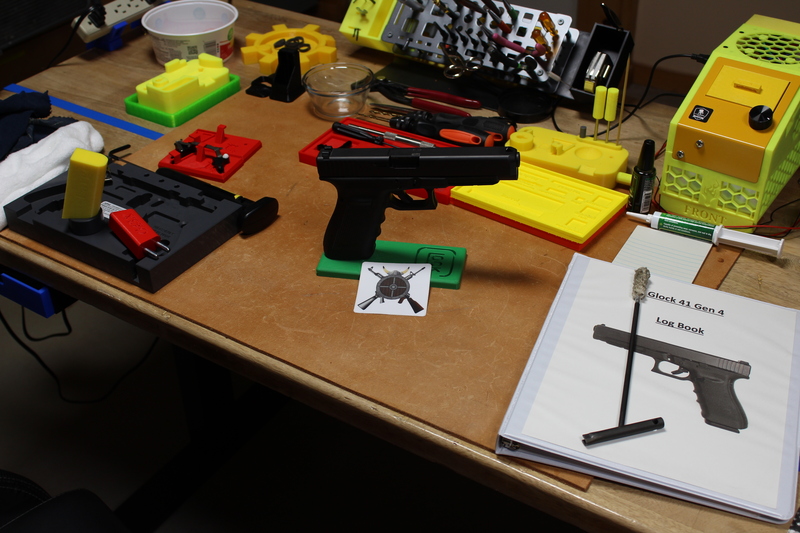
This is a shot of one of my setup before initial take down.

Gun cleaning before take down

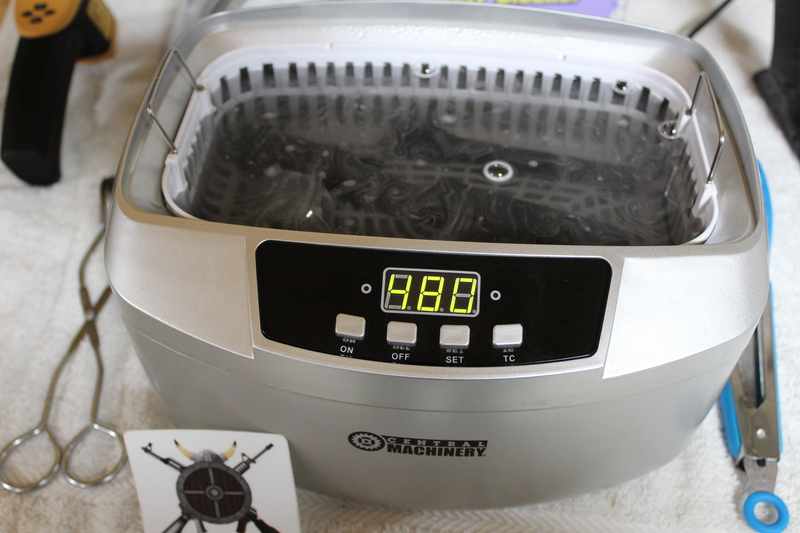
I use my Harbor Freight ultra sonic cleaner with a 30:1 ratio of distilled water:Simple Green set on heat for 16 minutes. 8 minutes flip / adjust parts another 8 minutes. Small parts go into a jar or solution filled zip lock bag.

Gun Cleaning Simple Green HF Ultra Sonic


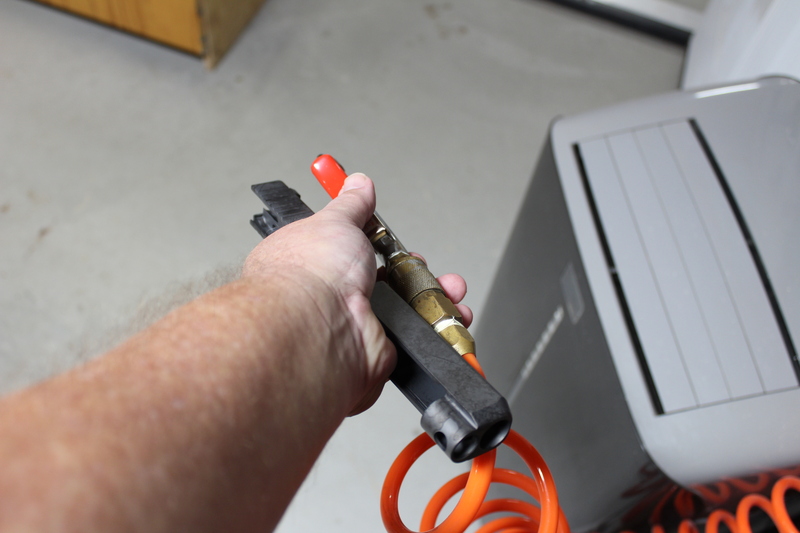
Then I blow everything off:

Gun Cleaning Blowing Parts Off

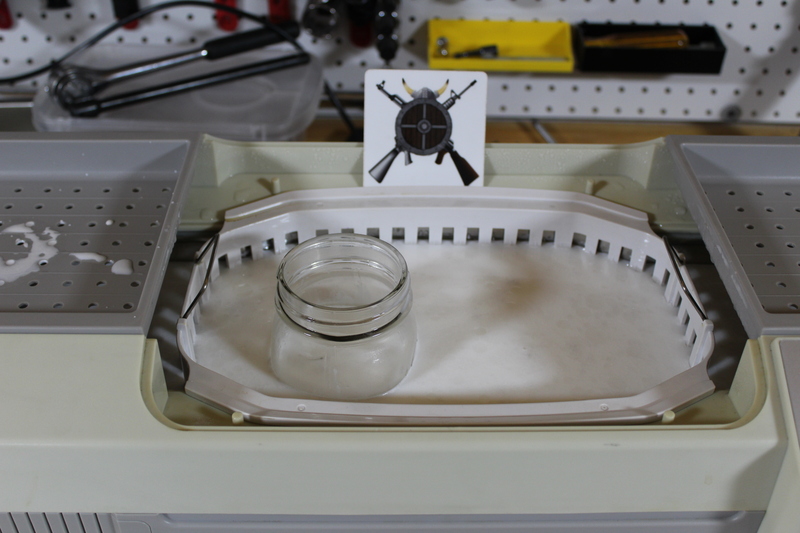
Then I drop the parts in my Bald Eagle ultra sonic cleaner with a 20:1 ratio of Distilled water:Ballistol set on 122 degrees for 20 minutes. 10 minutes flip / adjust parts another 10 minutes. I put the small parts in a jar with the same solution.

Gun Cleaning Bald Eagle in Ballistol

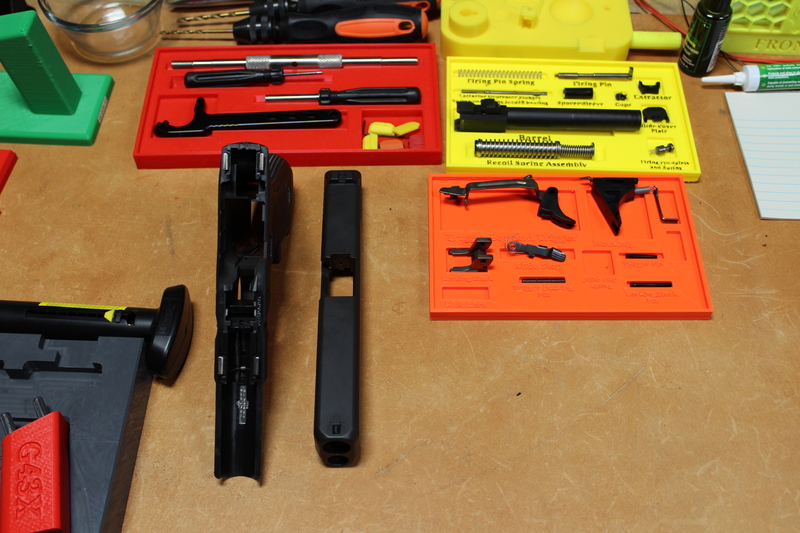
I blow and wipe everything off then lay the parts out back on the work bench.

Gun Cleaning Parts Trays

Then I put it back together and function test. Ready for the range.

Small(er) drawer cabinet

wanted a a tool cabinet with smaller drawers to hold tools. I got tired of looking in a drawer that was over full with junk or wasting space with only one small item.

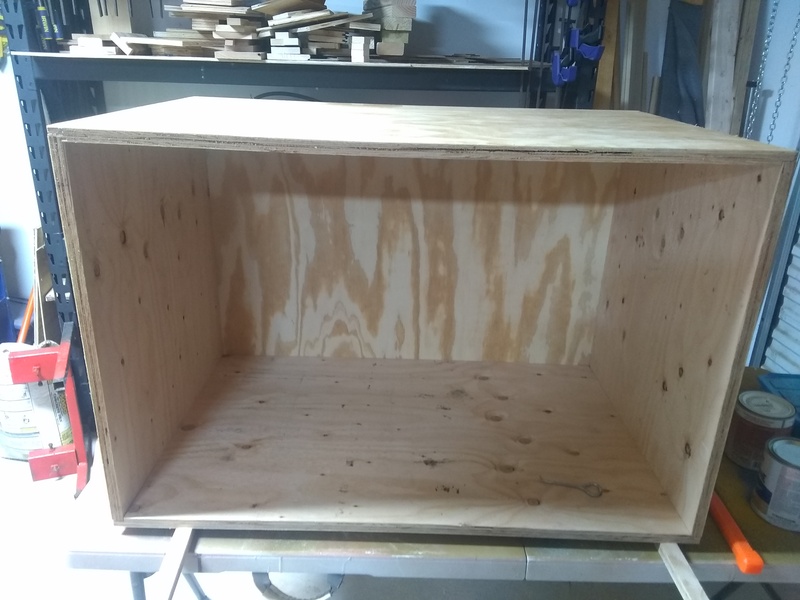
Started by making a standard box out of ¾ ply:

Tool Cabinet Box

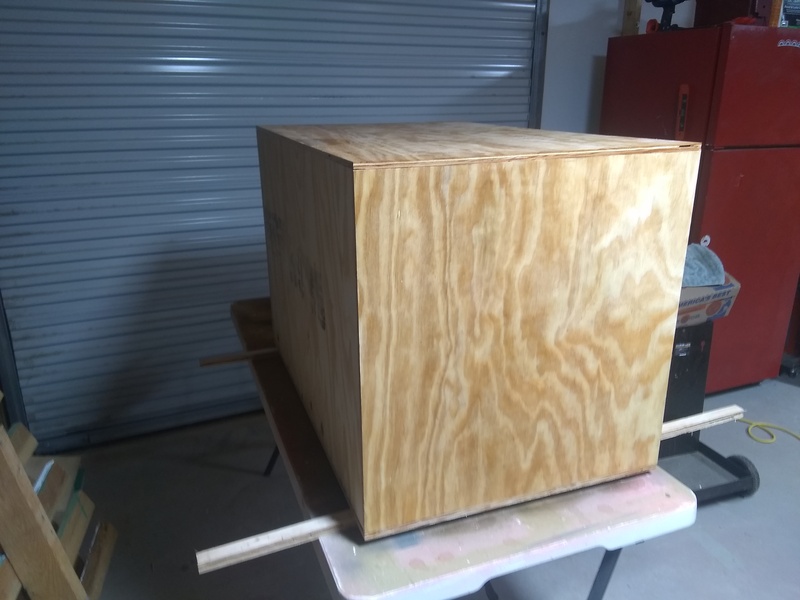
Then I gave it the seal and sand, nothing fancy, just a couple coats to keep the Kool-Aid stains off it.

Tool Box 2 Kool-Aid

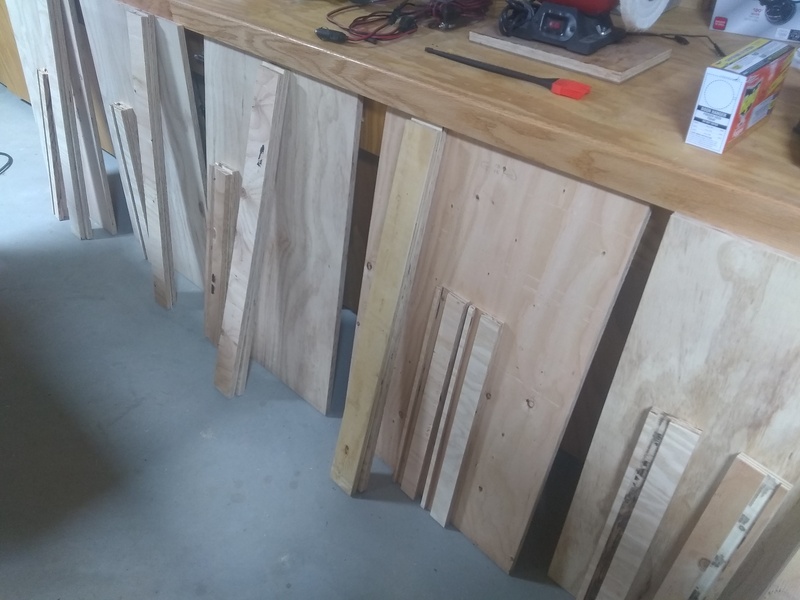
I cut up the wood for 5 drawers:

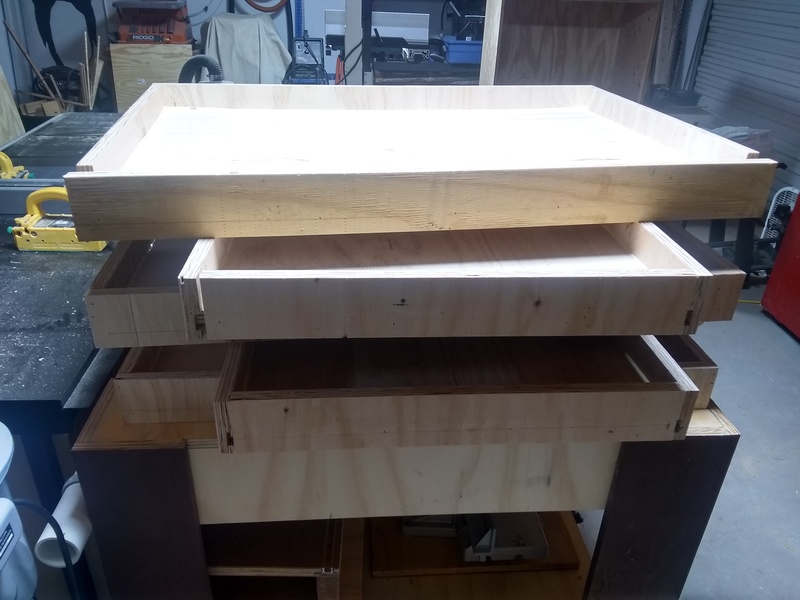
Glued them together, ignore the ugly ones….

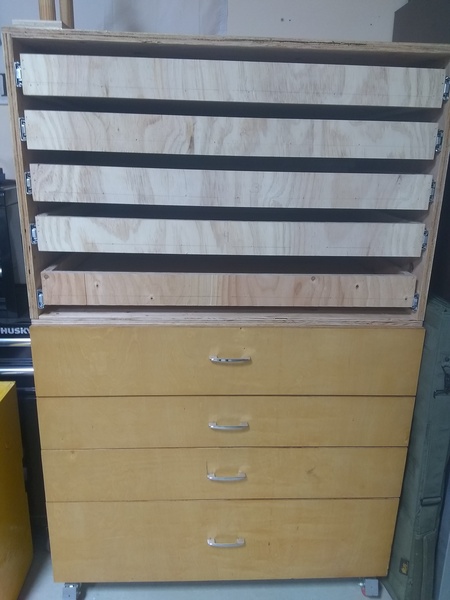
Mounted them up with full extension drawer slides. Shout out to habitat re-stores!


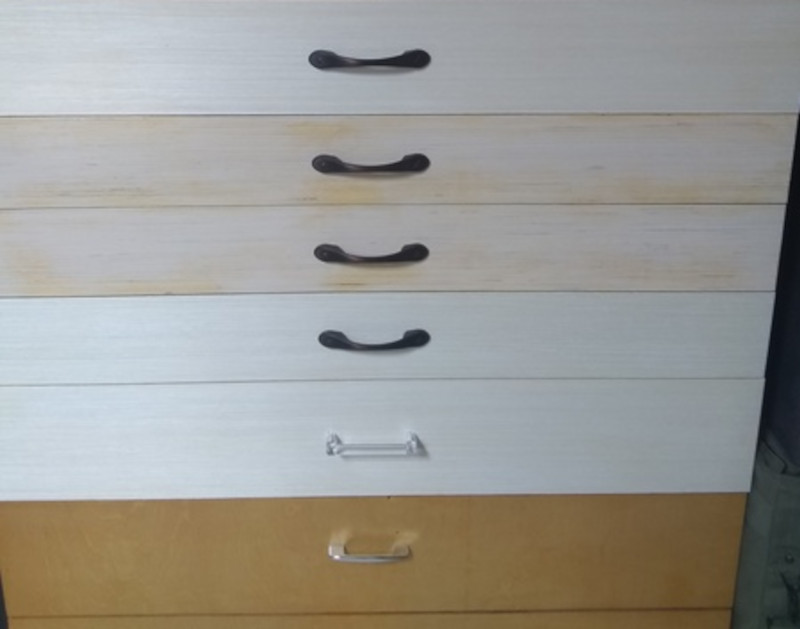
Put the faces on and finished it up with some pulls I had.

Here is an action shot before the face plates made it on:

Chat with us on Discord

Ansible Tower / Automation Platform Install / Upgrade NOTES

As root:

#Remove old ‘latest’

rm ansible-tower-setup-bundle-latest.el8.tar.gz

#Run a backup

ansible-tower-setup-bundle-n.n.n-n/setup.sh -b

#Copy the backup to /root I remove the colons in the cp

cp ansible-tower-setup-bundle-n.n.n-n/tower-backup-2022-05-26-13\:28\:57.tar.gz /root/tower-backup-2022-05-26-13-28-57.tar.gz

#Copy the inventory to /root

cp ansible-tower-setup-bundle-n.n.n-n/inventory /root

#get the new latest

wget https://releases.ansible.com/ansible-tower/setup-bundle/ansible-tower-setup-bundle-latest.el8.tar.gz

#Un-tar it

tar xzvf ansible-tower-setup-bundle-latest.el8.tar.gz

#Copy inventory to latest

cp inventory ansible-tower-setup-bundle-n.n.n-n/

#Upgrade

ansible-tower-setup-bundle-n.n.n-n/setup.sh

Chat with us on Discord


Installing Ansible Tower – NOTES

##Get the tar to /root

wget https://releases.ansible.com/ansible-tower/setup-bundle/ansible-tower-setup-bundle-latest.el8.tar.gz

## Make Sure your hosts file has it self in it

vi /etc/hosts

192.168.1.5 localhost myservername myservername.fqdn

##untar it

tar xzvf ansible-tower-setup-bundle-latest.el8.tar.gz

##get in the directory

cd ansible-tower-setup-bundle-n.n.n.n/

##edit the inventory file

vi inventory

##EDIT

[automationcontroller]

vmyservername.fqdn ansible_connection=local

[all:vars]

admin_password=’PASSWORD_GOES_HERE’

pg_password=’PASSWORD_GOES_HERE’

automationhub_admin_password=’PASSWORD_GOES_HERE’

automationhub_pg_password=’PASSWORD_GOES_HERE’

#save

:wq

##Attach the subscription

# subscription-manager list –available –all | grep “Ansible Automation Platform” -B 3 -A 6

subscription-manager attach –pool=<pool_id>

##run setup

./setup.sh

##################################################

NOTES:

https://docs.ansible.com/ansible-tower/latest/html/quickinstall/prepare.html#prerequisites-and-requirements

18. Bubblewrap functionality and variables — Ansible Tower Administration Guide v3.8.3

##FOR Ansible Automation Platform:

sudo vi /etc/sysctl.d/52-app.conf

#added for AAP

user.max_user_namespaces=15000

## sudo sysctl –system or reboot

##To Verify:

cat /proc/sys/user/max_user_namespaces

or

dzdo sysctl user.max_user_namespaces=15000

user.max_user_namespaces = 15000

Chat with us on Discord

Drill Press Table

I made a new DIY Drill Press table to replace the very small one that came with it.

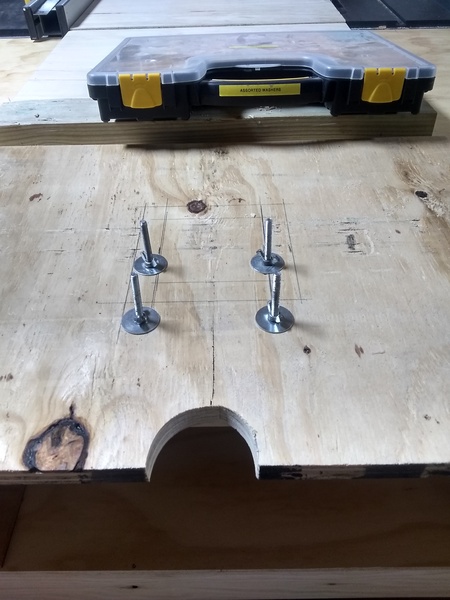
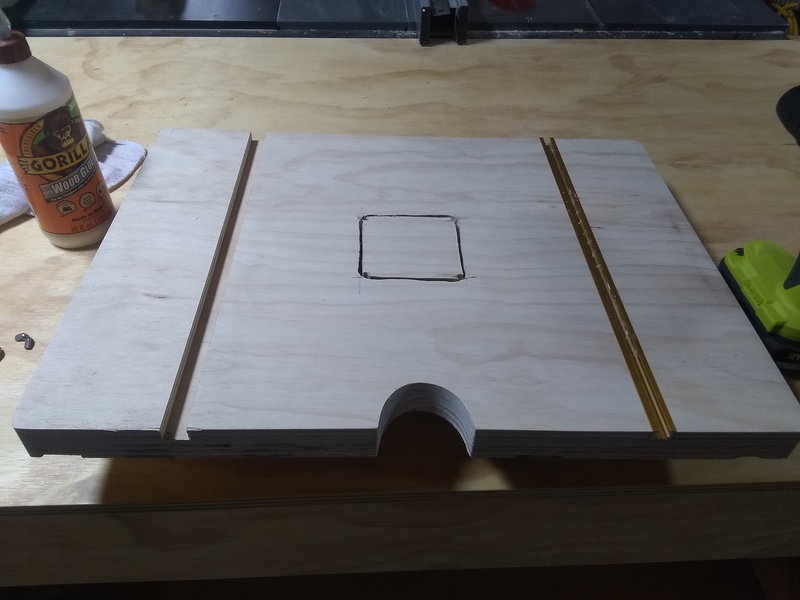
First thing I did was cut a piece of ¾ inch plywood 24 x 18 inches, cut a notch in the back for the support tube and drop in 4 carriage bolts spaced to fit through the existing table. I used the wing nuts and washers to temporary hold them in place.

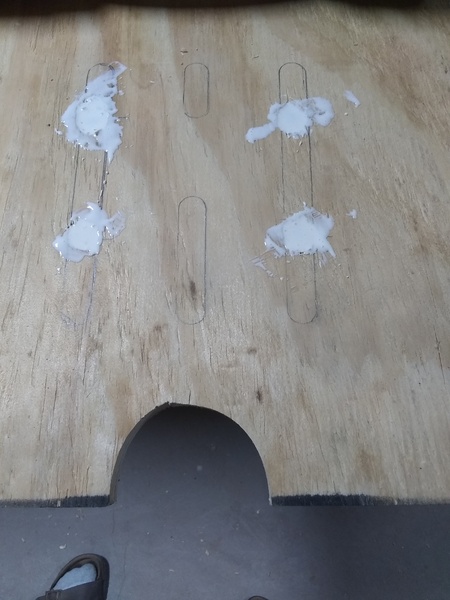
Counter sunk and glued in place

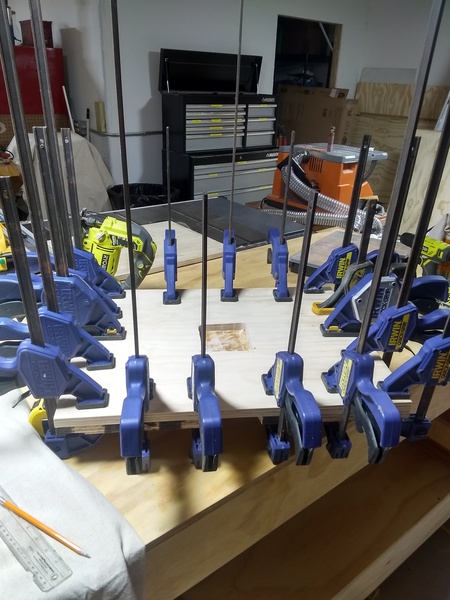
Cut and glued the top plate to it.

clam-a-geton

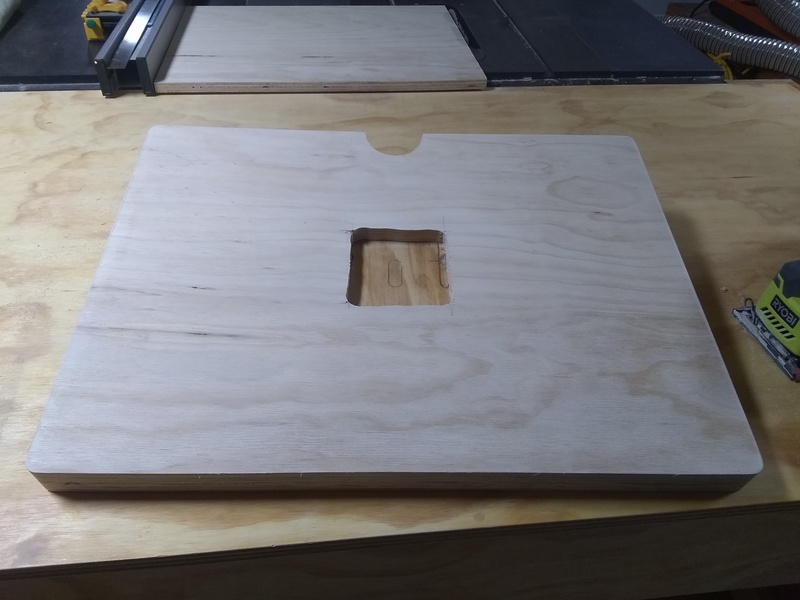
Also notched and cut out a square area for a sacrificial block.

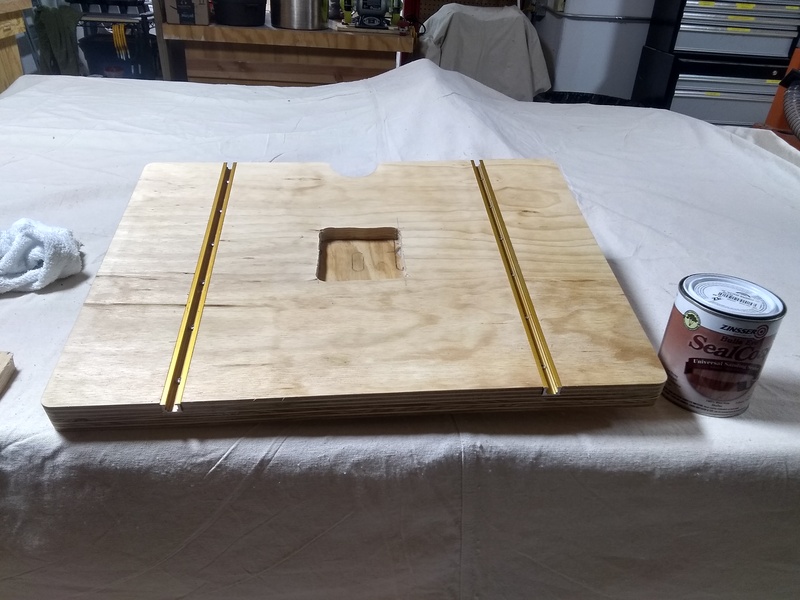
Sanded and added the T-Track

Sealed it up:

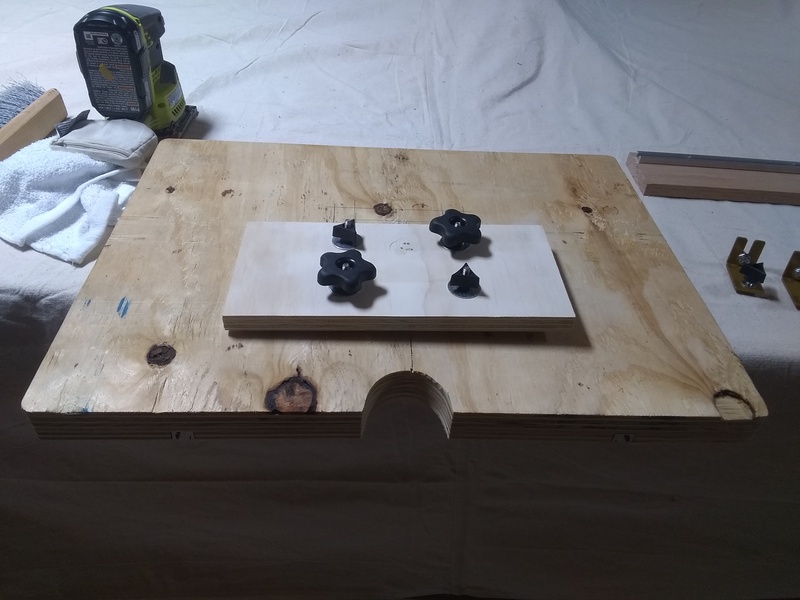
Created a base plate and added some knobs I had laying around

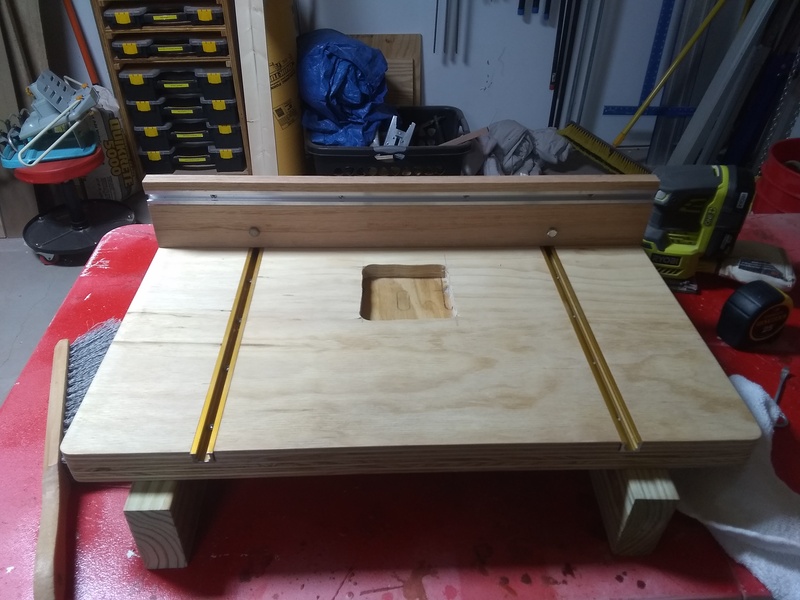
Added the fence, and she is done!

Chat with us on Discord

Table Refresh

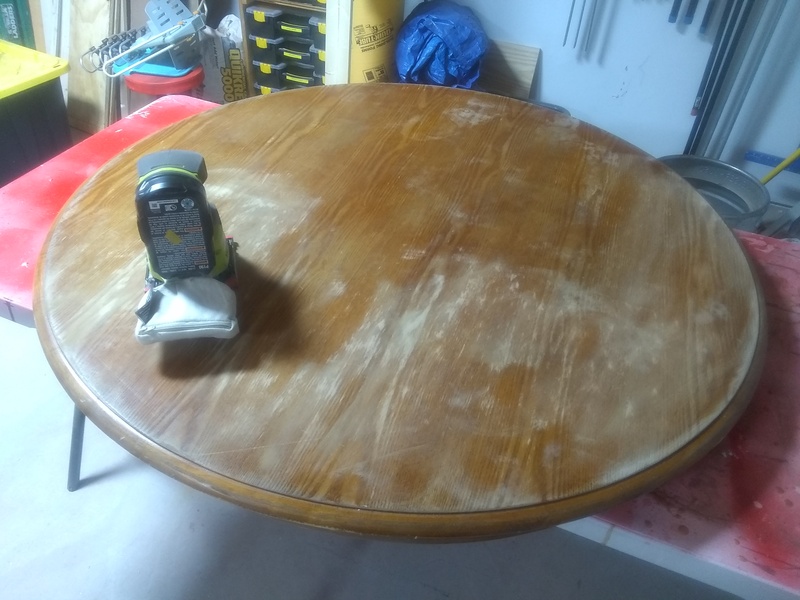
I got an old table from a friend that was moving and was going to throw it away.

I removed the top and sanded it down.

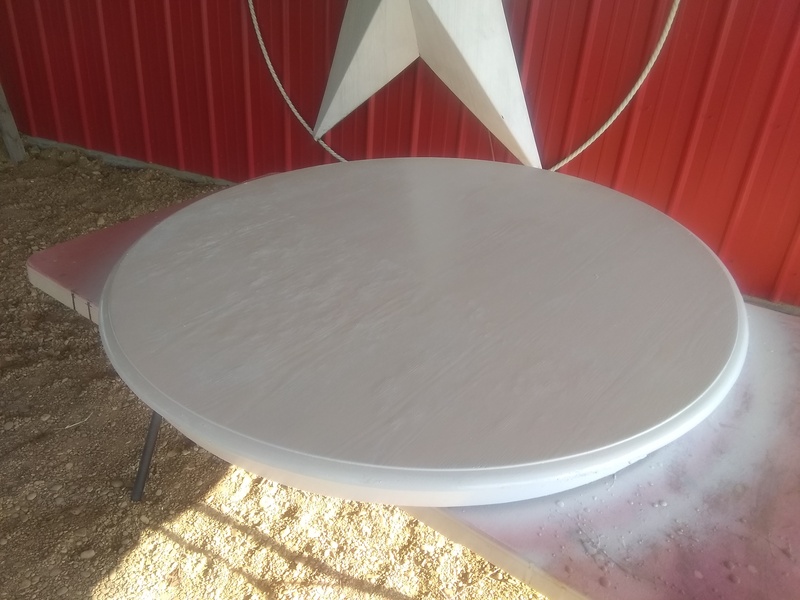
Painted it up.

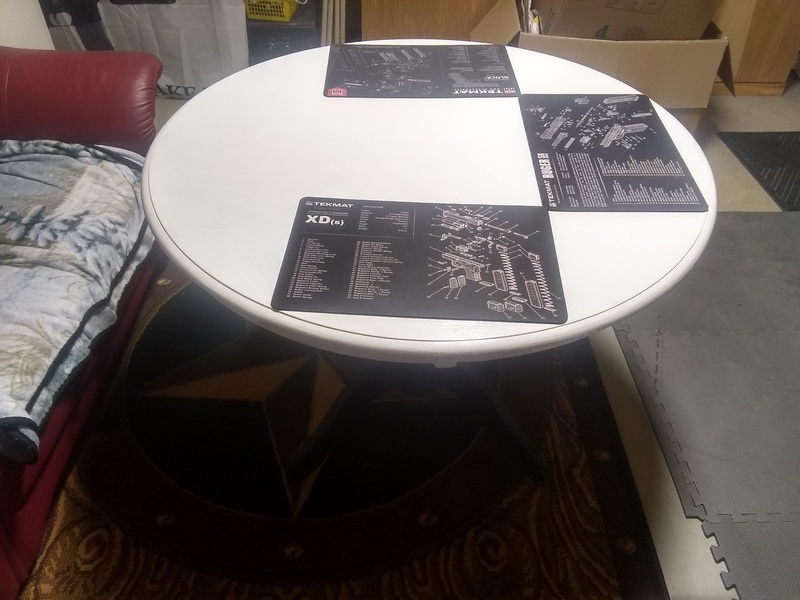
It has turned out to be a nice addition to the office. I have done many projects sitting at it and hope to do many more.

Chat with us on Discord

Storage bins

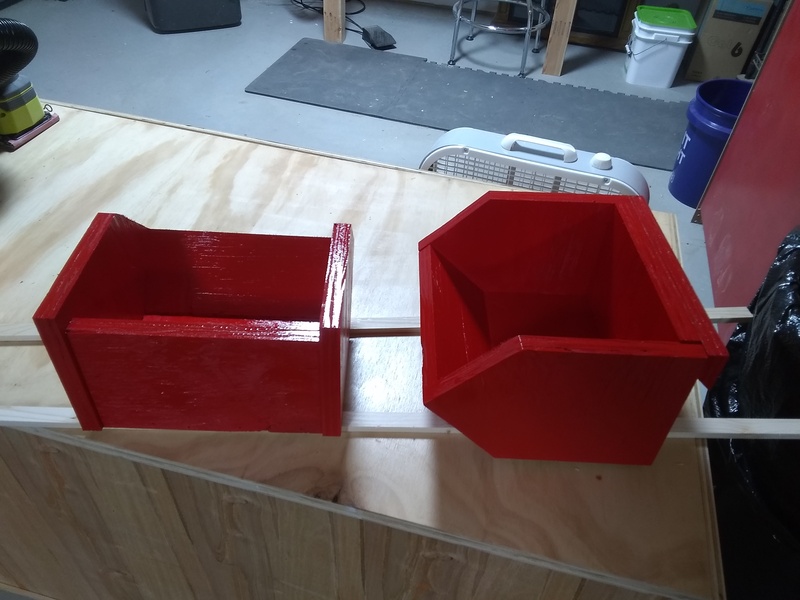
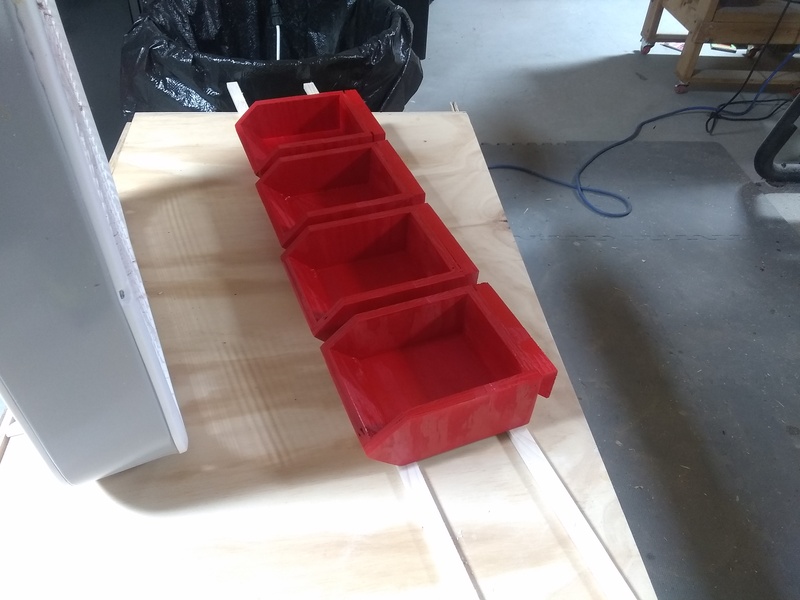
I found some neat storage bin plans here: https://wilkerdos.com/product/storage-bins With some extra plywood I had laying around, I made some.

Made a couple large:

And a couple small:

I think they came out pretty good, just going to use them in the shop. The scrap I had was ¾ “ so the will hold just about anything .

After you get the build down, you can make any size to fit your needs.

Chat with us on Discord

Lee Load-Master First Time Setup

When I was setting up my Lee Load Master for first time use I did a little clean up before putting it into use.

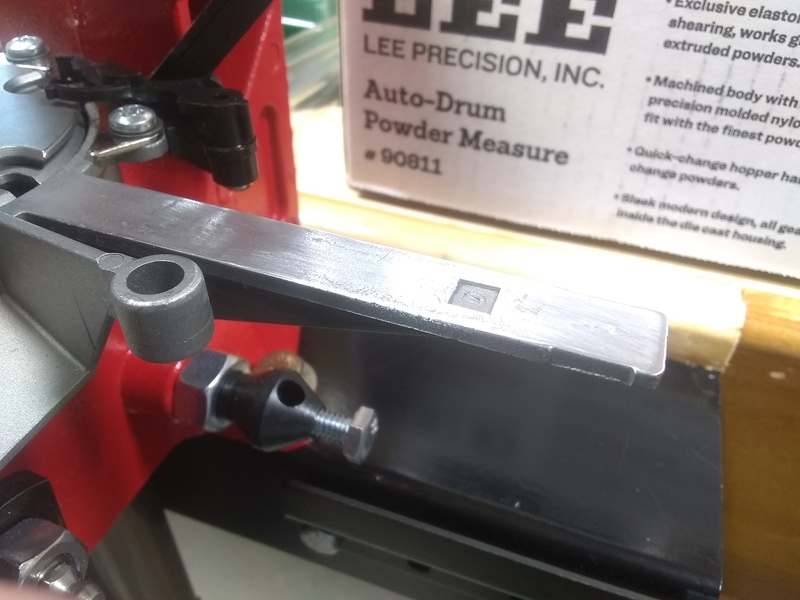
Polished up the ramp for the sliders using some 1000 grit sand paper and a soft rag

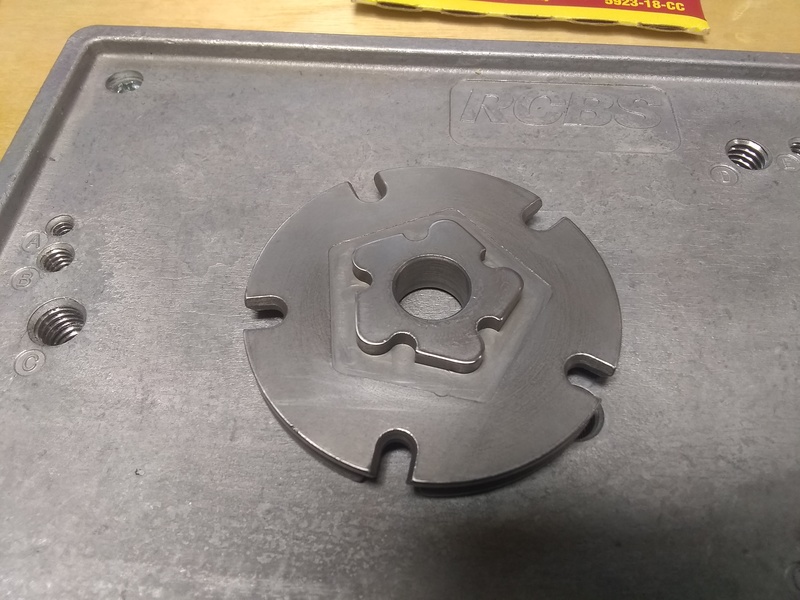
Then cleared burs and lightly polished the shell plates. Here is one example:

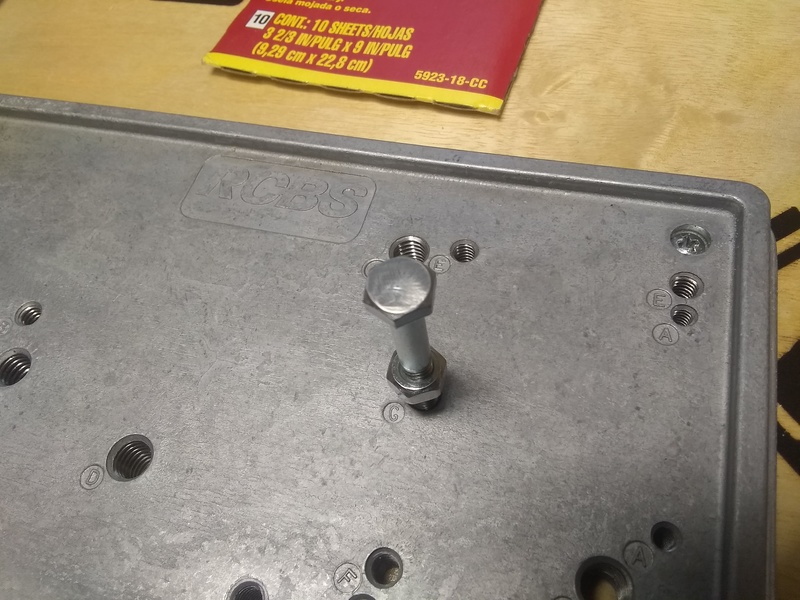
To avoid primer seating issues I polished off the text on the bolt head and made sure it was flat.

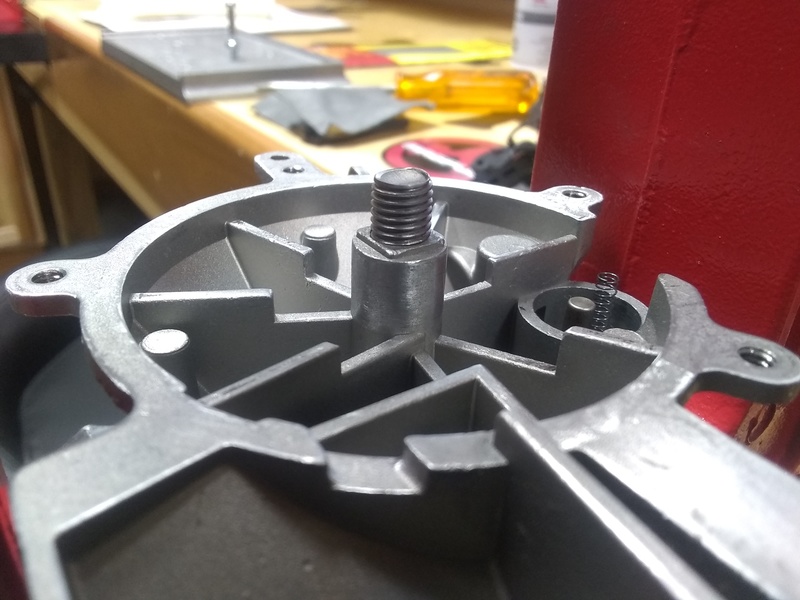
Last thing I did was make sure the spindle was smooth and that the shell plate rotated nice and smooth.

That is it! Put it back together and started reloading.

Chat with us on Discord

Copy Protected by Chetan's WP-Copyprotect.