Drill Press Table

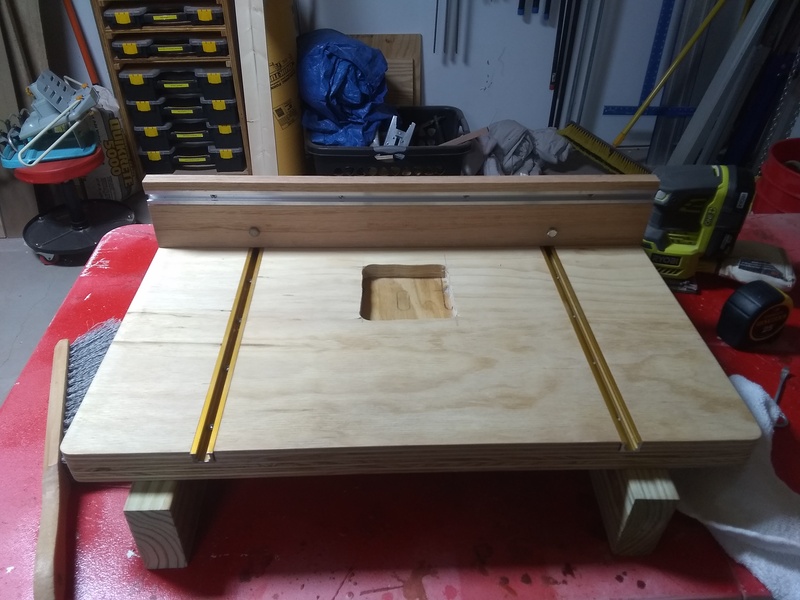
I made a new DIY Drill Press table to replace the very small one that came with it.

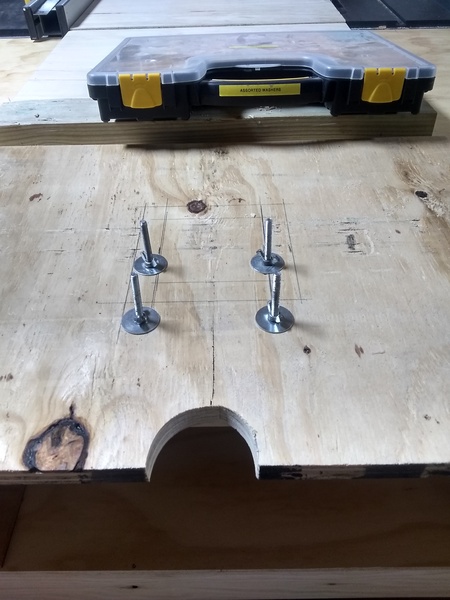
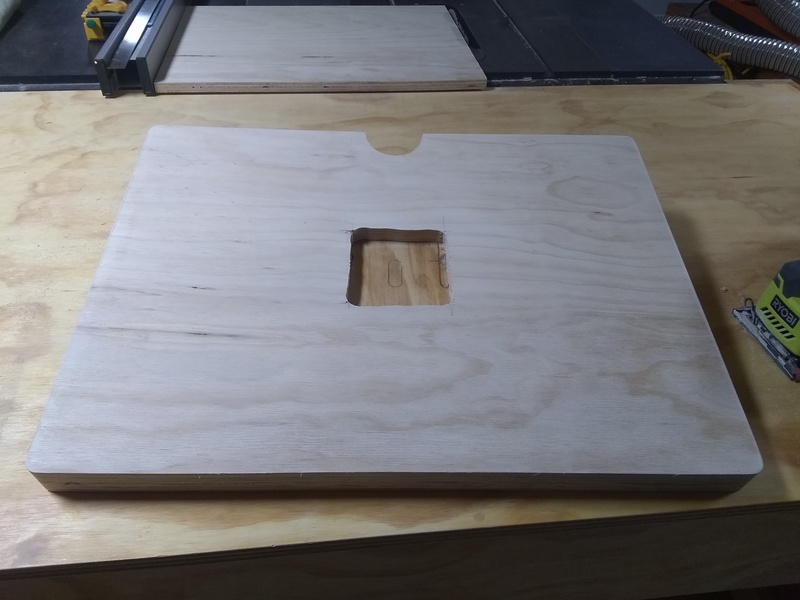
First thing I did was cut a piece of ¾ inch plywood 24 x 18 inches, cut a notch in the back for the support tube and drop in 4 carriage bolts spaced to fit through the existing table. I used the wing nuts and washers to temporary hold them in place.

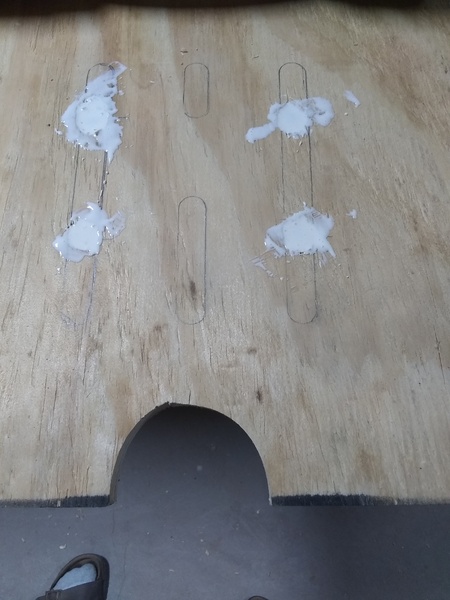
Counter sunk and glued in place

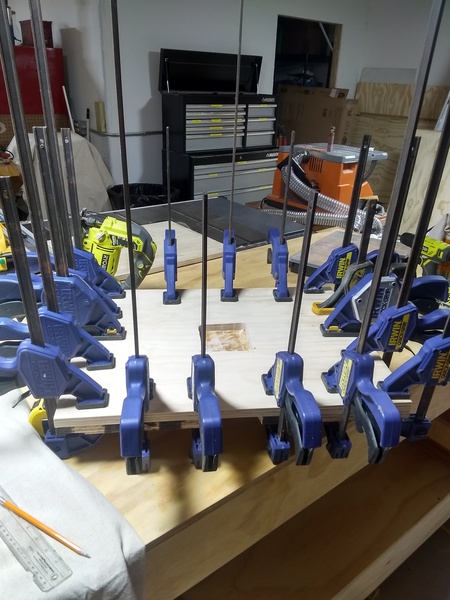
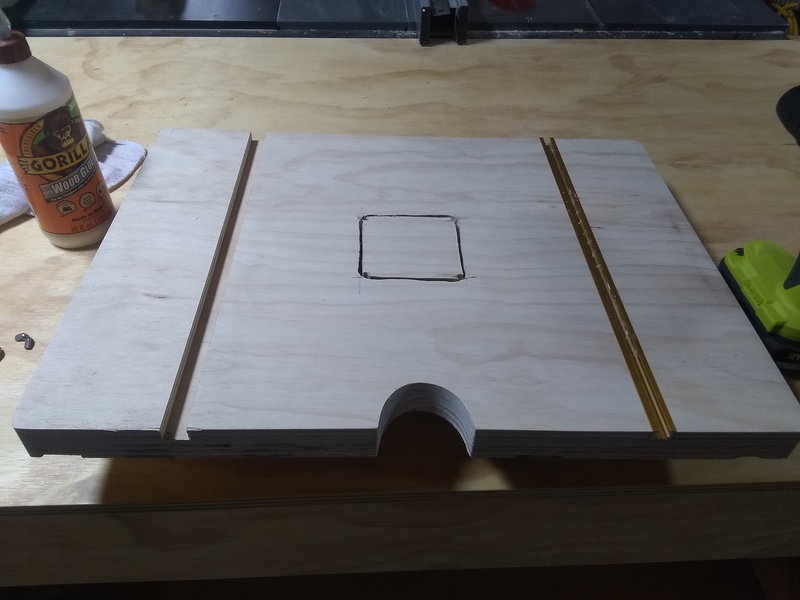
Cut and glued the top plate to it.

clam-a-geton

Also notched and cut out a square area for a sacrificial block.

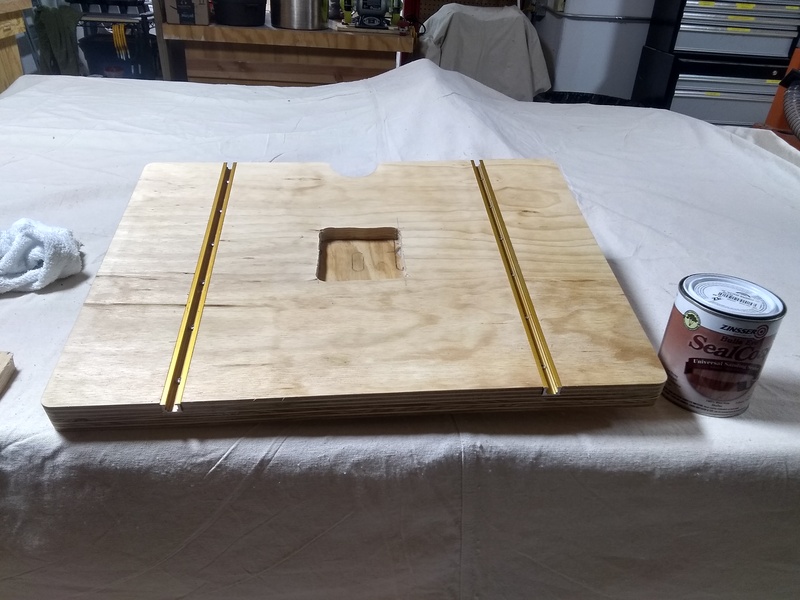
Sanded and added the T-Track

Sealed it up:

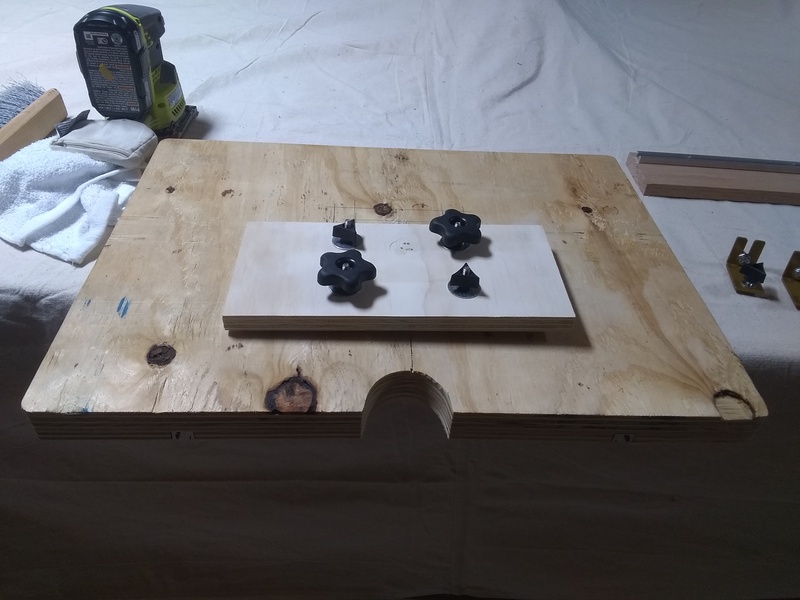
Created a base plate and added some knobs I had laying around

Added the fence, and she is done!

Chat with us on Discord

Table Refresh

I got an old table from a friend that was moving and was going to throw it away.

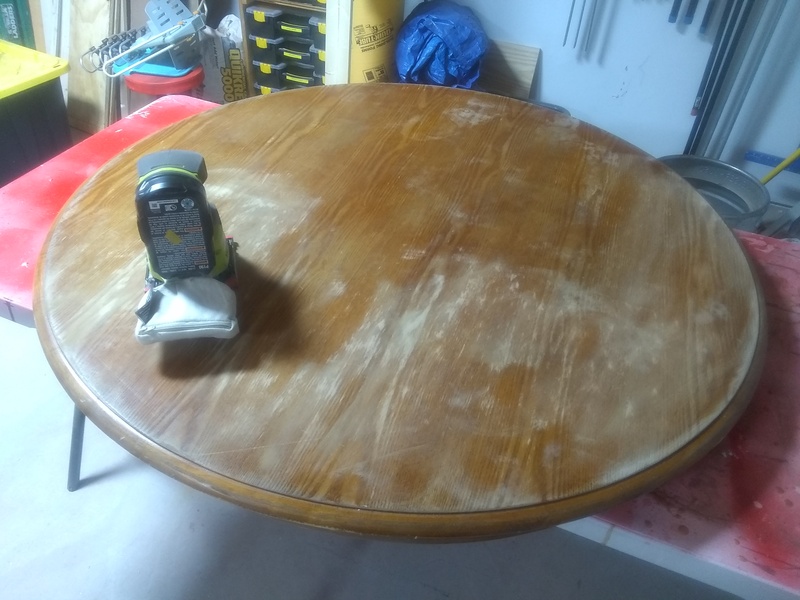
I removed the top and sanded it down.

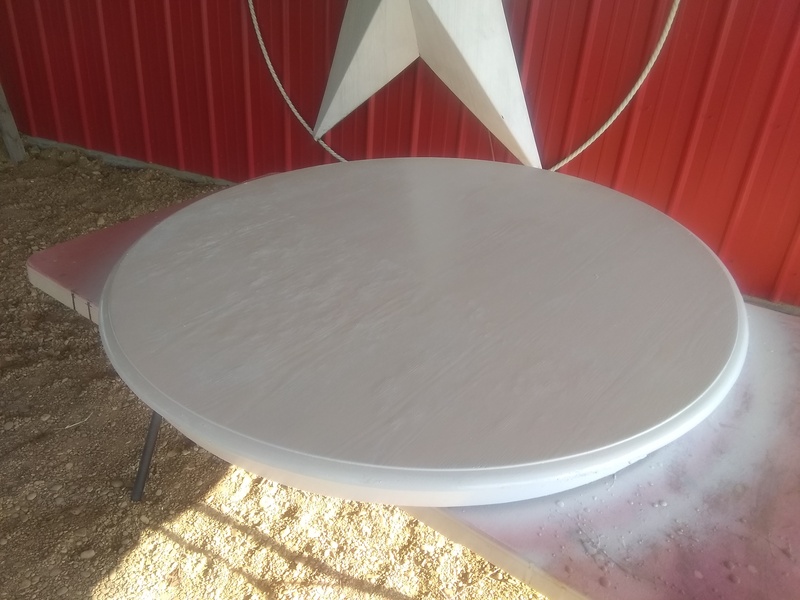
Painted it up.

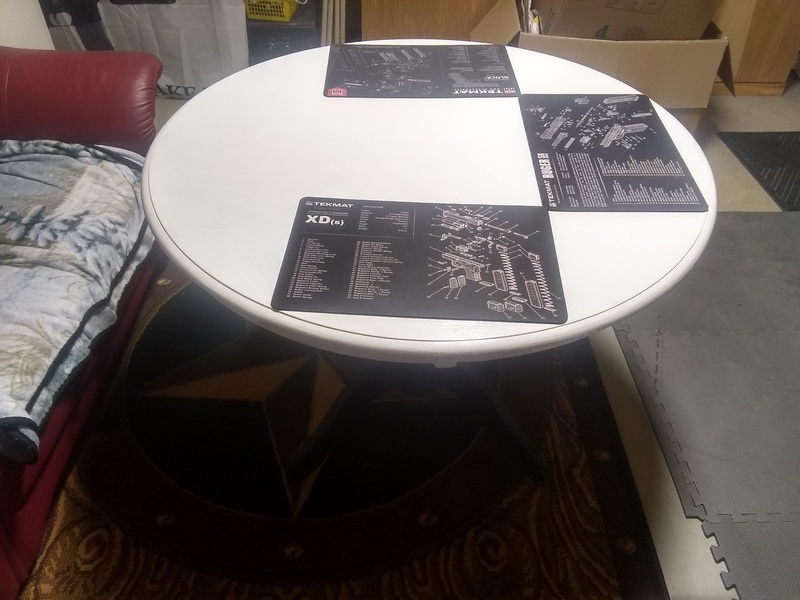
It has turned out to be a nice addition to the office. I have done many projects sitting at it and hope to do many more.

Chat with us on Discord

Storage bins

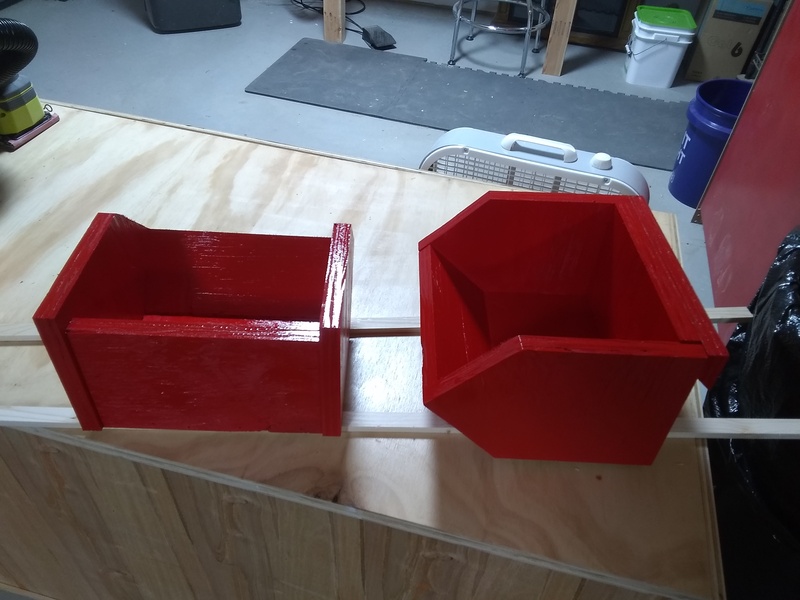
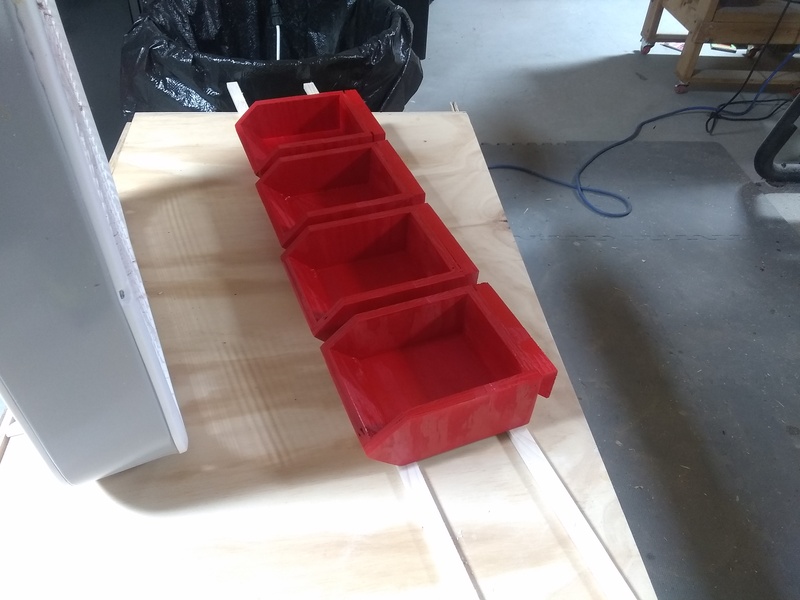
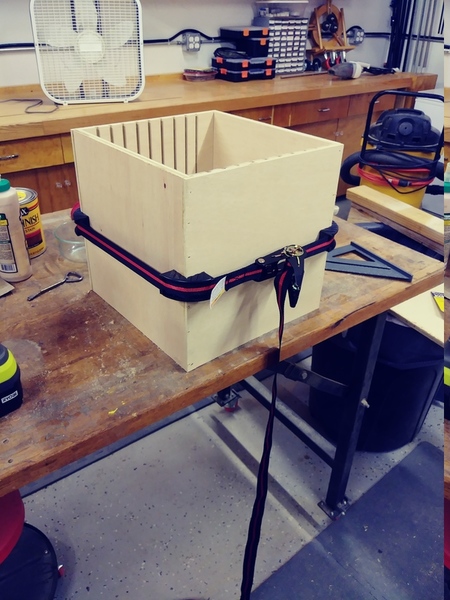
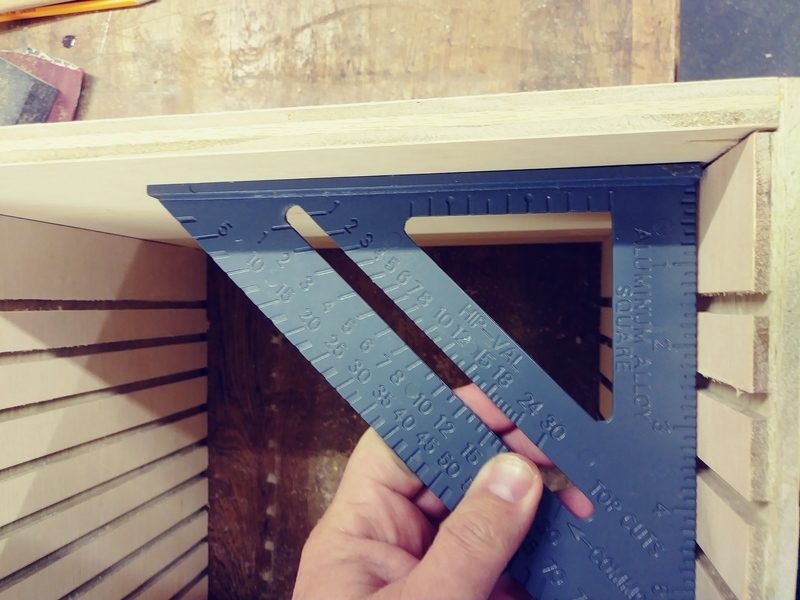
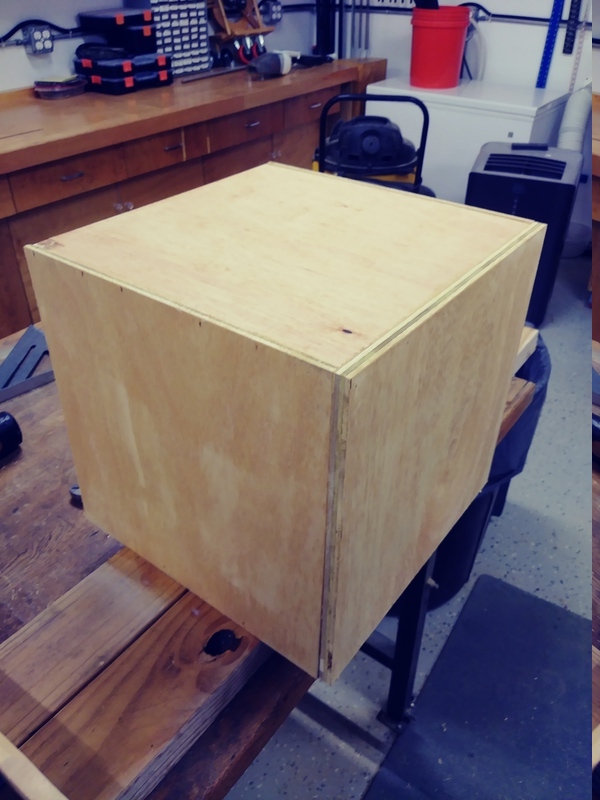
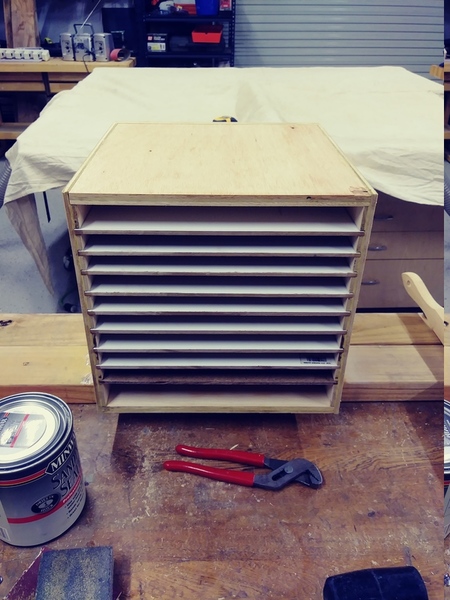
I found some neat storage bin plans here: https://wilkerdos.com/product/storage-bins With some extra plywood I had laying around, I made some.

Made a couple large:

And a couple small:

I think they came out pretty good, just going to use them in the shop. The scrap I had was ¾ “ so the will hold just about anything .

After you get the build down, you can make any size to fit your needs.

Chat with us on Discord

Parts Washer

Got me a Harbor Freight parts washer and moving thing to put it on. There are a ton of videos on modifications and how to put it together on the internet. Not going to put you through all that. Just going to show what I did.

I will not be using this for heavily soiled auto parts or farm equipment. Mostly weapons and parts, and to ‘finish’ clean other items.
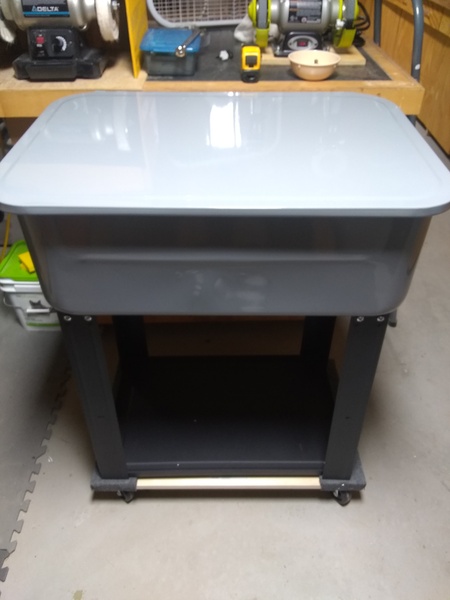
I purchased the Oriflo With Hose (OR101H) Flow-Thru Parts Washer Brush and Immersion Water Heater from Amazon. The rest of the items I had laying around.

I did not realize the heater came with a timer, the price was the same as the ones with the timer. I removed it and put a standard plug in it place.
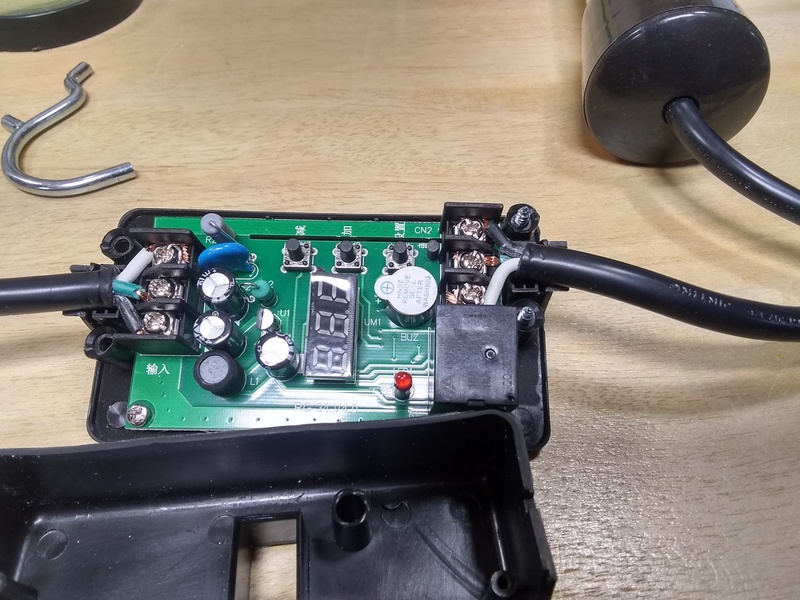
Before I put the plug back on, I drilled a hole above the full line for the cord and put a grommet in.
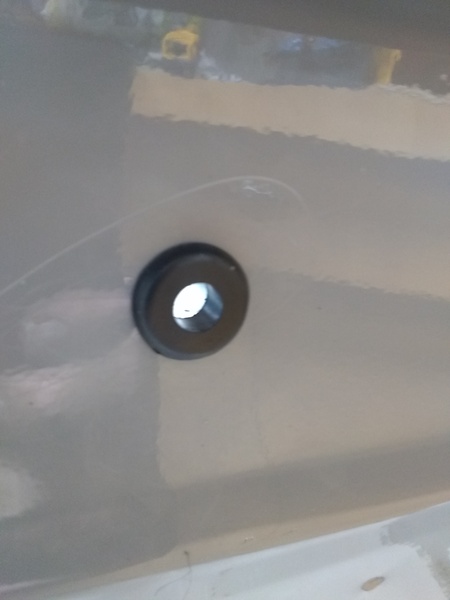
Ran the cable and put the plug on:
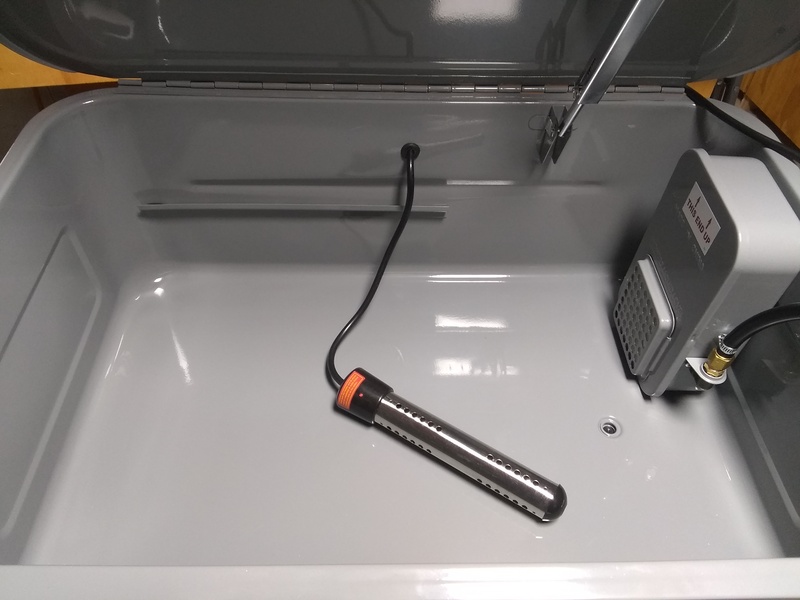
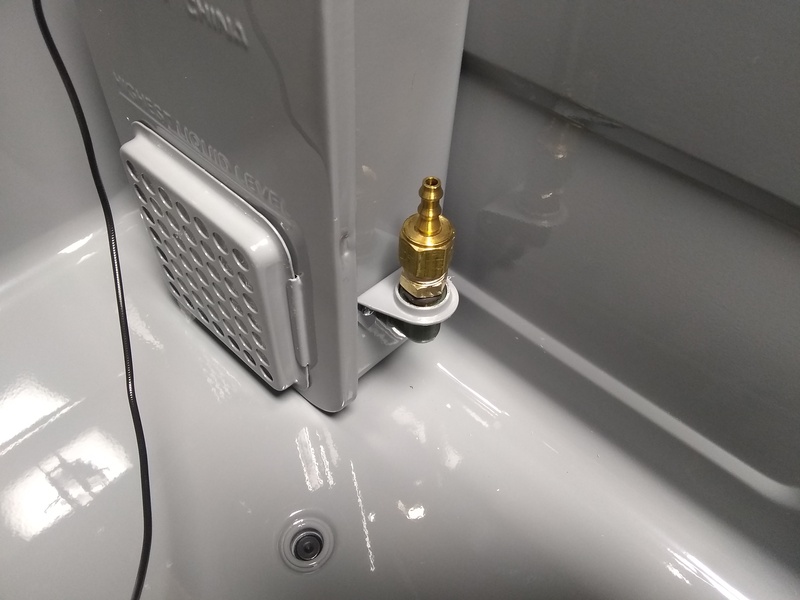
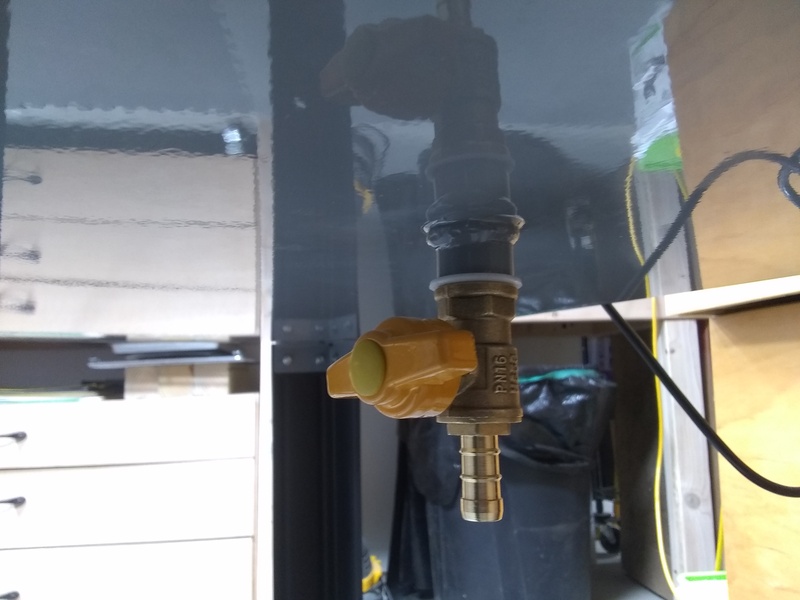
I dont want the big metal sprayer thing. I took it off and put a fitting in its place:
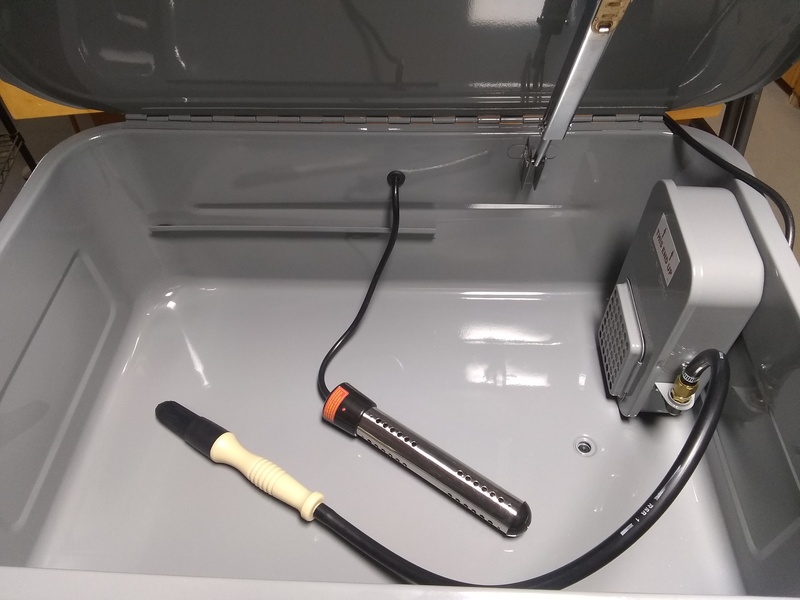
I cut the end off the brush hose. It was designed to fit over the end of the metal sprayer. I then slid it over the fitting and clamped:
I had to order the drain plug as it is metric:
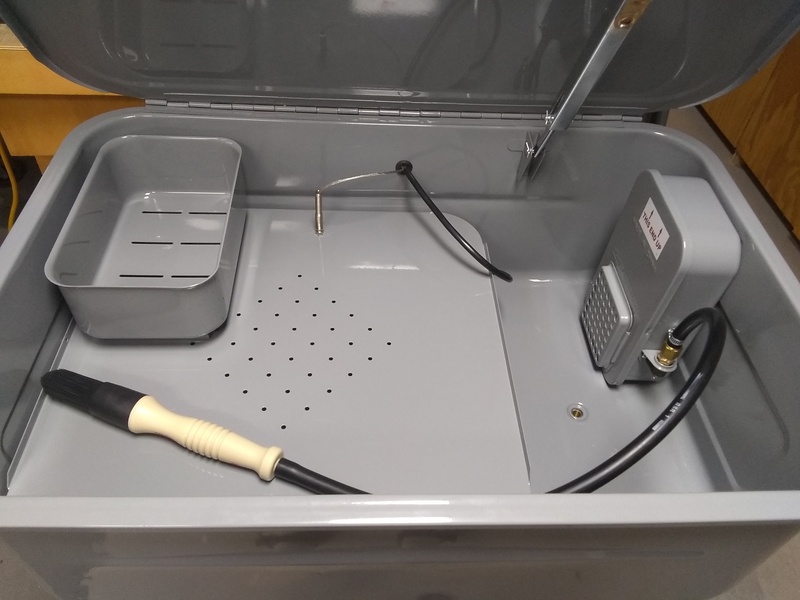
I built a PID for casting and I have an extra temperature sensor. I drilled a hole in the wash shelf and ran the cable through the grommet.
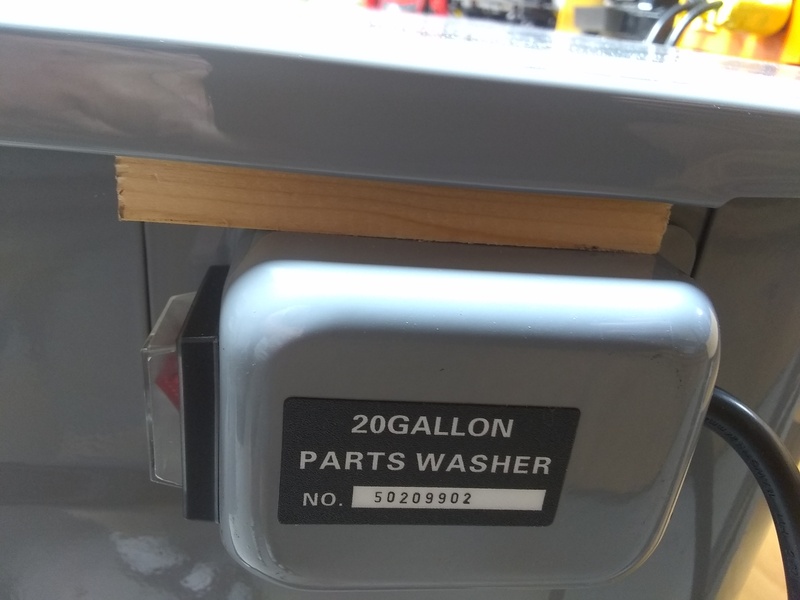
The only other modification I made for now is putting a block of wood on top of the power switch to stop some of the wobble.
Next up is testing.

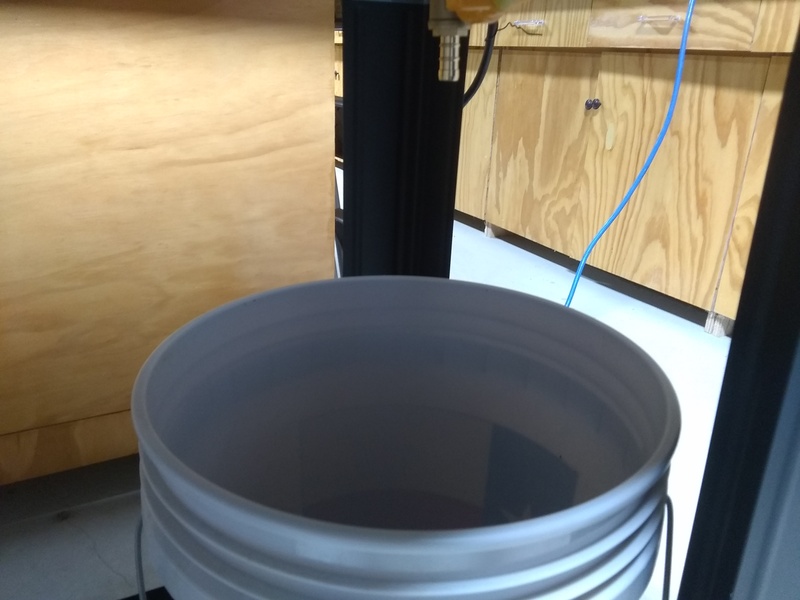
Sweet success! I used plain water for the the just in case. It took a long time for the flow to start. So long that I removed the brush and blew air through the tube to make sure it was clear. That must have primed it, started flowing after that.
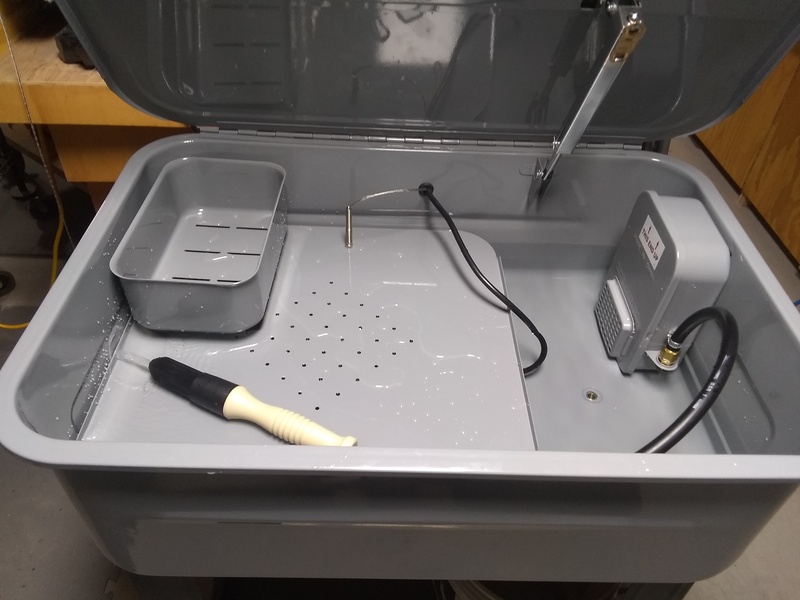
No leaks at the drain after 24 hrs….
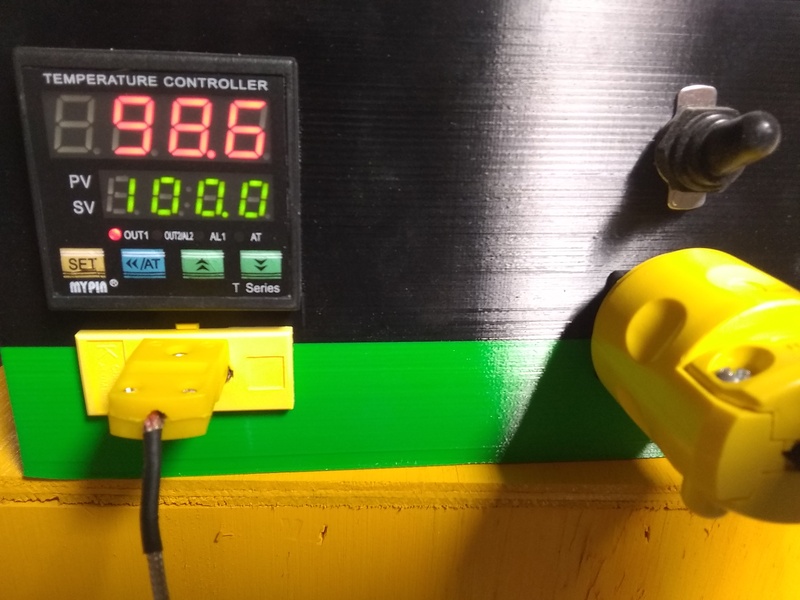
The PID worked as well. Set it at 100 degrees for now. Can adjust as needed.
Chat with us on Discord

Keeping it Clean!

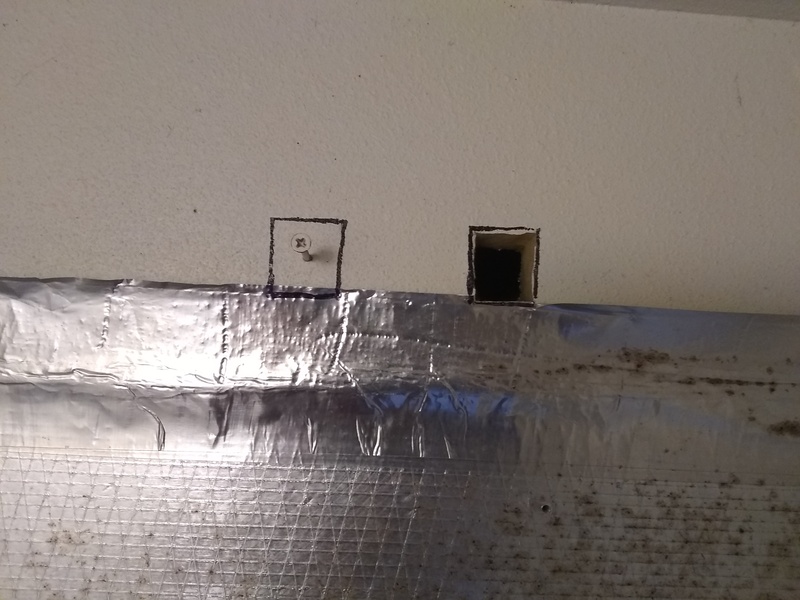
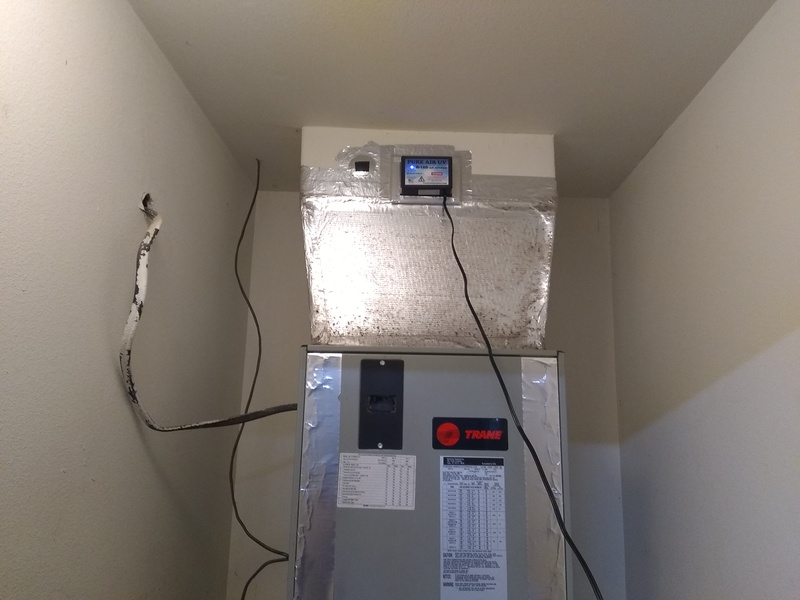
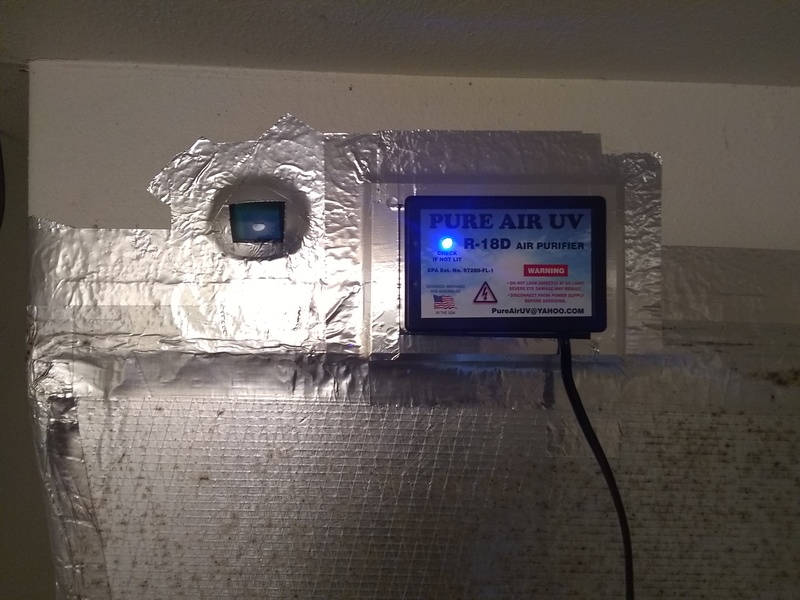
Earlier this week we had our AC system cleaned and sanitized. From vents to the unit. They recommended installing a Whole House UV AIR Purifier. So we did. First we outlined and cutout the holes:
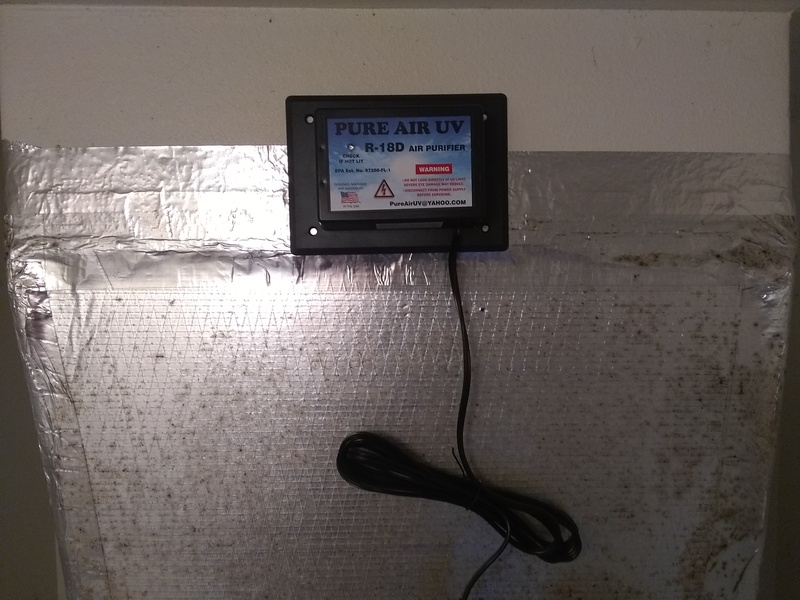
Did a test fit:

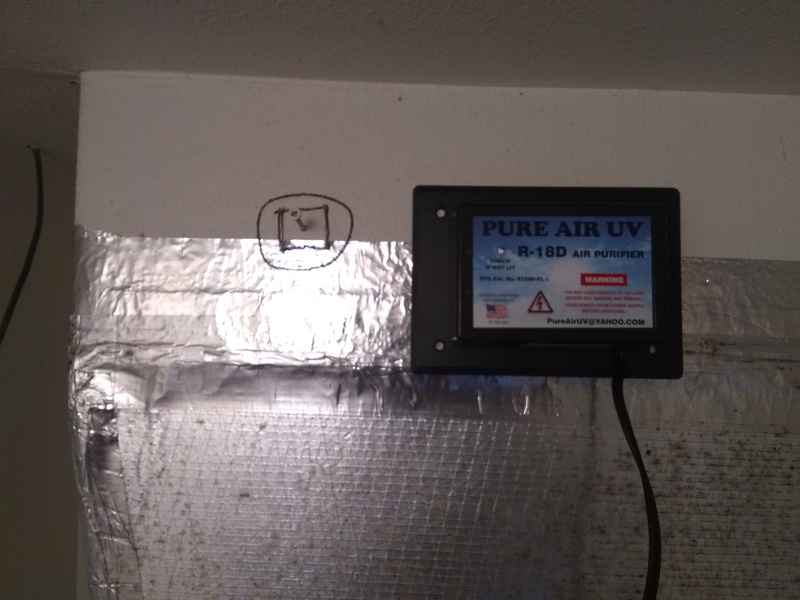
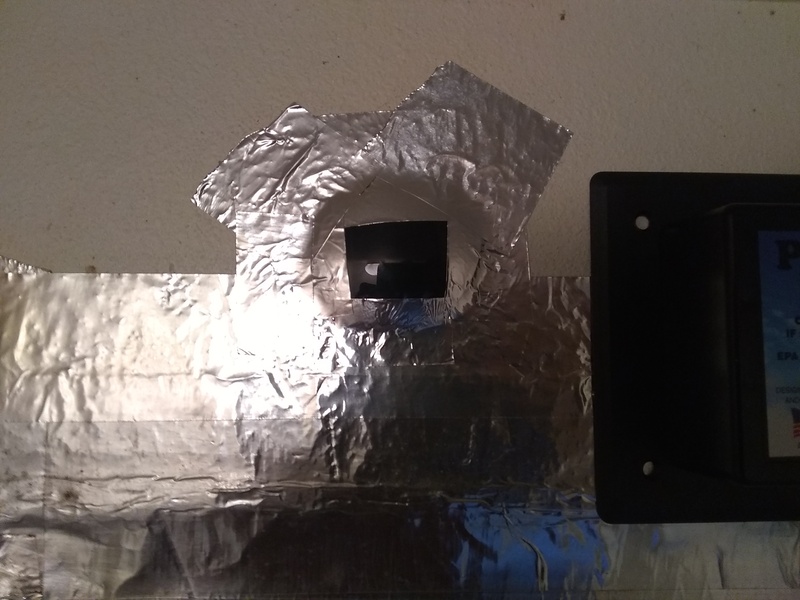
Then We got a cheap, as in Dollar Tree, pair of UV protective sunglasses. Popped out a lens, traced it, and cut out a square smaller than the lens.

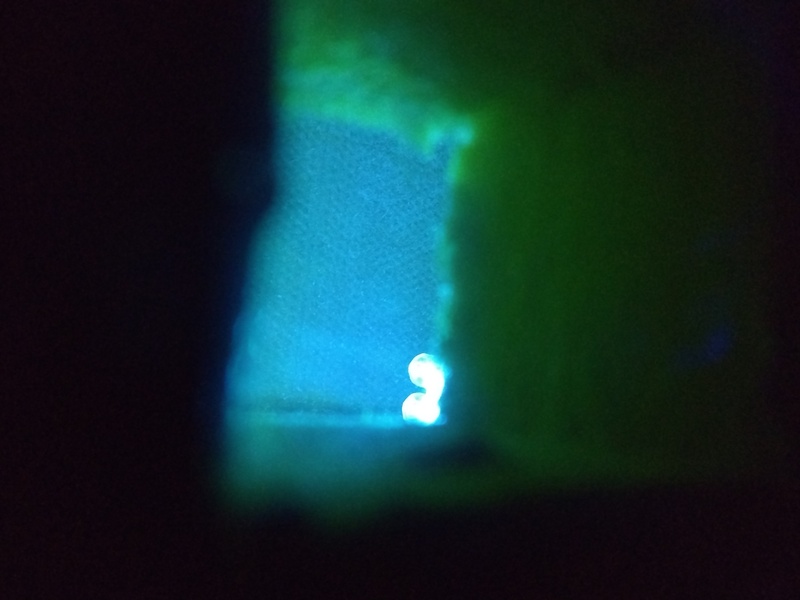
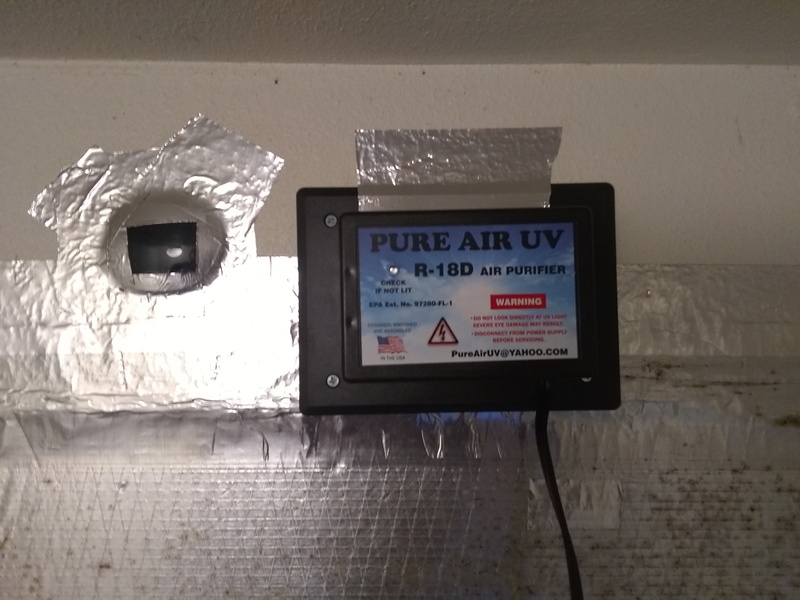
Then tapped it in. This way you can see if the light are working. If you dont do this, you have no real way of knowing if the UV light are really on.

Did a dry run to test things out:

And:

Success! Taped everything up.

We now have UV light, purified, and super duper cleaned for the whole house.

Paint Booth Setup

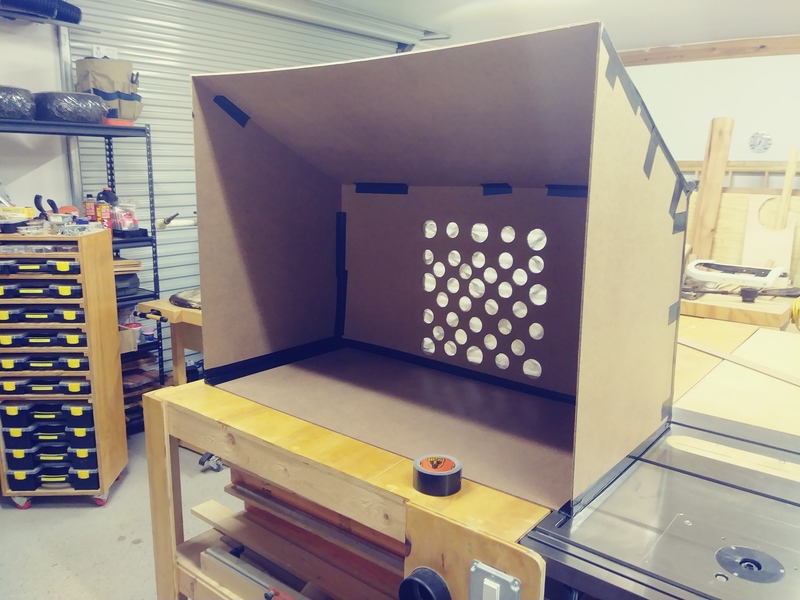
I wanted to build a paint booth for the shop. I wanted it to help keep over spray down and provide at least a little ventilation. Here is what I cam up with.

I had a 4×8 sheet of hard board from another project. I measured everything out and cut it up:

In the back panel I drilled out some 2 and 3 inch holes in a 20×20 square. The same size as an air filter:

I then made a frame to hold a 20×20 AC filter. Again using scrap I had laying around:

I used Gorilla tape to hold it all together. The hard board is too thin to nail and if I needed to, I could cut the tape and lay it down.

Back Side:

Lastly, I added some lights and a lazy Suzann:

Copy Protected by Chetan's WP-Copyprotect.