Drill Press Table

I made a new DIY Drill Press table to replace the very small one that came with it.

First thing I did was cut a piece of ¾ inch plywood 24 x 18 inches, cut a notch in the back for the support tube and drop in 4 carriage bolts spaced to fit through the existing table. I used the wing nuts and washers to temporary hold them in place.
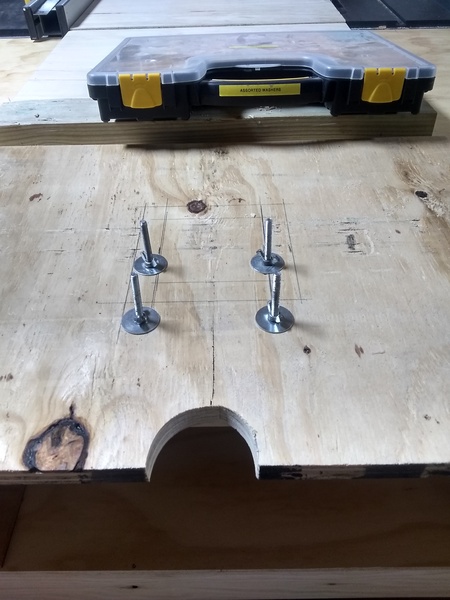
Plywood drill press table blank with carriage bolts temporarily held in place with wing nuts

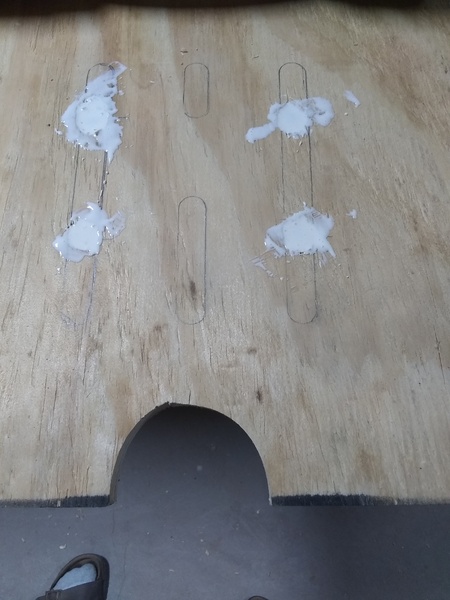
Counter sunk and glued in place

Carriage bolts counter-sunk and glued into the drill press table blank

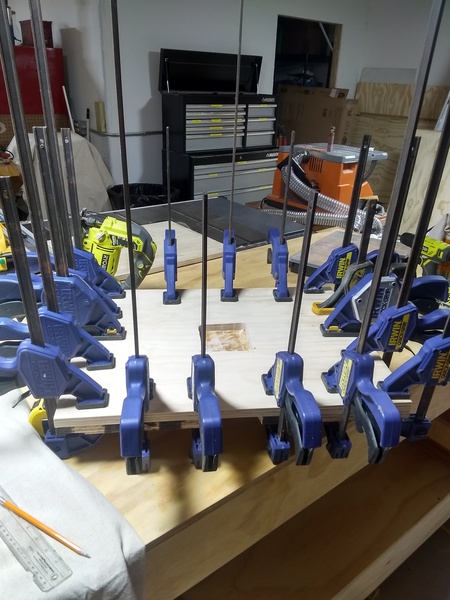
Cut and glued the top plate to it.

clam-a-geton

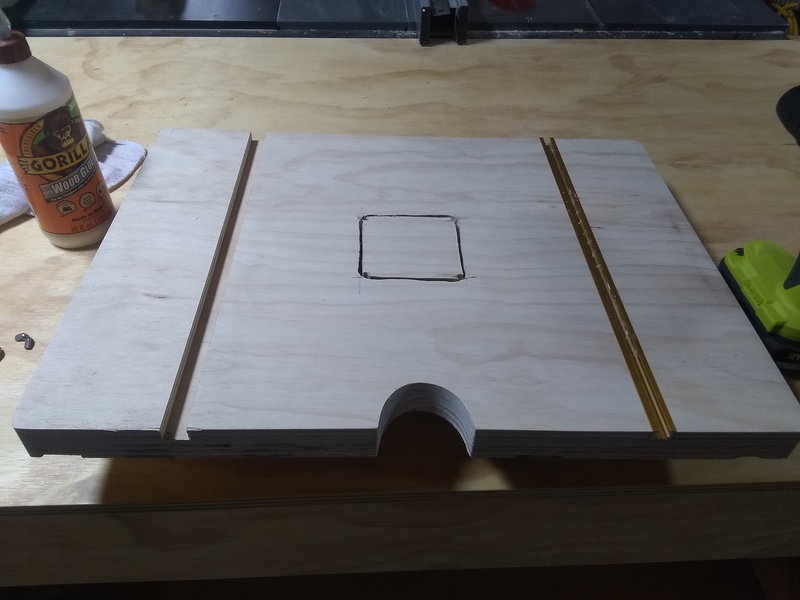
Also notched and cut out a square area for a sacrificial block.
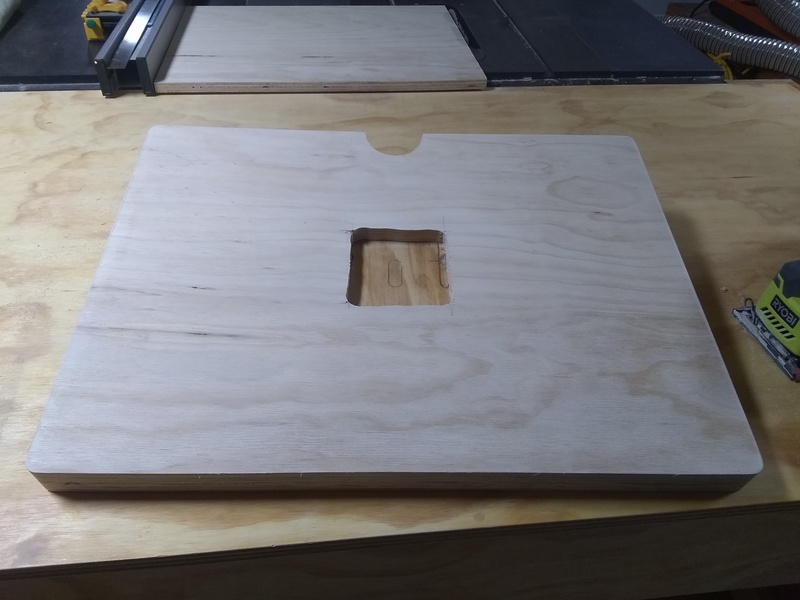
Square notch cut into the drill press table for a sacrificial block insert

Sanded and added the T-Track

Drill press table sanded with T-Track channel installed

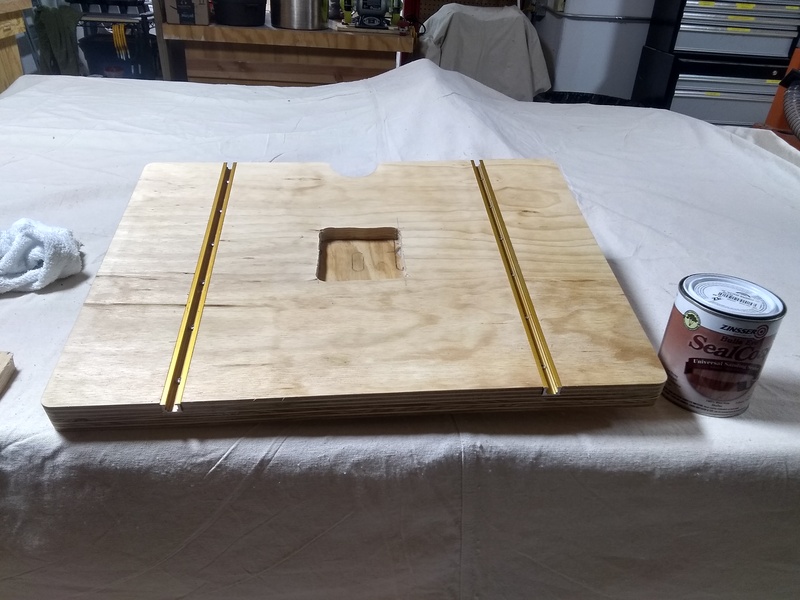
Sealed it up:

Drill press table sealed with finish

Created a base plate and added some knobs I had laying around
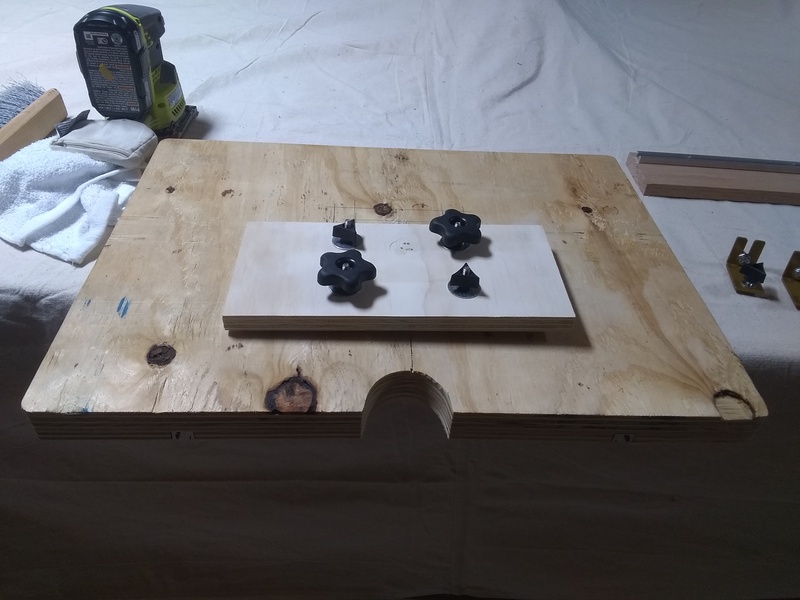
Base plate added to the drill press table with mounting knobs attached

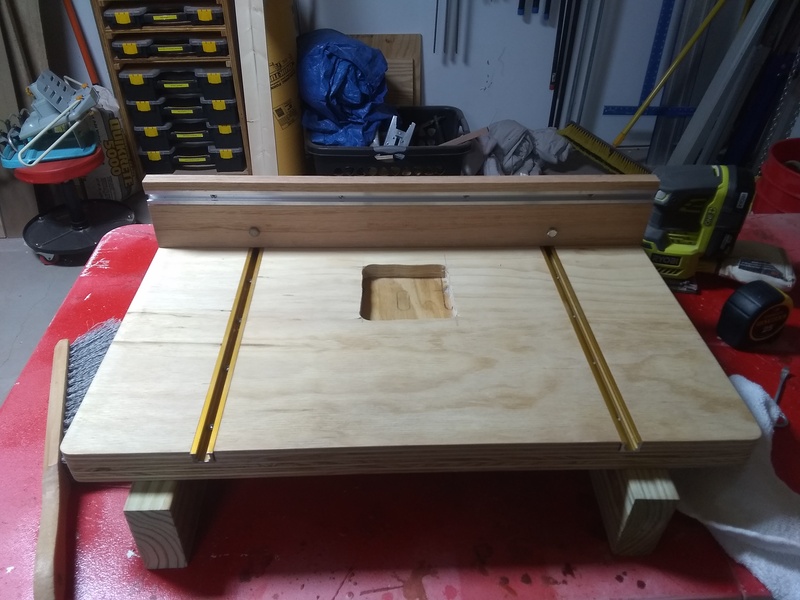
Added the fence, and she is done!
Finished drill press table with fence installed

Questions? Reach out on the Contact page

Storage bins

I found some neat storage bin plans here: https://wilkerdos.com/product/storage-bins With some extra plywood I had laying around, I made some.

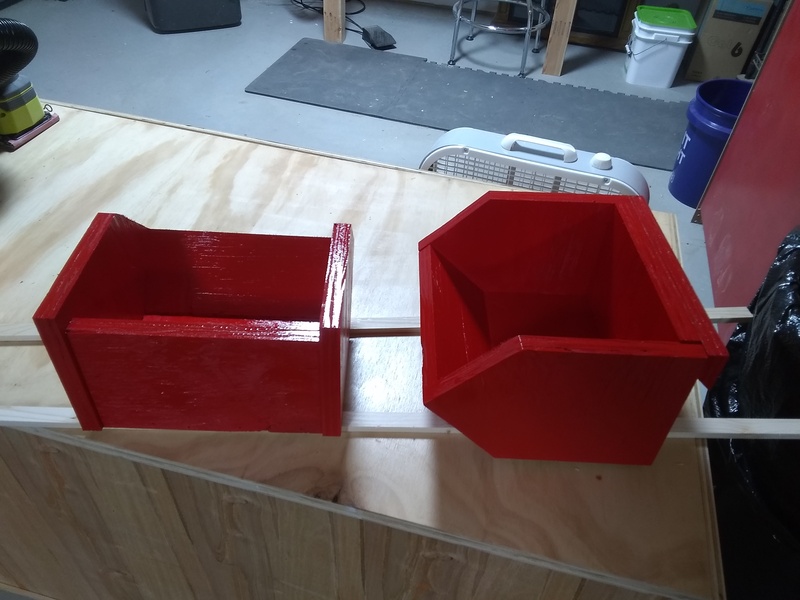
Made a couple large:

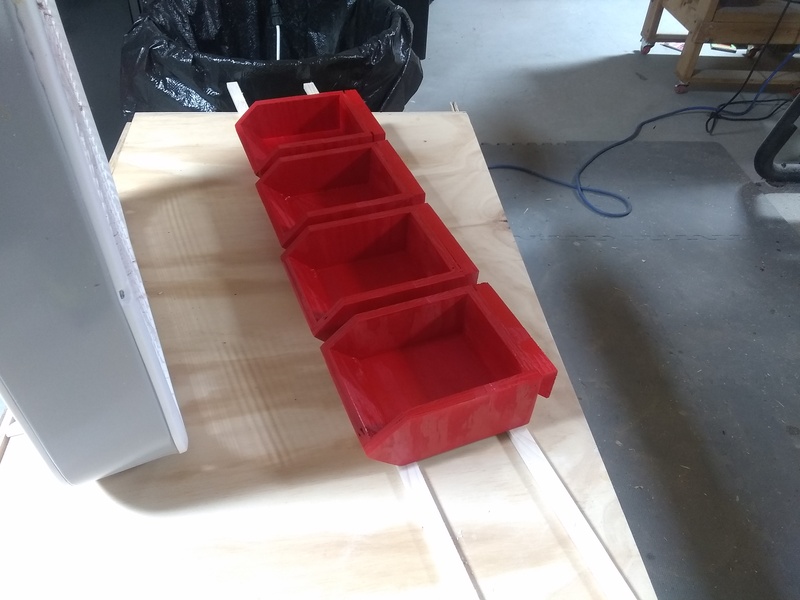
Pair of large plywood storage bins built from scrap wood

And a couple small:

Pair of small plywood storage bins built from scrap wood

I think they came out pretty good, just going to use them in the shop. The scrap I had was ¾ “ so the will hold just about anything .

After you get the build down, you can make any size to fit your needs.

Questions? Reach out on the Contact page

Temperature control with PID

I watched these 3 great videos from Johnny’s Reloading Bench and decided to make one.

MYPIN PID Temperature Controller – Demo and Parts List

MYPIN PID Temperature Controller – Building and Wiring the Controller

MYPIN PID Temperature Controller – Initial Programming, Testing, Auto-Tuning

There are more great videos, but for this I am only concerned with the above.

I used a panel mount outlet in mine instead of piping the cord out the back. Everything else is the same. All parts he lists fit.

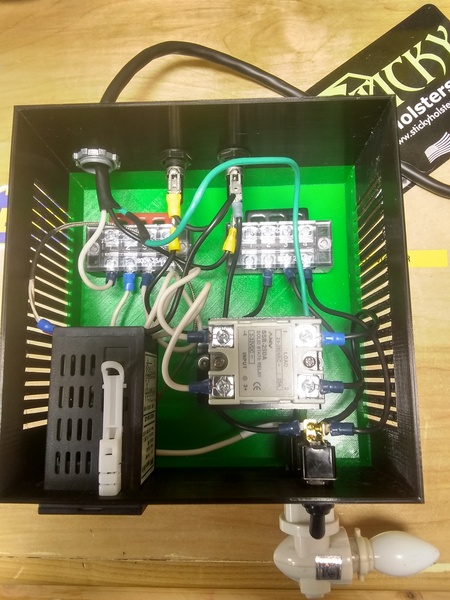
PID Controller Inside View

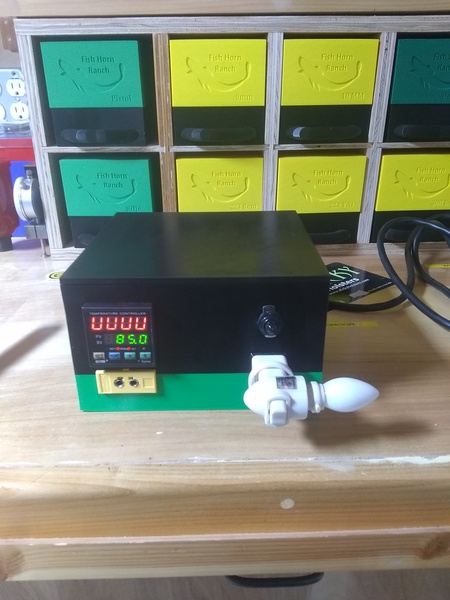
Front with lid and high speed test light:

PID Controller Front View

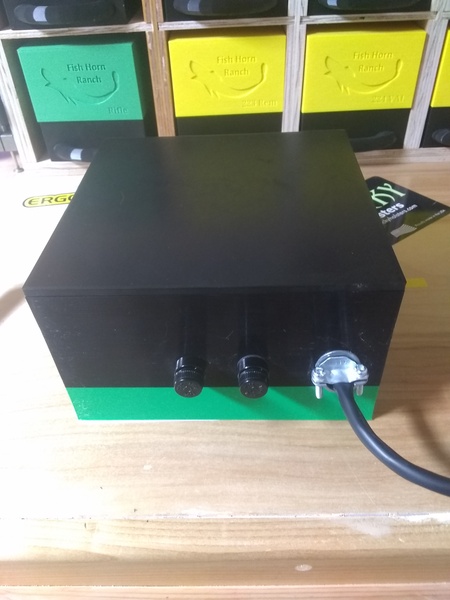
Back and Side shots:

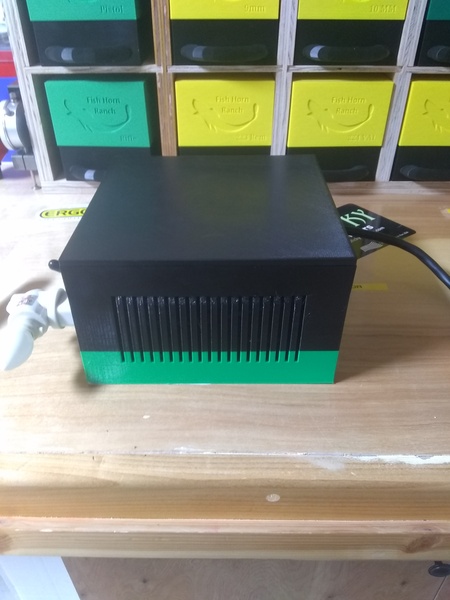
PID Controller Back View
PID Controller Side View

As always, If you want me to print you one let me know in the comments.

You can download it from Thingiverse

Questions? Reach out on the Contact page