Got me a Harbor Freight parts washer and moving thing to put it on. There are a ton of videos on modifications and how to put it together on the internet. Not going to put you through all that. Just going to show what I did.
I will not be using this for heavily soiled auto parts or farm equipment. Mostly weapons and parts, and to ‘finish’ clean other items.
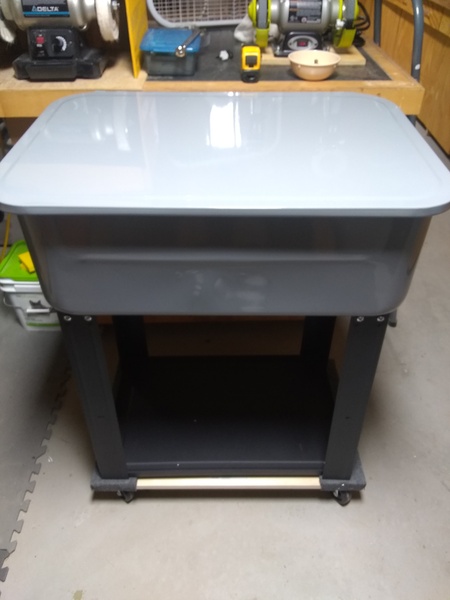
I purchased the Oriflo With Hose (OR101H) Flow-Thru Parts Washer Brush and Immersion Water Heater from Amazon. The rest of the items I had laying around.
I did not realize the heater came with a timer, the price was the same as the ones with the timer. I removed it and put a standard plug in it place.
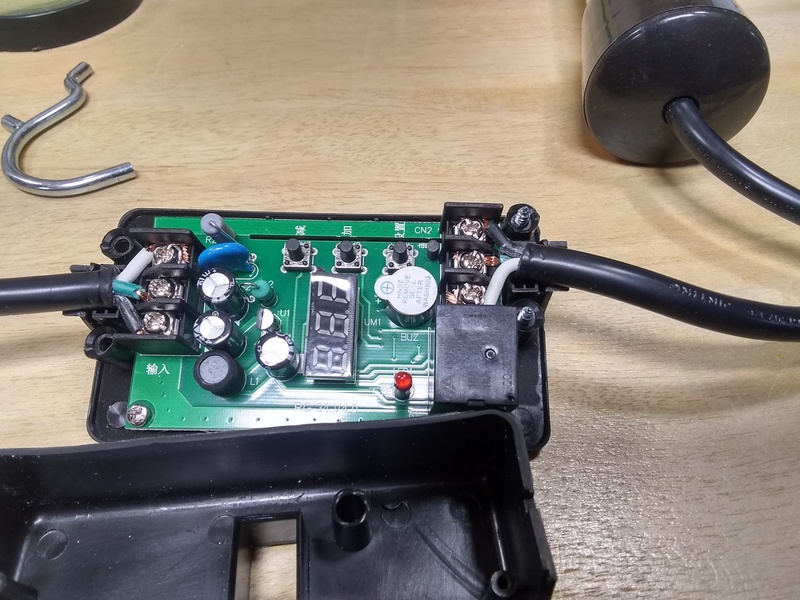
Before I put the plug back on, I drilled a hole above the full line for the cord and put a grommet in.
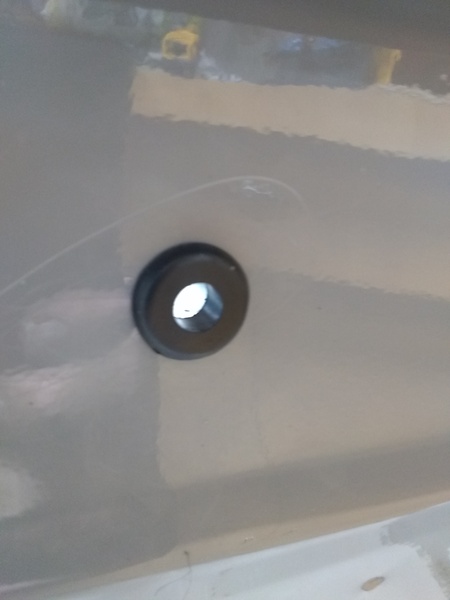
Ran the cable and put the plug on:
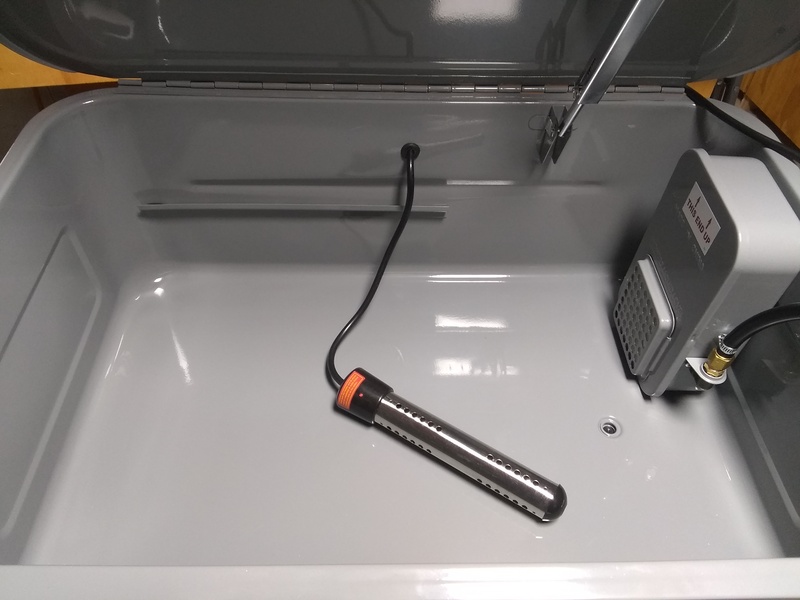
I dont want the big metal sprayer thing. I took it off and put a fitting in its place:
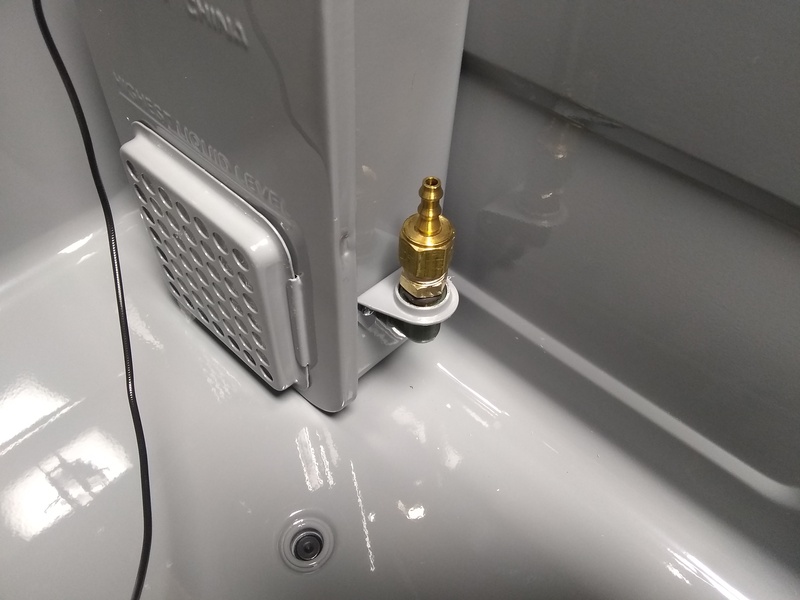
I cut the end off the brush hose. It was designed to fit over the end of the metal sprayer. I then slid it over the fitting and clamped:
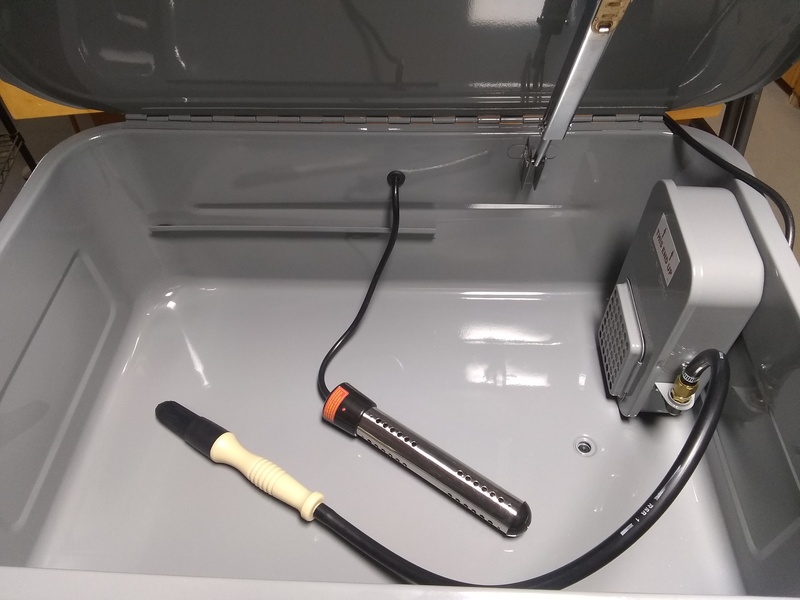
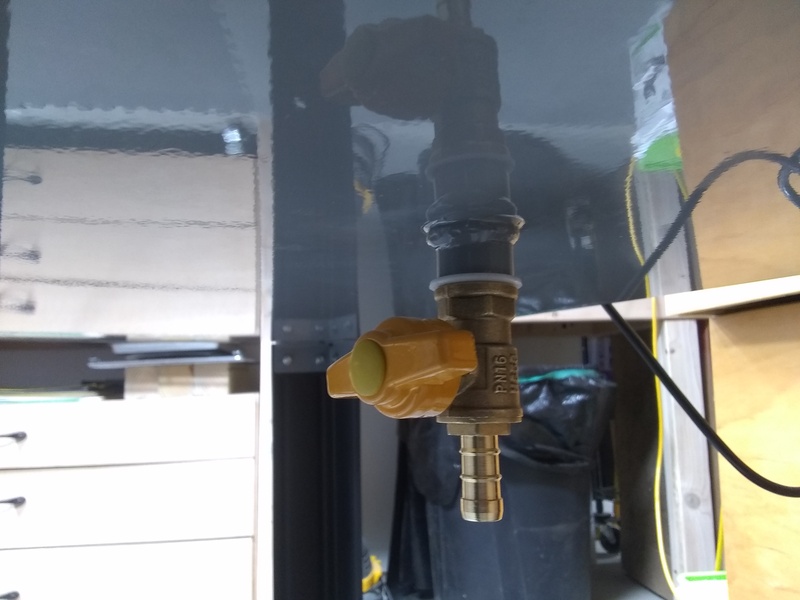
I had to order the drain plug as it is metric:
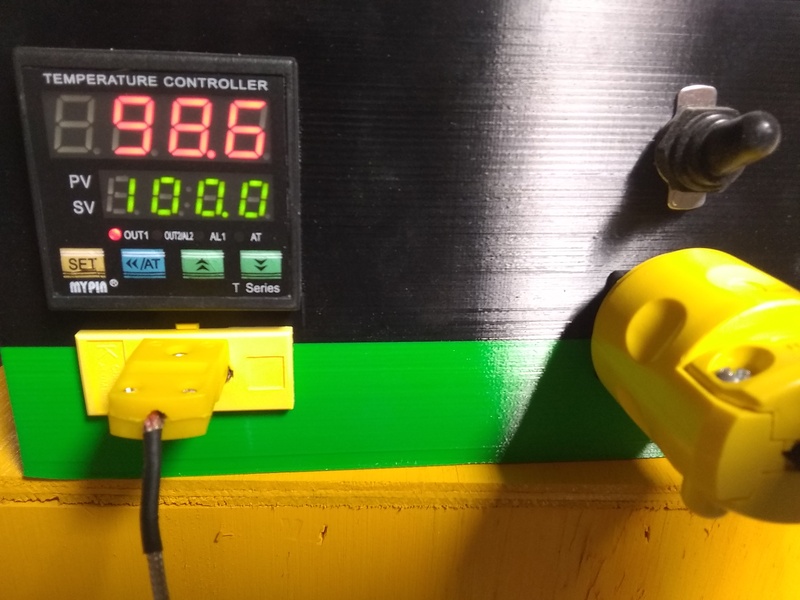
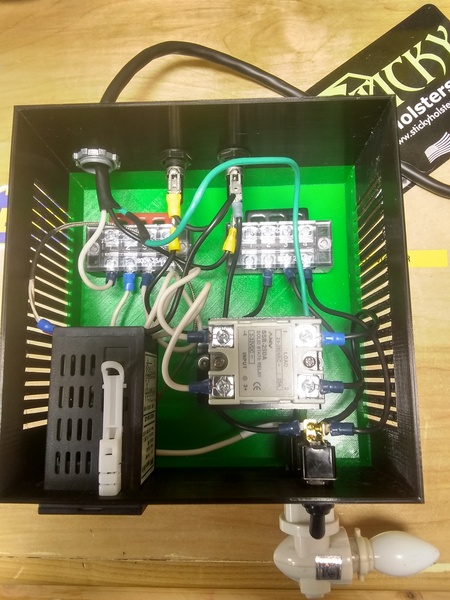
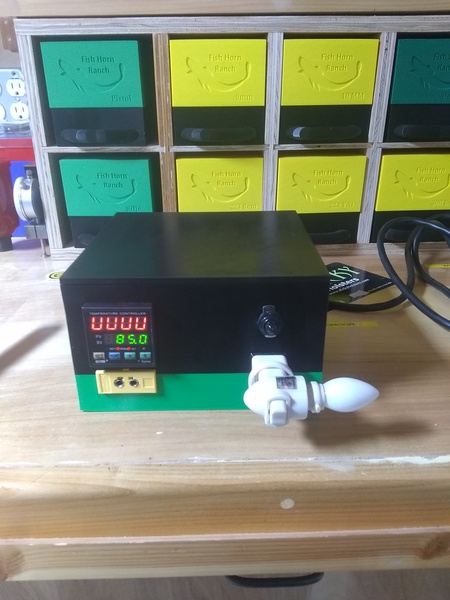
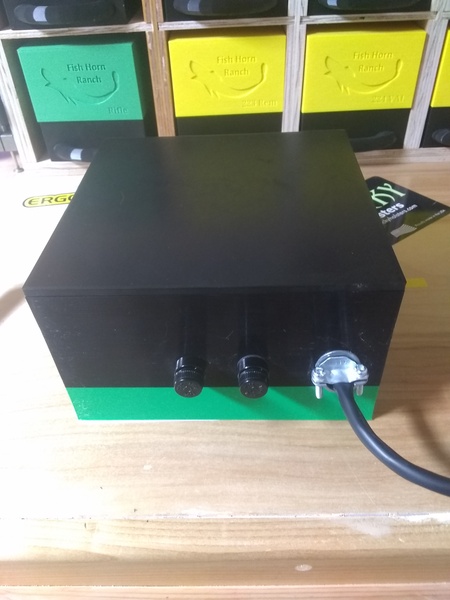
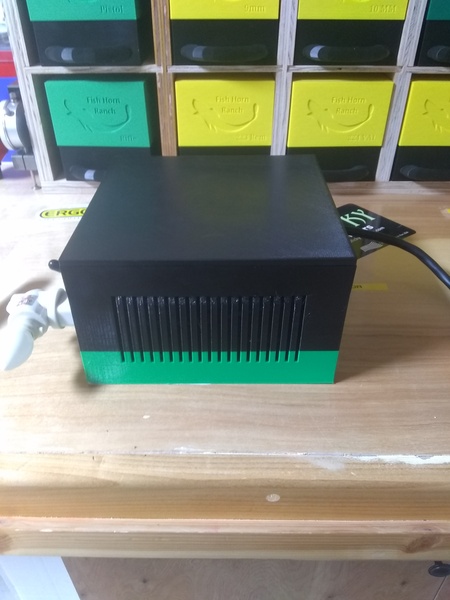
I built a PID for casting and I have an extra temperature sensor. I drilled a hole in the wash shelf and ran the cable through the grommet.
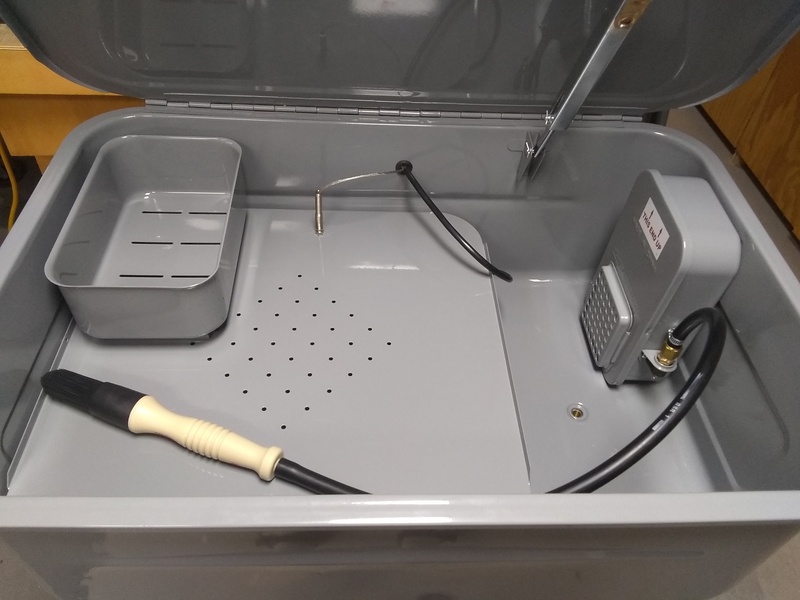
The only other modification I made for now is putting a block of wood on top of the power switch to stop some of the wobble.
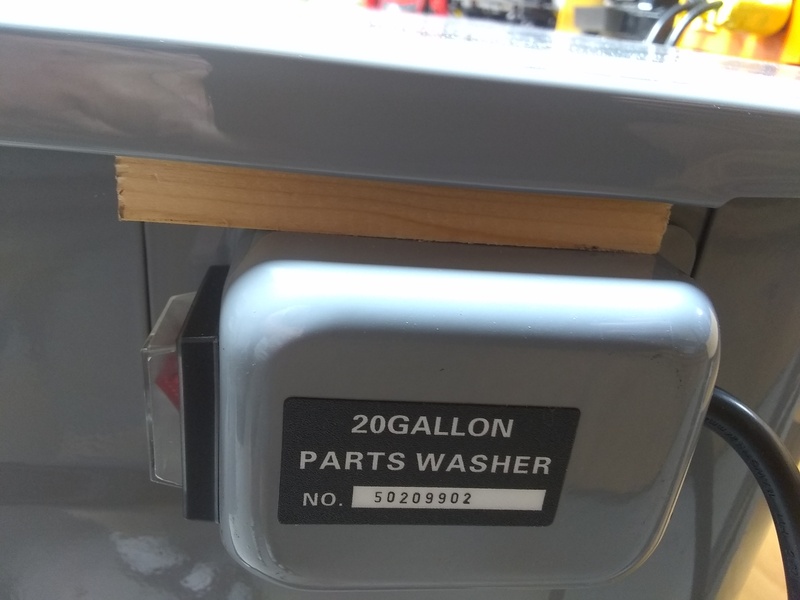
Next up is testing.
Sweet success! I used plain water for the the just in case. It took a long time for the flow to start. So long that I removed the brush and blew air through the tube to make sure it was clear. That must have primed it, started flowing after that.
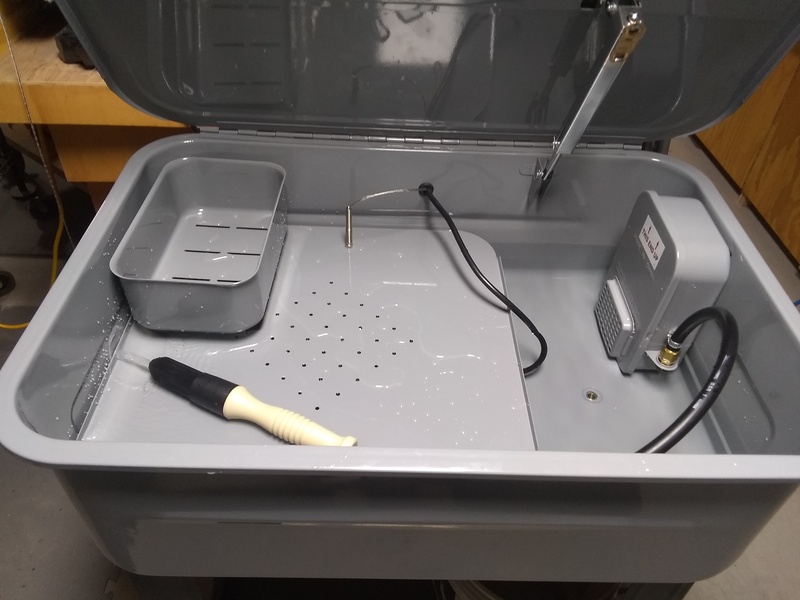
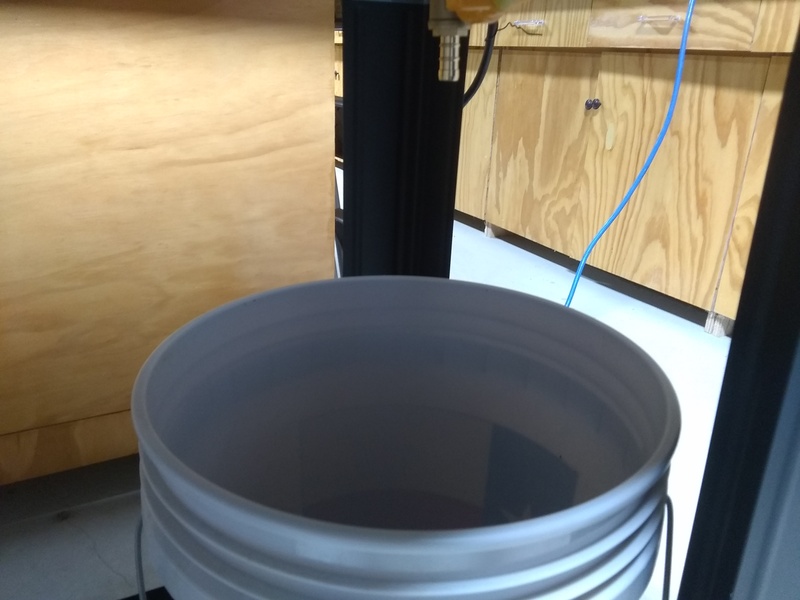
No leaks at the drain after 24 hrs….
The PID worked as well. Set it at 100 degrees for now. Can adjust as needed.
Questions? Reach out on the Contact page

You must be logged in to post a comment.