
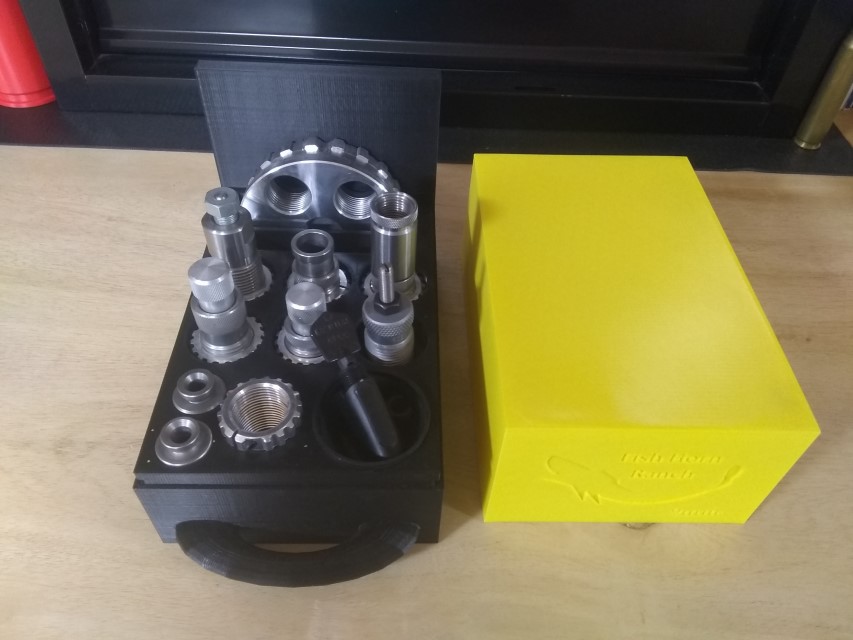
A box to hold all the Lee Load Master Items for a single caliber. Yes it might be over kill, but I like it. If you are going to go, go all the way, plus at least 10%
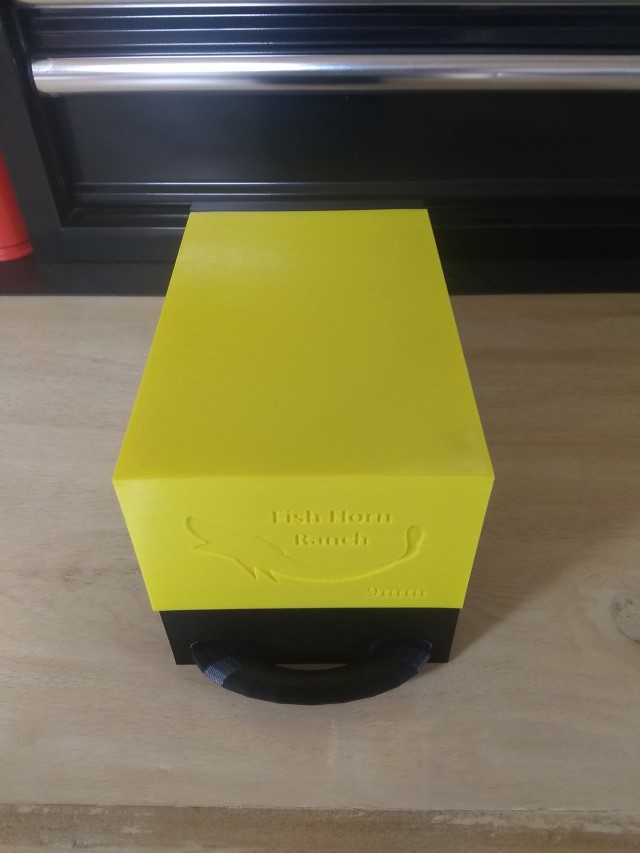
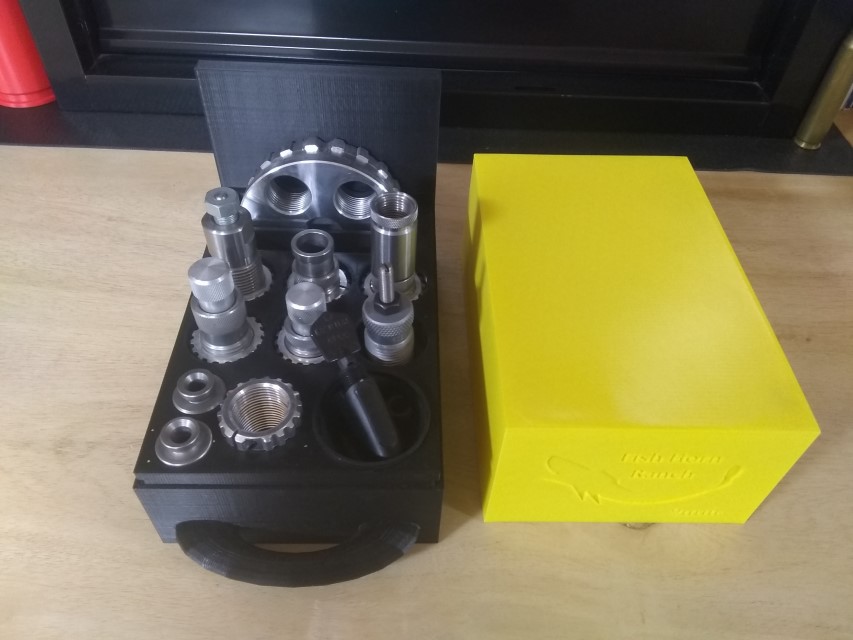
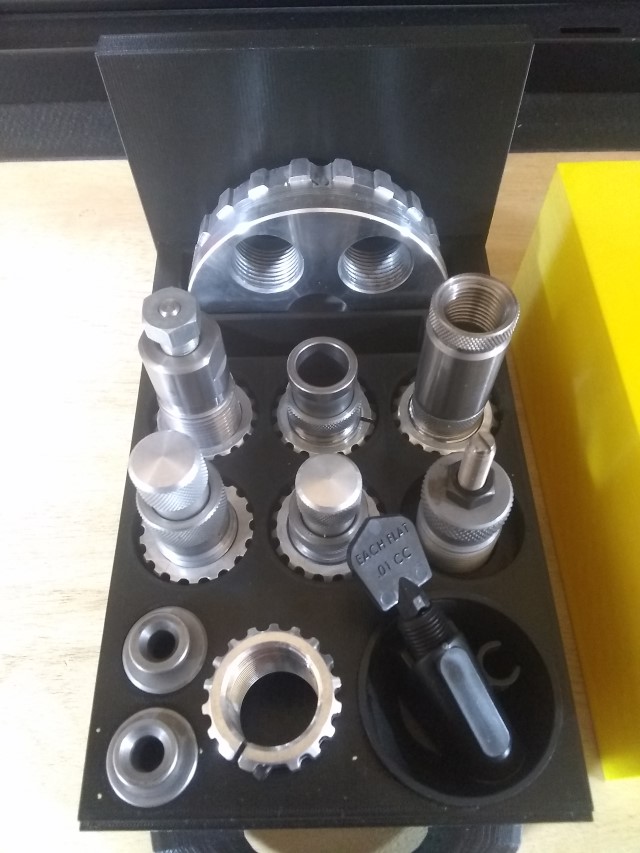
I made a box to hold the boxes:
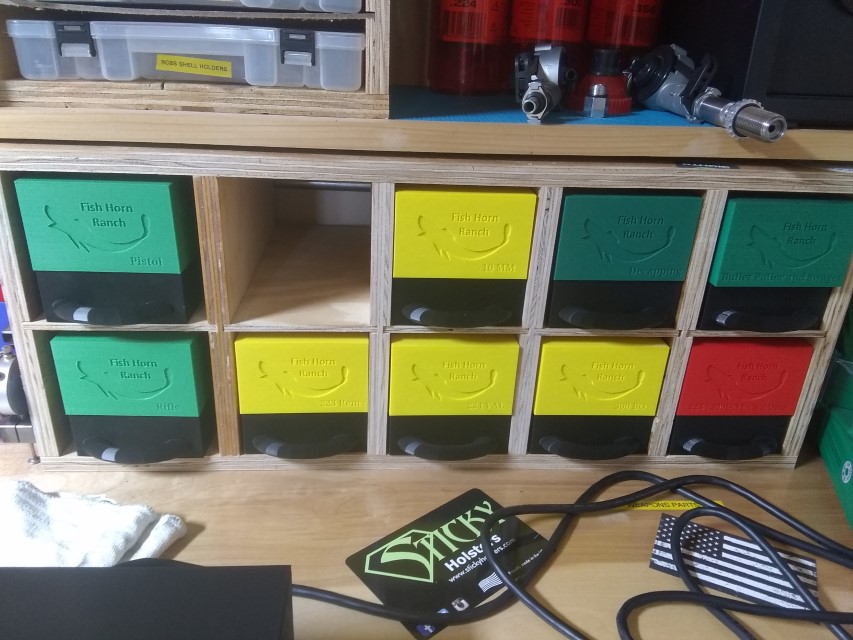

what I am doing as I start the reloading experience
A box to hold all the Lee Load Master Items for a single caliber. Yes it might be over kill, but I like it. If you are going to go, go all the way, plus at least 10%
I made a box to hold the boxes:
When I was setting up my Lee Load Master for first time use I did a little clean up before putting it into use.
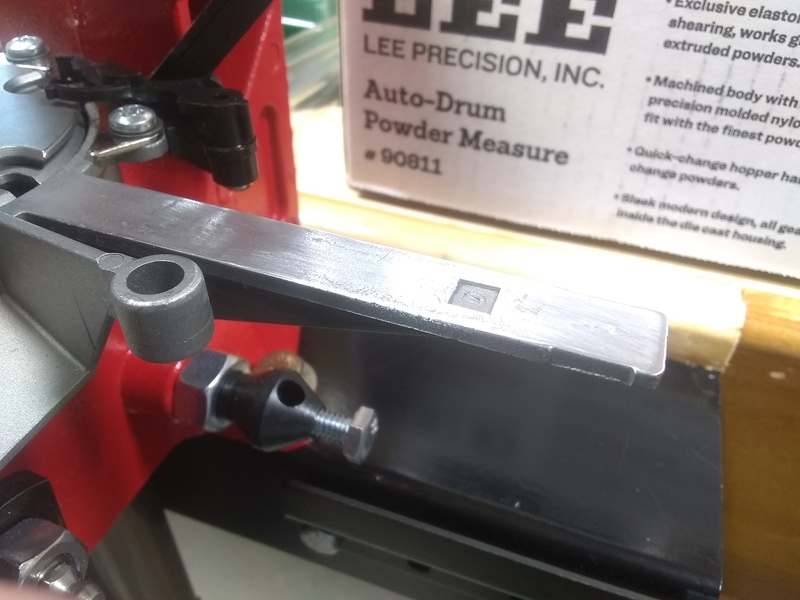
Polished up the ramp for the sliders using some 1000 grit sand paper and a soft rag
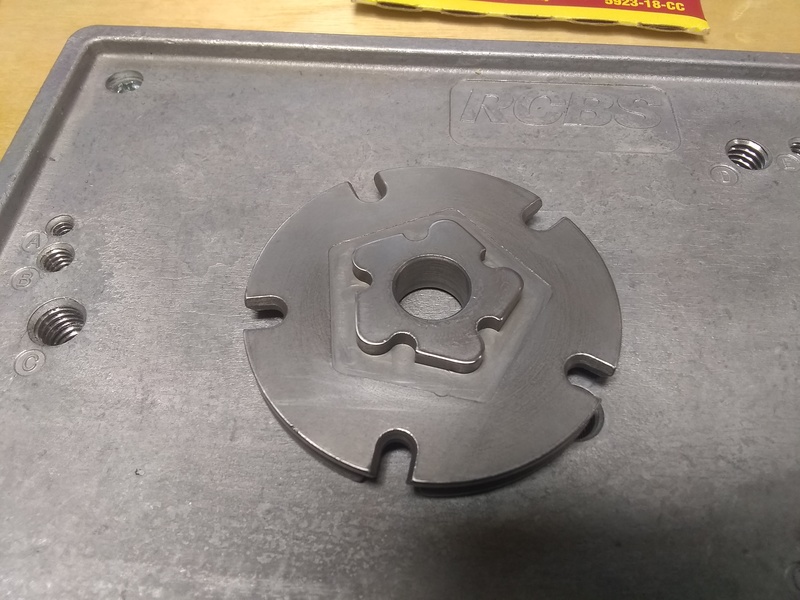
Then cleared burs and lightly polished the shell plates. Here is one example:
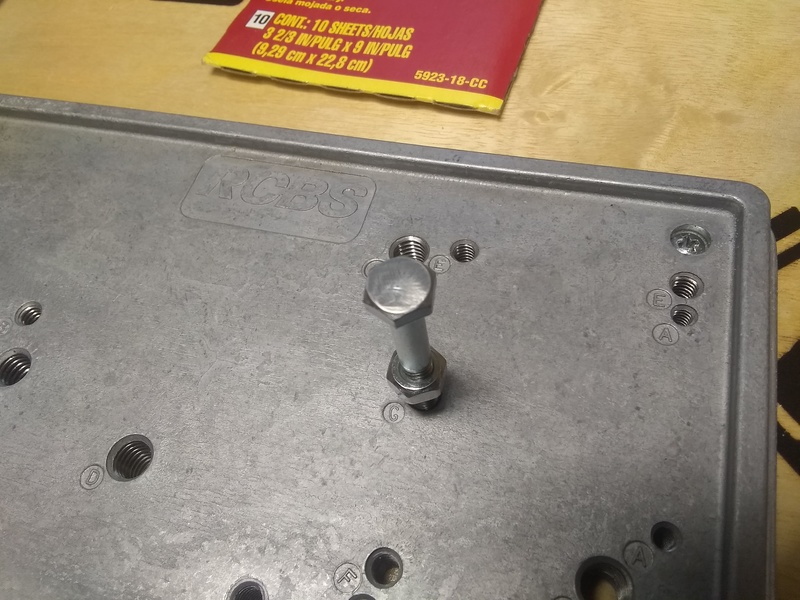
To avoid primer seating issues I polished off the text on the bolt head and made sure it was flat.
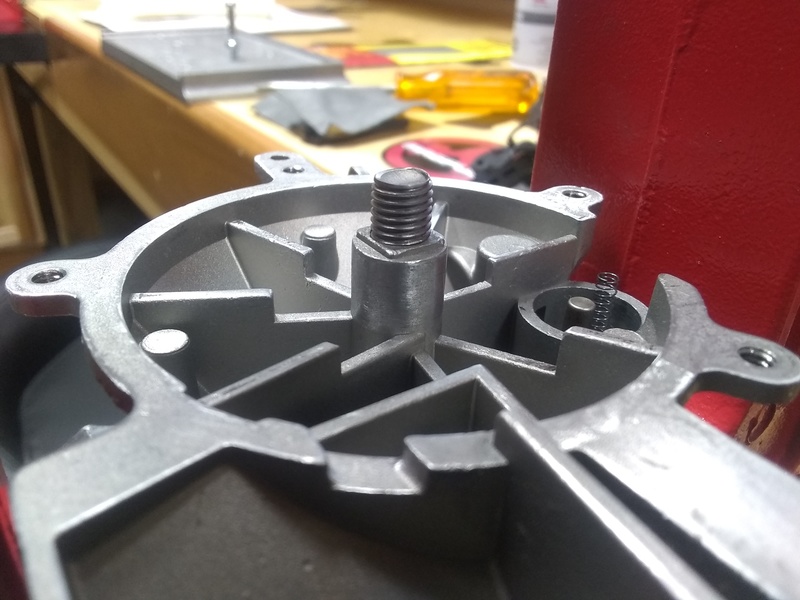
Last thing I did was make sure the spindle was smooth and that the shell plate rotated nice and smooth.
That is it! Put it back together and started reloading.
Quick post about my salt bath annealing setup. The original idea came from Johnny’s Reloading Bench (again)
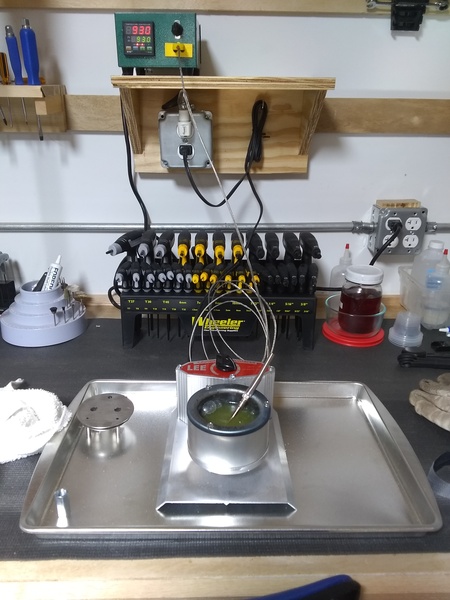
Turns out I really don’t anneal near as much as I thought I would. This setup has been working fine for as little as I do.
I use the PID more than anything else.
I watched these 3 great videos from Johnny’s Reloading Bench and decided to make one.
MYPIN PID Temperature Controller – Demo and Parts List
MYPIN PID Temperature Controller – Building and Wiring the Controller
MYPIN PID Temperature Controller – Initial Programming, Testing, Auto-Tuning
There are more great videos, but for this I am only concerned with the above.
I used a panel mount outlet in mine instead of piping the cord out the back. Everything else is the same. All parts he lists fit.
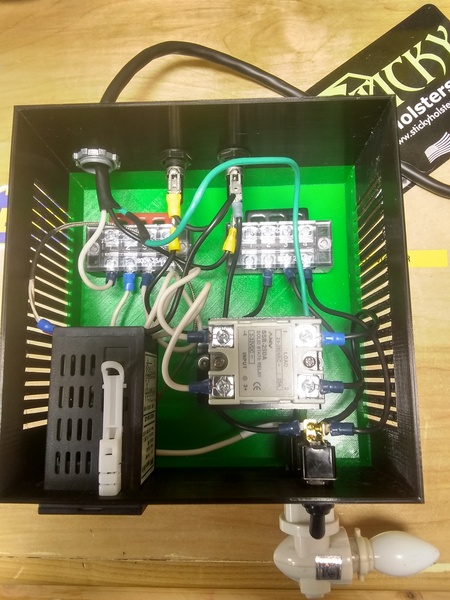
Front with lid and high speed test light:
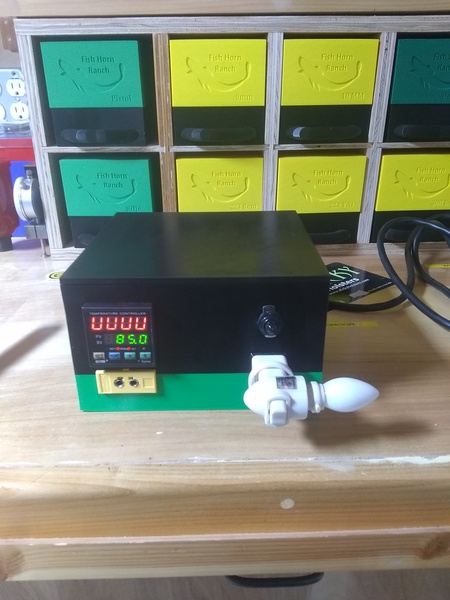
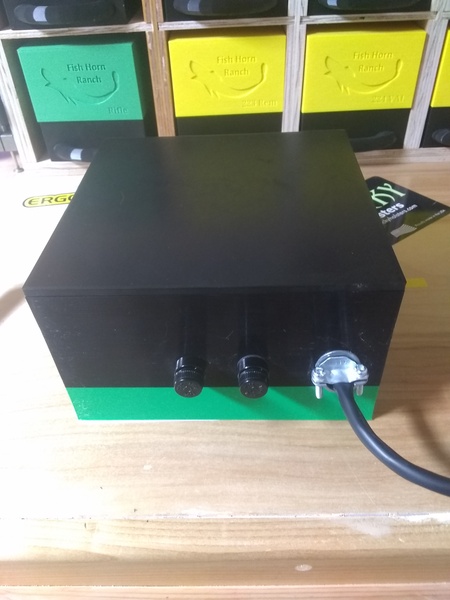
Back and Side shots:
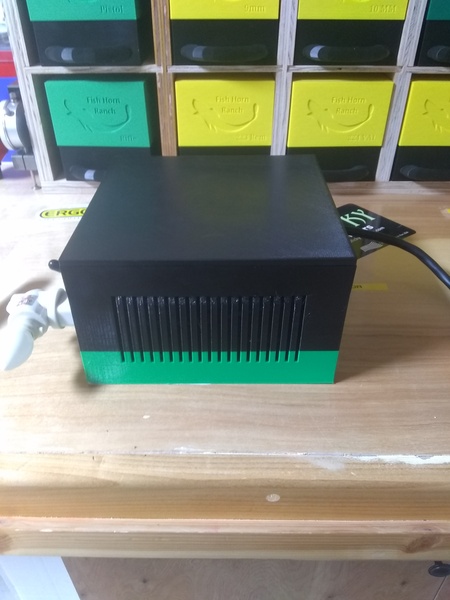
As always, If you want me to print you one let me know in the comments.
You can download it from Thingiverse
For now just random notes I’ll put together later:
Lead Melting
Sort if needed we, junk
Melt , clean and make ingots –
Date:____________ Date:____________
Caliber:__________ Caliber:__________
LPP_____SPP_____ LPP_____SPP_____
COUNT:__________ea COUNT:________ea
Pistol Prep:
_____ De-Prime
_____ Clean Tumble / Ultrasonic
_____ Primer pocket go / no-go
_____ Swage (if Necessary)
_____ Resize
_____ De-Bur flash hole (if Necessary)
_____ Clean in wet tumbler
_____ Load
For Reference:
*The 2015 standard is 0.754” -0.010” is the current range and the middle value is 0.749” . Which should, by tradition be the trim to length.
**The 2015 standard is 0.992” -0.010” is the current range and the middle value is 0.987” . Which should, by tradition be the trim to length.
After mounting up my Lee Load Master I discovered I need a place to store my Turrets.
I got 2 pieces of pine, 10x12x1 inch
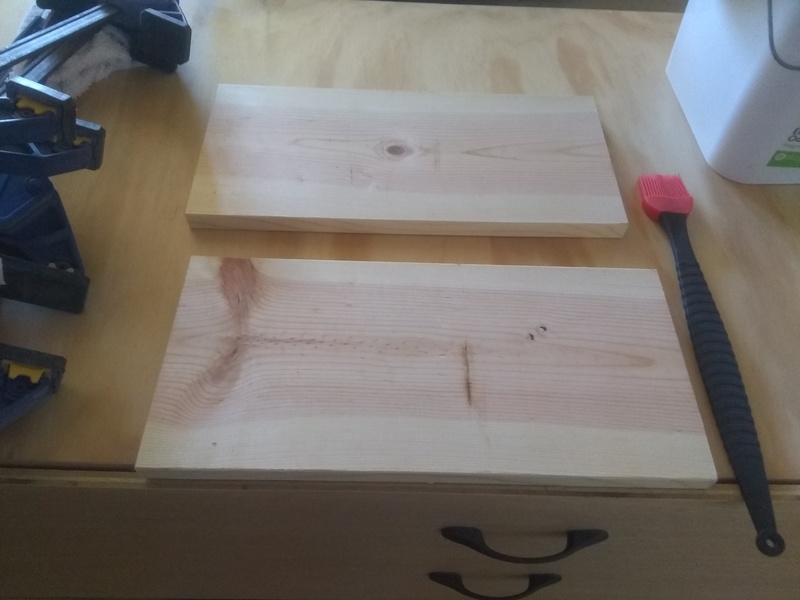
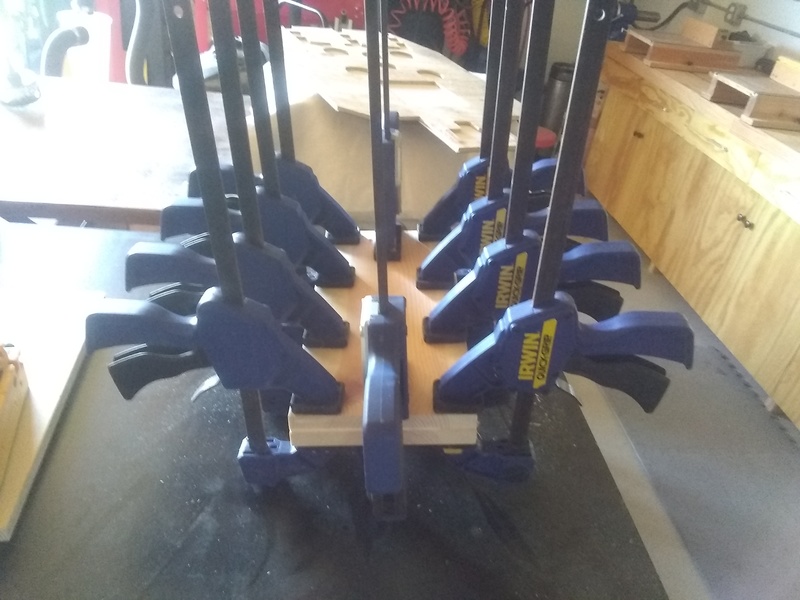
Glued them together:
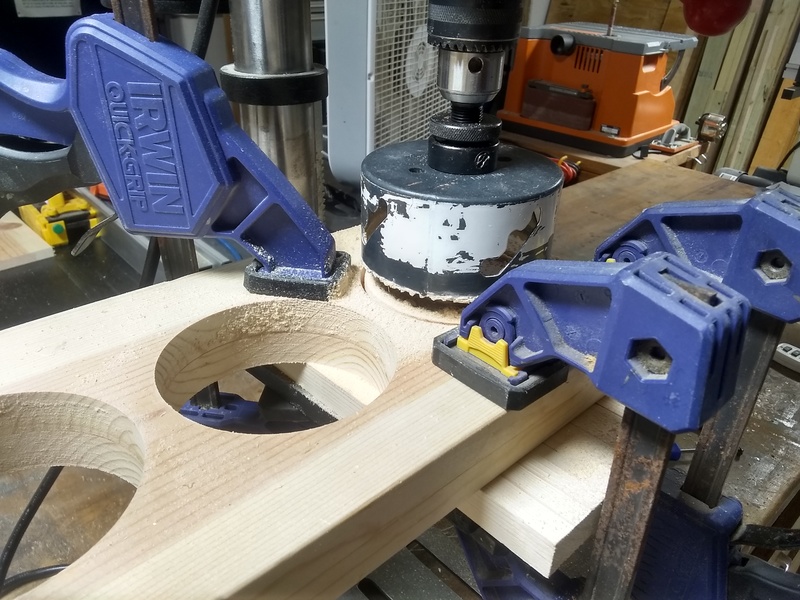
Then I drilled in 3 – 4 inch holes
On another piece of pine I used the turret as a template and marked the die holes:
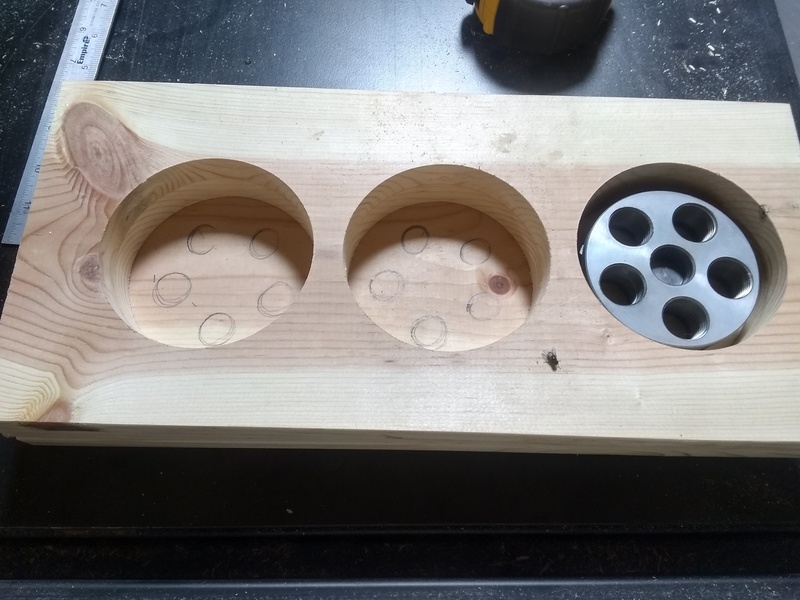
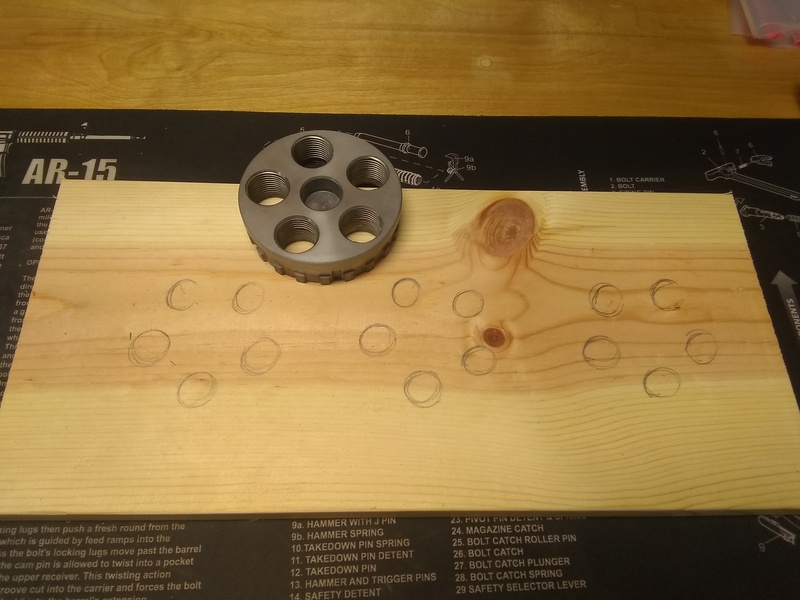
Then I drilled them out:
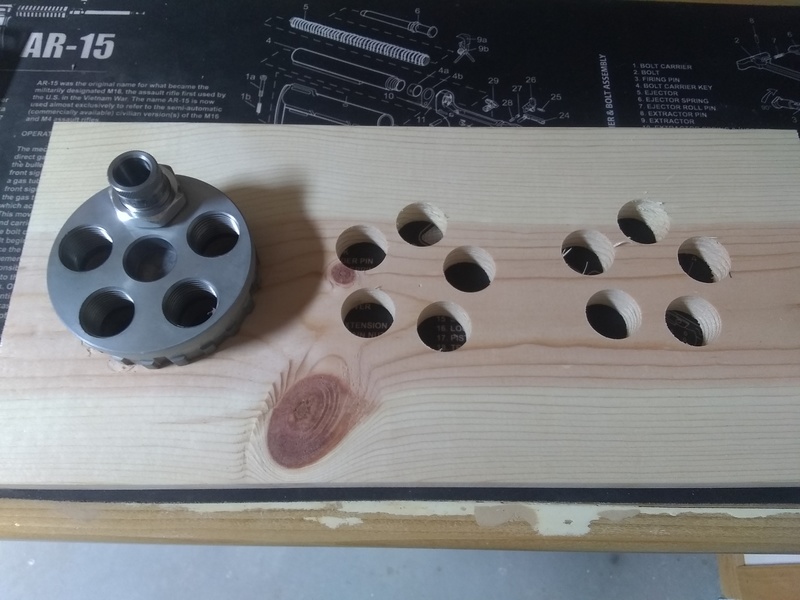
Using my trim router I took the edge off everything:
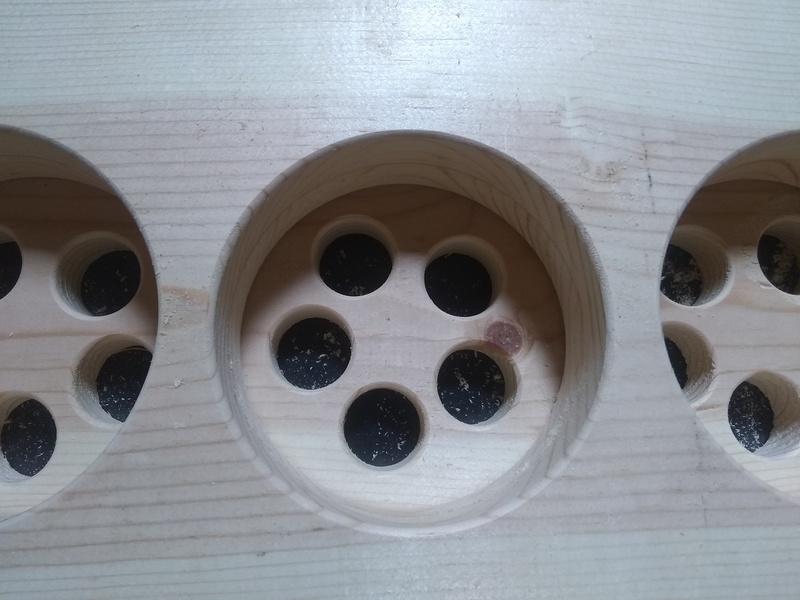
And glued it together:
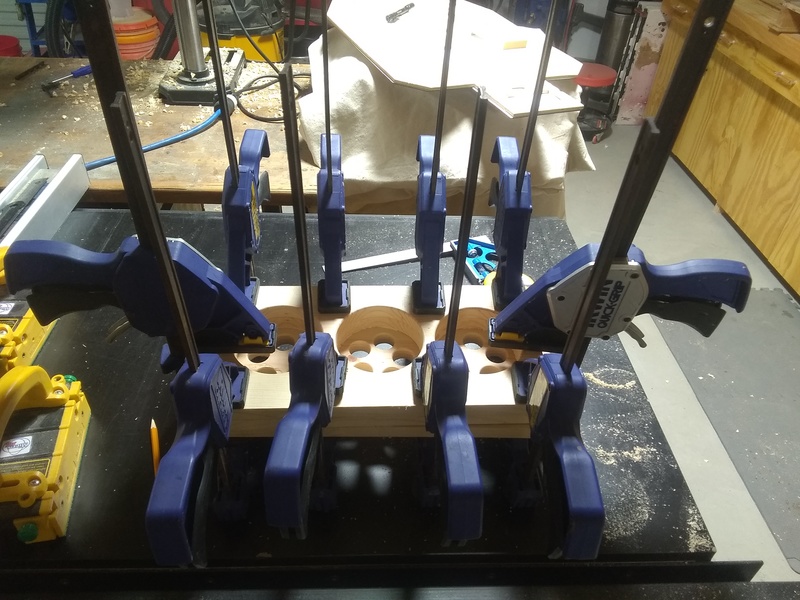
I cleaned up all the outside edged on the table saw, added the french cleat to the back and put a coat of varnish on:
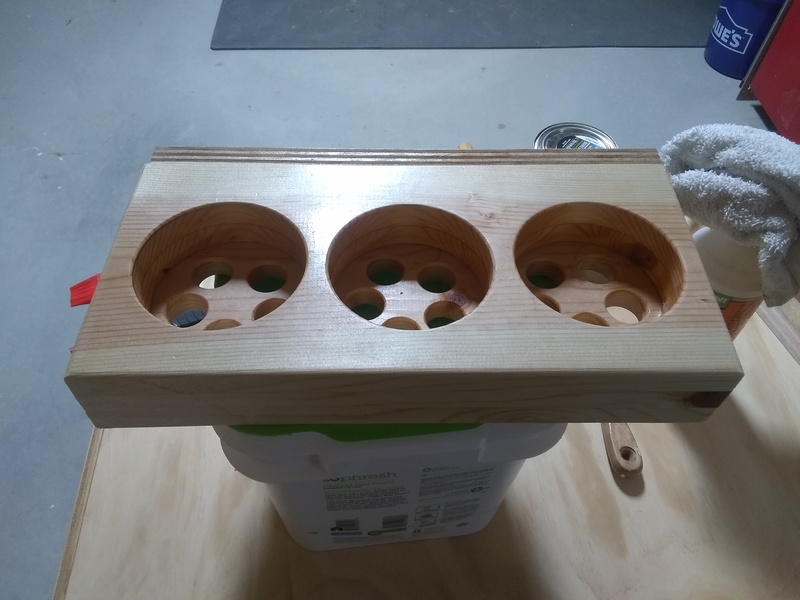
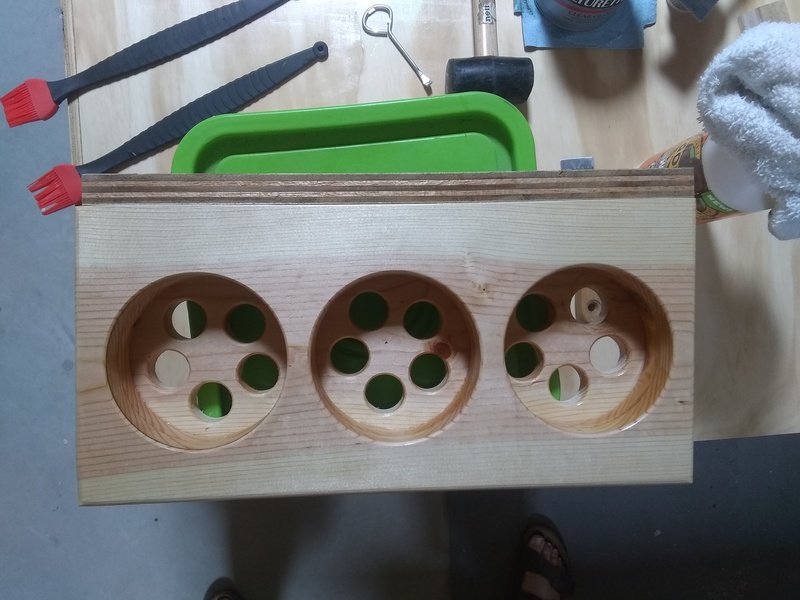
I’ll get an action shot in here when I get the turrets setup.
I changed the complete thought on this:
After decapping around 3K of once fired 223 brass the APP started acting finicky, the long spring would bind and the red feeder was getting ‘gritty’ . I contacted Lee to see what they recommended for maintenance. Here is their reply (I changed the employee name to LeeDude):
LeeDude @ Lee Precision
Staff – 07/27/2020 9:27 am
Keep the black slide rail clean.
Lubricate the two steel columns the upper toolhead rides on, with oil.
Sincerely,
LeeDude
Lee Precision, Inc.
4275 County Road U
Hartford, WI 53027
Easy enough, here is how I did it.
Got everything I needed together and took it apart:

You can see the build up on the Black Slide Rail:

There was also build up on the top and bottom of the Molded parts riser:

I dropped them in my Harbor Freight ultra sonic cleaner using water and a cap full of purple Simple Green.
Wiped them down and lightly oiled the two steel columns and shell plate. The instructions say “STP motor oil treatment or motor oil” I used 3 in one on the steel columns and Ballistol on the shell plate.


Looks like new! Well almost…
Hope this helps someone.
Lee APP replacement parts site: https://leeprecision.com/deluxe-automatic-processing-press-app-parts/
Decided to make a stand for my new Lee Automatic Processing Press (APP). Essentially a box with a lip. I used some Red Oak I had in the shop.

I was going to mount the press in the middle…I quickly changed my mind and moved it to the right side:

Cleaned it up and bolted it down. I wanted to be able to remove it if I needed to.

Added The Reloaders Network Handle and mounted it up:

The rounds will drop in one of my home made parts boxes.

In version 2, I think I will make the stand so the press will hang over the edge of the counter. Then I can french cleat the parts bin to the top or have the brass or bullet drop into a bucket
I wanted a better way than this to store my reloading dies:

I started by cutting some scrap plywood I had laying around and making a generic 12 x 6 inch box with 1/8 inch slots:

I put a hardboard on the back:

I then cut some hardboard shelves, I made them a little longer so I could grab them and pull them out.
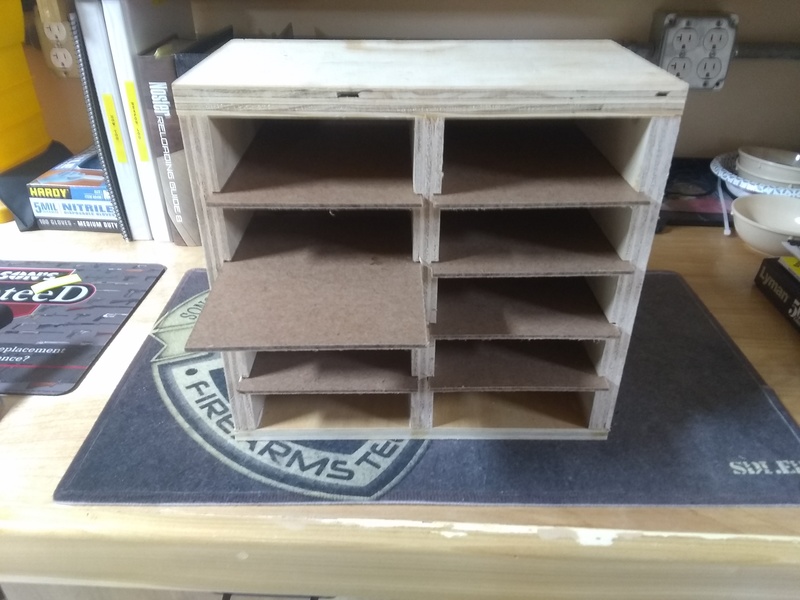
And here we go:

I realize I will quickly out grow this, but it does the job for now.
You must be logged in to post a comment.