Lee Load Master Mount from Becks Armory

First off Richard Beck richard@becksarmory.com at Becks Armory is a great guy to work with. The mounts are hand crafted in America with quality materials. All mounting hardware except the wood screws was also included. The wood screws to mount the rear bracket to my bench are not included because the thickness of my bench was unknown to Richard. My mounts were packed VERY well and received quickly after shipment.

Richard also said he can create custom mounts based on the same design. I just need to send him the measurements. I might get one made for my RCBS Accessory Base Plate. That will be a separate post 🙂

Here is a link to directly to the bracket I got: . http://becksarmory.com/product/lee-load-master-mounting-kit/

Below is a quick post of what I did to get it mounted.

First thing I did was mount the brace. I used ½ inch wood screws to get the job done.

Then I drilled the bottom 2 holes from back to front.

I held the mount in front and placed the 2 bottom bolts into the before mentioned holes. Made sure it was level and marked the top 2 holes as shown above and drilled them out. Then mounted it up.

When I do it again, I will make a jig with the hole pattern and drill the holes out that way. Don’t know why I didn’t think of that till after the fact.

Here is a shot with the press mounted.

Reloading Consumable Storage Fridge – Part 2

I added the Gun Saver Dehumidifier to the bottom front of the fridge.

You can see the temperature rise and rise ….

Room Stats:

Temp: ~76

Humid: 73-75

The Humidity is dropping:

The Temperature got to almost 90 degrees! I was not comfortable with that. I moved the rod to the freezer area. You can see the temperature drop.

Room Stats:

Temp: ~76

Humid: 73-75


The humidity went up a bit. We will see how it looks in a day or so.

Room Stats:

Temp: ~76

Humid: 73-75

The outside and inside temperature dropped a bit, but inside the fridge it looks pretty stable:

Looks like the humidity is pretty stable too. Within ~1%

Will keep an eye on it and post major changes.

Reloading Consumable Storage Fridge – Part 1

With the Covid-19 thing wrapped in an election year, reloading supply consumables have disappeared. To better store what I have I decided to make a storage environment. AKA the ammo/reloading fridge:

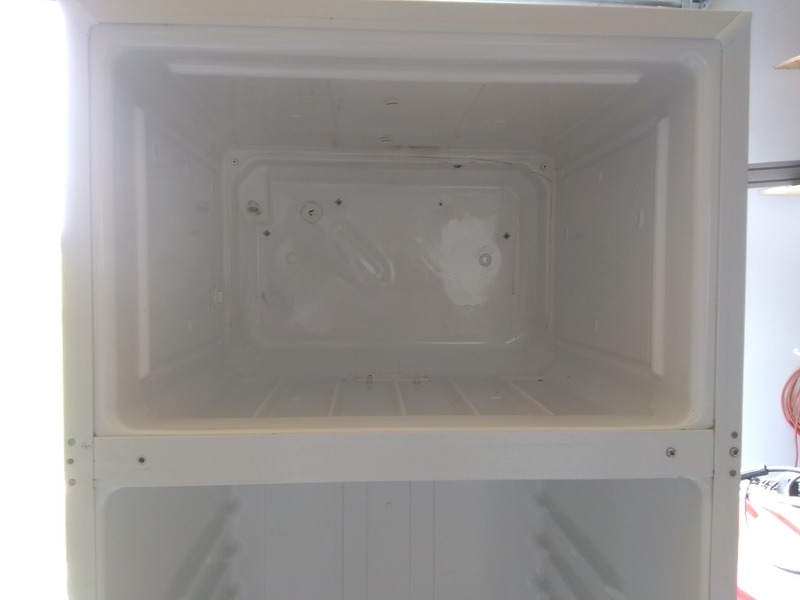
First thing I did was gut an old fridge I had:

Then using paint I had on hand I painted it up and put it back together.

Then I ran electric through the ice maker hole. Added a power strip and hooked up a Raspberry Pi to take and record Temperature and Humidity:

Next I will add a Gun Saver Dehumidifier and take some readings.

Reloading Steps – Rifle

Date:____________                                                   Date:____________

Rifle Caliber:__________                                Rifle Caliber:__________

LPP_____SPP_____                                                      LPP_____SPP_____

COUNT:__________ea                                                   COUNT:________ea

_____ Deprime

_____ Clean

_____ Primer pocket go / no-go

_____ Swager (if Necessary)

_____ Anneal (if necessary)

_____ Lube/Resize

_____ De-Bur flash hole (if Necessary)

_____ Trim/Chamfer

            223/5.56 trim to 1.745*

            224 Val trim to 1.590**

            300 AAC Blackout 1.358***

            6.5 Creedmoor 1.910****

_____ Clean

_____Load

*  223 REM The 2015 standard is 1.760″-0.030″, so 1.730″-1.760″ is the current range and the middle value is 1.745″, which should, by tradition, be the trim-too length.

** 224 VAL The 2018 standard is  1.600″-0.020″, so 1.580″-1.600″ is the current range and the middle value is 1.590″, which should, by tradition, be the trim-too length.

*** 300 BLK The 2015 standard is 1.368″-0.020″, so 1.348″-1.368″ is the current range and the middle value is 1.358″, which should, by tradition, be the trim-too length.

**** 6.5 CREED The 2015 standard is 1.920″-0.020″, so 1.900″-1.920″ is the current range and the middle value is 1.910″, which should, by tradition, be the trim-too length

PDF / Print Version

Cleaning Solutions and Ideas

Ultrasonic Brass Cleaning:

  • Lemi-shine (1/4 teaspoon)
  • Squirt of Dawn (1/4 teaspoon)
  • 15 Minutes

Brass Tumbler (HF Edition):

In each tumbler drum I put:

  • 1 ½ lb of stainless steel media (at the most) 
  • About 1 lb of brass 
  • Water up to the lip or just below
  • Lemi-shine (1/4 teaspoon) 
  • Squirt of Dawn (enough that when you open the drum you see soap suds) 
  • Tumble for 2 hours. 

Brass Tumbler (FART Edition):

In the tumbler drum I put:

  • 5 lb of stainless steel media (at the most) 
  • About 10 lb of brass 
  • Water up to the lip or just below
  • Lemi-shine (1/4 Teaspoon)
  • Dawn (enough that when you open the drum you see soap suds) 
  • 4 Tablespoons Armor All Ultra Shine
  • Tumble for 3 hours. 

Ultrasonic RCBS Gun Cleaning Solution:

  • 30:1 Ratio
  • 60oz water
  • 2oz cleaner
  • Degas (only first time solution is mixed)
  • Set to ~120 degrees F
  • 5 min for tools
  • 15 min for gun parts

 Ballistol Ultrasonic Cleaning Solutuon:

10% per one gallon = 12.8 Ounces (oz)

From <https://calculate-this.com/percent-solution-calculator-gallons> 

I will round up to 13 Ounces and top off to a gallon. 6.5 Ounces for a half gallon

2 x 16 oz Ballistol $29

32 oz RCBS $23

Bald Eagle 9 Liter Ultrasonic Cleaner

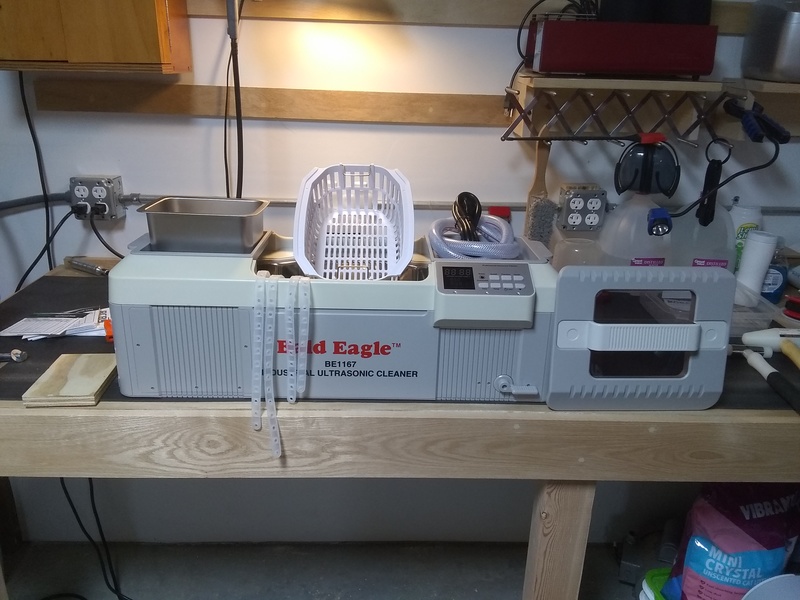
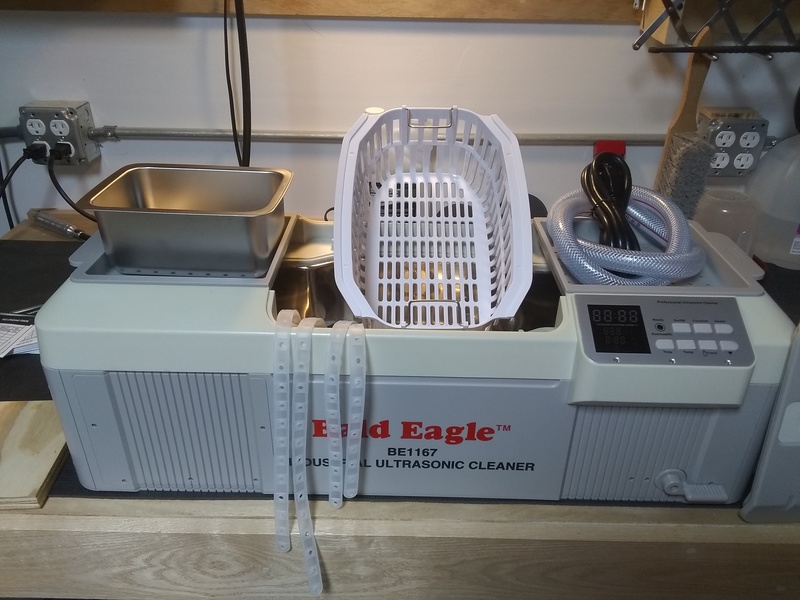
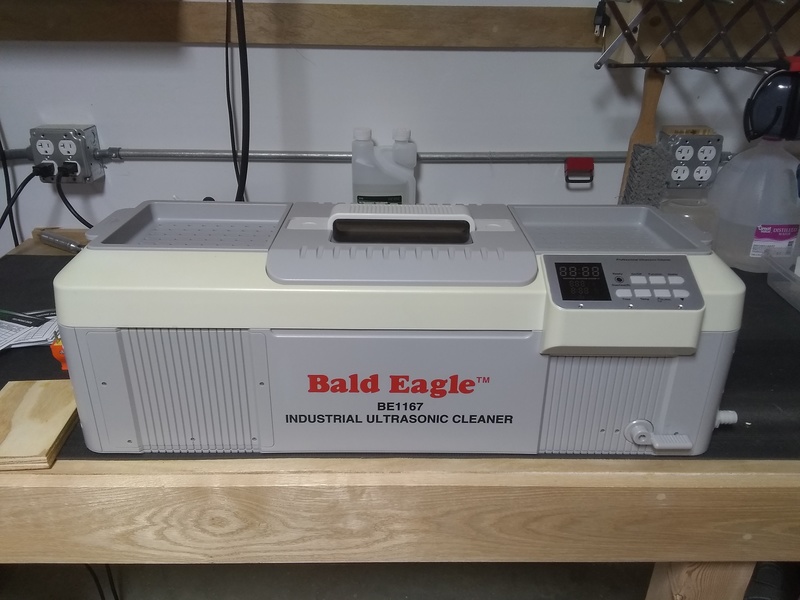
I just got the Bald Eagle 9 Liter Ultrasonic Cleaner, BE1167 for $375.00 without shipping. Regular list price is $650.00. I have been wanting a large ultrasonic cleaner for a while. I was looking at the Hornady Lock-N-Load Hot Tub for Sonic Cleaner 043310 as it has a great feature set, it is just above my budget.

The Bald Eagle comes with the same features and accessories including the hanging cords:

All closed up:

I will post updates as I start using it more.

REF:

Bald Eagle (Grizzly) Web Site

Hornady Lock-N-Load Web Site

Bald Eagle 9 Liter Ultrasonic Cleaner, BE1167 User Manual (I scanned it)

Reloading – 1st Cleaning of the brass

First thing I need to do is clean the brass before I de-prime it.

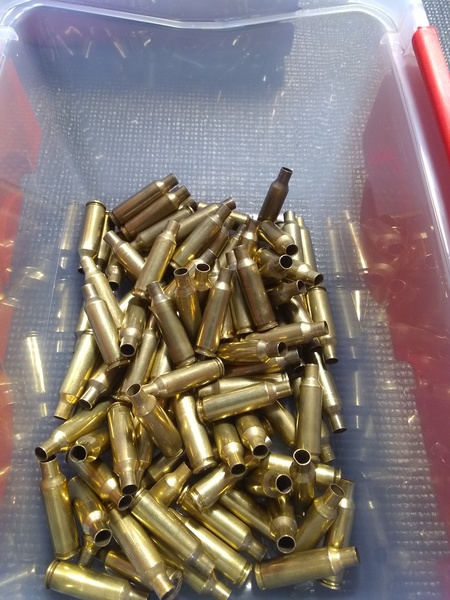
Here is a before shot:

Added 30 rounds to each drum, added water and 1 TSP Lemi Shine powder:

Brass Cleaning Tumbler

Started them spinning for about an hour:

Started them spinning

I have the ultrasonic cleaner as well so I thought I would give it a shot same recipe as above, 30 rounds, 2 sets of 8 minutes with heat.

Reloading ultrasonic cleaning

Here we have the results:

Left = Ultrasonic

Center = Before cleaning

Right = Tumbler

All with only Lemi Shine. They both look good to me.

All with only Lemi Shine

Then I bake them at 150 for 5 minutes

Another shot after the first cleaning. Bottom ultrasonic, top tumbler:

REF:

Ready Set Reload – Beginners guide to Handloading

RCBS Intro to Handloading

Update:

I followed the below:

IN each tumbler drum I put:

1 ½ lb of stainless steel media (at the most)

About 1 lb of brass

Water up to the lip or just below

Lemi-shine (1/4 teaspoon)

Squirt of Dawn (enough that when you open the drum you see soap suds)

Tumble for 2 hours.

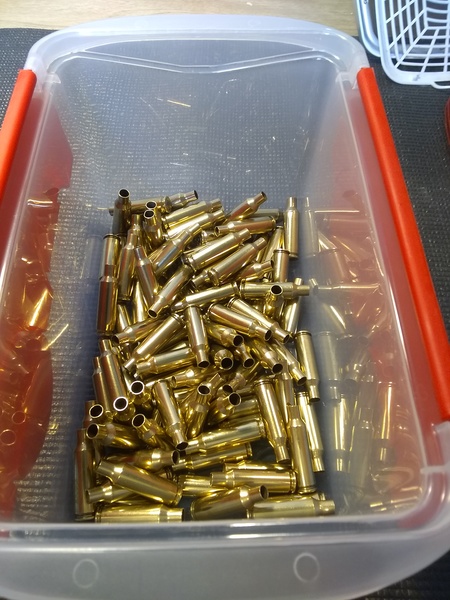
Here is a shot of the brass from above:

After using the updated method:


I found a full size basket for the Harbor Freight Ultra Sonic cleaner, works great:

iSonic PB4820A Plastic Basket for Ultrasonic Cleaner P4820

https://www.amazon.com/gp/product/B00HLBL24O/ref=oh_aui_search_detailpage?ie=UTF8&psc=1

Copy Protected by Chetan's WP-Copyprotect.