After decapping around 3K of once fired 223 brass the APP started acting finicky, the long spring would bind and the red feeder was getting ‘gritty’ . I contacted Lee to see what they recommended for maintenance. Here is their reply (I changed the employee name to LeeDude):
LeeDude @ Lee Precision
Staff – 07/27/2020 9:27 am
Keep the black slide rail clean.
Lubricate the two steel columns the upper toolhead rides on, with oil.
Sincerely,
LeeDude
Lee Precision, Inc.
4275 County Road U
Hartford, WI 53027
Easy enough, here is how I did it.
Got everything I needed together and took it apart:
Stuff I used
You can see the build up on the Black Slide Rail:
APP MOLDED PARTS Dirty
There was also build up on the top and bottom of the Molded parts riser:
Lee APP Molded parts riser Dirty
I dropped them in my Harbor Freight ultra sonic cleaner using water and a cap full of purple Simple Green.
Wiped them down and lightly oiled the two steel columns and shell plate. The instructions say “STP motor oil treatment or motor oil” I used 3 in one on the steel columns and Ballistol on the shell plate.
Lee APP Molded parts riser CleanAPP MOLDED PARTS Clean
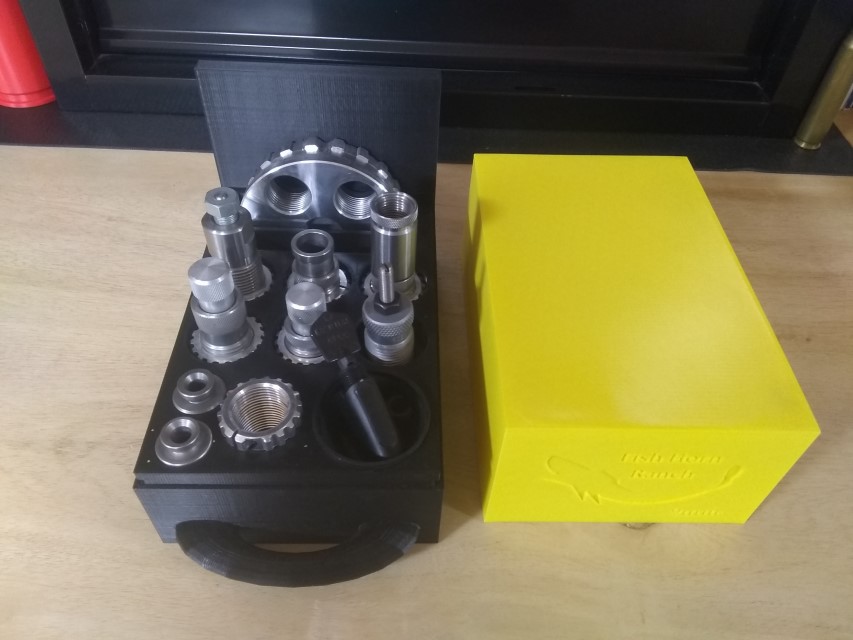
The rounds will drop in one of my home made parts boxes.
Lee Automatic Processing Press (APP) with box
In version 2, I think I will make the stand so the press will hang over the edge of the counter. Then I can french cleat the parts bin to the top or have the brass or bullet drop into a bucket
First off Richard Beck richard@becksarmory.com at Becks Armory is a great guy to work with. The mounts are hand crafted in America with quality materials. All mounting hardware except the wood screws was also included. The wood screws to mount the rear bracket to my bench are not included because the thickness of my bench was unknown to Richard. My mounts were packed VERY well and received quickly after shipment.
Richard also said he can create custom mounts based on the same design. I just need to send him the measurements. I might get one made for my RCBS Accessory Base Plate. That will be a separate post 🙂
Below is a quick post of what I did to get it mounted.
First thing I did was mount the brace. I used ½ inch wood screws to get the job done.
Then I drilled the bottom 2 holes from back to front.
I held the mount in front and placed the 2 bottom bolts into the before mentioned holes. Made sure it was level and marked the top 2 holes as shown above and drilled them out. Then mounted it up.
When I do it again, I will make a jig with the hole pattern and drill the holes out that way. Don’t know why I didn’t think of that till after the fact.



You must be logged in to post a comment.