Pistol Cleaning!

This is what I do for deep cleaning my pistols. I do not do this after every range day. I don’t want to get into the endless debate over how over you should clean, that’s up to you.

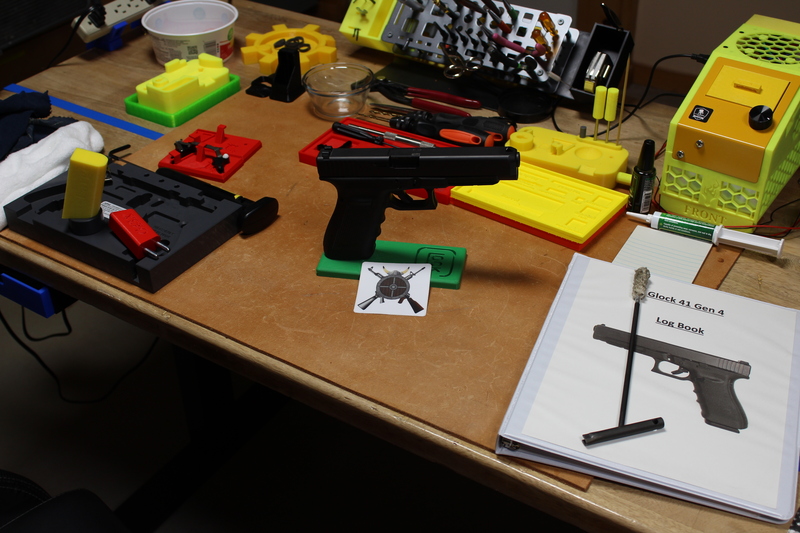
This is a shot of one of my setup before initial take down.

Gun cleaning before take down

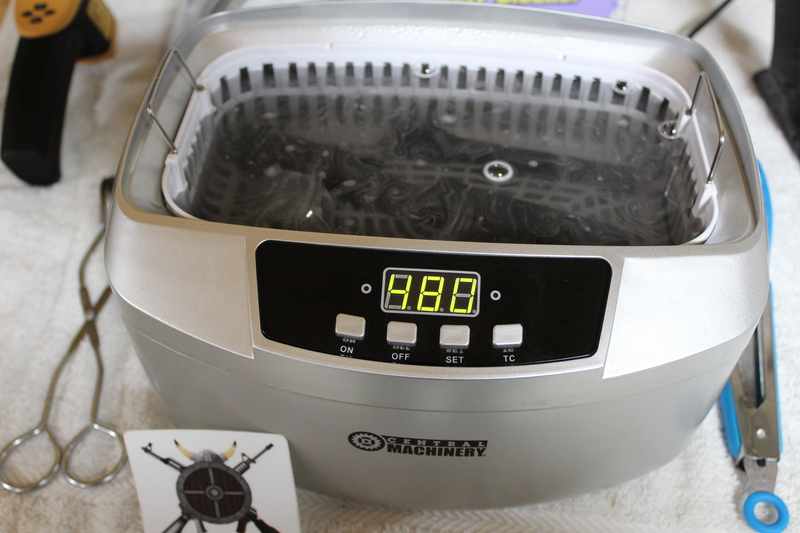
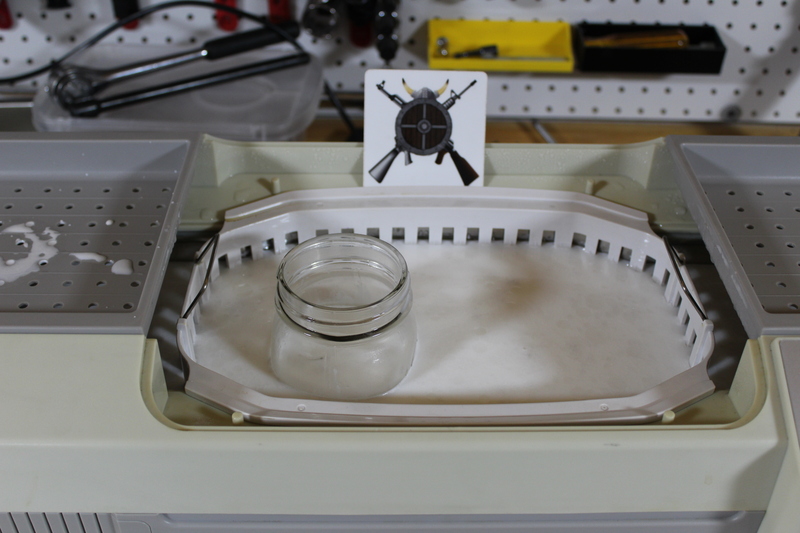
I use my Harbor Freight ultra sonic cleaner with a 30:1 ratio of distilled water:Simple Green set on heat for 16 minutes. 8 minutes flip / adjust parts another 8 minutes. Small parts go into a jar or solution filled zip lock bag.

Gun Cleaning Simple Green HF Ultra Sonic


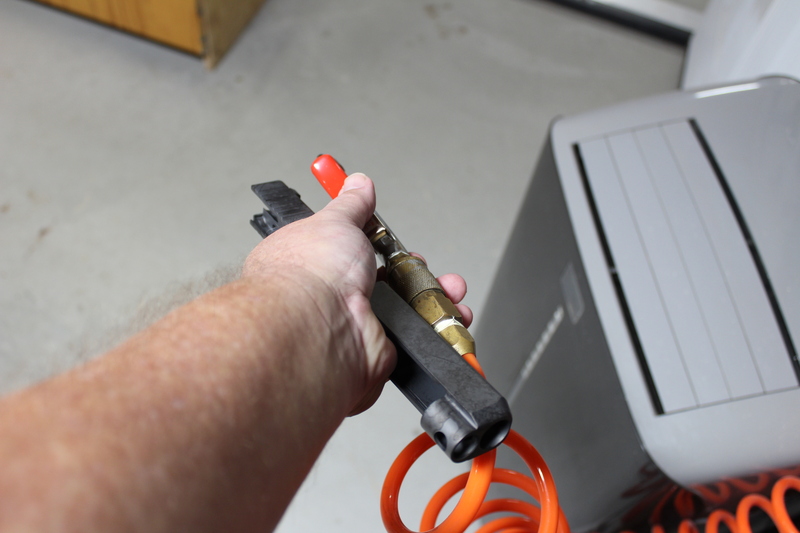
Then I blow everything off:

Gun Cleaning Blowing Parts Off

Then I drop the parts in my Bald Eagle ultra sonic cleaner with a 20:1 ratio of Distilled water:Ballistol set on 122 degrees for 20 minutes. 10 minutes flip / adjust parts another 10 minutes. I put the small parts in a jar with the same solution.

Gun Cleaning Bald Eagle in Ballistol

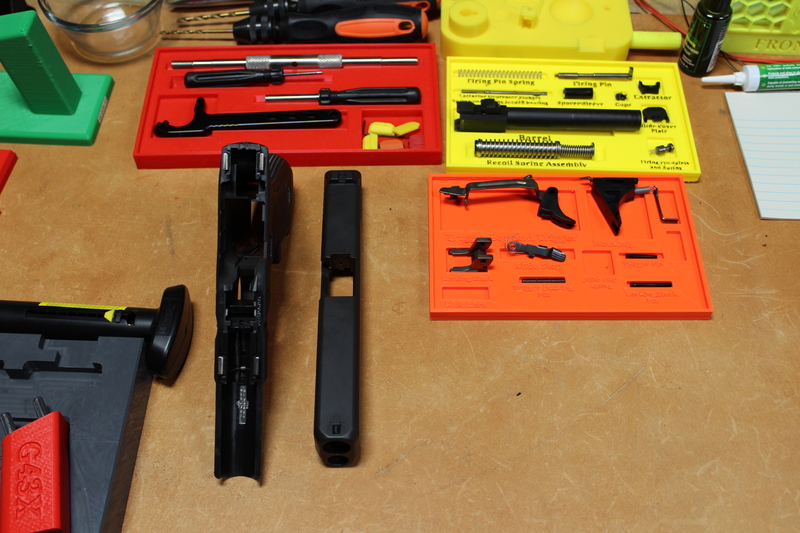
I blow and wipe everything off then lay the parts out back on the work bench.

Gun Cleaning Parts Trays

Then I put it back together and function test. Ready for the range.

Staying on track!

I wanted to add some T-Track to the end of the counter in the office. I could then do some medium and light work in the Better cooled Office area.

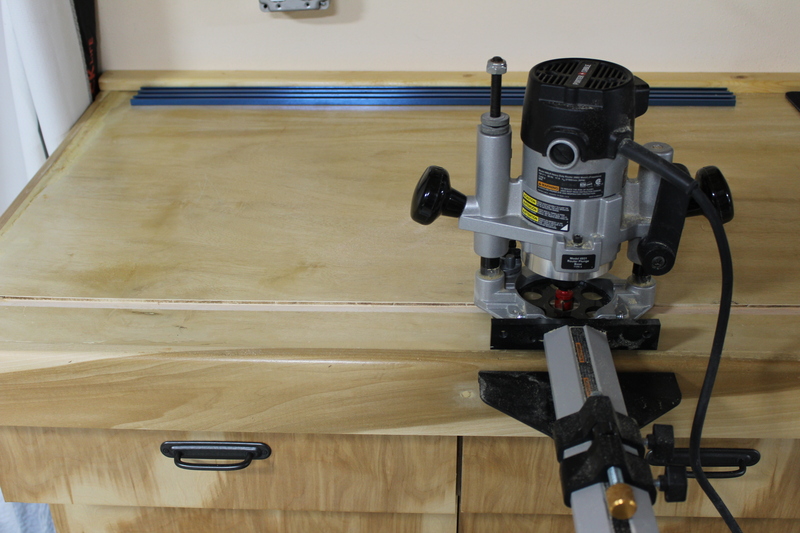
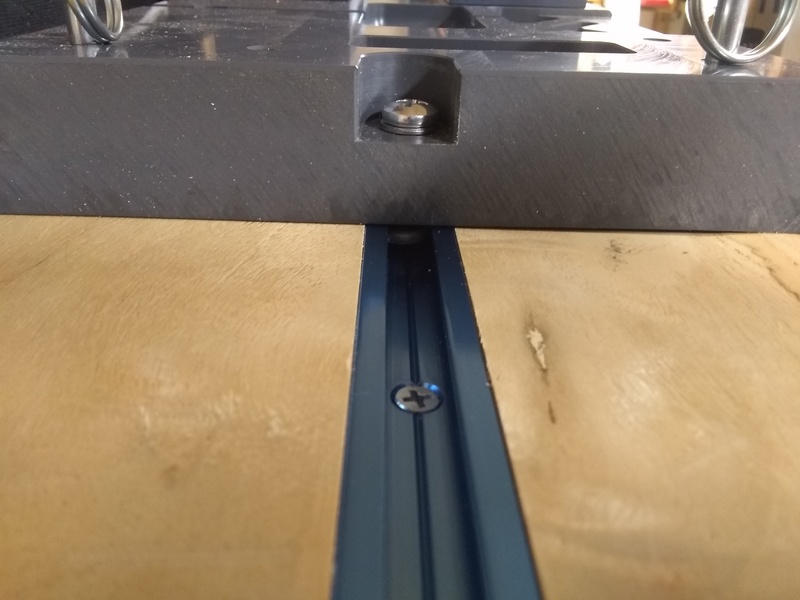
I started by making a couple passes with the router, going a bit deeper each pass until I got to the right depth. ½ inch.

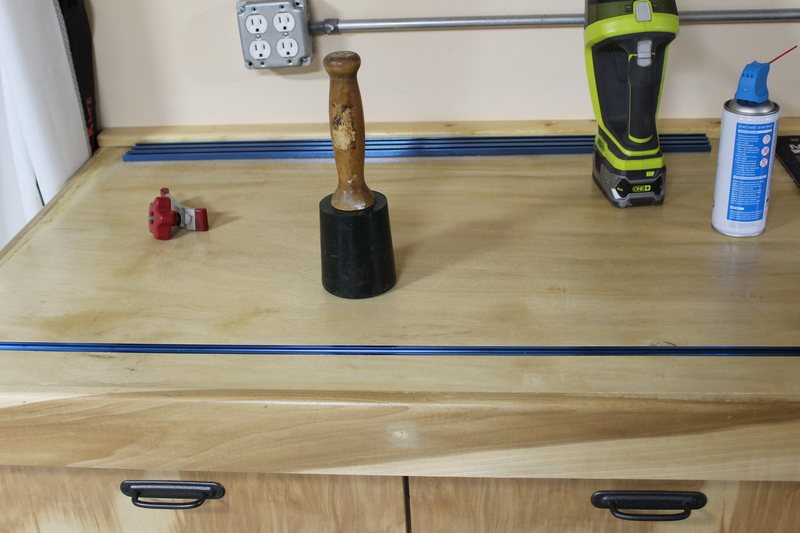
Then I tapped it in and made sure it was flush:

Making it flush
Making it flush

Got it screwed and and tested with the Present Arms setup.

Testing
Testing

Works great! More on the Present Arms setup over on Viking-Armory.com

Chat with us on Discord

Hauling it!

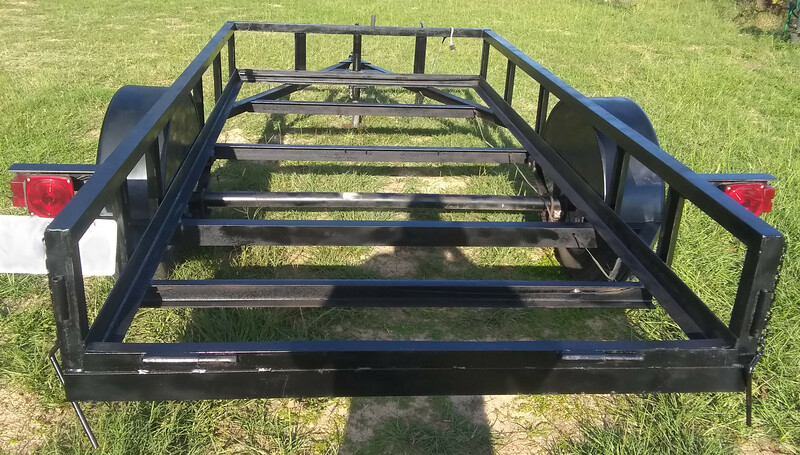
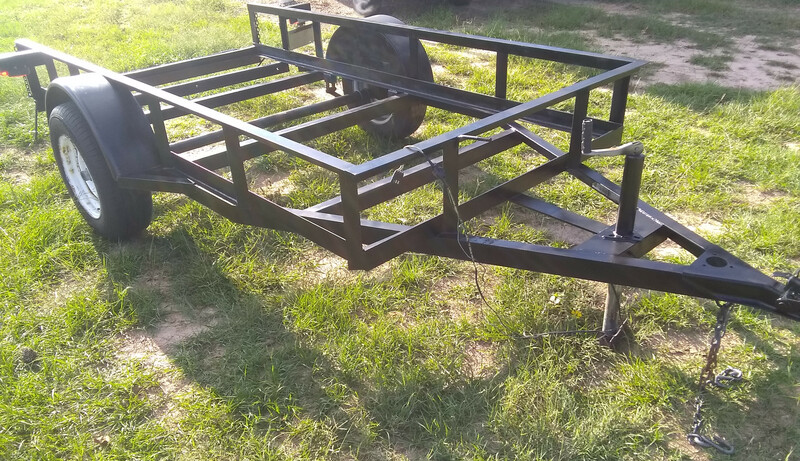
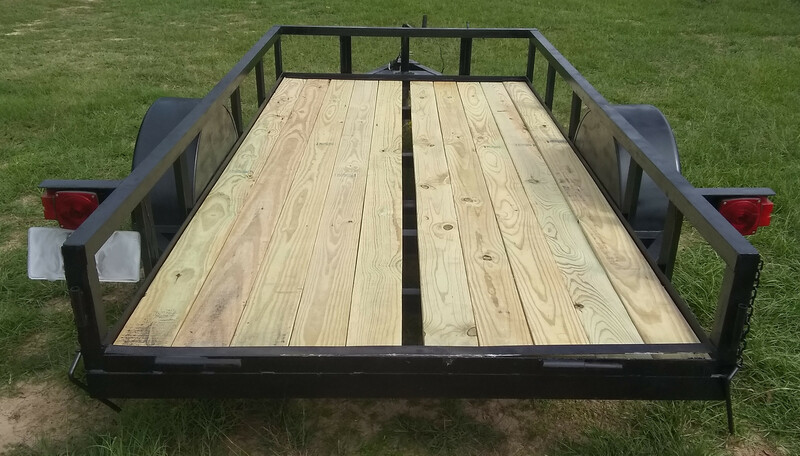
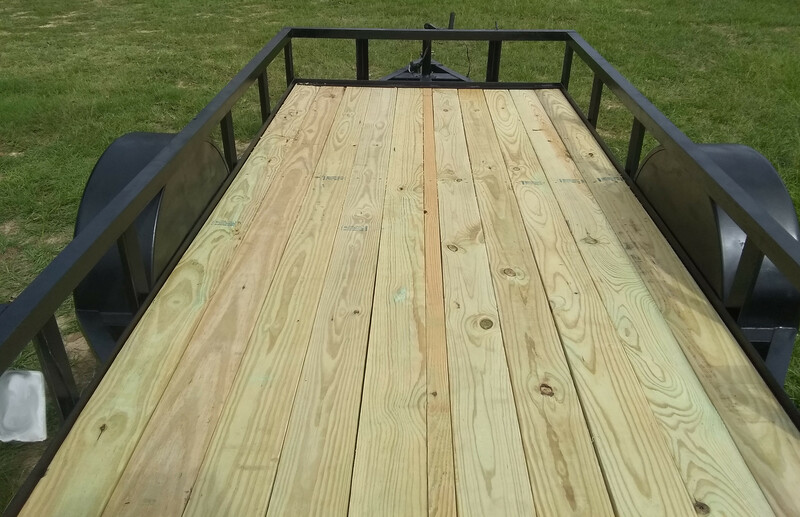
The old single axle trailer needed a timber replacement.

First is easily removed the old wood, it just disintegrated, cleaned up the metal and gave it a quick painting.

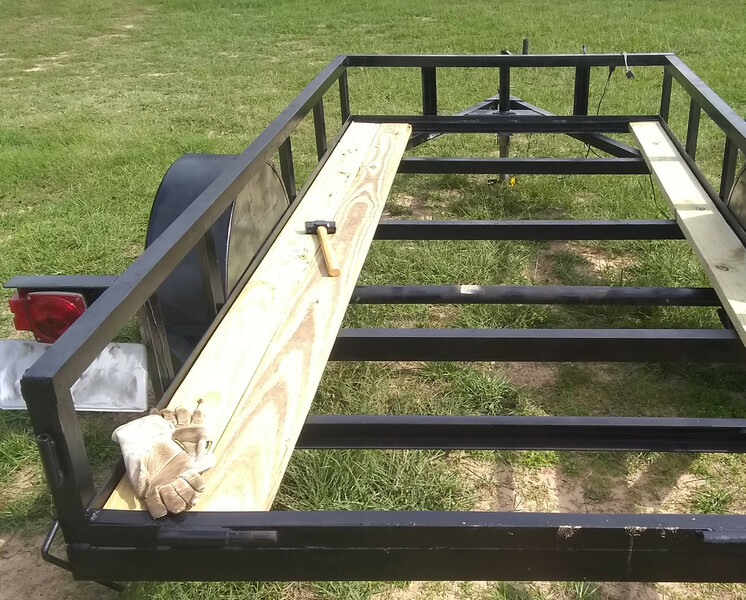
Started sliding in the new treated 2 x 6 x 10 boards.

Only thing left is a small sliver:

Ripped a piece off the last 2×6, it is thin so I could give it a good bend and poof done!

Chat with us on Discord

Lee Load Master Mount from Becks Armory

First off Richard Beck richard@becksarmory.com at Becks Armory is a great guy to work with. The mounts are hand crafted in America with quality materials. All mounting hardware except the wood screws was also included. The wood screws to mount the rear bracket to my bench are not included because the thickness of my bench was unknown to Richard. My mounts were packed VERY well and received quickly after shipment.

Richard also said he can create custom mounts based on the same design. I just need to send him the measurements. I might get one made for my RCBS Accessory Base Plate. That will be a separate post 🙂

Here is a link to directly to the bracket I got: . http://becksarmory.com/product/lee-load-master-mounting-kit/

Below is a quick post of what I did to get it mounted.

First thing I did was mount the brace. I used ½ inch wood screws to get the job done.

Then I drilled the bottom 2 holes from back to front.

I held the mount in front and placed the 2 bottom bolts into the before mentioned holes. Made sure it was level and marked the top 2 holes as shown above and drilled them out. Then mounted it up.

When I do it again, I will make a jig with the hole pattern and drill the holes out that way. Don’t know why I didn’t think of that till after the fact.

Here is a shot with the press mounted.

Copy Protected by Chetan's WP-Copyprotect.