Shop Smith 10E(R) 16061 Restore – My Current Drill Press

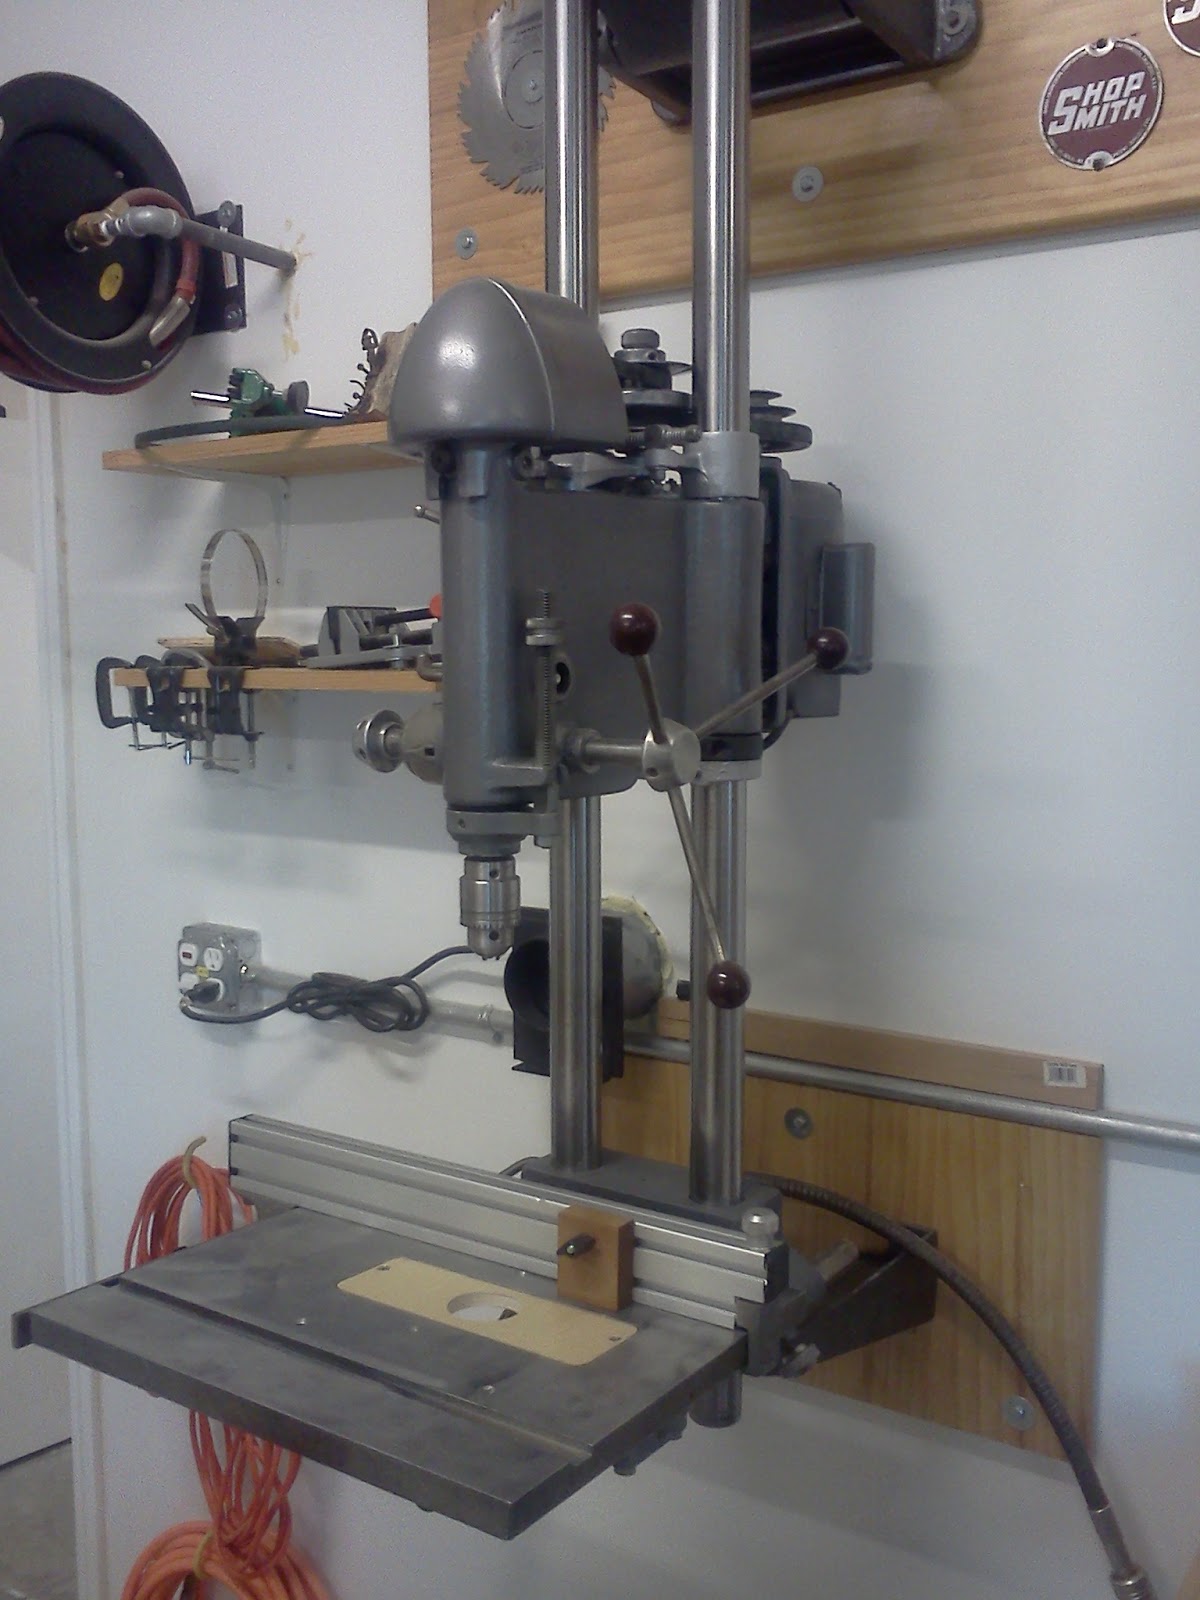
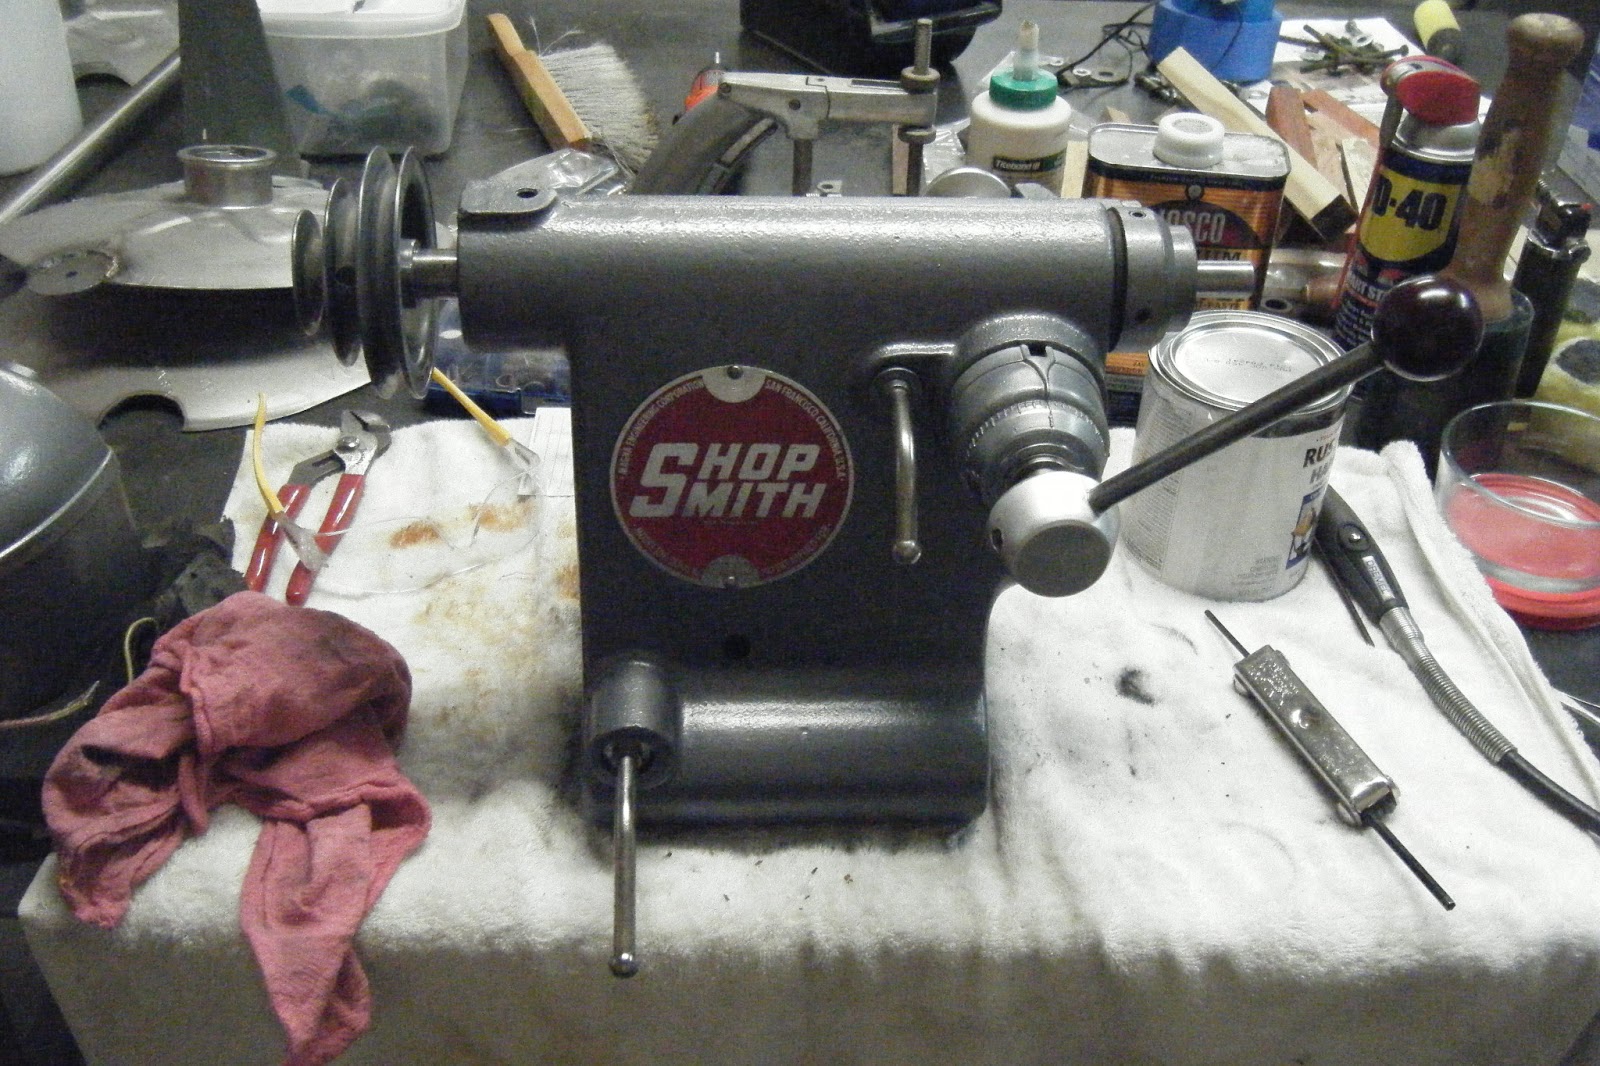
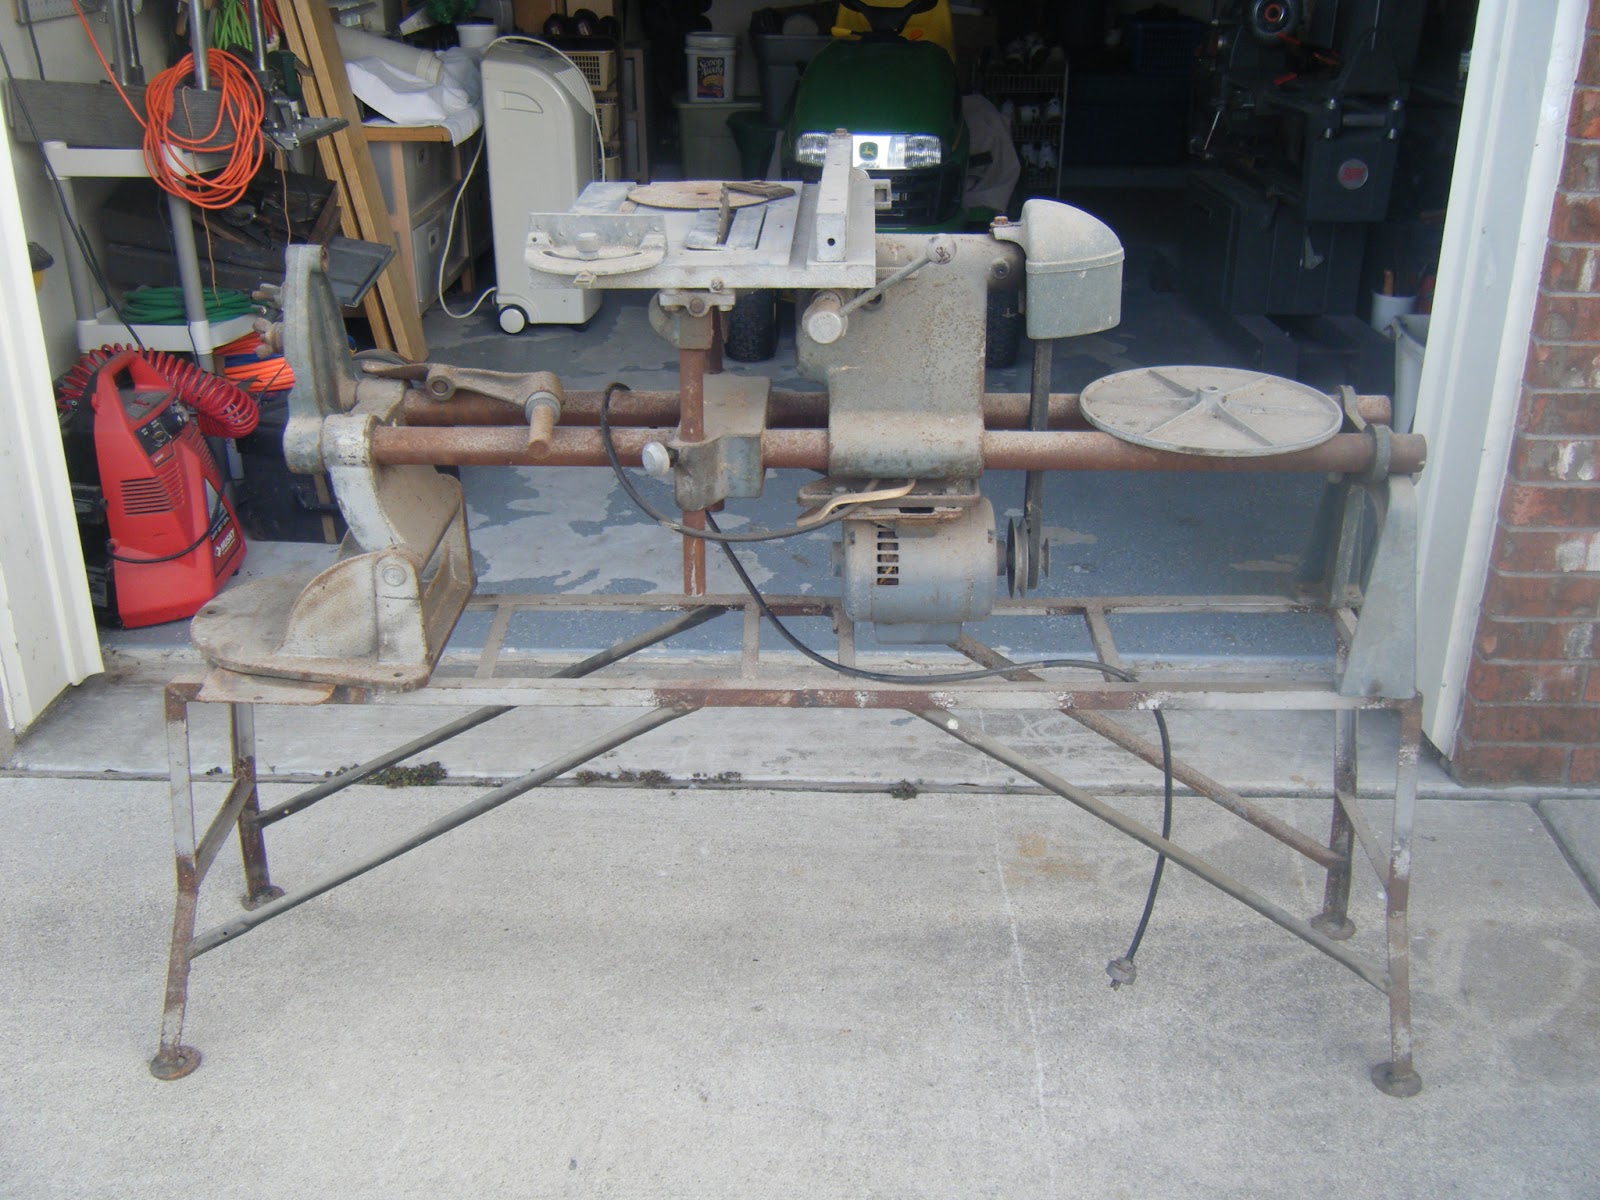
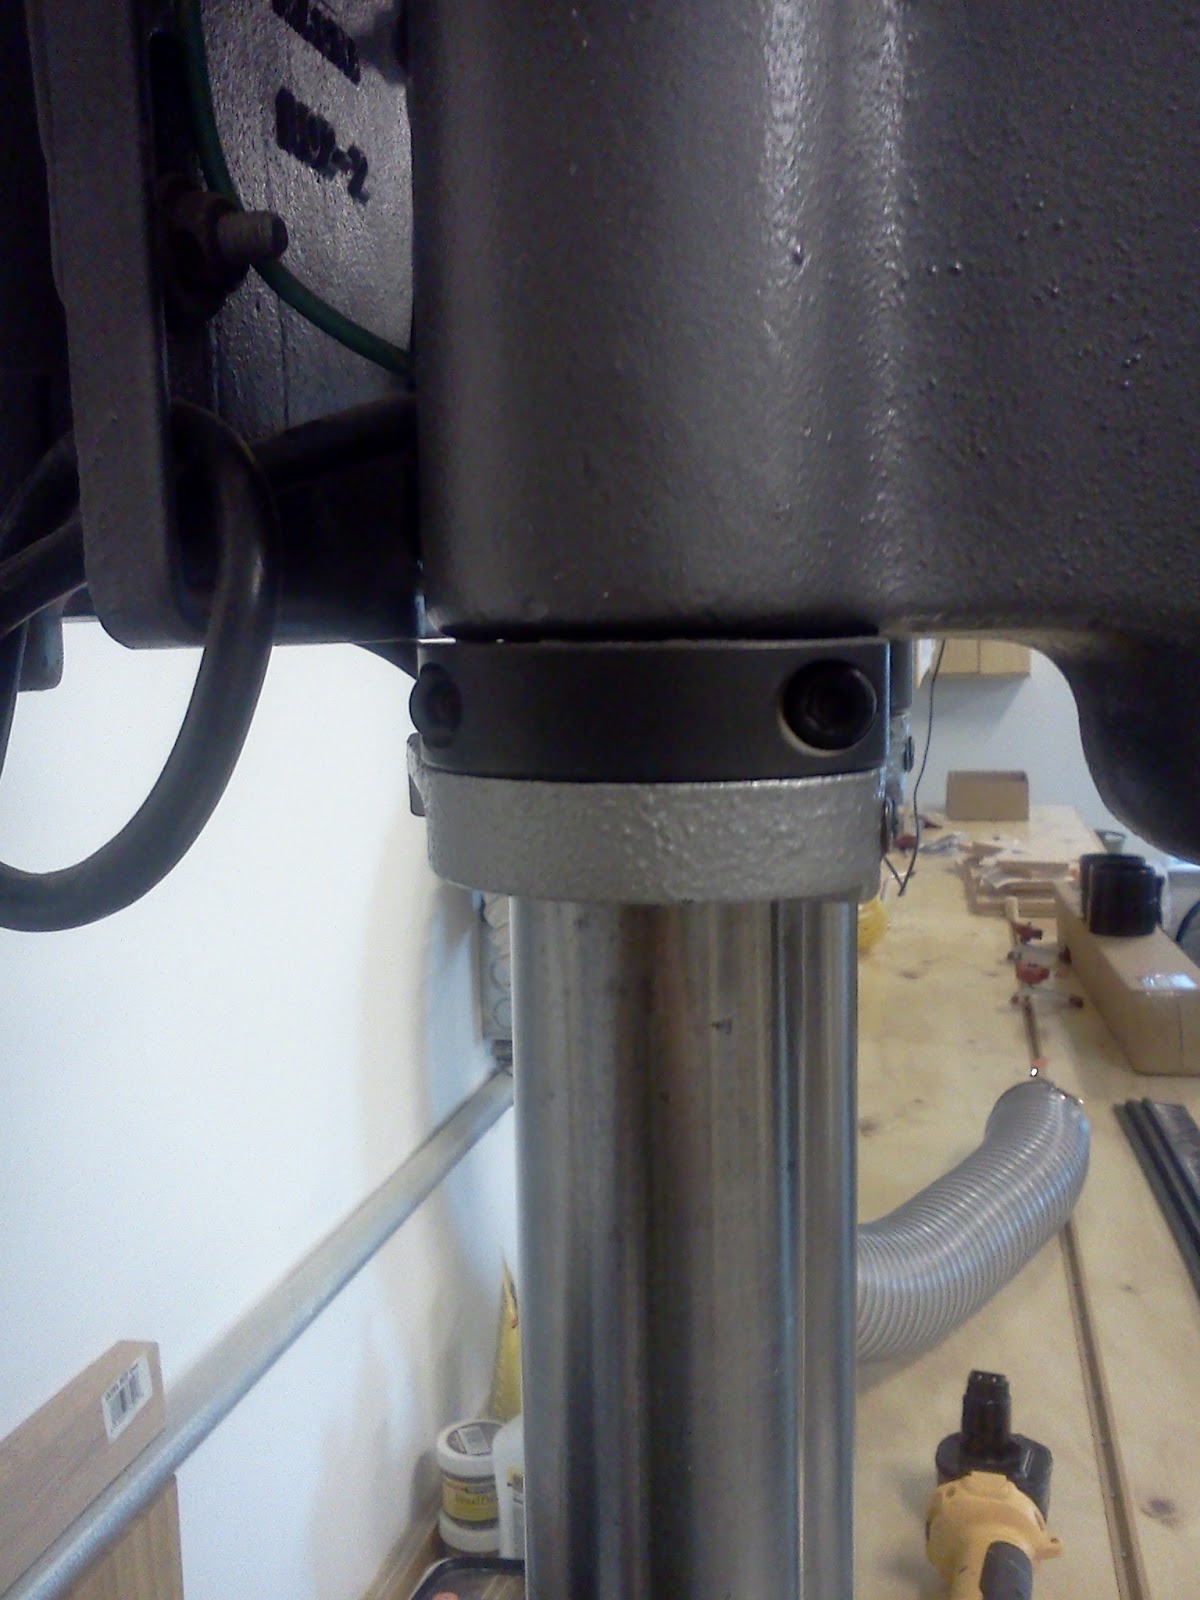
Just some quick pictures of one of my other Shop Smith restores. This one is mounted in permanent drill press mode.

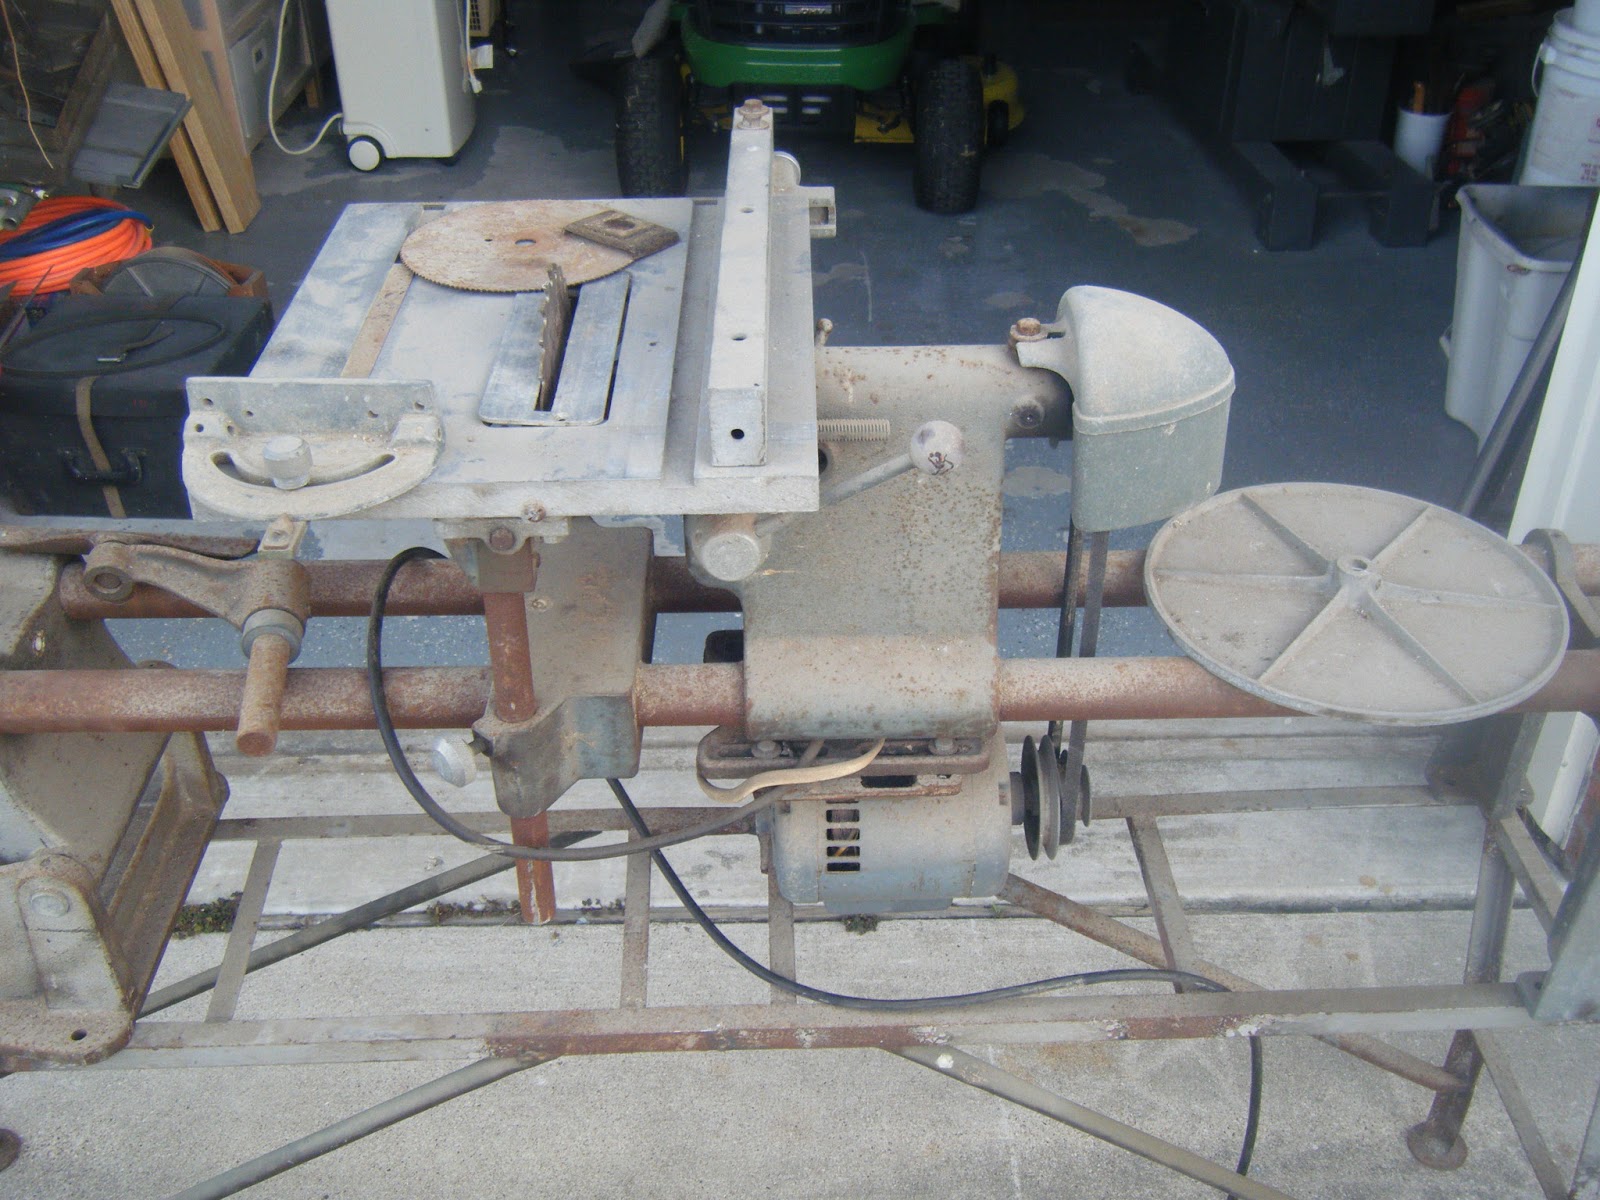
The Before shots
After:
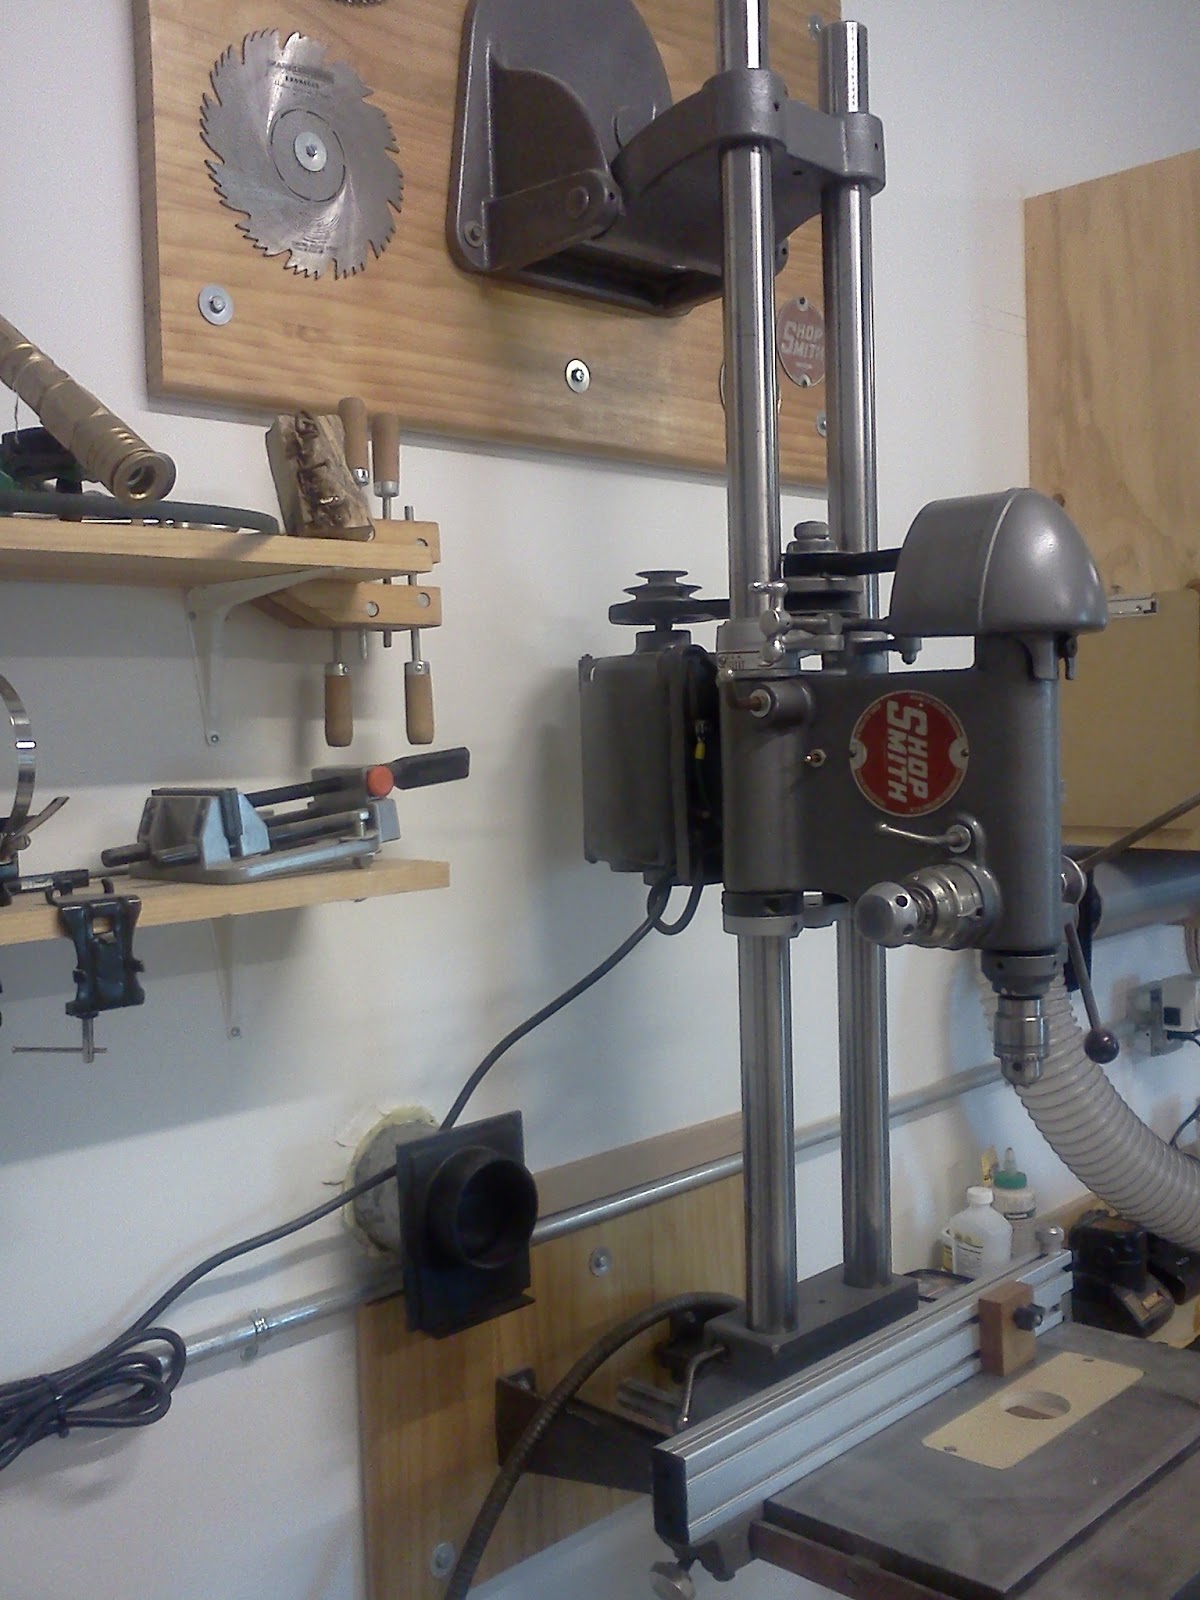
To help keep the VERY Heavy Shop Smith 10E head in place, did I mention it is HEAVY? I went to McMaster-Carr and got 2ea, Two-piece Clamp-on Shaft Collar, Steel, 1-3/4″ Bore Part Number 6436K25 to help hold it in place:
Shop Smith 10E(R) 12103 Restore – Part 2

Here is a quick view of what I did to get it restored

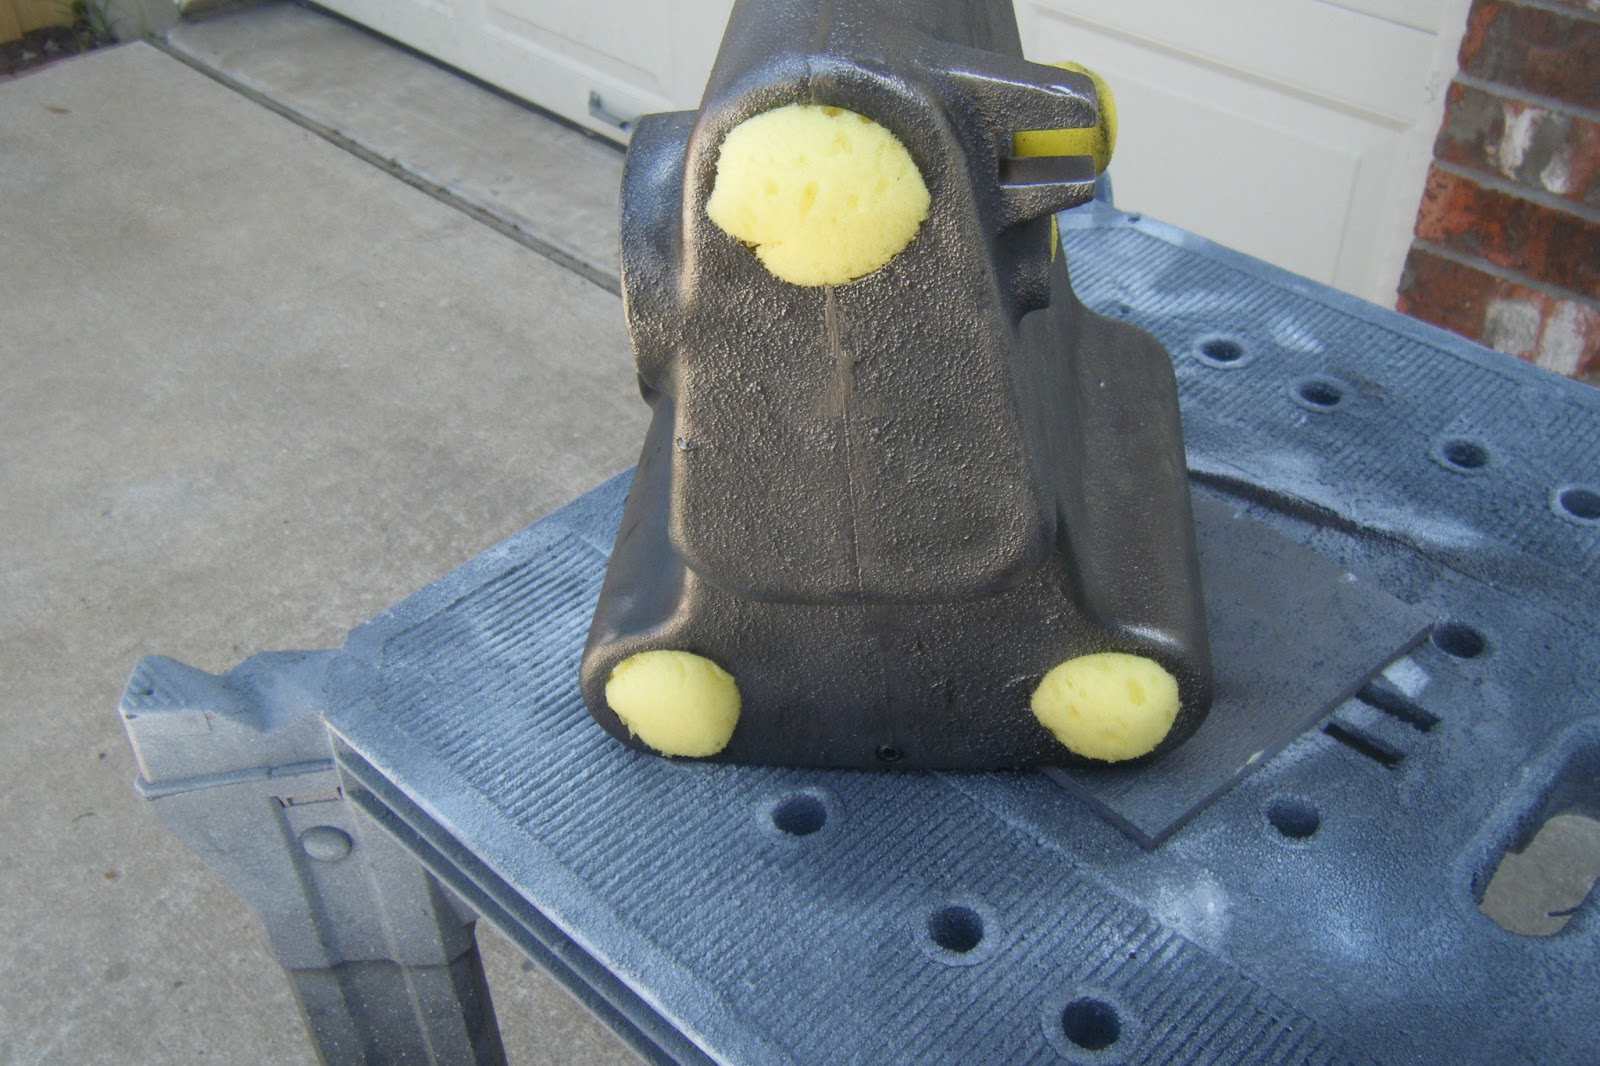
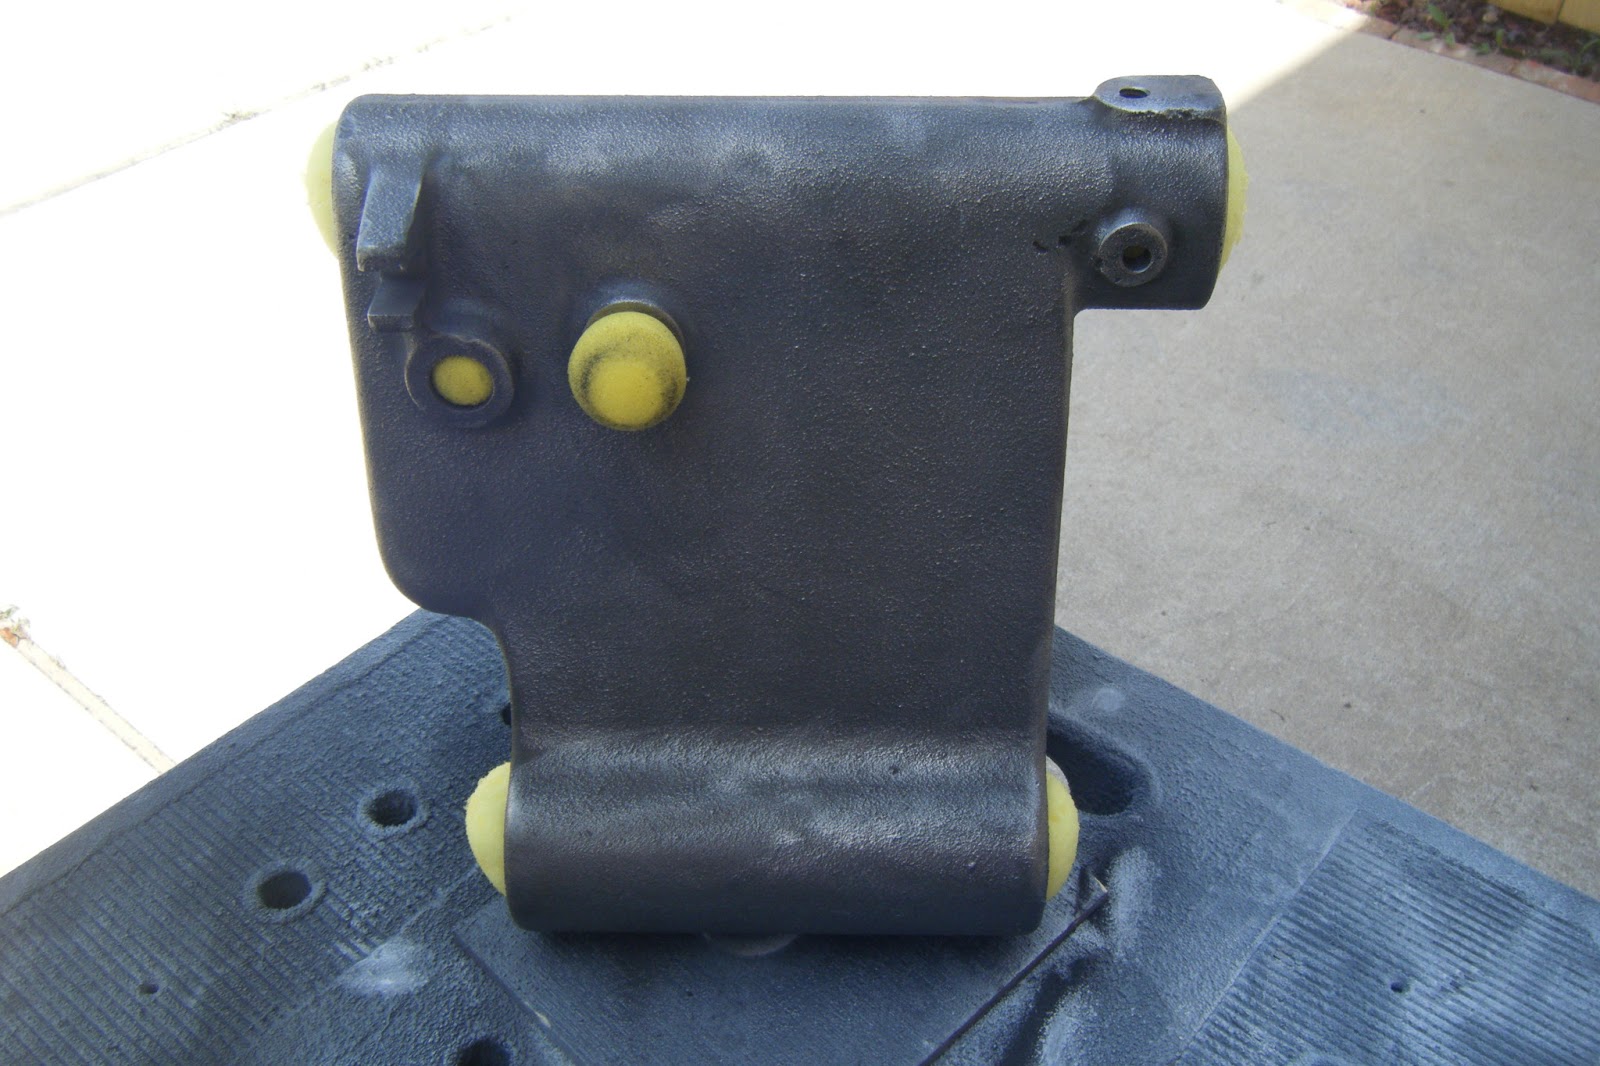
Here are a couple shots of the headstock after electrolysis and a quick hit with the 4 inch angle grinder with a wire wheel attached. I tried filling the holes with cheap roller sponges I picked up from HF, thought I would be able to re-use them…Not!
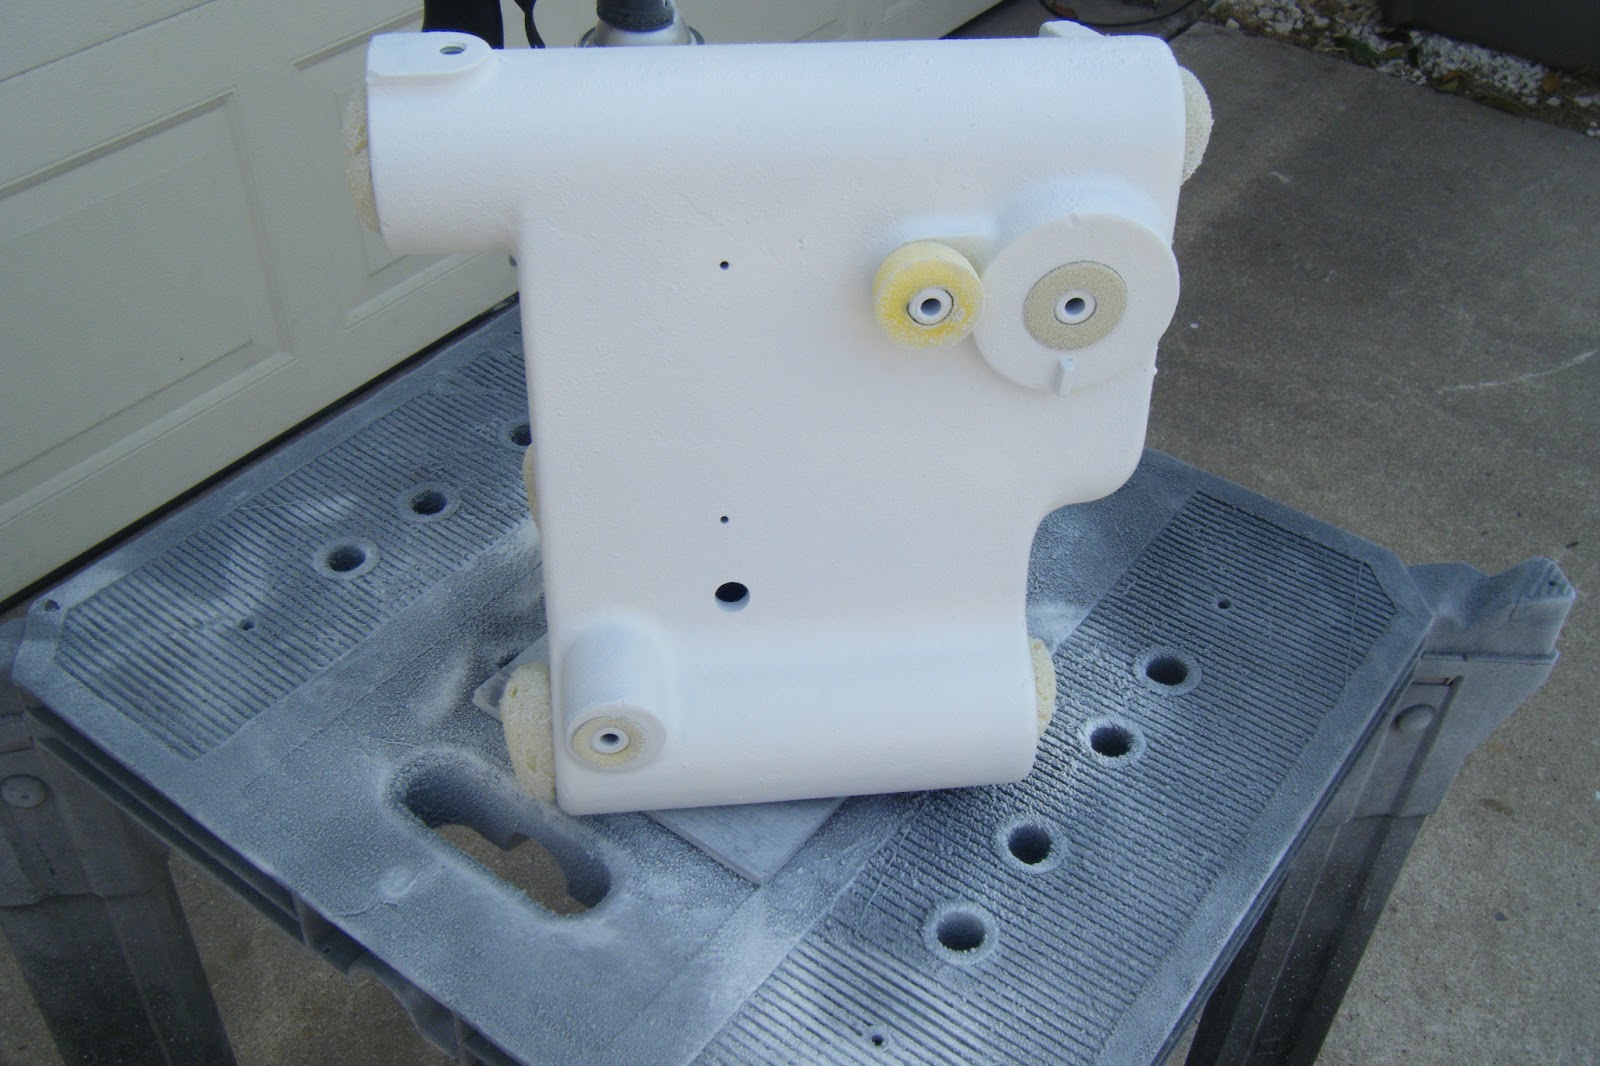
 Then I primer it up..
And put it back together.
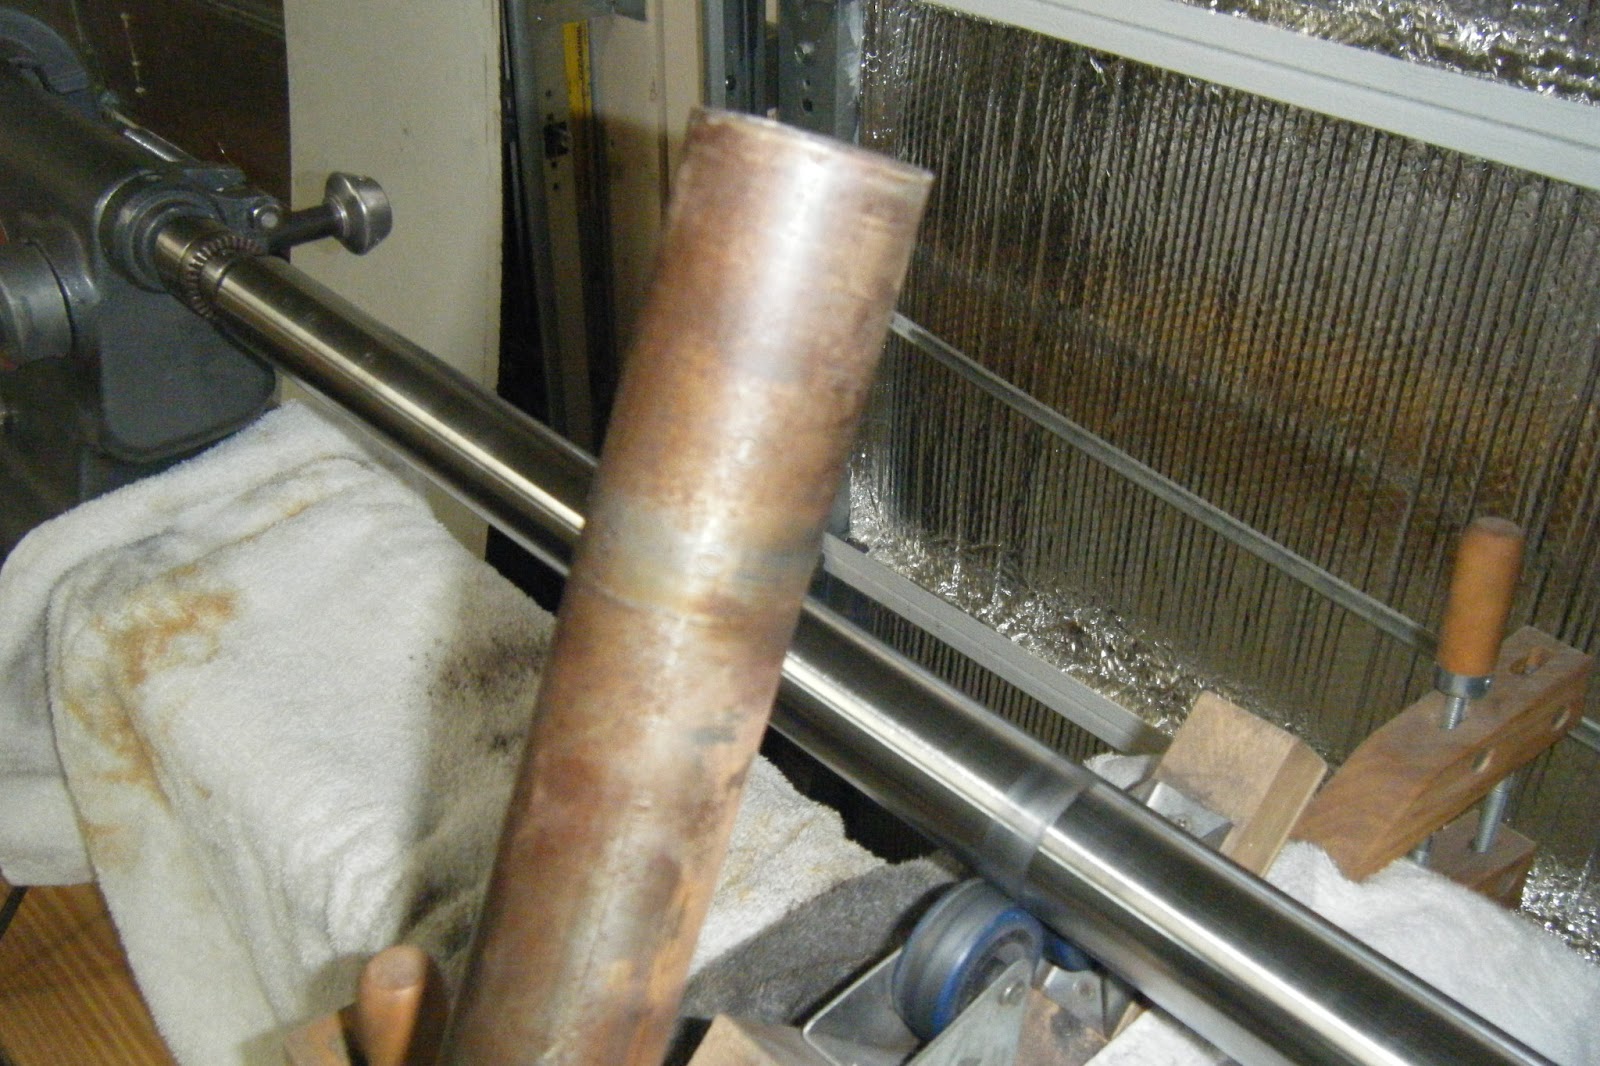
Then the way tubes. The one in front is before and the one on the shopsmith is the almost complete job. After loosening it up with electrolysis, I start with 150 grit and work down to steel wool and then a coat of Johnson’s Wax.
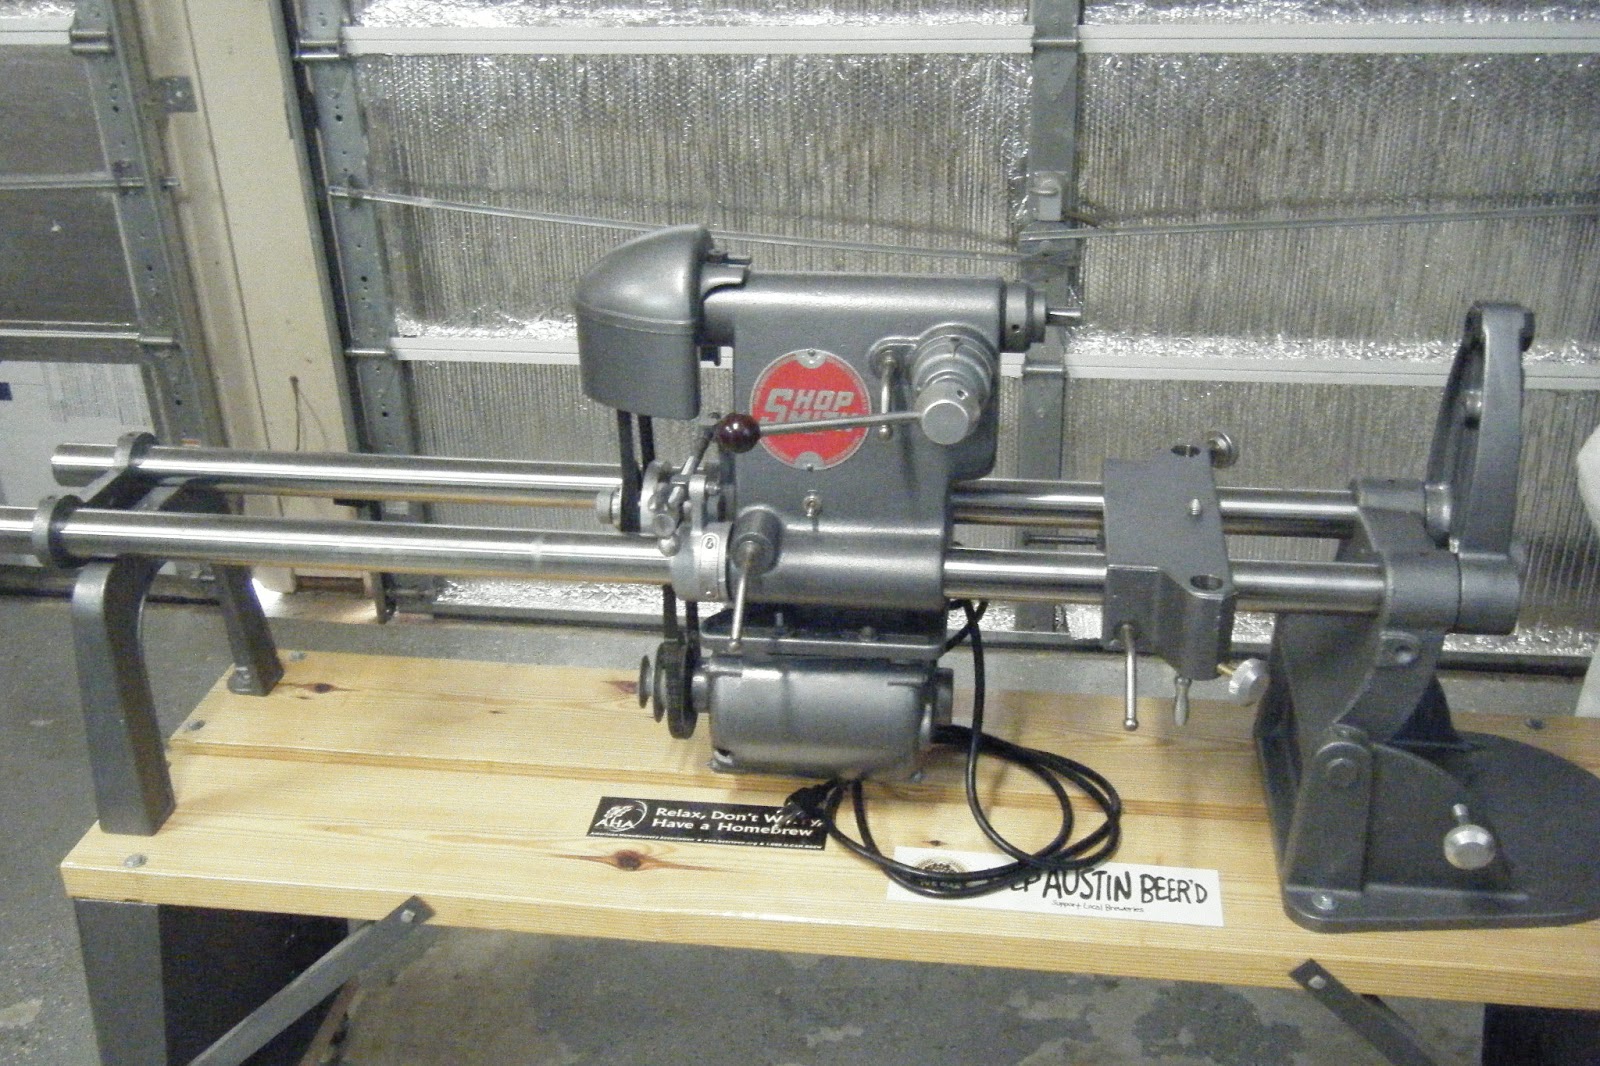
Here is a shot of the completed Shop Smith

Electrolysis – Electrolyte Solution

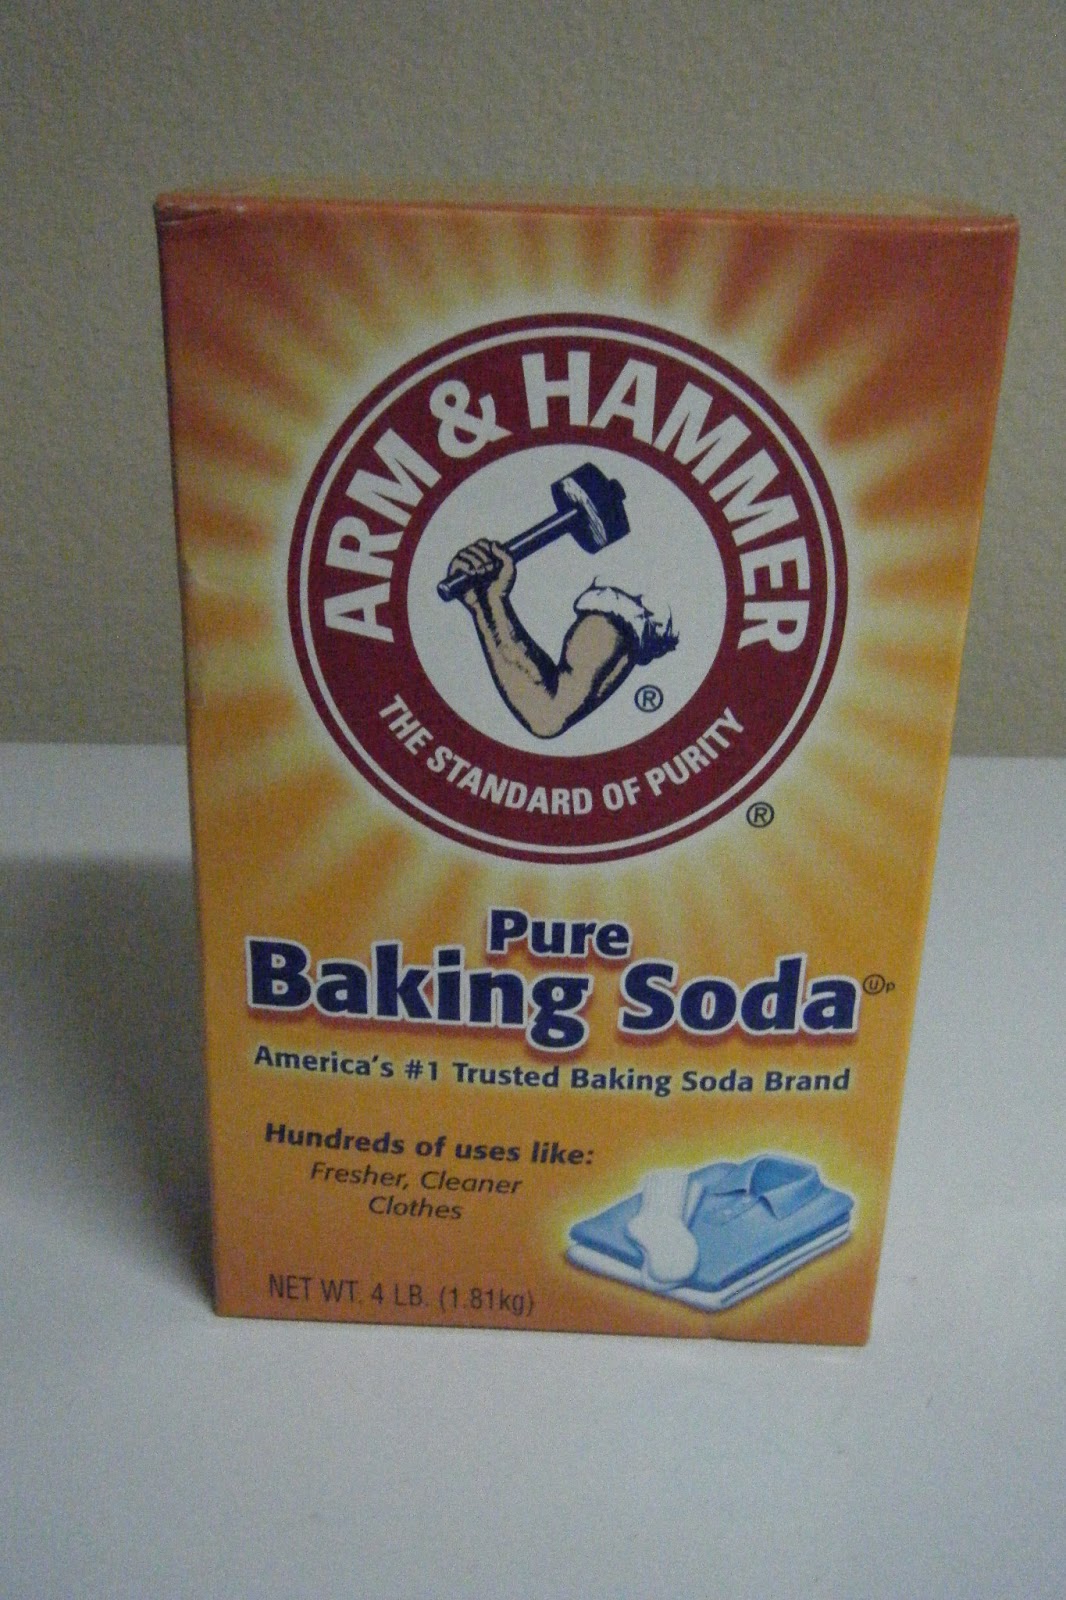
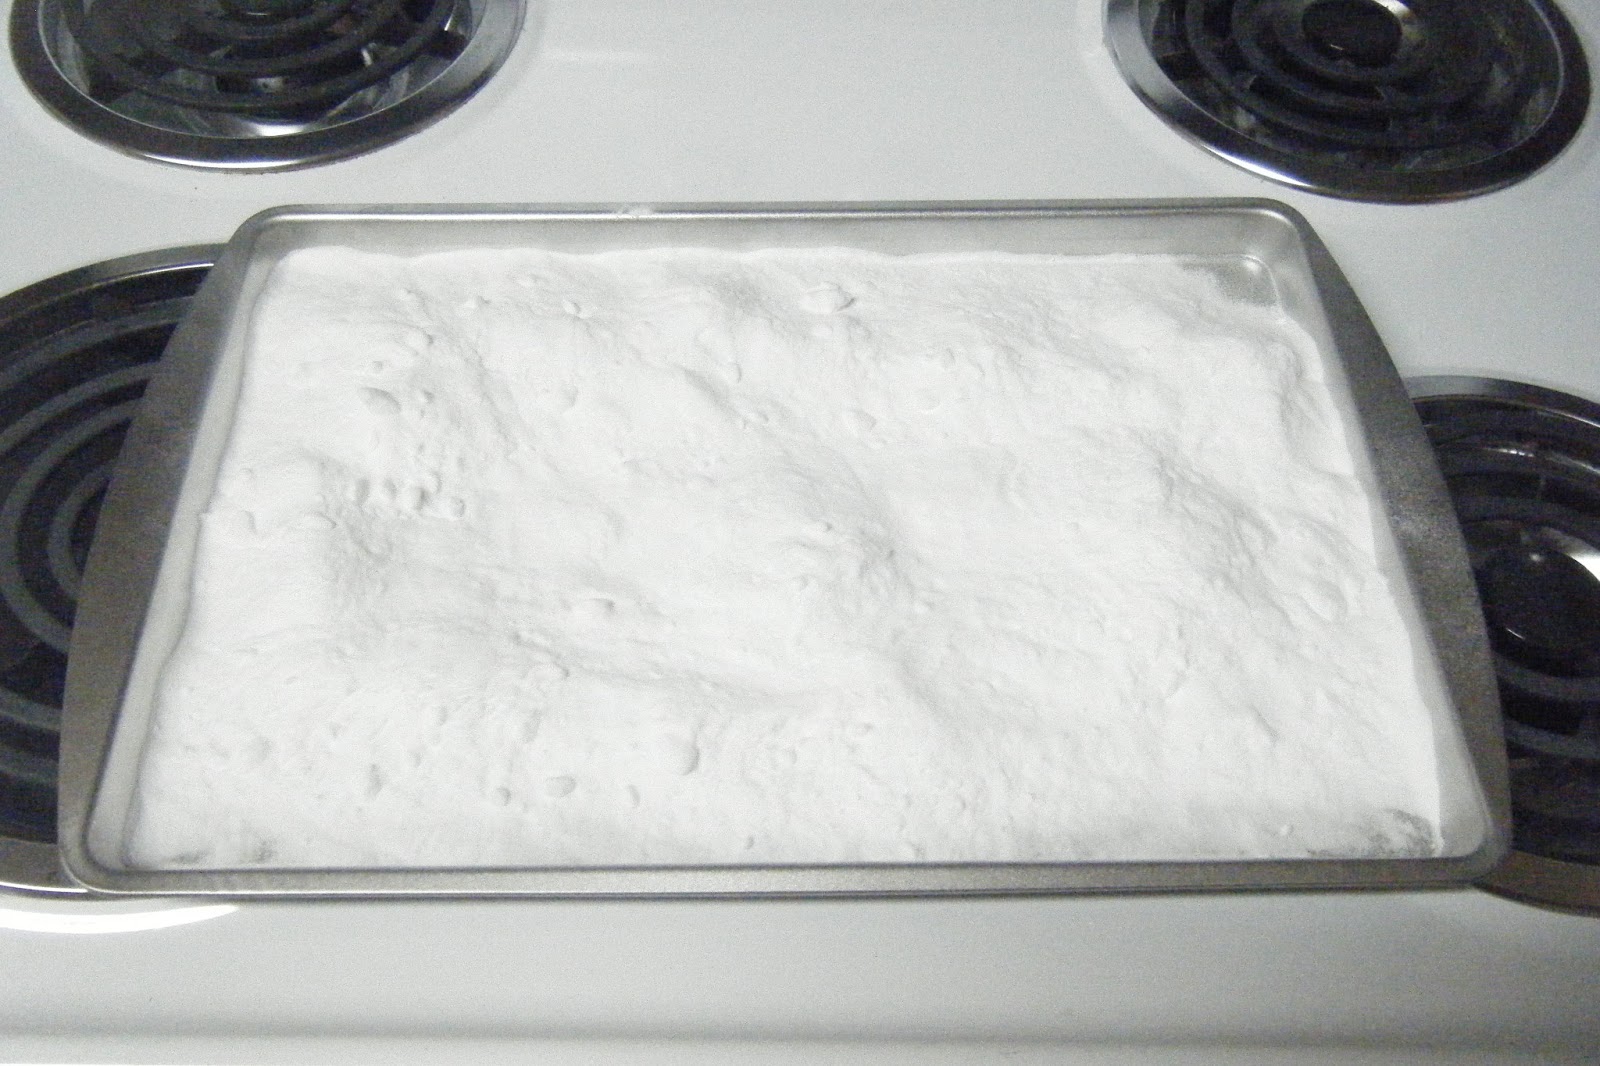
“Just put some baking soda onto a frying pan or a cookie sheet, and bake it in the oven at a little over 300°F (149°C) for an hour. “ You can go to the site for the scientific explanation. I have a lot of baking soda laying around, you can see in my other posts, it worked just fine. 1 tablespoon per gallon.
On a cookie sheet, in the oven at 320 for an hour
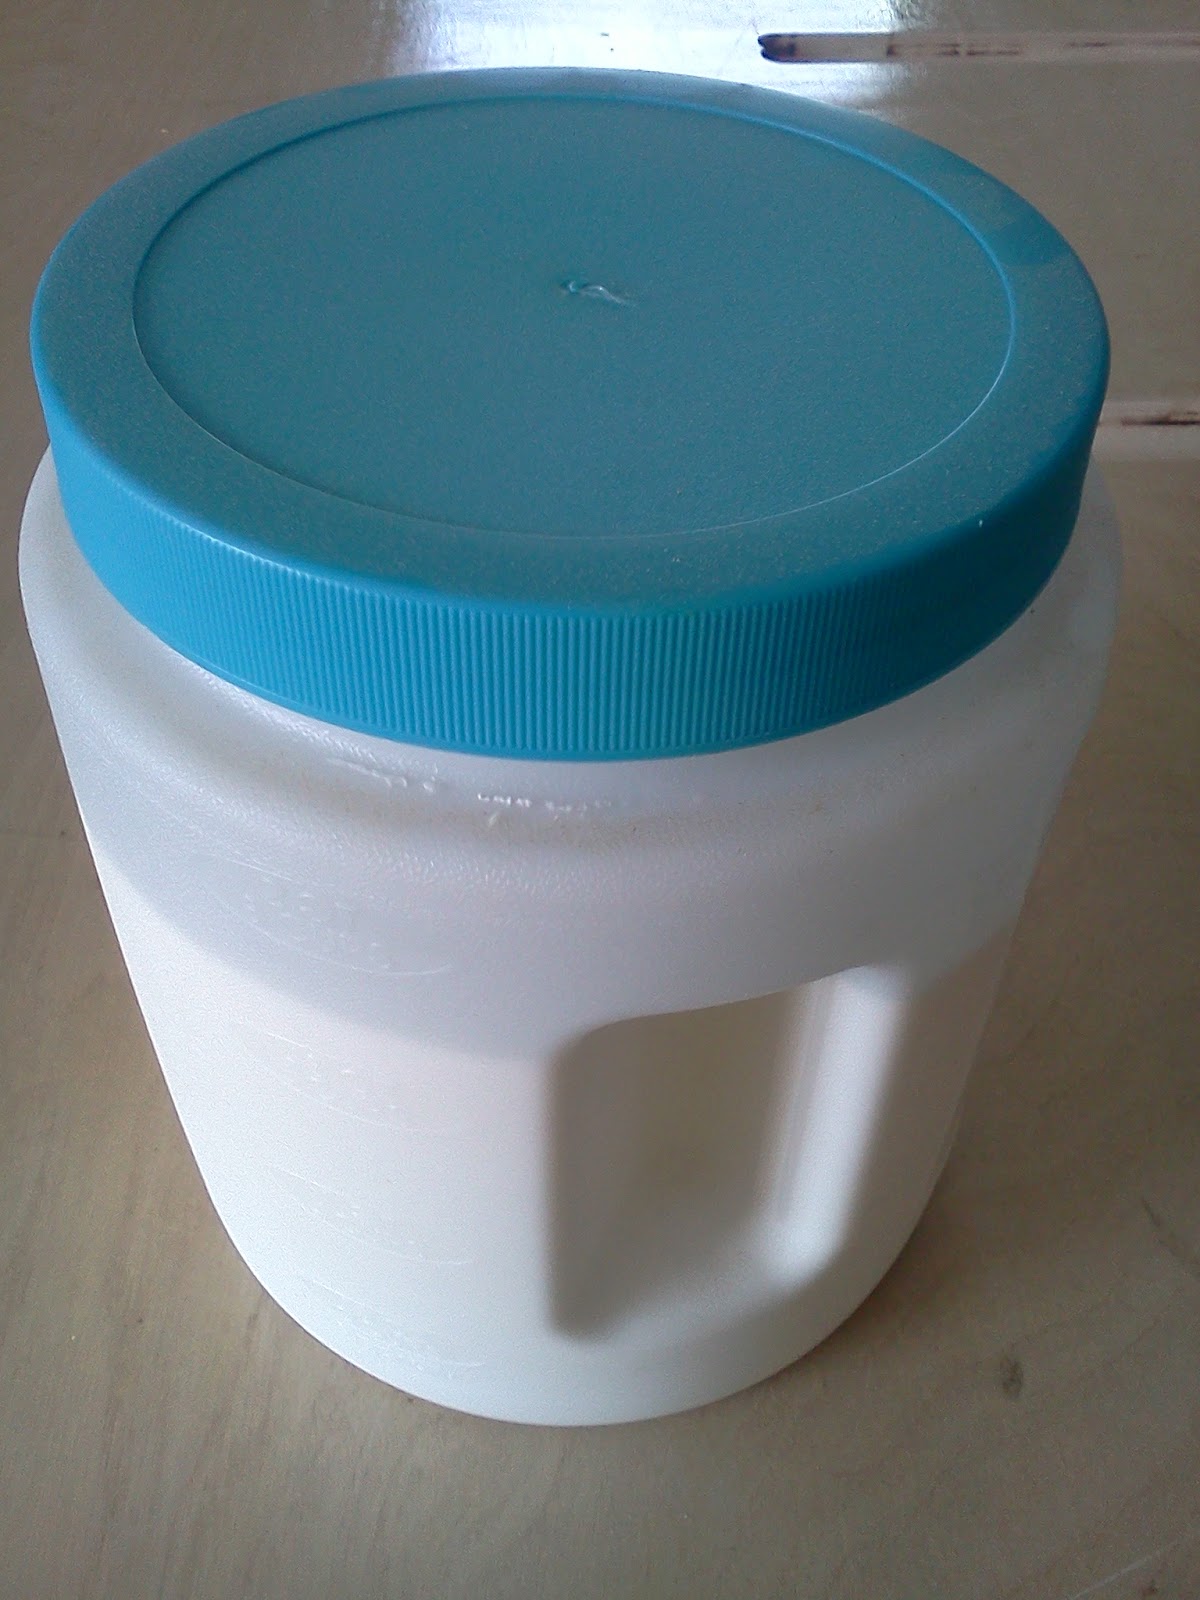
I store it in a plastic container until needed.
You will see the results of all this in the Shop Smith Restores.

Electrolysis – Just the Vats man!

Here are a few of my most used electrolysis vats. Re-bar seems to work just fine for me, I am not restoring gold or sunken pirates treasure. Just my own treasures. I have not seen pitting, staining, or anything else bad.
I drilled a small hole on each side of the re-bar, wrapped the copper wire around the re-bar. This also help hold the re-bar in place.
Don’t pay attention to my cable colors. Positive on the outside re-bar, negative on the part.
I use this one for medium size objects.
Action Shot:
Small Parts Version:
 Action Shot:
And my last entry. I use this one to do the long objects. Primarily Shop Smith Way tubes
Action Shot, I made some modifications to the re-bar, but it is the same vat.

Electrolysis – Power to the process!

I have been using electrolysis for a while now to remove rust from all my iron Shopsmith parts. I received my original inspiration here: http://www.instructables.com/id/Electrolytic-Rust-Removal-aka-Magic/. Here is what I do to make it work:
Lets start with how I am going to get DC current to the processes. I started by doing some research with the all knowing Google and came up with these sites:
I did not like the idea of leaving the power supply together and I had a nice box to put it in. I put in a GFCI plug I had laying around and added the mounting hardware for the power supply board:
I then took the Power Supply apart and wired it up as the websites above describe. Well…almost the same….
I then mounted it in the box. I kept some extra wires for future testing, and I jumper-ed all the grounds off the single ground wire:
Here is the outside:
Here is an outside shot with both power supplies:

Next I will show some vats I made and the to the electrolyte.

Re-Stacking and Re-Sticking

While I was flipping the lumber to prevent sticker stain I decided to move the pile to the shop. I have this fear of it drying to fast. In the shop there is plenty of air flow, it is protected from the extreme heat and I can monitor the humidity. And it makes me feel better.
You can faintly see the sticker lines in the photo below.
 Went ahead and strapped it back down. When I re-stack in another 30 days, I will put the straps under the 4×4’s
Here is one of my fears of it drying to fast, I would rather be safe than sorry.

Shop Smith 10E(R) 12103 Restore – Part I – In the Begining

Well a couple years ago I was picking up the good old ShopSmith 10E(R) for anywhere from $50 to $150 rebuilding and selling them. I kept 2 of the oldest for myself; 10E Serial Number 12103 from early 1949 I use as my horizontal machine, primarily lathe. And 16061 from mid-1949 which will be used as my permanent drill press. I will be showing some of what I did to those here.
If you are lucky enough to have one of these great pieces of American history this Yahoo! Group is a great source of information, http://groups.yahoo.com/group/Shopsmith10ERusers/  They also manage a spreadsheet that has year manufacture by serial numbers.
If you are looking at restoring yours, here is another great site with a wealth of information: http://www.shopsmith.net/forums/showthread.htm?t=3503
If you need new parts here is Skips site http://www.mkctools.com/10erparts.htm
Here is a shot of the data plate on 12103, the horizontal machine.
And here are a few shots of what I had to start with:

This Cyclone Sucks! — Really

I wanted to build a cyclone for my newly installed Harbor Freight 2 Horse Power Dust Collector. After much research I decided to go with Phil Thiens Cyclone Separator Lid I am very happy with my decision. If you decide to make your own, head over to his site. The instructions are great.

Here is a shot of my lid upside down. I wanted to show the cutout and the elbow.

Here is a shot in between the lid and the baffle,  All my plumbing is 4 inch.
 Here is the completed product filling the void of my HF dust collector modification. The hose between the impeller and lid is 5 inch, I cut another piece of the hose that came with the Harbor Freight Dust Collector. It is a 5 to 4 inch reducer stuffed in the lid and there are clamps holding it in place, they are just not shown.

Again, I am pretty happy with the results.

OLD – Cooling down the shop

After insulating the shop attic I decided to put in a window AC. I was originally thinking of putting in a small split unit, but went with a window unit instead. I will only use it when I am in there and the split unit after install would cost around 4 times my window unit. The unit is properly sized for the shop; there are all kinds of sites to help get the right size so I am not going to get into it. It is a 110/120 volt 12.5 Amp unit. I put it on its own 20 amp circuit. Power tools draw a fair amount of amps and my band saw would have been on the same circuit drawing over 10 amps and that would have pushed it over.
So I stuffed it in the window:
It was designed to hang there, and I think they did a great job engineering it. But, I like to have more peace of mind. I have this fear of coming out after a good wind storm and finding it on the ground and a gaping hole in its place. So I built a brace using 2×4’s and saw horse braces you can get in the big stores. I put a couple coats of Poly on it to protect it from the elements. I also put in adjustable feet I got at the wood store. I assume that the wood will shrink in the elements. The feet have plastic bottoms and can adjust up to 4 inches.
The last thing I wanted to improve on was the insulation around the unit. It has thin accordion plastic “wings” that don’t stop much. So I got a piece of ¾ inch foam sheet from the home improvement store, they only had 4 x 8 sheets, lucky me. I cut out a piece to fit around the unit.
I think it came out pretty good. I think next on the HVAC list is to insulate the garage door. put that is another post!
Copy Protected by Chetan's WP-Copyprotect.