
Maintenance and Troubleshooting of AR-15 Type Rifles

Field Stripping can be done with what everyone should have out in the field, a bullet. Might not be the best tool, but in a pinch it will do everything you need to do. First thing you need to do is to remove the magazine, clear the weapon, ensure the bolt carrier group is forward and the safety is on. Set the firearm so the barrel is pointer to the right. Push the rear take down pin towards you, it will not come all the way out and you should feel the upper and lower separate when it is pushed far enough. Now do the same for the front take down pin. You can now separate the upper from the lower receiver.

To disassemble the upper receiver pull the charging handle back and remove the bolt carrier group. The charging handle will drop down as you continue to pull and can be removed from the receiver. On the left rear side of the bolt carrier, you’ll see what looks like a cotter pin, this is the firing-pin retaining pin. Pull the pin straight out and the firing pin will drop out of the bolt. Turn and remove the cam pin the bolt will now slide out. Make sure the gas ring gaps are not lined up and are in good shape. Next remove the extractor pin, the extractor will then come out. Inspect the extractor assembly spring and rubber piece to ensure good working order. Clean everything up with a small cleaning brush and solvent then wipe down with CLP. Re-assemble the bolt by putting the extractor and spring assembly back in the bolt and inserting the extractor pin, return the bolt to the carrier and insert the cam pin and rotate, insert the firing pin and the retaining pin. Run a couple swabs with solvent followed by CLP down the barrel. Insert the bolt group and charging handle to the upper receiver.

The lower assemble contains the trigger group, buffer system and the stock. To remove the buffer and spring, push in on the buffer and depress the retainer pin. The buffer and spring will come out. Clean the buffer assembly, spring, and tube with a swab dampened with CLP. The trigger assembly will require some grease at the pivot points. Inspect the stock for cracks and other damage.

The AR-15-style firearm is a versatile, modular, and easy to maintain rifle that with a little maintenance will last you a very long time.

REF:

U.S. Army TM 9-1005-319-10
Sandpaper Storage Box

Wanted to make a box to hold my sandpaper. Nothing fancy, just quick

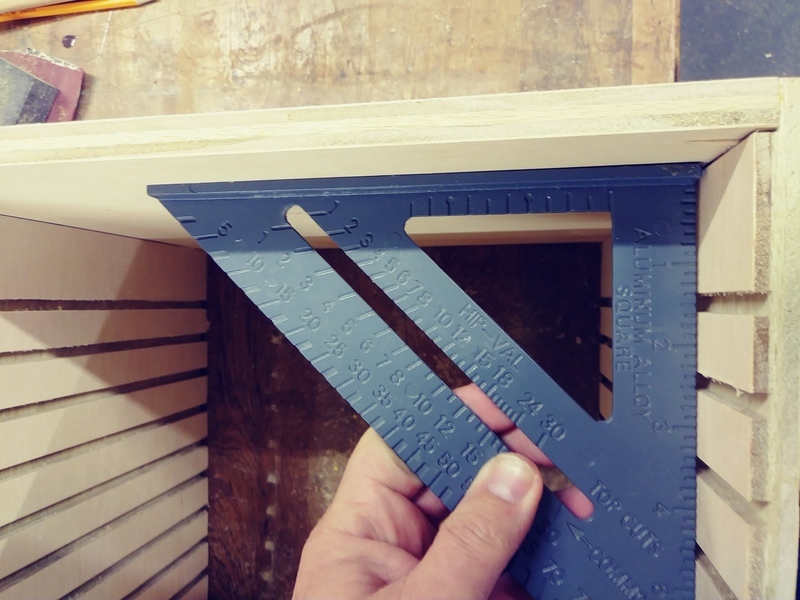
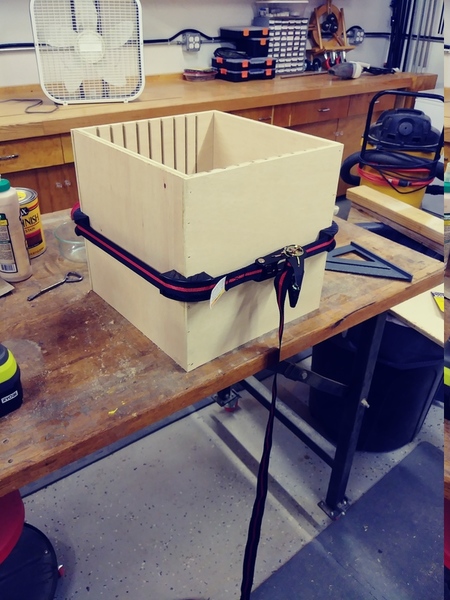
Using ½ ply I ran rabbits along the top and bottom and and ¼ inch slots every inch. Glued and tacked it all together. I am using the ratchet clamp for the first time:

Worked pretty good!

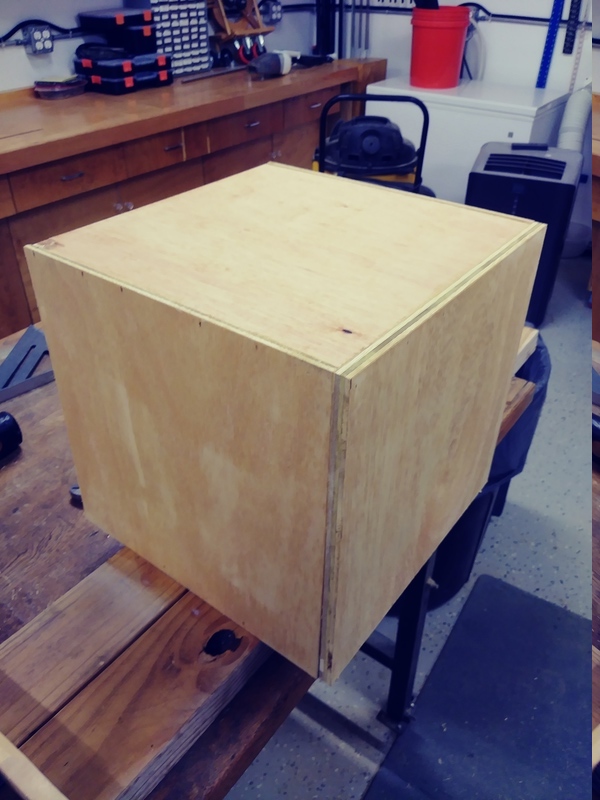
Sealed it up:

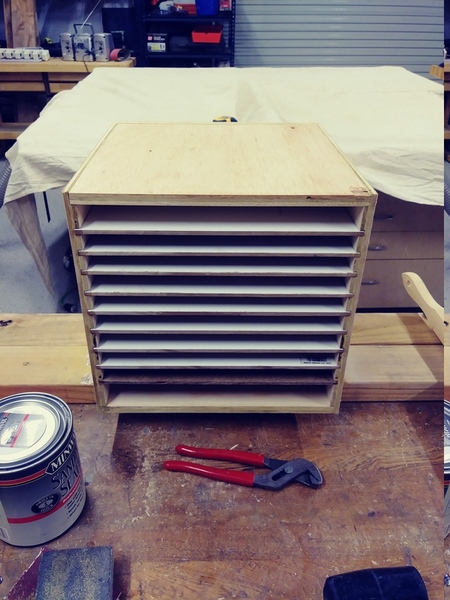
Cut and slid in some ¼ inch hard board I had:

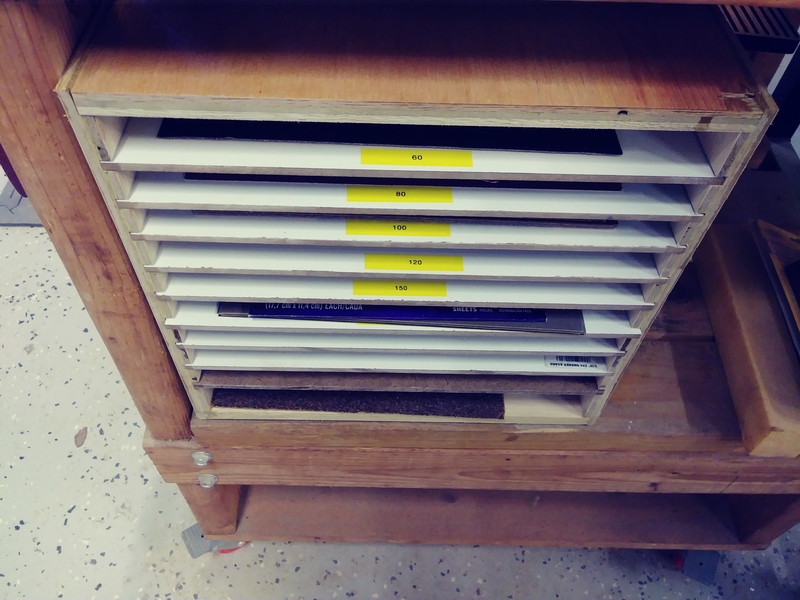
Marked and ready to go:

Firearms workstation

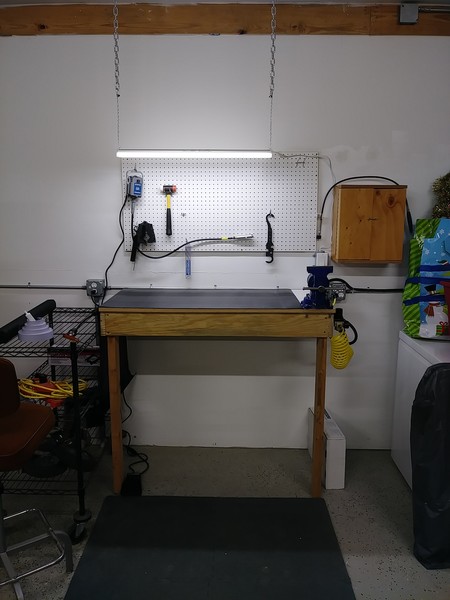
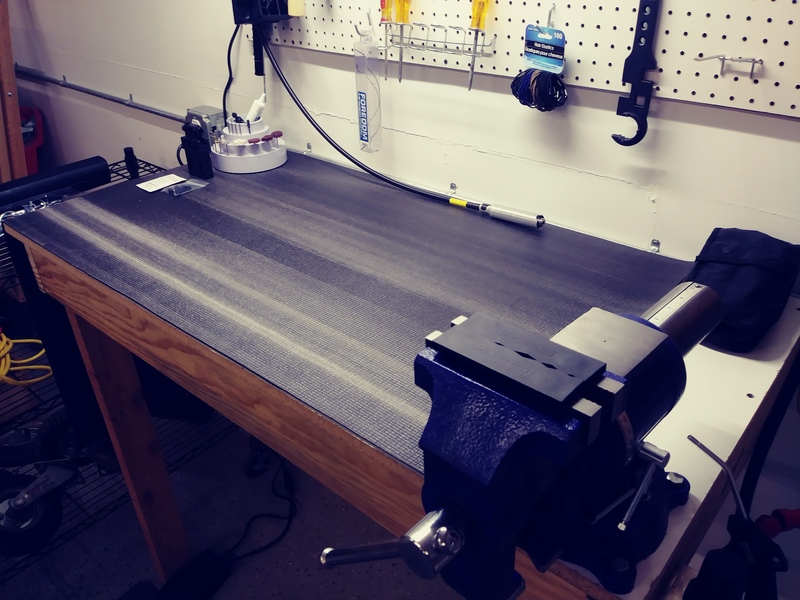
Here is the firearms workstation in the shop. It is a stand up workbench designed to do more of the heavy lifting. Muzzle breaks, barrels and the like.

It has a yoga mat pad for no slip protection and a Harbor Freight dual axis vise with jaw protectors.

Firearms Light Duty / Cleaning Station

I wanted to show my light duty, sit down firearms station. This is in the Armory where it is easy to control the climate.

I made a set of drawers to help hold all my stuff.

Wanted some better light so we got a high efficiency light for overhead:

Right now the switch is a power strip. Made a real switch that I will add in the next couple days.

Thats it for now, I will update this weekend.

Forgot to show the railing! I have a Tipton Best Gun Vise, I got tired of having to clamp it down. So I routed the rail directly into the workspace!

Works good so far

As you can see from the pictures above, cant tell it is there when the mat is rolled over it.

Got the light switch hooked up

Full shot:

Keeping it Solvent!

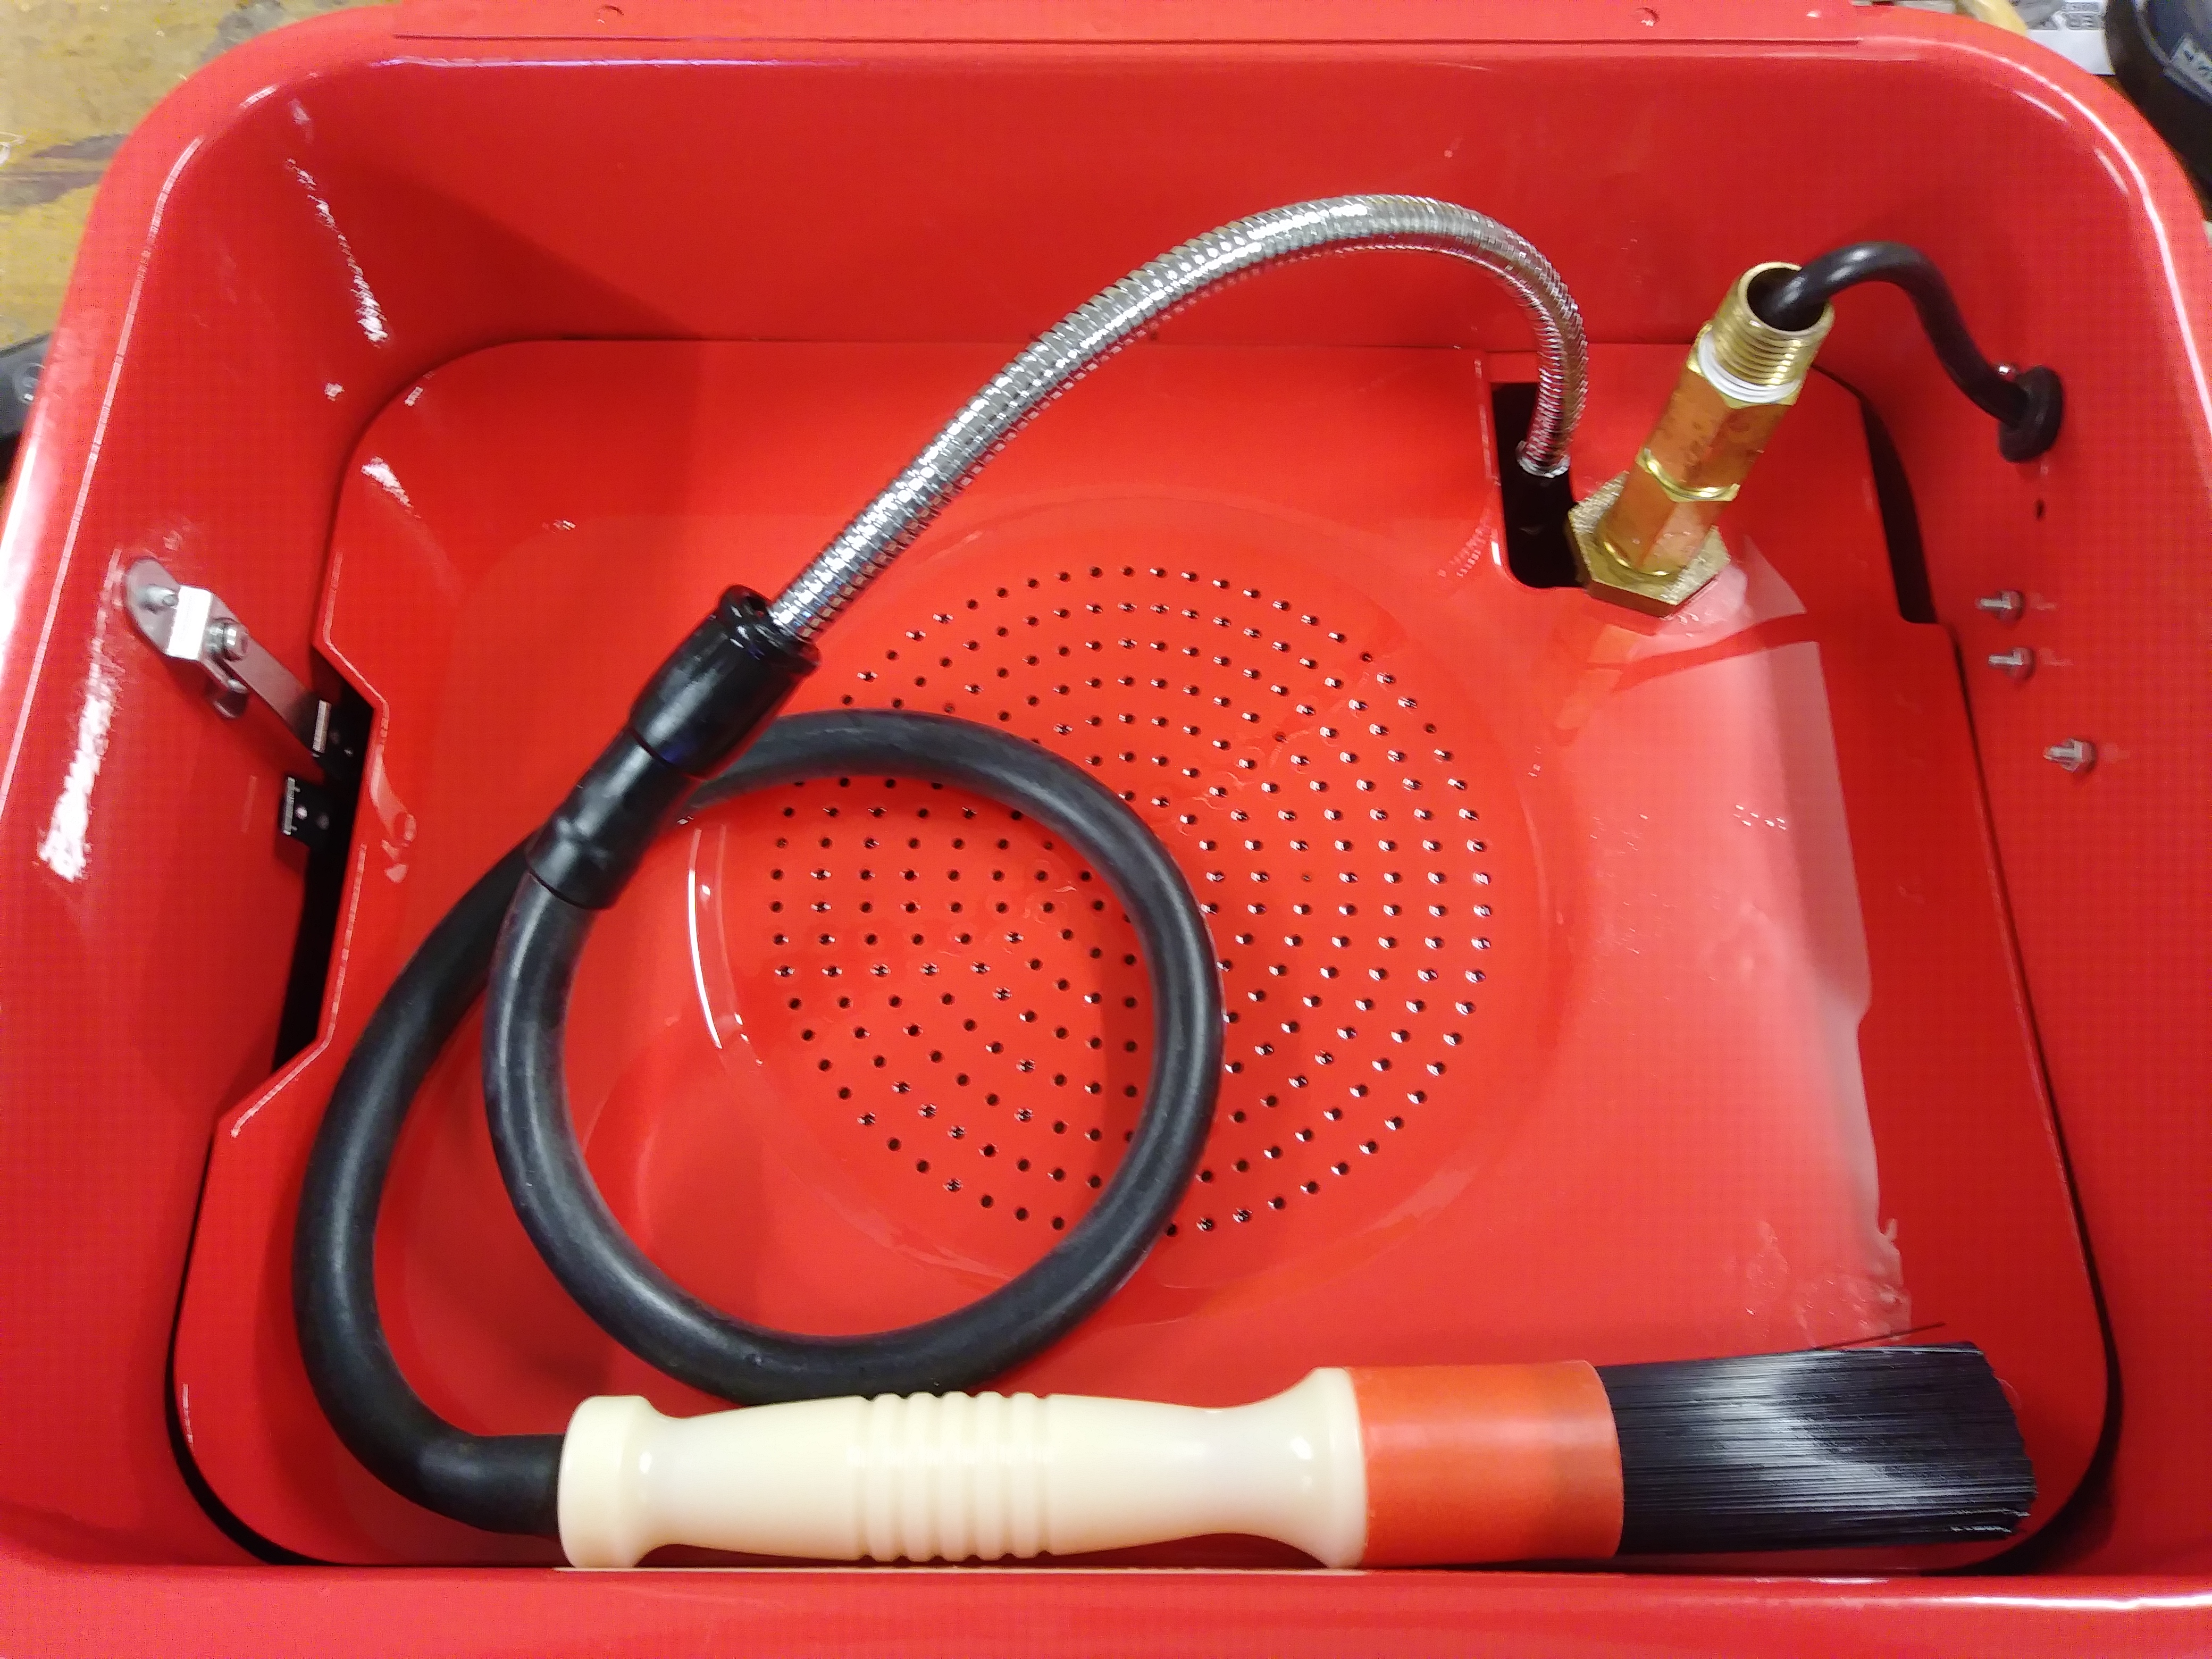
I wanted a solvent tank that will take care of my weapons parts as well as my shop tools. I got the Solvent Tank from Northern Tool and Equipment. Then I mixed up ‘Ed’s Red’ Bore Cleaner and poured it in. Well that was a mistake! I did not read the manual (RTFM), the pump is only for water based solvents:

I replaced the pump with this guy from Zoro.com I had to modify the top plate a bit to get it to fit:

Then I set it all in place and added some brass fittings to help keep the solvent out.

Put the wiring back together:

Added the brush and did a test run. All good!

Installing Cgit on CentOS 7

Get all the packages installed:

sudo yum install git-all httpd perl-Time-HiRes cgit composer highlight httpd-tools mariadb mariadb-server mod_ssl openssl pandoc patch php php-gd php-intl php-mysql php-tidy php-xcache php-xml python-markdown python-pygments

Set up the git user:

sudo /usr/sbin/groupadd git

sudo /usr/sbin/useradd -c "git user account" -d /srv/git -m -g git -s /bin/bash git

sudo passwd git

sudo usermod -aG git apache

sudo usermod -aG apache git

sudo usermod -aG git git

Give http a swift restart:

sudo systemctl restart httpd

Edit the cgit repo file to use cgit repos

sudo vi /etc/cgitrc

##and included like this:

include=/etc/cgitrepos

##

Create our first repo

sudo vi /etc/cgitrepos

section=Erik’s Really Cool Stuff

repo.url=erik.git

repo.path=/srv/git/erik.git

repo.desc=Erik repository

repo.owner=erik@Fuck.com

repo.readme=info/about.html


make the repo and set the permissions:

sudo mkdir /srv/git/erik.git/

sudo git init --bare /srv/git/erik.git

sudo chmod -R 2775 /srv/git/

sudo chown -R erik.git /srv/git/

Test it

http://yourserver.com/cgit 

git config –global user.name “Erik”

git config –global user.email

git init

git remote add origin 192.168.1.1:/srv/git/erik.git

git add .

git commit -m “Initial commit”

git push -u origin master


Troubleshooting:

sudo systemctl stop httpd

sudo rm -f /var/cache/cgit/*

sudo systemctl start httpd

Git

Client (make sure git is installed)

mkdir git

cd git

git config --global user.name "Erik" 

git config --global user.email your@email.net

ssh-copy-id 123.123.123.123

git clone ansible:/srv/git/erik.git

cd git/erik

ls

PUSH CHANGES

git add * 

git status

git commit -m "Comment" 

git push origin master

PULL CHANGES

cd into directory

git pull localhost:/srv/git/roles.git

###Disk Info

##Adding Disk Space

sudo pvcreate /dev/sdc
sudo vgextend centos_katello /dev/sdc
sudo lvextend -L 49G /dev/centos_katello/var_lib_mongodb
sudo lvresize -r /dev/centos_katello/var_lib_mongodb -L 49G

#fstab example

echo "###############################################################"
echo "# Add this to /etc/fstab: #"
echo "# #NFS Shares #"
echo "# 172.16.4.20:/Backup /home/erik nfs auto 0 0 #"
echo "# 172.16.4.20:/share /mnt/share nfs auto 0 0 #"
echo "###############################################################"

###Notes:

exec ssh-agent bash

ssh-add 

ssh 123.123.123.123

Speed Test RRD Setup

#First we need to install speedtest-cli.

#For Ubuntu and Raspberry Pi:

sudo apt-get install python-pip
pip install speedtest-cli
sudo pip install speedtest-cli

#For CentOS and the Like:

http://www.cyberciti.biz/faq/install-speedtest-cli-on-centos-redhat-fedoa-scientific-to-measure-internetspeed/

#Make Sure you have rrdtool installed:

sudo yum install rrdtool

##Create Graphs

mkdir /etc/speedtest
cd /etc/speedtest

##Then RRDTOOL magic:

sudo rrdtool create speedtest_dl.rrd -s 1800 DS:temp:GAUGE:3600:0:125 RRA:AVERAGE:0.5:1:576 RRA:AVERAGE:0.5:6:672 RRA:AVERAGE:0.5:24:732 RRA:AVERAGE:0.5:144:1460

sudo rrdtool create speedtest_ms.rrd -s 1800 DS:temp:GAUGE:3600:0:1000 RRA:AVERAGE:0.5:1:576 RRA:AVERAGE:0.5:6:672 RRA:AVERAGE:0.5:24:732 RRA:AVERAGE:0.5:144:1460

sudo rrdtool create speedtest_up.rrd -s 1800 DS:temp:GAUGE:3600:0:125 RRA:AVERAGE:0.5:1:576 RRA:AVERAGE:0.5:6:672 RRA:AVERAGE:0.5:24:732 RRA:AVERAGE:0.5:144:1460

##Then Create a script to run speedtest-cli, clean it up and stuff it into RRD

vi /usr/local/bin/speedtest-rrd

#! /bin/sh

#get into /tmp
cd /tmp

# get the EPOCH date
DATE=$(/bin/date +%s)

#Get the raw data
/usr/local/bin/speedtest-cli --simple > /tmp/speedtest-rrd.txt

#Clean it up and get raw Ping time in ms
RAW_MS=$(cat /tmp/speedtest-rrd.txt | grep P | sed -r 's/\s+//g'| cut -d":" -f2 | cut -d"m" -f1)

#Clean it up and get raw Download time in MiB
RAW_DL=$(cat /tmp/speedtest-rrd.txt | grep D | sed -r 's/\s+//g'| cut -d":" -f2 | cut -d"M" -f1)

#Clean it up and get raw Upload time in MiB
RAW_UP=$(cat /tmp/speedtest-rrd.txt | grep U | sed -r 's/\s+//g'| cut -d":" -f2 | cut -d"M" -f1)

#get data into rrd
cd /etc/speedtest/
rrdtool update speedtest_ms.rrd $DATE:$RAW_MS
rrdtool update speedtest_dl.rrd $DATE:$RAW_DL
rrdtool update speedtest_up.rrd $DATE:$RAW_UP

#create the daily graphs
#Ping Time
rrdtool graph /var/www/html/speedtest/speedtest_ms_day.png -s -1day DEF:speedtest_ms=speedtest_ms.rrd:temp:AVERAGE LINE1:speedtest_ms#00CC00 -h 400 -w 600 -y1:2 --color GRID#dddddd --color MGRID#aaaaaa

#Download Speed
rrdtool graph /var/www/html/speedtest/speedtest_dl_day.png -s -1day DEF:speedtest_dl=speedtest_dl.rrd:temp:AVERAGE LINE1:speedtest_dl#00CC00 -h 400 -w 600 -y1:2 --color GRID#dddddd --color MGRID#aaaaaa

#Upload Speed
rrdtool graph /var/www/html/speedtest/speedtest_up_day.png -s -1day DEF:speedtest_up=speedtest_up.rrd:temp:AVERAGE LINE1:speedtest_up#00CC00 -h 400 -w 600 -y1:2 --color GRID#dddddd --color MGRID#aaaaaa

#create the weekly graphs
#Ping Time
rrdtool graph /var/www/html/speedtest/speedtest_ms_week.png -s -1week DEF:speedtest_ms=speedtest_ms.rrd:temp:AVERAGE LINE1:speedtest_ms#00CC00 -h 400 -w 600 -y1:2 --color GRID#dddddd --color MGRID#aaaaaa

#Download Speed
rrdtool graph /var/www/html/speedtest/speedtest_dl_week.png -s -1week DEF:speedtest_dl=speedtest_dl.rrd:temp:AVERAGE LINE1:speedtest_dl#00CC00 -h 400 -w 600 -y1:2 --color GRID#dddddd --color MGRID#aaaaaa

#Upload Speed
rrdtool graph /var/www/html/speedtest/speedtest_up_week.png -s -1week DEF:speedtest_up=speedtest_up.rrd:temp:AVERAGE LINE1:speedtest_up#00CC00 -h 400 -w 600 -y1:2 --color GRID#dddddd --color MGRID#aaaaaa

#create the monthly graphs
#Ping Time
rrdtool graph /var/www/html/speedtest/speedtest_ms_month.png -s -1month DEF:speedtest_ms=speedtest_ms.rrd:temp:AVERAGE LINE1:speedtest_ms#00CC00 -h 400 -w 600 -y1:2 --color GRID#dddddd --color MGRID#aaaaaa

#Download Speed
rrdtool graph /var/www/html/speedtest/speedtest_dl_month.png -s -1month DEF:speedtest_dl=speedtest_dl.rrd:temp:AVERAGE LINE1:speedtest_dl#00CC00 -h 400 -w 600 -y1:2 --color GRID#dddddd --color MGRID#aaaaaa

#Upload Speed
rrdtool graph /var/www/html/speedtest/speedtest_up_month.png -s -1month DEF:speedtest_up=speedtest_up.rrd:temp:AVERAGE LINE1:speedtest_up#00CC00 -h 400 -w 600 -y1:2 --color GRID#dddddd --color MGRID#aaaaaa

#create the yearly graphs
#Ping Time
rrdtool graph /var/www/html/speedtest/speedtest_ms_year.png -s -1year DEF:speedtest_ms=speedtest_ms.rrd:temp:AVERAGE LINE1:speedtest_ms#00CC00 -h 400 -w 600 -y1:2 --color GRID#dddddd --color MGRID#aaaaaa

#Download Speed
rrdtool graph /var/www/html/speedtest/speedtest_dl_year.png -s -1year DEF:speedtest_dl=speedtest_dl.rrd:temp:AVERAGE LINE1:speedtest_dl#00CC00 -h 400 -w 600 -y1:2 --color GRID#dddddd --color MGRID#aaaaaa

#Upload Speed
rrdtool graph /var/www/html/speedtest/speedtest_up_year.png -s -1year DEF:speedtest_up=speedtest_up.rrd:temp:AVERAGE LINE1:speedtest_up#00CC00 -h 400 -w 600 -y1:2 --color GRID#dddddd --color MGRID#aaaaaa

#Clean up
rm /tmp/speedtest-rrd.txt


##Add to Cron

sudo crontab -e

#Add this to the bottom to run every 30 Minutes

*/30 * * * * /usr/local/bin/speedtest-rrd > /dev/null 2>&1

#

Installing LAMP

##Install Required Packages:

sudo yum install httpd mariadb-server mariadb php php-mysql mod_ssl openssl

##Start Up HTTP

sudo systemctl start httpd.service

##Setup the firewall

sudo firewall-cmd --permanent --zone=public --add-service=http 
sudo firewall-cmd --permanent --zone=public --add-service=https
sudo firewall-cmd --reload

##Test

https://web1.hohenfels.com

##Set to start on boot

sudo systemctl enable httpd.service

##Start MariaDB

sudo systemctl start mariadb

##Secure it

sudo mysql_secure_installation

##Enable to start on boot

sudo systemctl enable mariadb.service

##Test PHP

sudo vi /var/www/html/test.php
Add:
<?php phpinfo(); ?>

## Visit https://web1.hohenfels.com/test.php