AR-15 Magazine Checks

Magazines work by using a spring to push a fresh round up in front of a bolt or slide. That cartridge is then pushed into the chamber either manually or by a compressed spring. The magazine under the bolt is exerting varying upward pressure on it and that those varying amounts of pressure change the downrange POI. Magazines have varying pressures, single stack magazines have a straight up, lighter pressure while double stack magazines will have a higher pressure as well as applying pressure from either side depending on round placement. Other factors in the magazine that can influence the bolt carrier group are springs, feed lips, and followers.

There are several ways to try and work with this. When competitive shooting never use you magazine as a rest. This will apply excessive and inconsistent pressure on the bolt. Lots of NRA sponsored events don’t allow this anyway, train as you compete. Use a reliable lead sled or rest. Try to use the same one if possible, if you cannot, sand bags or you range bag will work as long as the magazine is off the ground. Clean and maintain you magazines as shown below.

These instructions are for the military style metal, G.I. issue mags. The principal is the same for all magazines:

1.) Pry the tab at the rear of the magazine down so that the detents can clear the spine.

2.) Grab the tab with your needle nose pliers and pull the tab, sliding the floor plate from the bottom. Be careful the tab is under spring tension.

3.) Remove the spring and follower from the bottom of the magazine body.

4.) With the spring and follower out, wipe down the inside of the magazine by pulling a clean microfiber cloth through the hollow tube of the magazine body a couple of times.

5.) Wipe down the spring and follower to remove any remaining dust and sand. Depending on your environment, apply a light coat of lube if desired.

6.) Ensure that there are no dents and everything is in the shape it is supposed to be.

Save any serviceable parts and reassembly in the opposite order. 5 → 1

Match the magazine to the firearm. This can be accomplished by labeling your magazines. There are all kinds of ways to do this. Simplest is to use a white marker and a method that you can use to match the magazine to the weapon. Some manufactures have “dimples” on the magazine you can color in a pattern to label them

Using the above tips should help you improve your POI.

REFS:
U.S. Army TM 9-1005-319-10
AR-15 Tools, Maintenance and Repair

As either a hobbyist or professional there are some basic tools you will need to build and maintain your AR 15 rifle. You don’t need to start off with the most expensive tools out there, several of my first tools came from Harbor Freight, and it is what I could afford at the time. As you move on and figure out what you use most, you can get some better tools in needed. Sometimes you need to make do with what you have, be careful not to scratch or damage the weapon you are working on. Here is a basic list:

Ball-peen hammer
Nylon/brass hammer
Screwdrivers:
Flat Tip
Phillips
Hex
Torx
Needle-nose pliers
Bench mat, I have been using $5 yoga mats from 5 and below.
Bench vise
Padded vise jaws
Set of roll pin holders and punches in numbers 1, 2, 3, & 4
Barrel nut tool or combination armorer’s wrench
Buttstock tool (collapsible stock only)

I will call this Basic advanced. I know people will disagree, but if you are only going to do one or two rifles you can get the job done without them;

Lower receiver vise block
Upper receiver vise block set
Universal bench block
Handguard removal tool

The course material does a great job listing the more specific tools required to build your AR 15:

Barrel-Specific Tools:

Torque wrench (½” drive, 30 ft./lb. to 150ft./lb.)
Taper starter punch (3/32”)
Flat punch (⅛” to peen the swivel rivet)
Staking punch
Sight adjustment tool (specific to your type of sight, A1 or A2)
Gas tube alignment pin
Snap ring pliers
Breaker bar
Strap wrench

Upper Receiver Specific Tools:

Headspace gauge set – Field, Go, and No-Go
Rear sight elevation spring tool (for assembling the A2 sight)
Sight adjustment tool (for your type of sight)
Ejector removal tool

Lower Receiver Specific Tools:

.151 diameter punch (for locating trigger parts & installation)
Pivot pin detent installation tool
Bolt catch pin punch
AR-15 hammer trigger jig
Hammer trigger drop block (for adjusting the hammer & trigger)

Using the basic set of tools listed above will help you clean your rifle. First thing you need to do is to clear the weapon, ensure the bolt carrier group is forward and the safety is on. Push the front and rear take down pins out and separate the upper from the lower receiver. Then disassemble the upper receiver pull the charging handle back and remove the bolt carrier group. The charging handle will drop down as you continue to pull and can be removed from the receiver. On the left rear side of the bolt carrier, you’ll see what looks like a cotter pin, this is the firing-pin retaining pin. Pull the pin straight out and the firing pin will drop out of the bolt. Turn and remove the cam pin the bolt will now slide out. Make sure the gas ring gaps are not lined up and are in good shape. Next remove the extractor pin, the extractor will then come out. Inspect the extractor assembly spring and rubber piece to ensure good working order. Clean everything up with a small cleaning brush and solvent then wipe down with CLP. Re-assemble the bolt by putting the extractor and spring assembly back in the bolt and inserting the extractor pin, return the bolt to the carrier and insert the cam pin and rotate, insert the firing pin and the retaining pin. Run a couple swabs with solvent followed by CLP down the barrel. Insert the bolt group and charging handle to the upper receiver

After putting it all back together you should do a functions check:

1. Place the selector switch on fire and squeeze and hold down the trigger. You should hear the hammer striking the firing pin.
2. While still holding the trigger, pull the charging handle fully to the rear and let go to reset the hammer.
3. Release the trigger. You should hear a mechanical click. This is the disconnector releasing the hammer onto the trigger.
4. Place the selector switch on safe and try to pull the trigger. The hammer should not fall. If it does there is a problem with your selector switch and/or trigger.
Now that we have described the tools needed to build and maintain their AR-15-style rifle, listed instructions for cleaning your rifle and talked about the functions check. Let’s talk about various ways to store your rifle. Locked up and out of the wrong hands is the preferred way to store your firearms. Locking gun cabinets start at around $100 and can go as high as you wallet will allow. You can get wall to wall carpet, lights, and dehumidifiers. My thought on this is play big or stay home, I only want to make this purchase once so go as big as I can. I also want to protect my investments, firearms, from fire and theft. A locking gun cabinet might not do the job but a good quality safe can handle upwards of 1400 degrees Fahrenheit and any crow bar a thief can throw at it. You can safeguard your other valuables as well, not just your firearms.

REF:
U.S. Army TM 9-1005-319-10

AR-15 Direct Impingement and Piston-Driven

The original, Eugene Stoner AR 15 firearms are what is called direct impingement. When the bullet is fired it goes screaming down the barrel, as it passed the gas block it directs some of the gas down the gas tube into the gas key on the bolt carrier pushing it back and cycling the weapon. Excess gas is vented to the upper and lower receivers. For the sake of this paper that is the simple description

Now piston operation works pretty much the same up to the gas block. When it gets to the gas block most of the gas is vented into a piston and pushes a rod back that pushes the bolt carrier back cycling the weapon. The excess gas escapes at the piston by the gas block. Again, very simple terms.

1. Piston-driven guns run much cleaner. The gas is vented at the gas block versus venting into the upper and lower receivers.
2. On average, piston-driven guns cost more. There are some very expensive gas impingement ARs and some inexpensive piston-driven AR rifles. However, if you want to purchase the least expensive AR possible, it will be a gas impingement gun.
3. Gas impingement guns are more suppressor-friendly, especially those with an adjustable gas block that allows you to control the amount of gas directed back through the gas tube. It should be noted that with both systems, your rifle will fire dirtier with a suppressor.
4. Piston-driven guns run cooler. The gas that enters the upper and lower receivers is hot, making what is touches hot. On a piston-driven rifle the hot gas evacuates at the gas block, further away from your hands.
The one item that has a lot of controversy is the accuracy, many say that the direct impingement is more accurate. I am going to leave that one alone until I can check myself. Both piston-driven and gas impingement guns are very reliable. If I had to pick between a gas impingement and a piston-driven AR, I think I would try the piston driven, simply because I have not tried it yet and the research sounds like it might be a great option except for three things: parts for gas impingement ARs are easier to find, much more plentiful and less expensive. Still think I’ll do it.
If you own a gas impingement AR and want to try a piston-driven AR, just purchase a piston-driven upper receiver. Since the gas impingement and piston systems work independently of the lower receiver, you can alternate between both on the same lower receiver.

REF:

6 Facts About AR-15 Direct Impingement Vs. Gas Piston


https://www.gunsamerica.com/blog/build-an-ar-direct-impingement-or-piston-operation/

A Word About Ammo

Choosing the right round for your AR build is one of the first things you should consider in your build process. With so many options ranging from .22 long to .50 BMG it is not an easy task. Several factors need to be taken into consideration, what will the rifle be used for? Plinking, home defense, large game? Does the cost per round and availability meet my needs? $3.78 a round for .50 BMG is a little expense compared to $0.48 for 22LR for frequent range trips and general plinking. Other considerations are barrel length and twist. Heavier bullets require more twists, 1:12 and longer barrels while lighter bullets can use shorter barrels with less twists, 1:7.

There are four major bullet types:

Full metal jacket (FMJ): a harder metal like copper, steel alloy, or gilding metal wrapped around a soft core usually lead. Sometime referred to as ball ammo. Inexpensive and good penetration are characteristics of this type.

Jacketed soft point (JSP): a harder metal like copper, steel alloy, or gilding metal wrapped around a soft core usually lead but with the lead tip exposed. This allows the round to expand on impact creating a larger wound.

Jacketed Hollow point (JHP): a hard metal like copper, steel alloy, or gilding metal bullet with a hollowed tip. It is designed to create a mushroom shape on impact decreasing penetration allowing for less collateral damage.

Boattail (BT): a hard metal like copper, steel alloy, or gilding metal bullet with a shape of a boat. This allows for a more stable and accurate round. Usually used in competitions.

A way to save money on the ammo mentioned above is to purchase surplus. Surplus ammo comes with other, non-monetary cost. It usually uses corrosive primers and/or has been sitting in storage for a bit collecting dust and dirt. One way to mitigate the corrosion is with ammonia, the amount in window cleaner is enough to get the job done. Just flush your upper with some cheap window cleaner when you are done shooting. Then when you are home clean and lube everything up, just like you do after every range trip. Not so much with 5.56 surplus ammo anymore but something to keep in mind with surplus ammo is that it is not marked well. You might not know what is in the projectile. It might be steel or other material that is not indoor range friendly.

The caliber and twist of your AR 15 is normally stamped on the barrel, if not, check the literature that came with your barrel or rifle. The 5.56 and .223 rounds are close, but not identical. The .223 is a civilian round and has Sporting Arms and Ammunition Manufacturers’ Institute (SAAMI) specs while the 5.56 is a military round that has their own specifications that might require higher pressure for higher velocity. As a rule of thumb, 5.56 chamber is OK to fire both 5.56 and .223 but .223 chamber is not OK to fire only .223.

Surplus ammo plays a role in the cost effectiveness of reloading. With the cheap price of surplus ammo it is not cost effective to reload those calibers. I think you start seeing a return on your investment when you start reloading “off” or custom calibers. Your presses and other equipment’s can cost a couple hundred dollars to your total cost of investment. If you are not reloading to save money but rather to get better accuracy with a better round or as a great way t relax and get more involved with your complete shooting experience, then reloading is for you.

REF:
https://en.wikipedia.org/wiki/Full_metal_jacket_bullet
https://en.wikipedia.org/wiki/Soft-point_bullet
https://en.wikipedia.org/wiki/Hollow-point_bullet
https://ammo.com/bullet-type/full-metal-jacket-boat-tail-fmj-bt

Starter on AR-15 Problems

There are a few areas of consideration when assessing issues with the AR-15 style firearms.

1.) Is the firearm new from a factory? If yes, is it a reputable manufacture, or fly by night?

2.) Is it a new home built? Is this the builders 1st or 50th?

3.) Finally, is this a used rifle that has been fired many times and just started to malfunction?

Ammo and routine maintenance are other items that should be looked at for all 3 considerations. Is it good quality ammo? Hand-loads? Cheap Ammo? When was the last time the rifle was cleaned?

First things first, clear the weapon, make sure it is safe and preform a function check. If the function check fails and it is a new rifle, you might want to send it back. If it is a new home built check that the springs are installed and installed correctly, in the right direction and place. If it is used and just started happening, check for spring wear and replace as needed. The hammer spring is a common culprit of many issues to include intermittent firing, misfires and light fires.

Bad gas can cause a lot of problems like short stroking which can be caused by an improperly staked bolt carrier key coming loose. Another spot to look is if the gas rings are missing or damaged, this is usually on the used rifles. On home built rifles especially, make sure the inlet and the gas port are properly aligned, tightened, and the correct tube is being used. An incorrect or misaligned gas block is a common culprit.

A failure to eject scenario can be cause by extractor and ejector springs. Would not hurt to have a few of those around the shop. Weak springs can cause the spent casing to get caught in the ejection port causing a stove pipe situation. Tell tail signs of ejector/extractor issues are dented cases, round rim markings like scratches or damage to the stamping at the bottom of the round. Inconsistent round ejection is another sign, if you test fire the weapon 3 times and the brass ejects to 3 very different angles, you have an issue. All 3 rounds should end up in a pile close to each other.

Talk to the person bringing you the rifle with the 3 questions above in mind. This will help you narrow down the issue and get the weapon back to your customer quickly. The AR-15 is a reliable weapon and with some initial questioning and test fires as required, you can quickly diagnose the issues and fix it.

REF:

YouTube – Various Michael Bell videos

AR-15 Parts and Functions

The function of the LOWER RECEIVER ASSEMBLY is to house the below items. This is also where the main difference between the AR-15 and the M16 is. The fire control group of the M16 allows either 3 round burst or full automatic fire in addition to safe and semi-auto fire. The AR-15 does not, it has only Safe and Semi firing options.

Lower Receiver – The lower receiver is the part of your rifle that is generally considered to be the firearm itself by the ATF. The lower receiver is where you’ll find your weapon’s serial number. This is also the only part that you will need to get from your local FFL.

Fire Control Group – The Fire control group consists of the trigger and the hammer of your AR-15, as well as other necessary housing components.

Receiver Extension and Buffer Assembly – As part of your rifle’s recoil system, this assembly helps absorb a lot of that kick, making a better shooting experience.

Magazine Catch Assembly – to secure the magazine and allow release when finished.

Bolt Catch Assembly – Is there to lock the bolt to the rear either manually or automatically when the last round is fired and the magazine is empty.

Stock – The butt stock is the part of your AR-15 that connects to the rifle’s firing mechanisms.

Pistol Grip – The pistol grip attaches to the lower receiver, giving you a firm handle of your rifle.

Takedown and Pivot Pin Assemblies – The takedown and pivot pins and detents lock the upper and lower receivers together.

The UPPER RECEIVER ASSEMBLY house the below assemblies and are the same for AR-15 and M16 rifles.

Upper Receiver – The upper receiver is the part that contains the bolt carrier group and charging handle. The barrel and the forend are also attached to the upper receiver.

Barrel Assembly – The barrel will play a huge role in your accuracy on the range or in the field. There are many different calibers and lengths available.

Bolt Assembly – Houses the extractor and ejector assemblies. It locks the breech and initiates the ignition of the cartridge

Extractor Assembly – removes the round from the chamber

Ejector Assembly – Ejects the round from the breech

Bolt Carrier Assembly – consists of the firing pin, bolt, cam pin, extractor and gas key. At a very basic level, the bolt carrier group is responsible for loading your rifle, making sure bullets are fired correctly and ejecting spent rounds from the chamber.

Gas System – Your rifle relies on gas pressure to operate in the way that it’s designed. For the most part, gas blocks are installed on the barrel, inside the handguard. The gas tube connects to the block and the upper receiver.

Charging Handle Assembly – A charging handle is the part that pulls your bolt carrier group to the rear when you need to chamber a round or to clear a malfunction.

Forward Assist Assembly – If for whatever reason your bolt isn’t operating properly and won’t close all the way, the forward assist should help make sure it goes back into place.

Ejection Port Cover Assembly – When it’s closed, the ejection port cover will prevent dirt, dust and other debris from dirtying your rifle, as it keeps both the bolt carrier group and the upper receiver clean

Handguard(s) Assembly – The primary uses of rail systems and handguards is to protect your hand from this heat so you can enjoy a comfortable shooting experience.

Sights – Front and rear sights are alined to aim the rifle.

Magazine – You can get different sized magazines, but it’s important to keep in mind that laws for the size of magazines can vary from state to state.

When all of the above are assembled correctly it will allow for the eight cycles of firing:

1. Firing

2. Unlocking

3. Extraction

4. Ejecting

5. Cocking

6. Feeding

7. Chambering

8. Locking

All of the above parts and systems have many different variants. This is one of the great things about this platform. You can have barrel lengths from 24 to 7.5 inches with each having different twist rates. Handguards, Stocks and triggers also come in a wide variety of options. Bolt on additions seem to be only limited by your wallet.

REF:

U.S. Army TM 9-1005-319-10

https://www.wingtactical.com/parts-of-an-ar-15/

https://youtu.be/-UYctFUXuCM

A Little History on the AR-15

The AR-15 started life as the AR-10, designed by Eugene Stoner, Robert Fremont, and L. James Sullivan of the Fairchild ArmaLite Corporation. The AR-10 was chambered in .30-06 and later modified to accept 7.62mm NATO rounds. The AR-15 was developed to be a lighter, .223 / 5.56 NATO version of the AR – ArmaLite 10. ArmaLite sold the rights for the rifle to Colt in 1959. Colt marketed the AR-15 rifle to various military services around the world, including the U.S. with varying results. The AR-15 was eventually adopted by the United States military under the designation M16.

In 1960, General Curtis LeMay was so impressed by a demonstration of the ArmaLite AR-15 that when he was promoted to United States Air Force, Chief of Staff, he requested 80,000 AR-15s for the Air Force. In 1962 the U.S. Army special operations units started using the AR-15 later designated the M16 for special operations in Southeast Asia. Service members reported to have liked the stopping power of the light weight rifle in reports back to the rear. In January 1963, Secretary McNamara received reports that M14 production was insufficient to meet the needs of the armed forces and ordered a halt to their production. The AR15 was the only rifle that could fill the requirements of the U.S. Military. In 1982 the M16A2 was officially adopted as “U.S. Rifle, 5.56mm, M16A2”

The AR15 is an air cooled, gas operated, semi-automatic, automatic, magazine fed, shoulder fired weapon. Later A2 versions were upgraded with round hand guards, an easy rear sight adjustment ‘dial’ and the M16A2 fire selector lever auto selection had been replaced with 3 round burst. Eugene Stoner had implemented a unique modular design that that gave the rifle much flexibility. You can get 7 ½ inch through over 24 inches long barrels ranging in calibers from .22 through .50BMG. The direct gas system does not use the then conventional piston and rod instead it uses the gas tube to feed gases into the receiver. The magazines range from 10 thru 40 double stacked rounds to 100 round drums.

This is a very practical firearm because of its modular design. To me that means that you can purchase one weapon and use the accessories you need to meet your needs for a particular mission. Be it, hunting, home defense, or just at the range plinking away. The AR15 will suit your need like no other firearm can.

REF:

https://en.wikipedia.org/wiki/M16_rifle

https://www.ar15goa.com/about/the-ar-15-rifle/

http://www.practicalreviews.net/why-does-anybody-need-an-ar15.html

Pistol vs Steel

Published on Jul 30, 2017


We got our steel targets from MOA targets . Man is shooting steel fun! We got 1 – 1/4 inch AR400 and 1 – 3/8 AR500 targets. I threw one of the targets I cut into the mix as well. All 8 inch. By the way, the AR400 I thought I had is mild steel, you will see as the video series progresses.

In a nut shell all 3 handled pistol up to .45 at 10 to 15 Yards without penetration. The Mild had some dents, AR 400 and AR 500 nada.

Here is the Color Code:

Black = Mild Steel, We cut
Yellow = MOA Targets AR500
Orange = MOA Targets AR400


Steel Targets

There is a lot of talk about steel targets. You can go on line and find enough information to boggle your mind. I decided to go with ¼ inch AR400 steel gongs. These are for my personal use, nothing more. I will post pictures after I light them up.

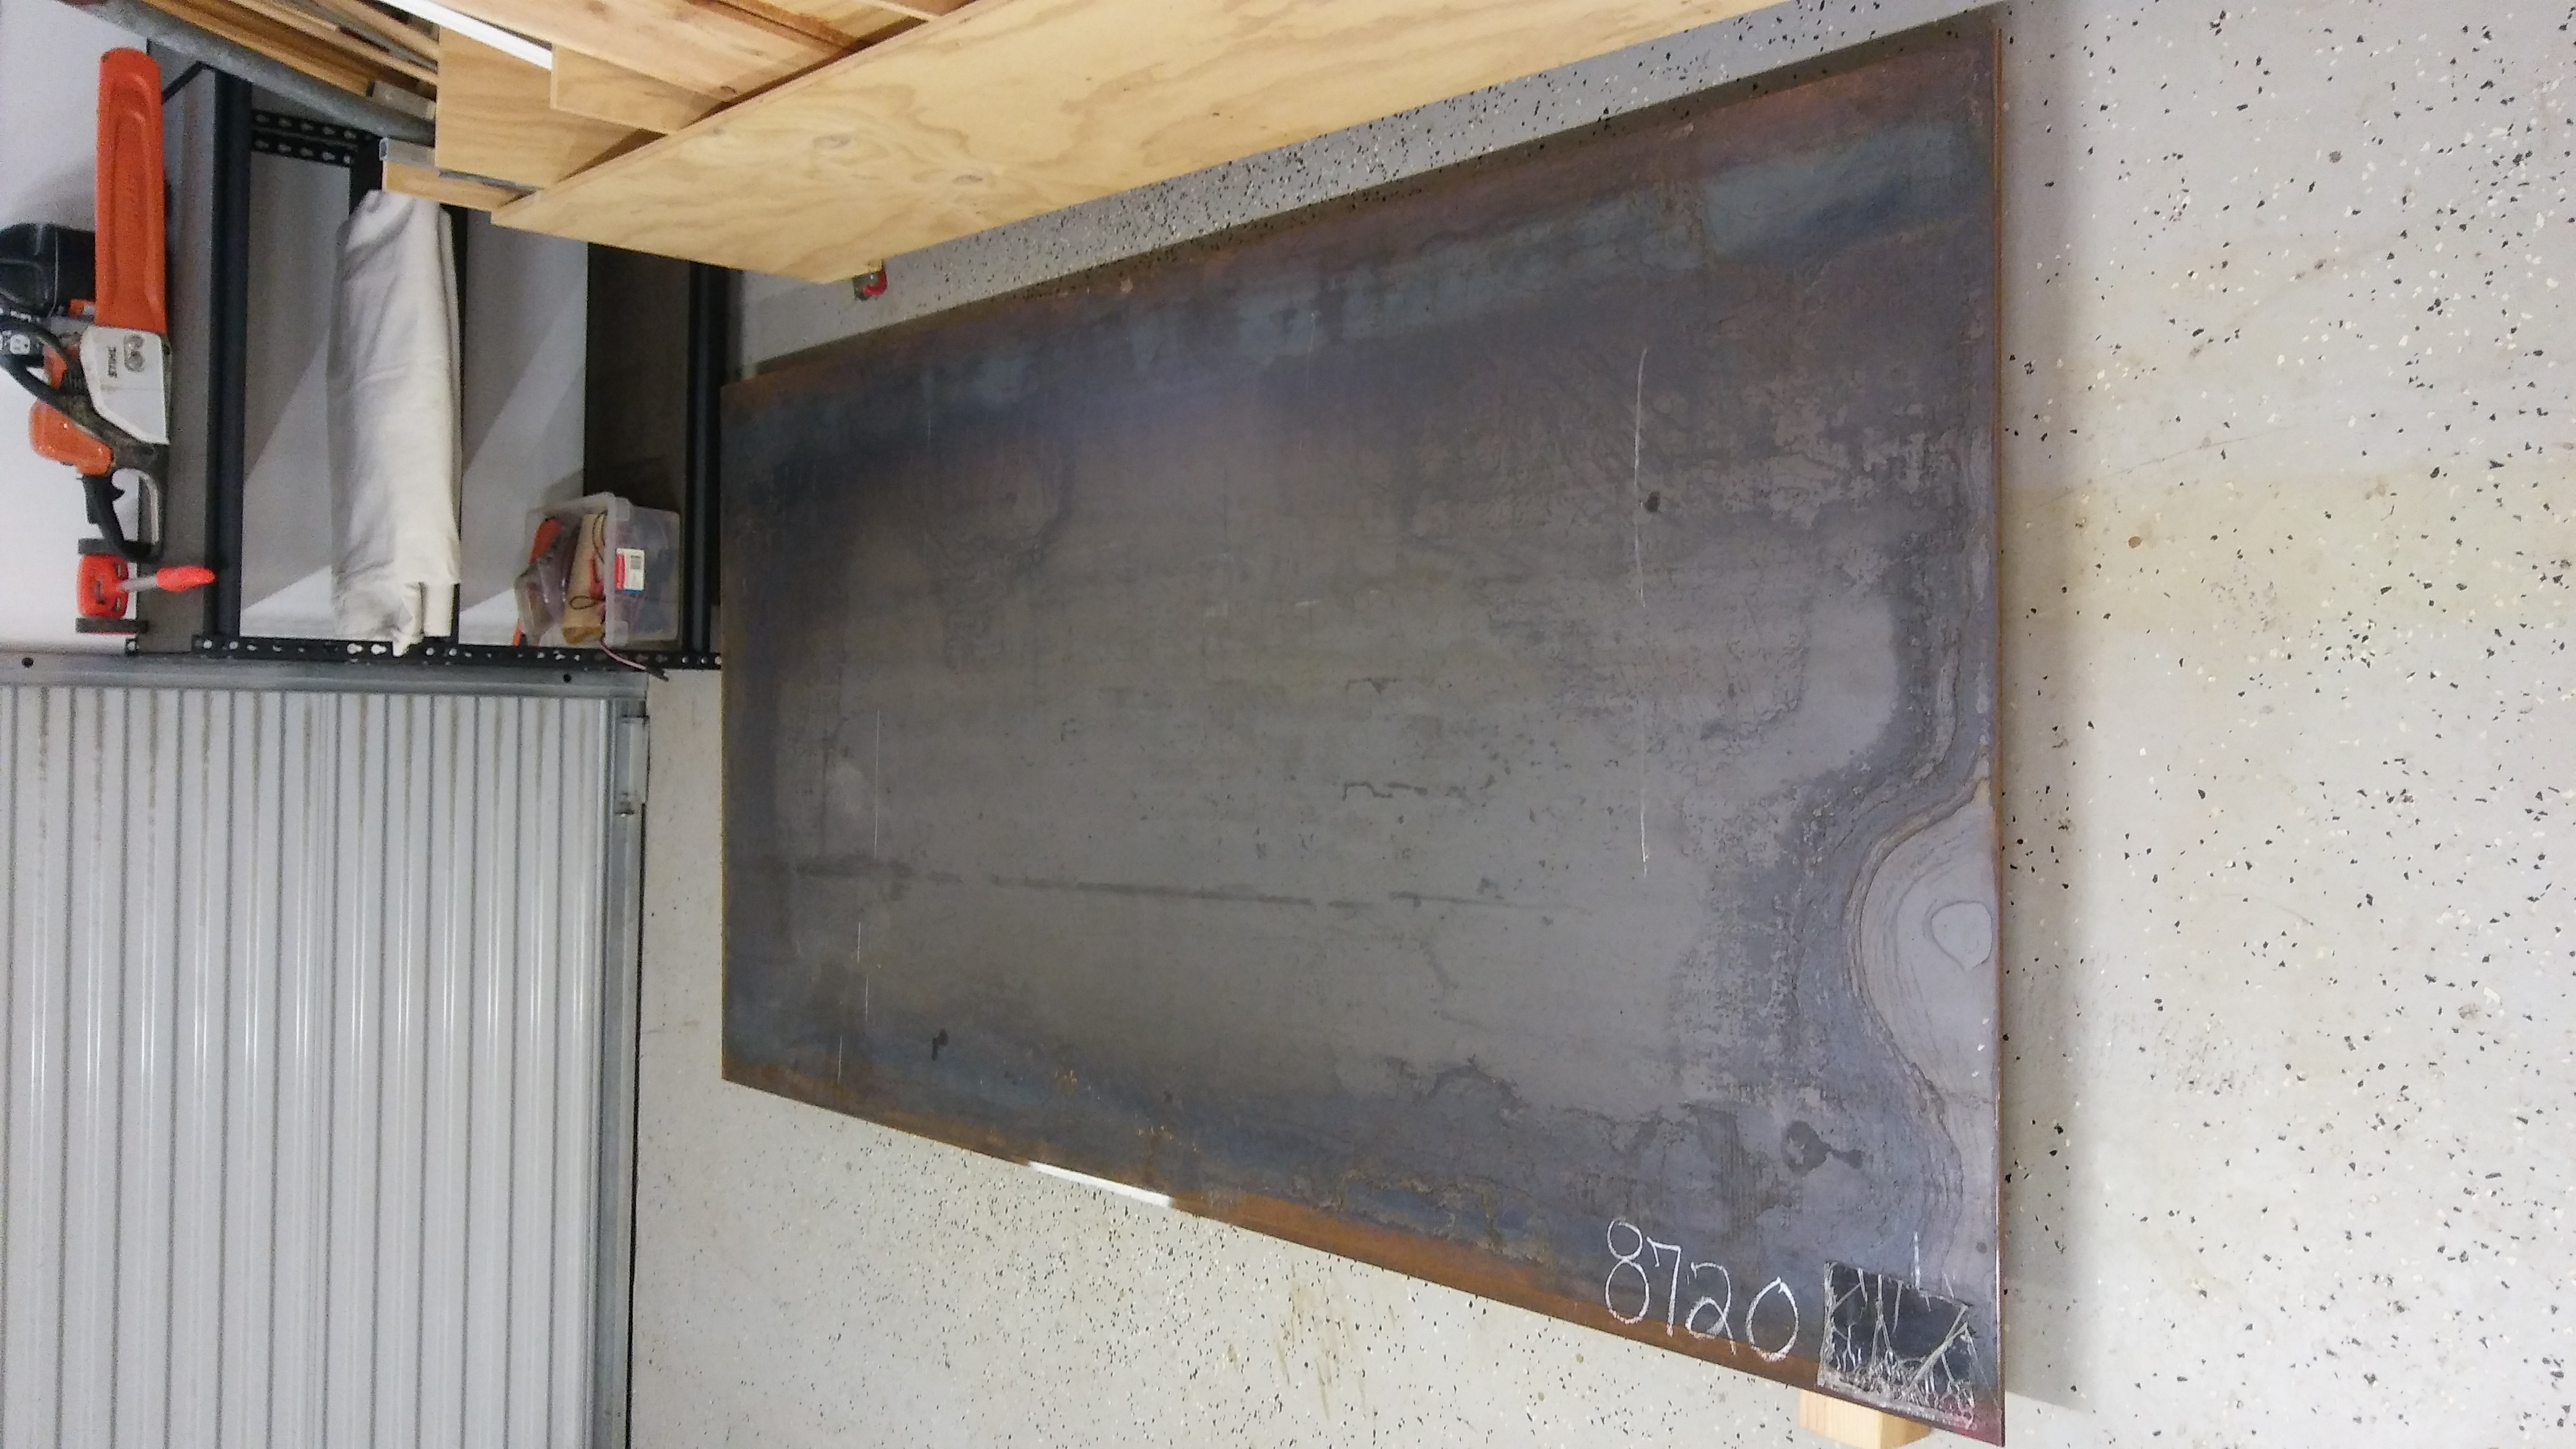
Here is shot of the 4×8 sheet.

AR400 Steel for targets

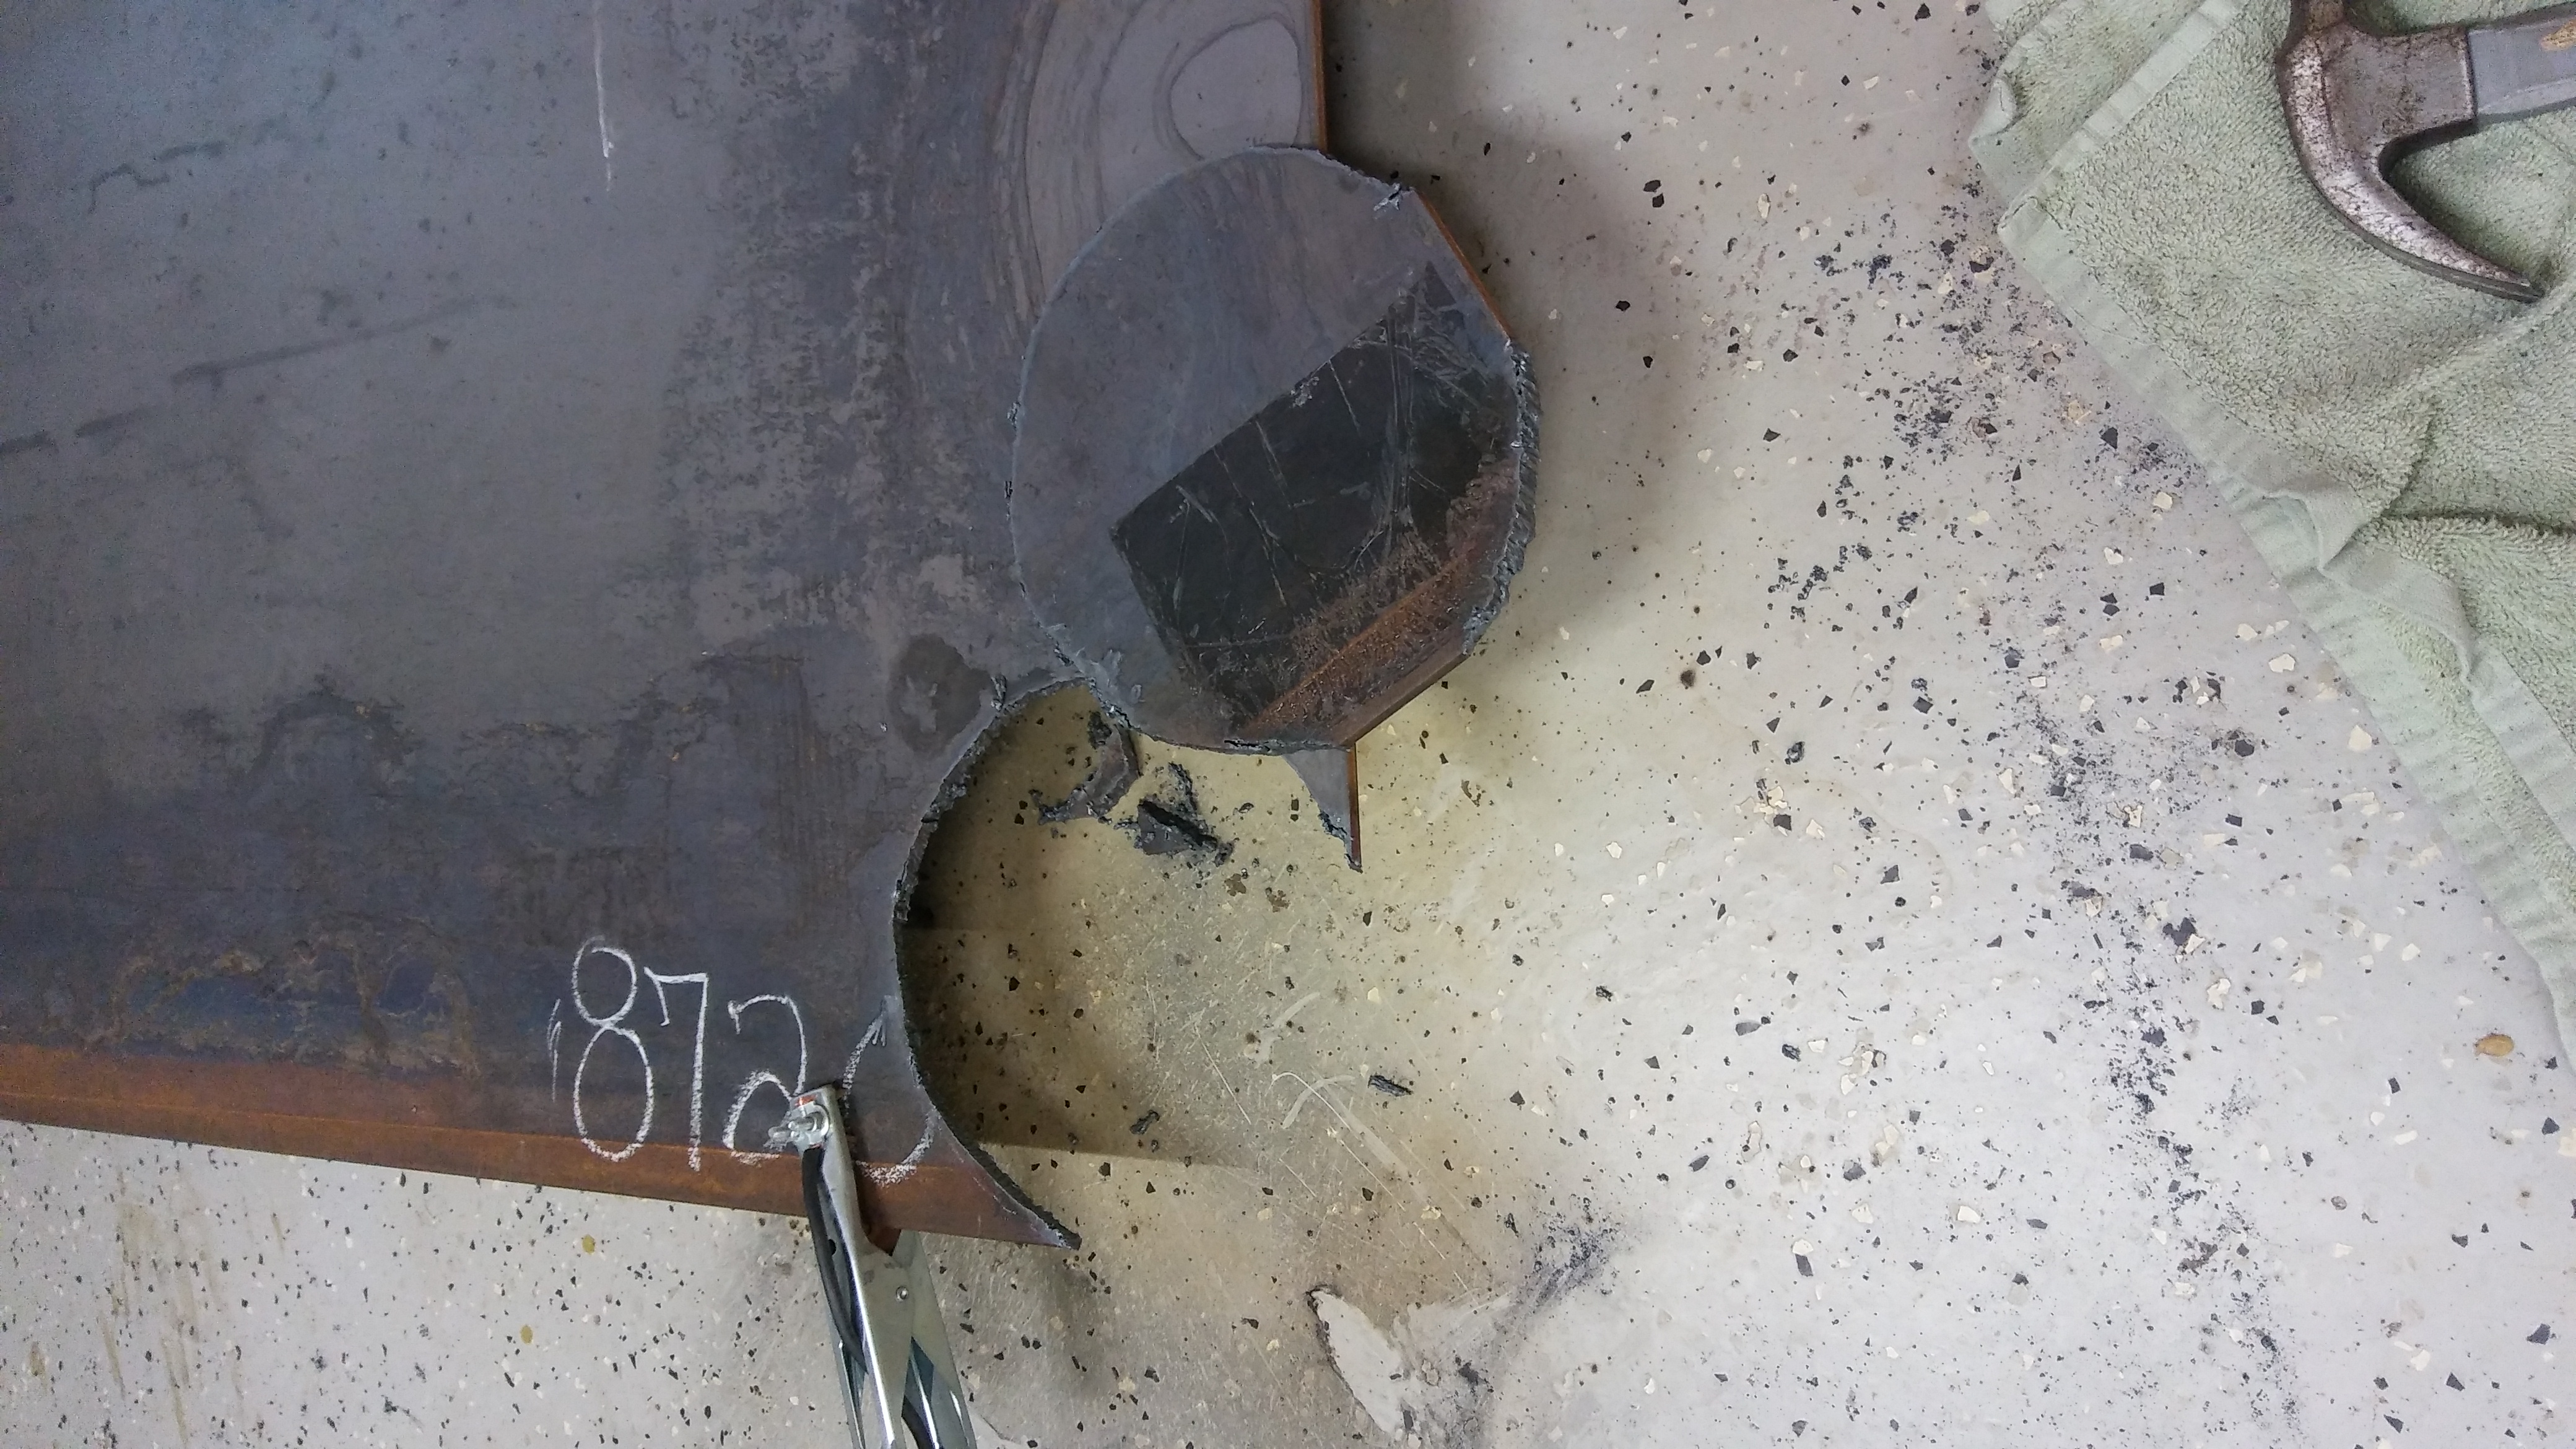
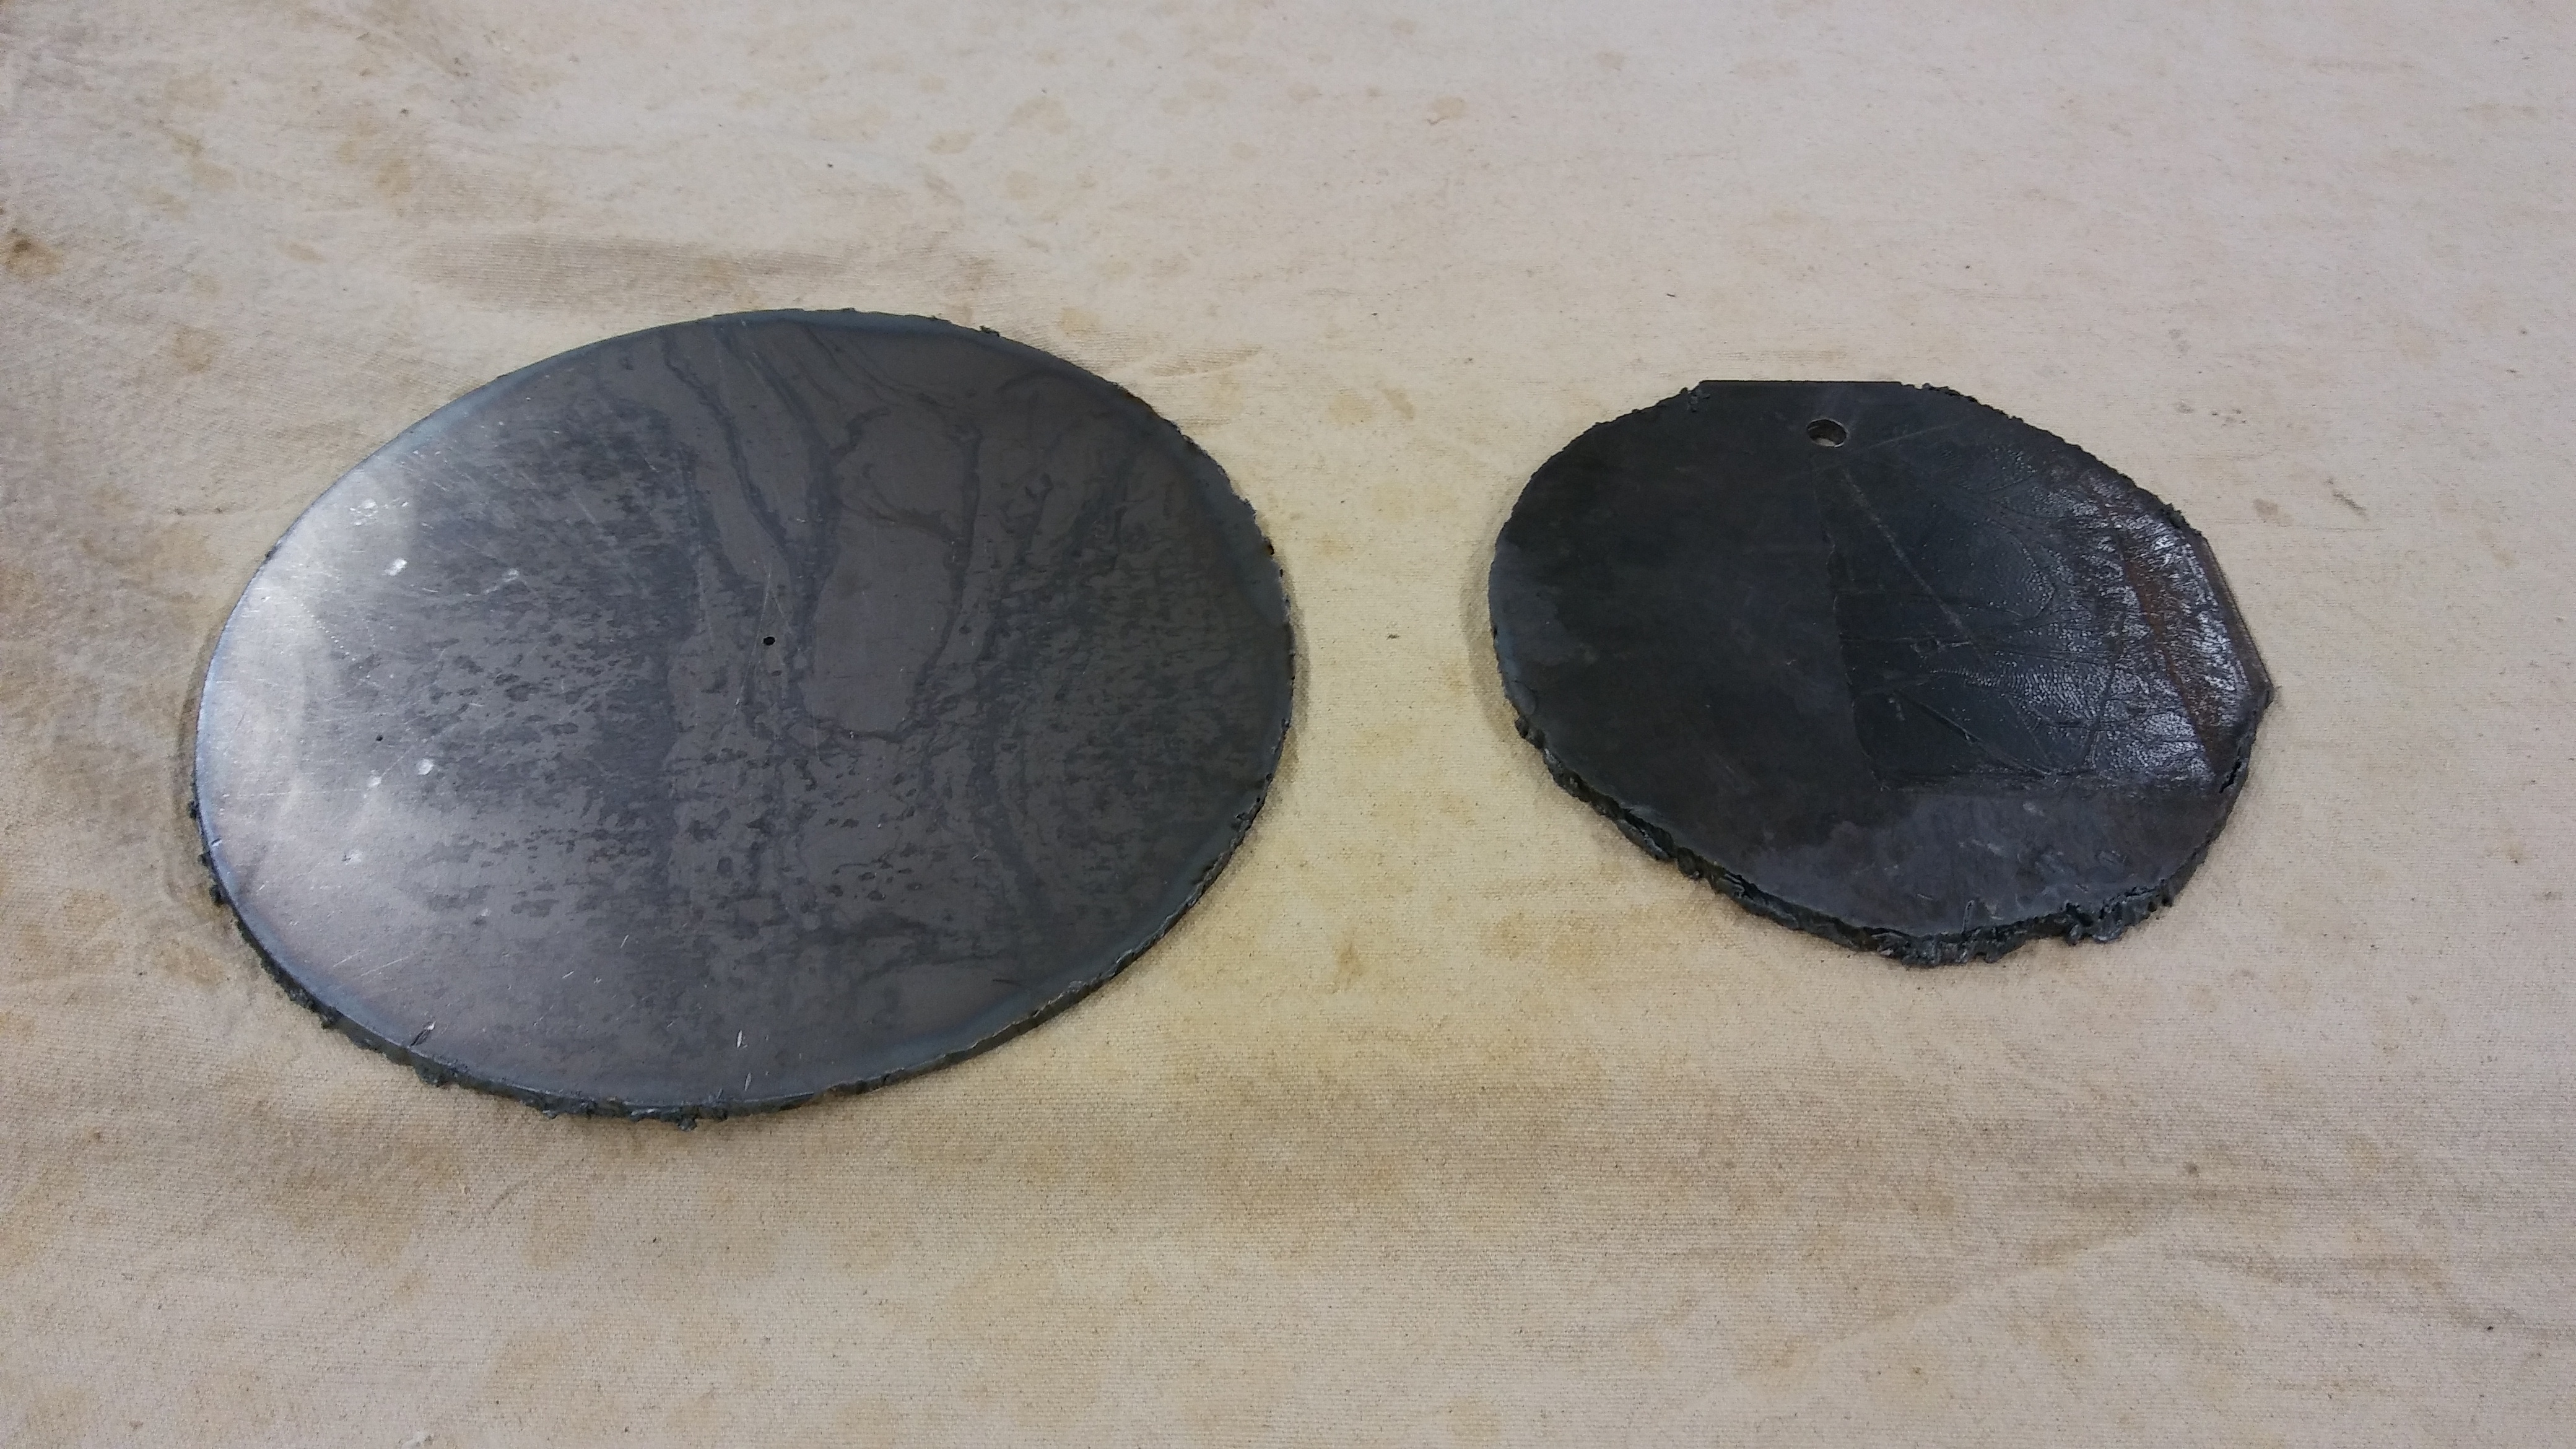
I had to remember how to use my plasma cutter. It was not pretty, but I got it done:

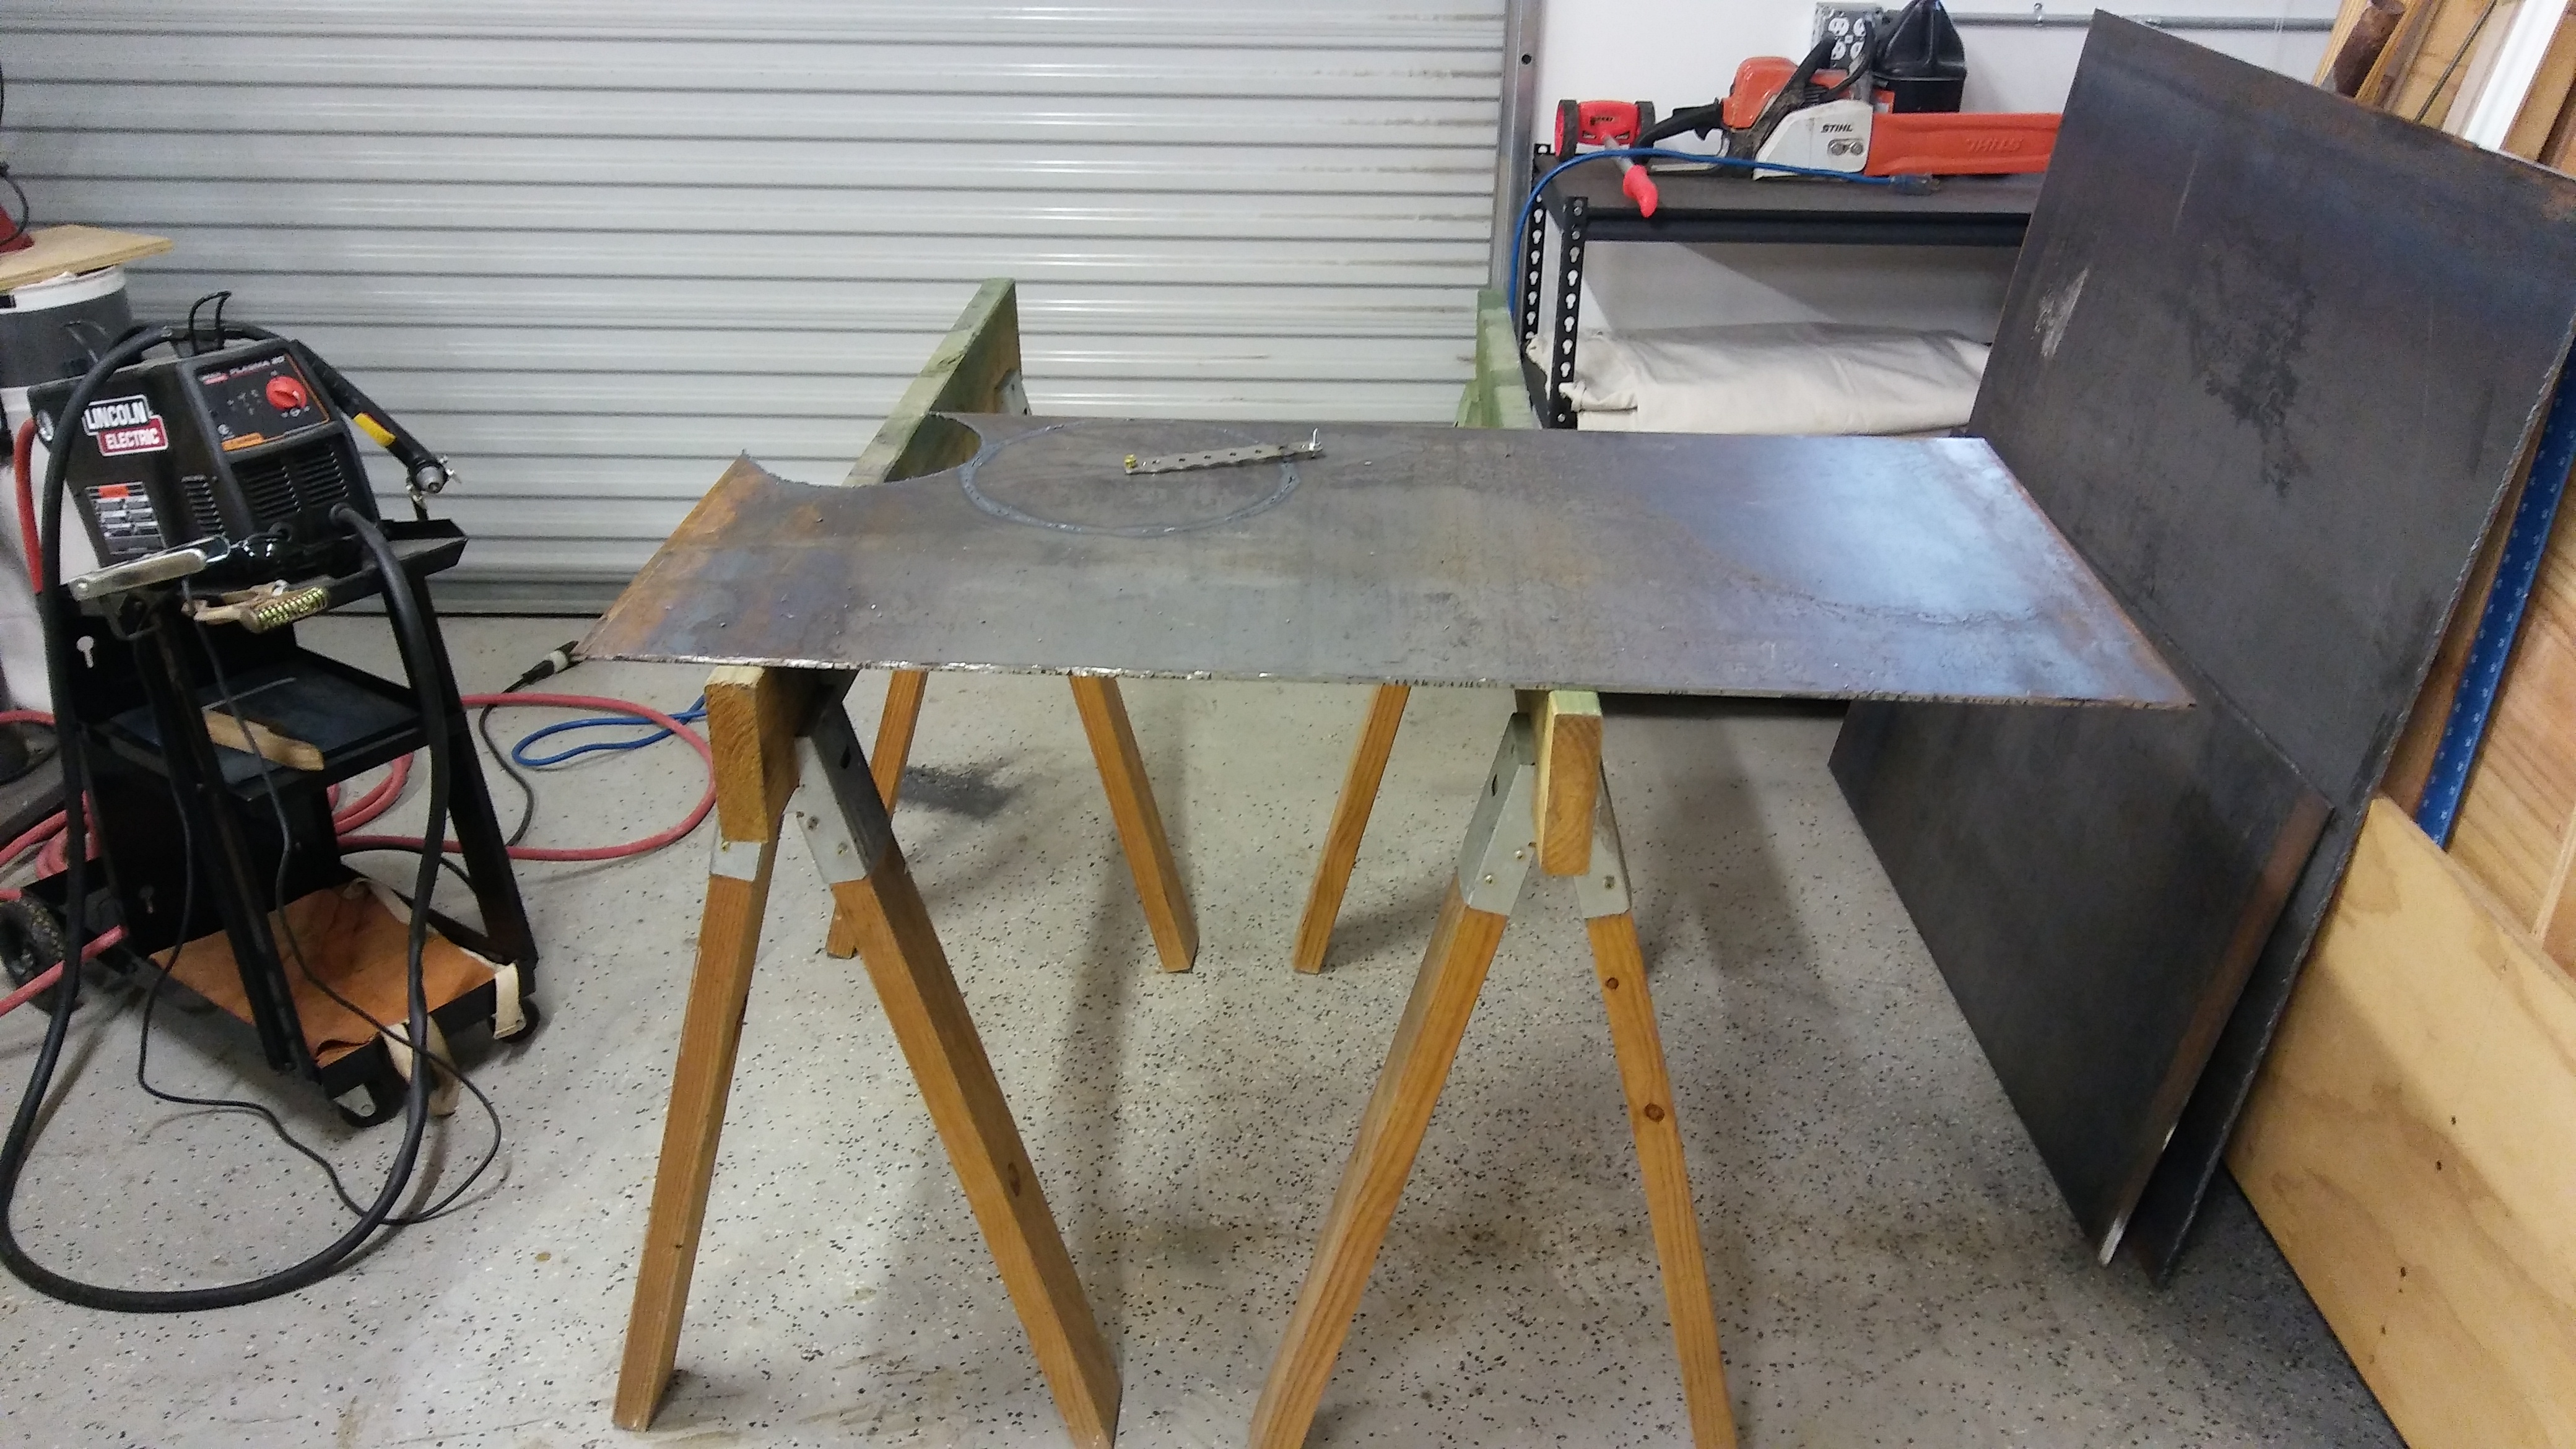
With my Army back, I found it very hard to work on the floor so broke down the plate into smaller lighter sections. With help we put it up on some saw horses to make it easier to cut.

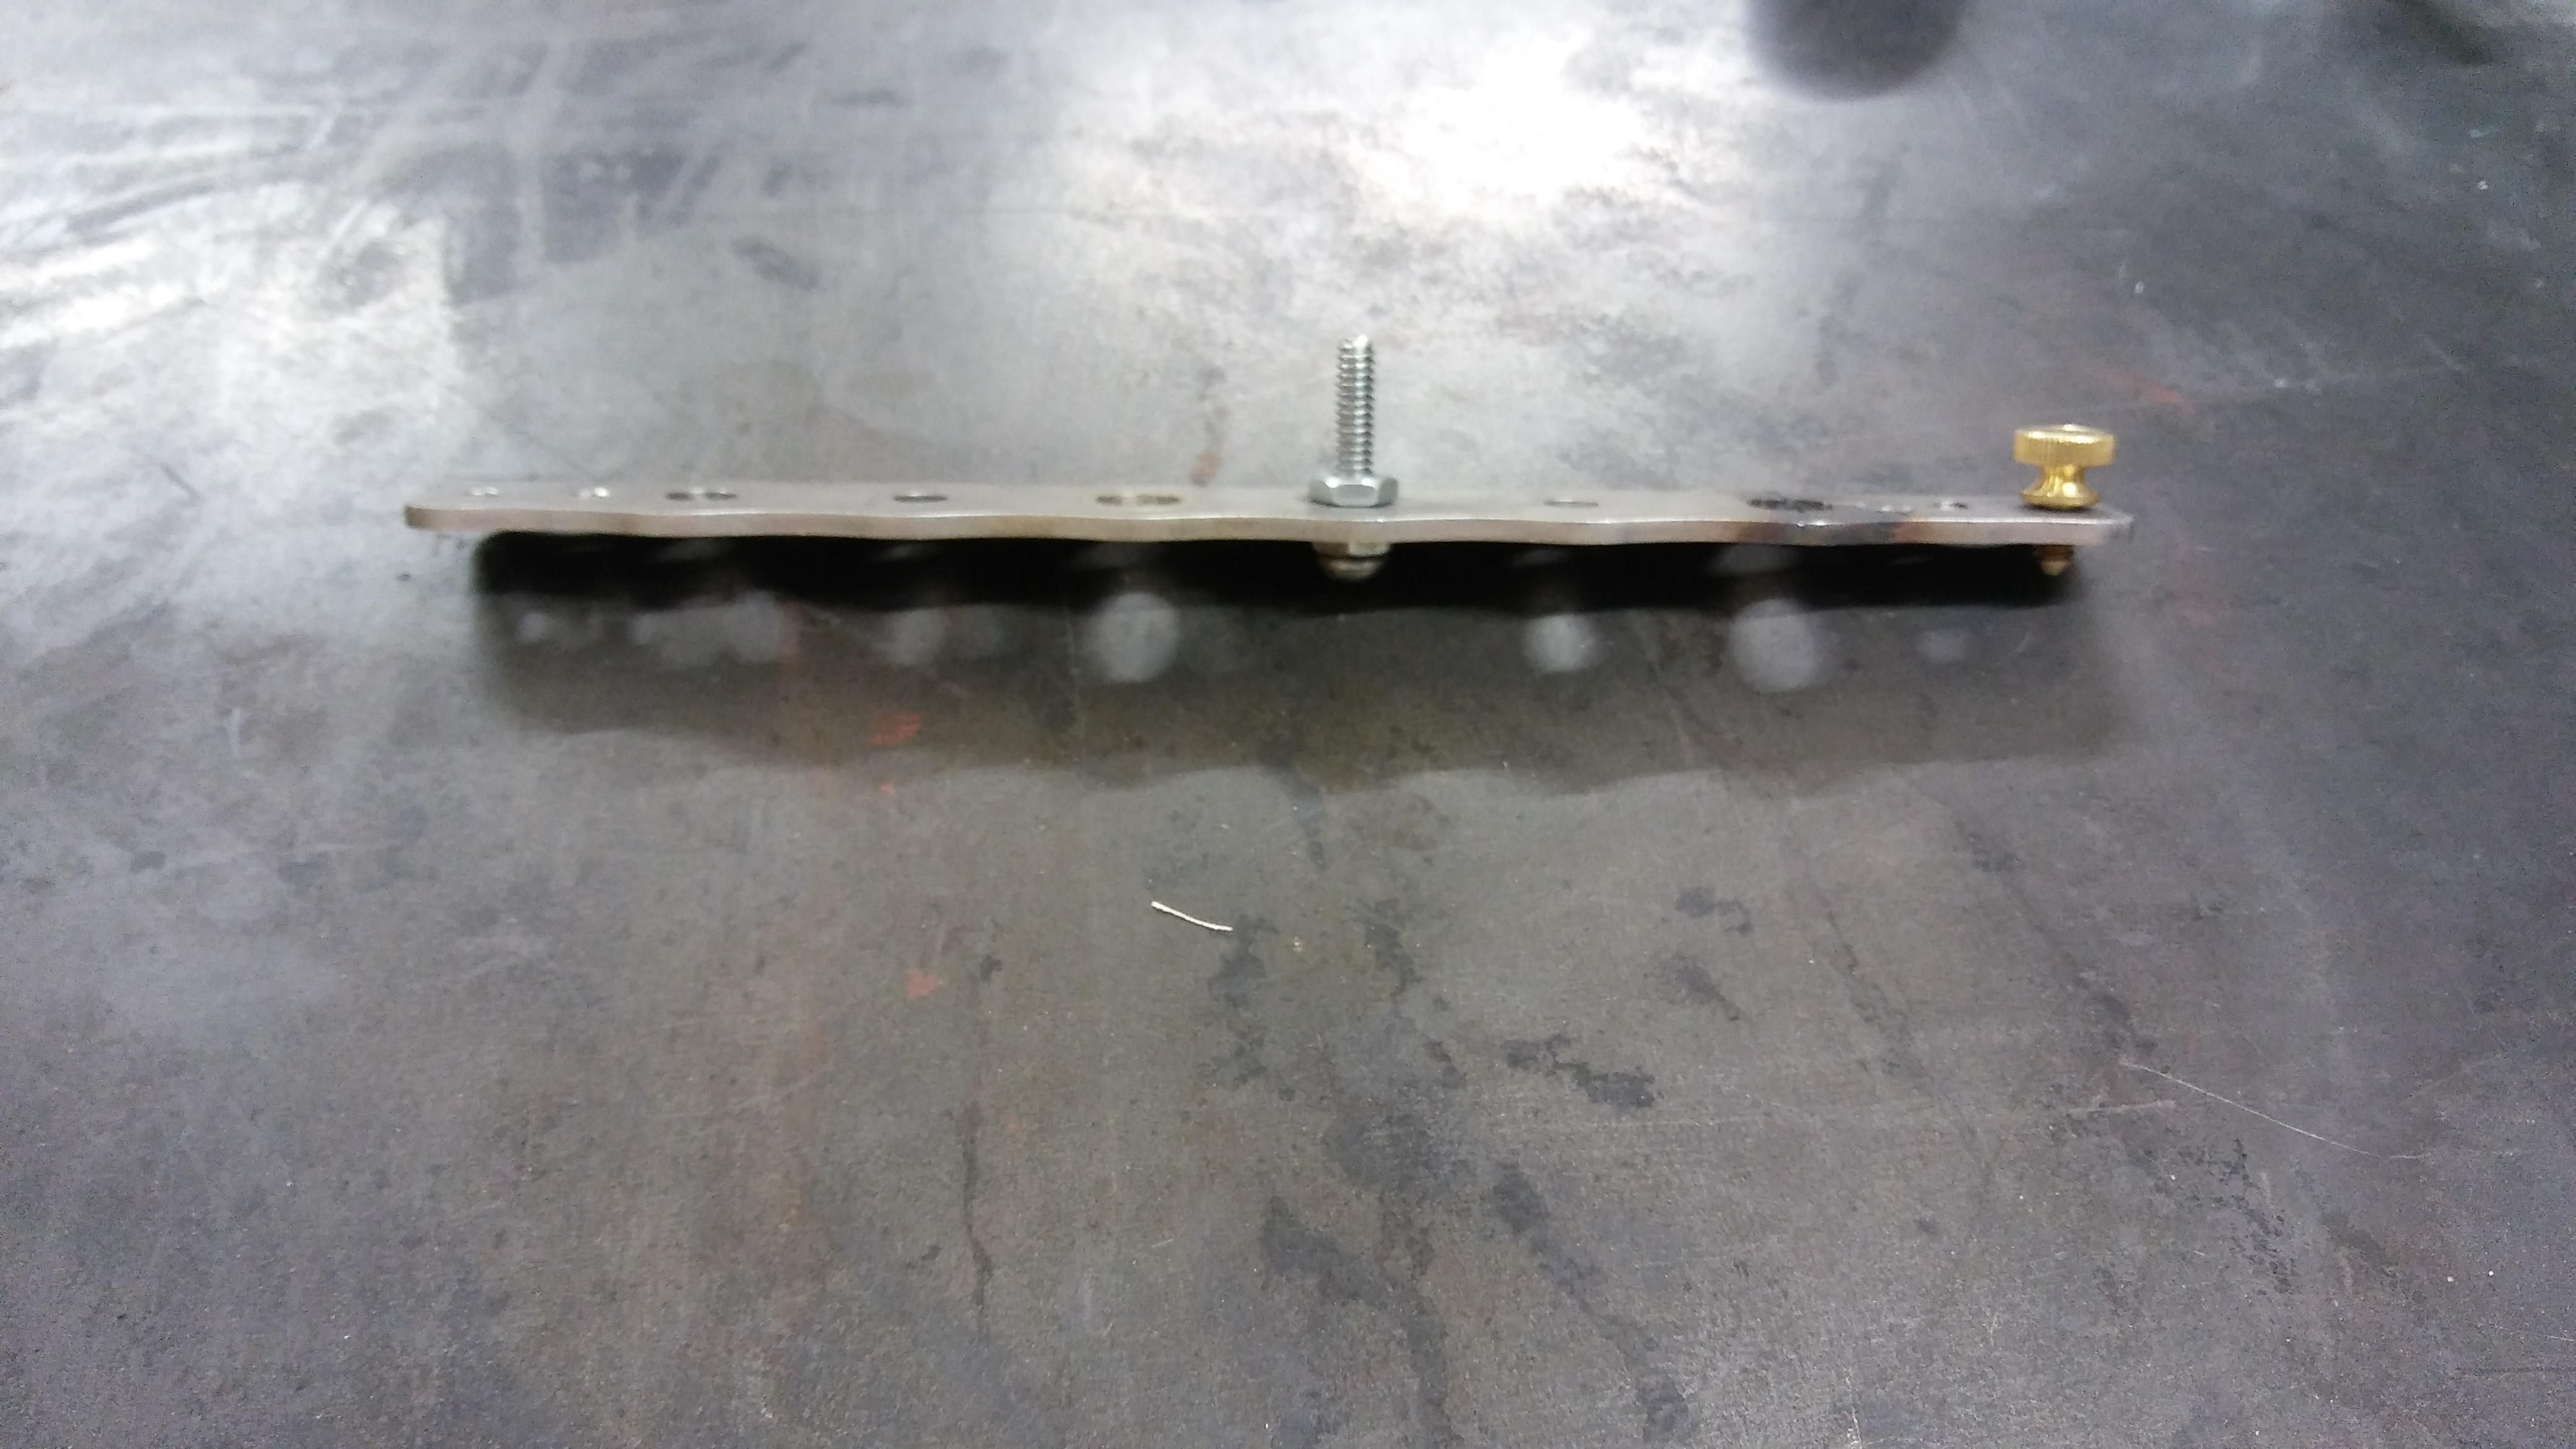
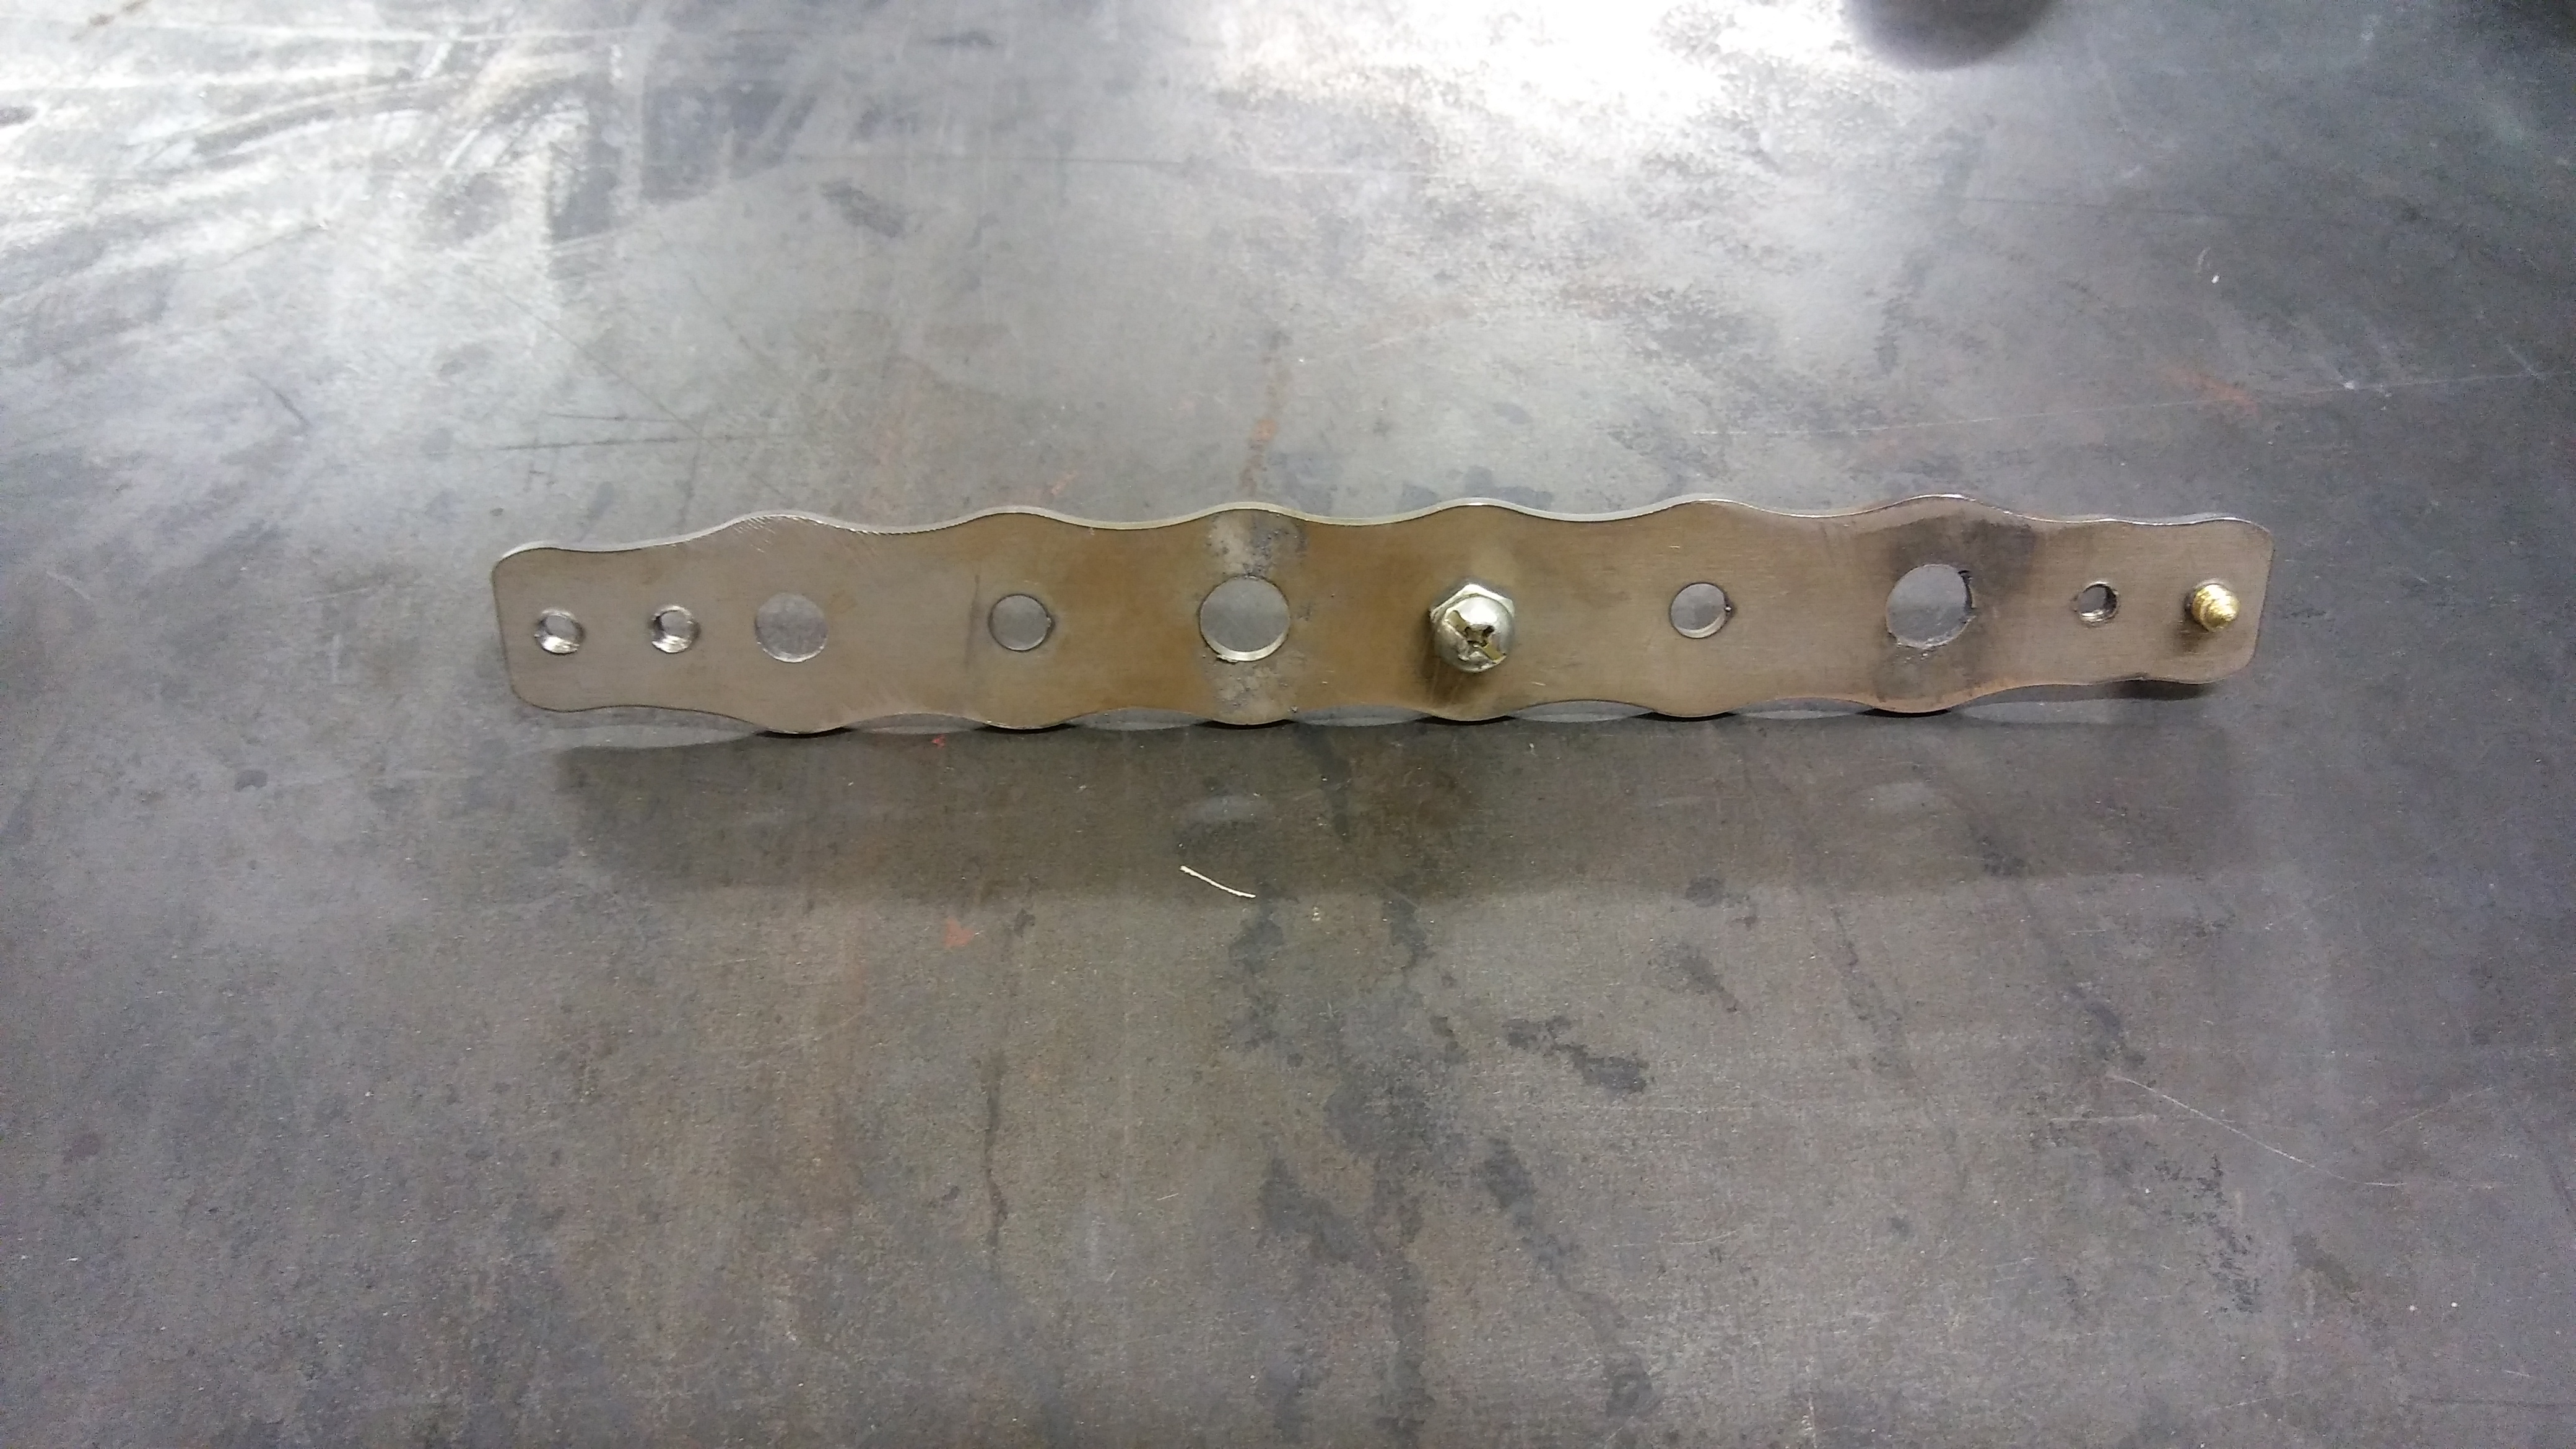
I also discovered these little gems from Swag Off Road. I put the screw and washer in one of the unused holes to create an adjustable stand off. I just adjust for the locations and tighten down the 2 nuts to keep my cutting tip off the steel.

And the bottom. Ignore the scoring:

Greatly improved my cuts:

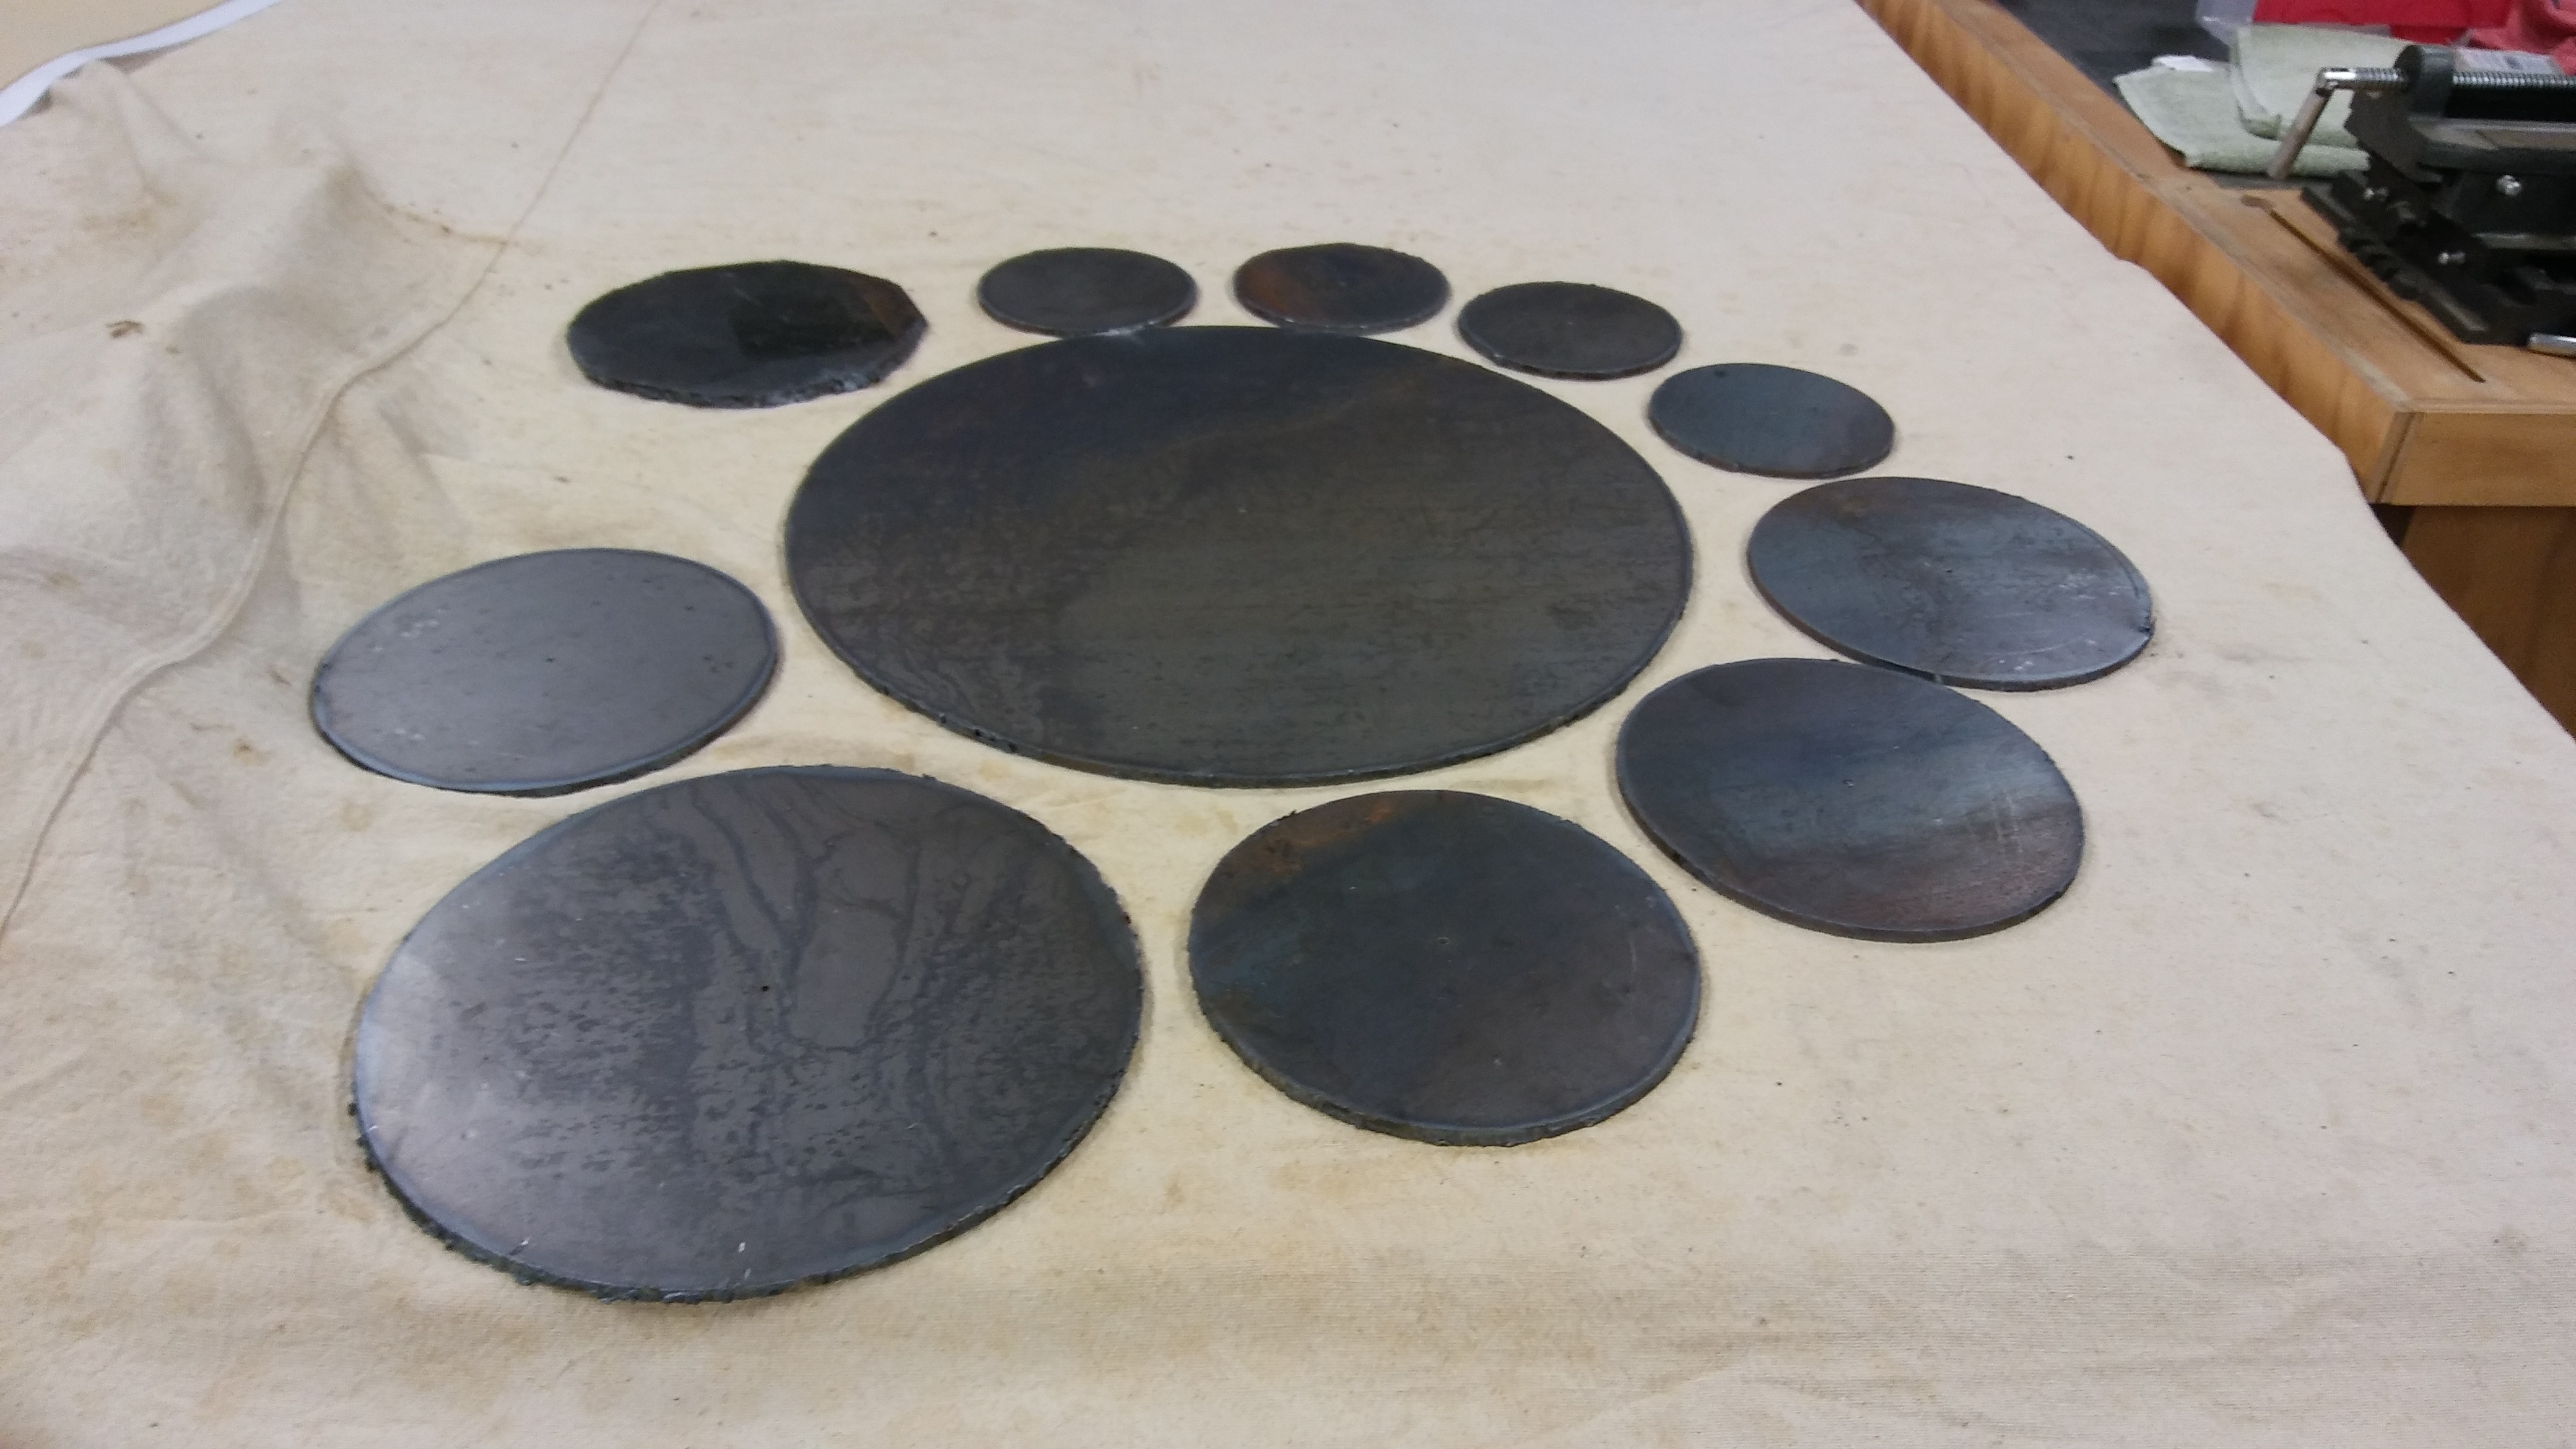
Here is a shot of the targets for this run:

1 – 20 inch

1 – 12 inch

5 – 8 inch

4 – 6 inch

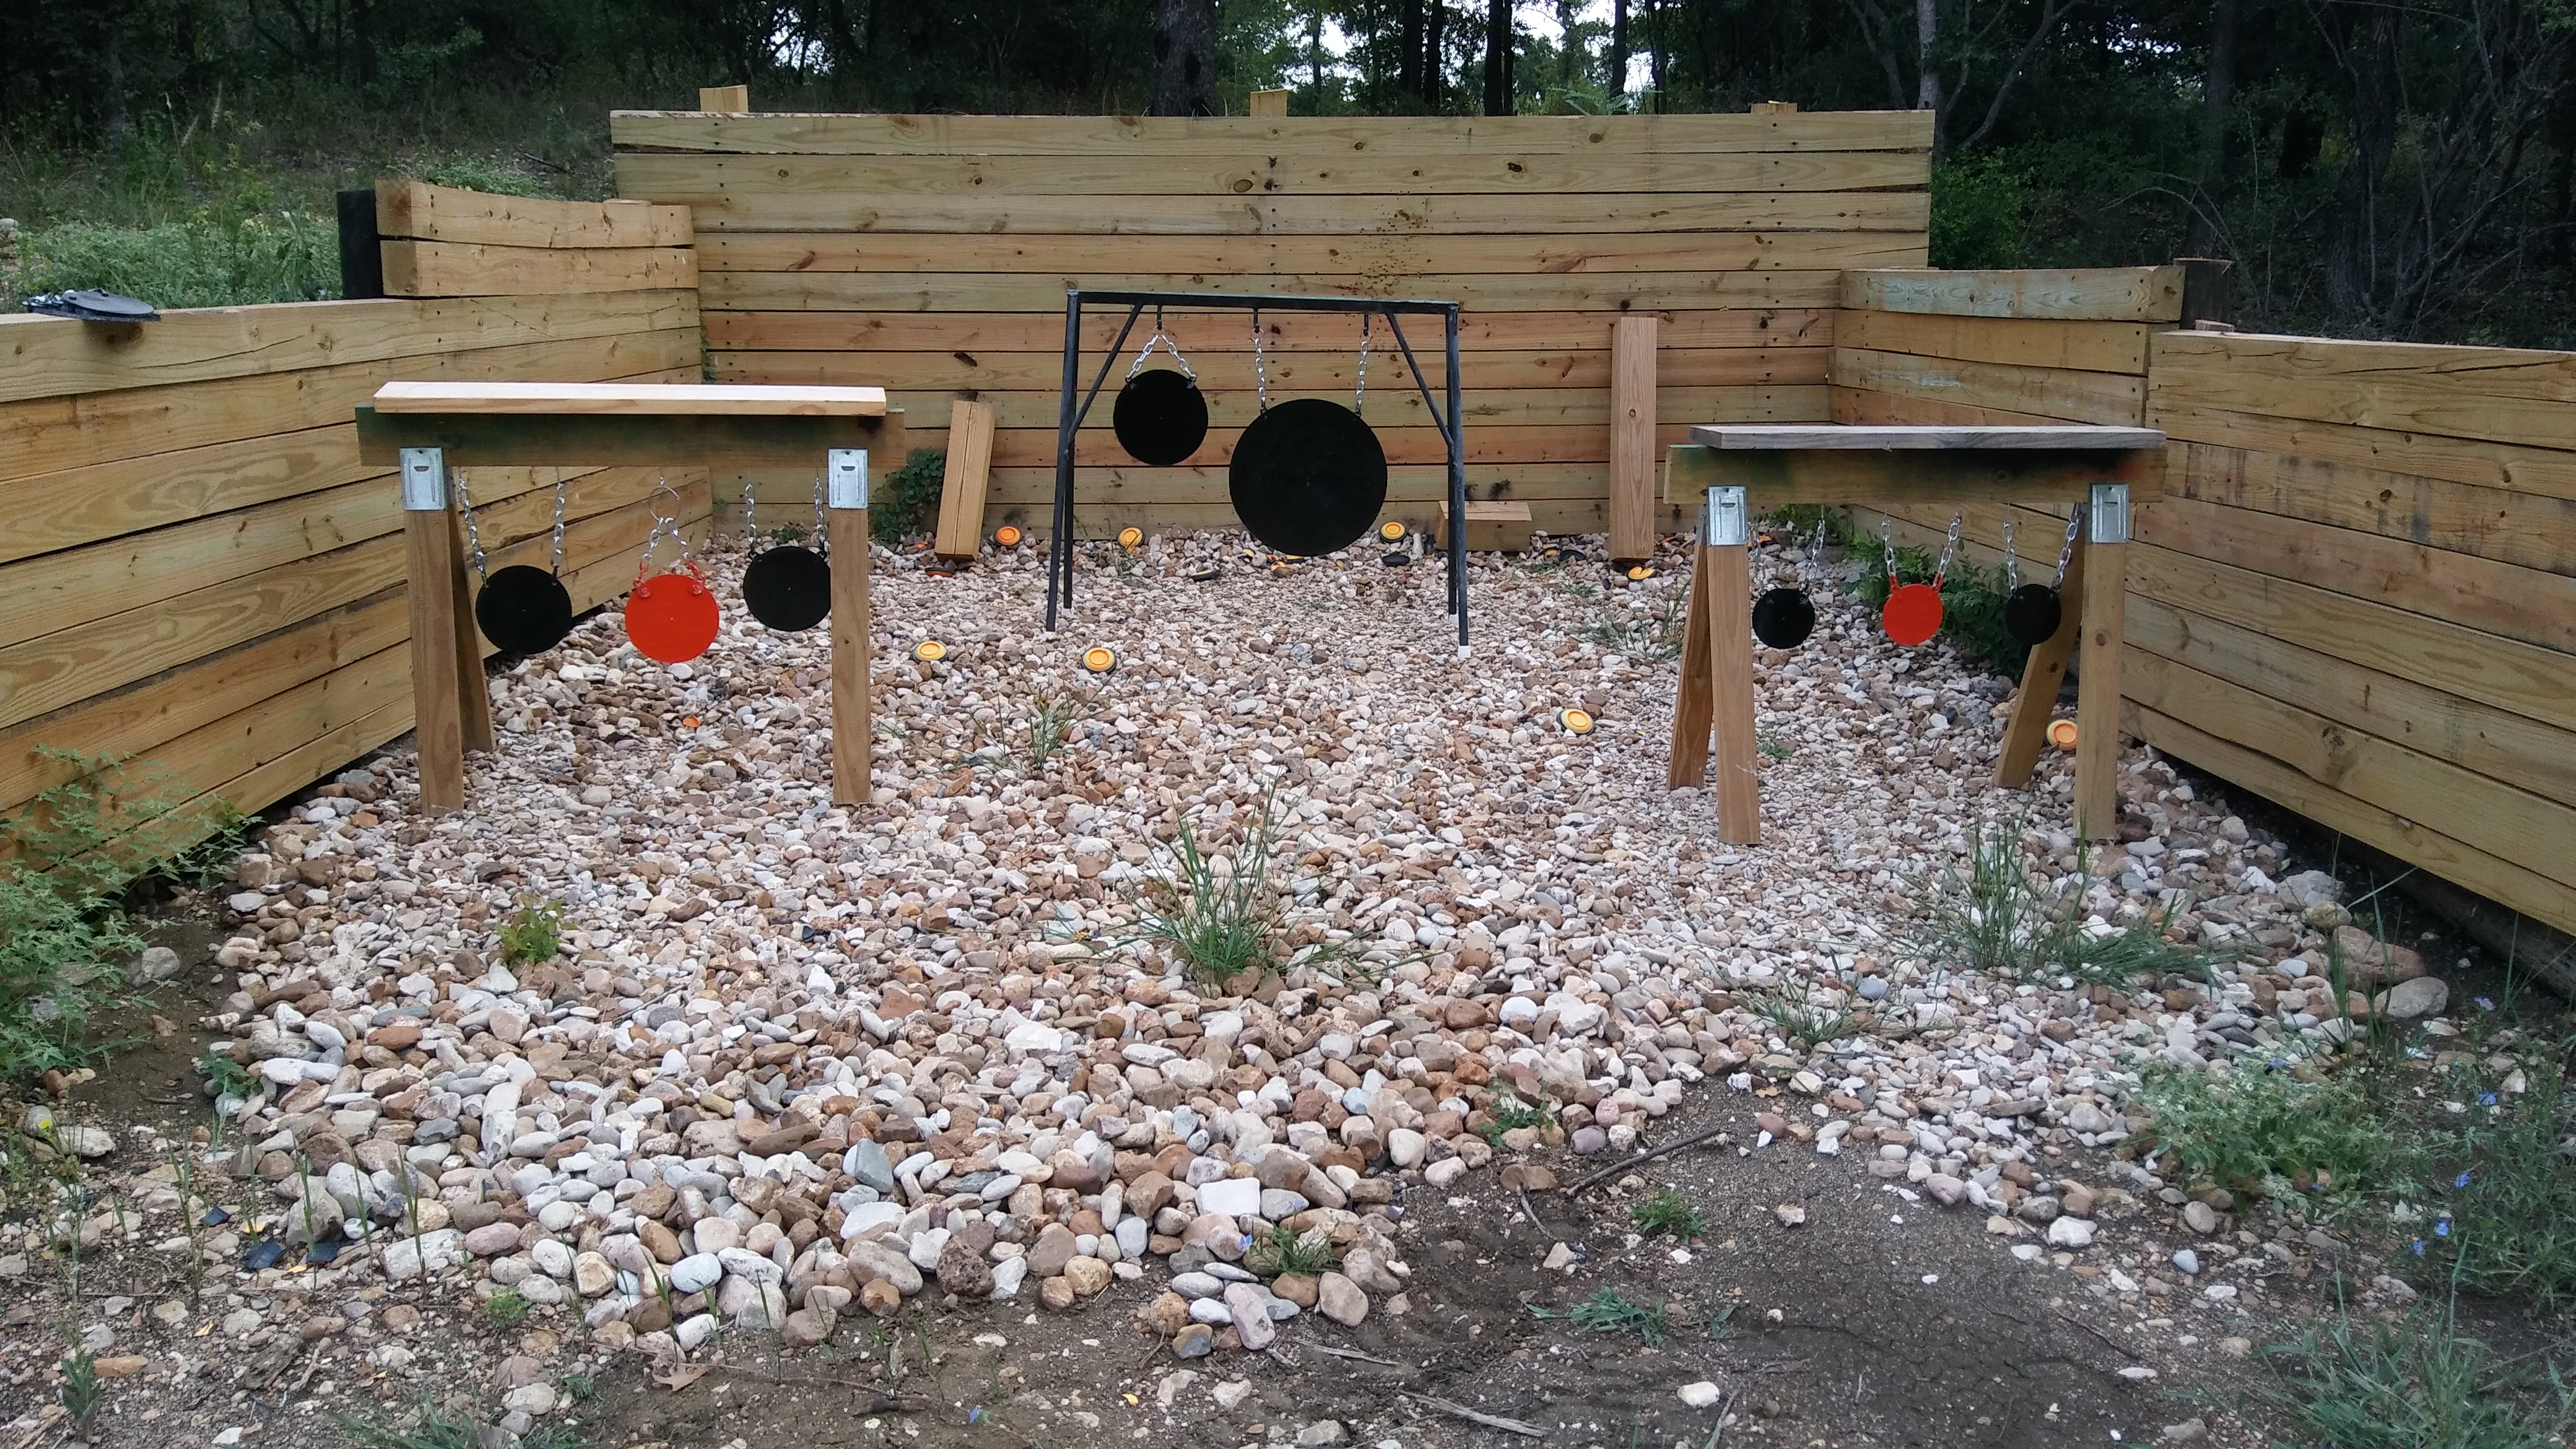
Drilled 2 holes in each, painted and setup:

Copy Protected by Chetan's WP-Copyprotect.