Miter Saw Station – Cutting it up!

Here is my Miter Saw Station. When I built this counter top I installed T-Track most of the way down. I use it to hold down lots of things, today it is my miter saw.
Here is one of the three stands I made. They are the same height as the miter saw and have the bolts and tighteners to secure them to the T-Track.
I made 3 backs that fit in the T-Track on the stands, 2 of them have T-Track
Get them lined up and secured to the T-Track in the Counter
Pull out the saw.
Secure it to the T-Track in the counter top and hook up the dust collection:
Make sure everything is lined up.
All setup and ready to make repeatable cuts.

Work Sharp Kool-Aid

I drunk the Work Sharp Kool-Aid and now want a place to store everything. I wanted 1 cabinet to hold it all. Here is what I ended up with, made from scraps I had laying around. It is not the prettiest, but it works.
And with the doors:
Now I need to find a place to put it.

Outfeed table

Now that I have the new table saw fence that is much wider than my old one, I need a new out feed table. I kept it simple, birch plywood and standard pine 1×4. Here is a shot of the legs and supports for the long side.
  I added 4×4 blocks to hold t-nut adjustable feed so I dial it in when ready.
I then put the sides on and slid it in place for a test fit:
 I added in some cross members and dropped the top in place.
Put in the bottom shelf and slid it in place for a test fit:

Cut 3, 32 inch miter slots in and a couple coats of sealer

Here it is all ready for use and abuse!

DIY – Biesemeyer fence rails Part 5

Adding the final touches to the AskWoodman Biesemeyer table saw fence. I did not want to leave the ends of the rectangle tube open, personal preference. So I ordered some plugs from McMaster-Carr, Rectangular Finishing Plug for Tube, Ribbed, Fits 2″ X 3″ Tube OD, Packs of 10 Part Number 9474K56. I have 8 extra, I am sure I will use them for other projects.

I noticed that my Very Super Cool Tools table saw fence was not sliding as smooth as I felt it should. I am thinking that it was my paint job on the tube. I got some 000 steel wool and rubbed it down, much better!
 
Next I followed Alan’s video for adding the measuring tape.  
 
Worked like a charm! In the first picture you can see it look a little rough from the steel wool.
Here is a better shot of the whole fence.
Here it is all finished up. You might notice that the scratches are gone, I put a couple coats of Johnson’s wax on. Slides really well now 🙂

This was a great project, and I thank Alan and AskSteelMan for posting their how to. It is really not near as difficult as I thought it was going to be. Alan was very helpful and answered all my questions and comments. I now have a high quality American made table saw fence that takes my table saw to the next level. I am sure it will help me make a better product.

DIY – Biesemeyer fence rails Part 4 – Filling the void

Getting close to wrapping this up. The Porter Cable PCB270TS Table Saw never had very much to the right of the blade and now that I extended it a couple feet the gap was really bad. I also need a way to better support the extra weight and stress on the far right end of the table. I set out to fill the void.
I made a frame out of 1 x 4 poplar, nothing fancy, just glue and screwed together.
  I then glued a piece of Birch plywood to the top and tapped it in for a dry fit. Snug as a bug in a rug!
Few coats of ploy and bolted it in.
Added the 4 x 4 legs with t-nut levelers on the bottom. Leveled it out and slid the old out feed table back in place.
Last couple things to do are line up the Very Super Cool Tools fence and put the Starrett SAE / Metric tape on. I ordered some plugs from McMaster-Carr for the 3 x 2 rectangle tube. I will post all that next.

DIY – Biesemeyer fence rails Part 3

Well finally had the time to paint my Biesemeyer fence system and put on my Very Super Cool Tools fence. Here is a shot of the spacing blocks and 2×3 bolt down.
  I dropped the VSC Tools fence on, Sweet! Slides great! It is on the left side of the blade and I need to dial everything in but it is installed and I now have a high quality, American made fence for my Porter Cable PCB270TS Table Saw.
and
Now on to the extension table. PART 4

DIY – Biesemeyer fence rails Part 1

It all started when I watched this 27 part series By AskWoodMan  and then watched this by AskTheSteelGuy My Porter Cable PCB270TS Table saw badly needed a new fence system. I watched the videos and contacted Askwoodman, who by the way is an all-around good guy. I went and got the required materials:
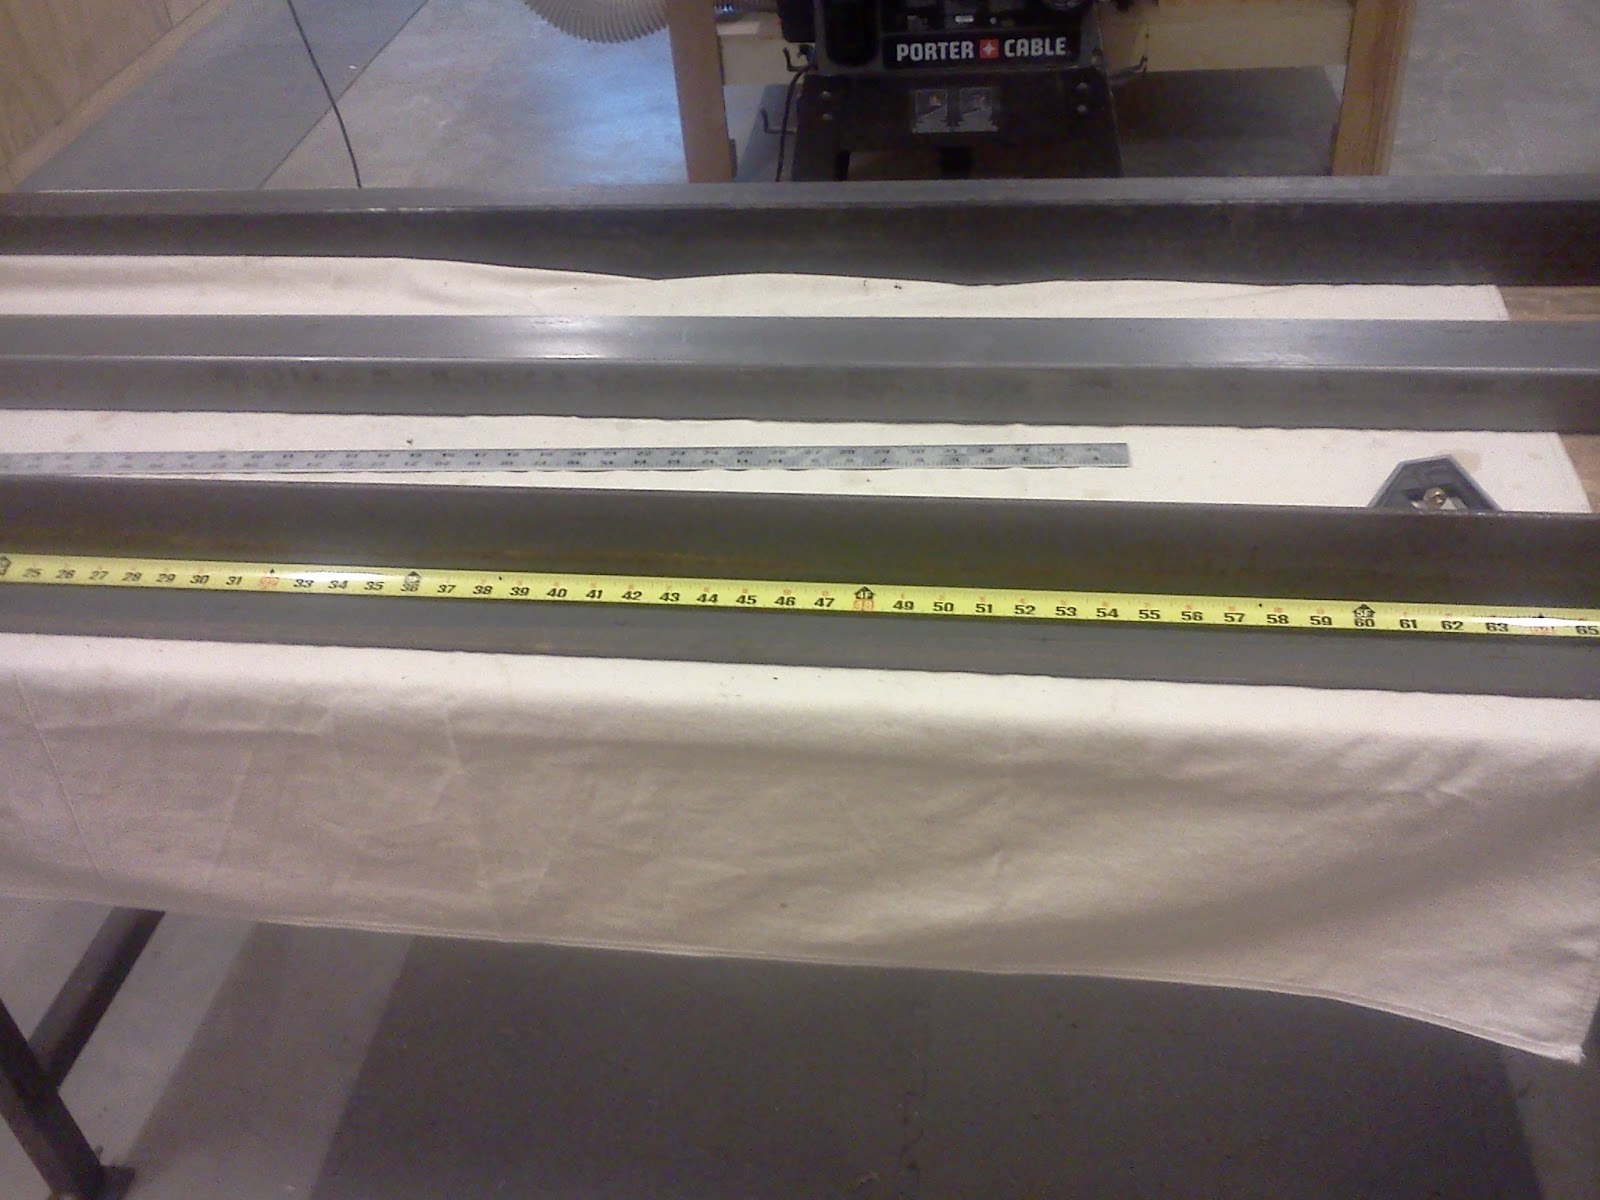
7 feet 3” x 2” x 11 gauge rectangle tubing             $51.00
7 feet 3” x 3” x ¼” angle iron                                $27.00
Cutting Fee                                                             $2.00
Tax                                                                          $7.00
Total                                                                        $87.00
I rounded everything up to the nearest dollar, 87 bucks not bad. Getting to make it myself, even better! A quick search on the internet shows 52 inch Biesemeyer fence rails going for $250 to $500. Mine will be 84 inches and a much higher quality.
Let’s get started. Here is a shot of the metals:
There is an extra piece of 3×2, I am saving for another project. Next I made some ¾” x ¾” blocks out of some scrap hardwood I had laying around and gathered up a couple ½” dowels:
I put the dowel and ¾” spacer in to get my distance from the back wall. Then I place the 3” x 2” rectangle weld side down and snugged it up against the block. I placed a mark about half way between the block and the edge. This does not have to be exact!
For me, that turned out to be about an inch from the edge.
Then I laid out the location of the holes on the angle iron that will be used to hold the tubing in place. I went an inch in from the sides and then cut everything in half until I was done. This is what I ended up with measuring from the end: 1” -> 10 ½” -> 21” -> 31 ½” -> 42” -> 52 ½” -> 63” -> 73 ½” -> 83  
Then I marked the holes with my metal punch. Again, does not need to be 100% accurate. You will understand a little further down.
Then I put the angle up on my drill press, chucked my number 7 metal drill bit and made sure everything was on the level. The number 7 bit is the size needed to tap ¼” x 20 threads that we need to hold down the tube. I then drilled all the holes.
I then put the angle back on the table using 3 sets of  2 x 4’s to raise it up high enough for the clamps. I put the rectangle, weld down; the dowel and then the ¾” blocks I made together. Making sure everything is lined up the way I want. I then clamped it tight.

Then I flipped it up to expose the #7 holes I just drilled. I don’t have a picture, kind of difficult to take. But I then put the #7 bit in my hand drill and drilled “marks” using the holes in the angle iron as a template. I drilled just enough to see the location I needed to drill. You can see the “mark” here:
Back on the drill press and drilled the marks out with the #7 bit.
I then measured the location of the holes on the saw and marked them on the angle iron.
I then drilled the holes for the rectangle tube out to 5/16” and the holes to mount to the table saw out to 3/8”
I will be using ¼” x 20 bolts to mount the angle to the table so I pulled out my ½” metal countersink and went to work.
Checked every hole to make sure I was at least flush.
Test Fit. SWEET!!!
While I have it mounted, I mark the miter slots. I then put it back on the table.
I then use a combination of drill press, jig saw and Dremel to cut out and clean up the slots.
I am going to build an extension table and out feed so I need angle iron for the back of the saw as well. I have extra 2” x 3” angle lying around. I clamped the 2 inch side to my already drilled 3” x 3” angle. Using shims I raised it up to be level with my miter slots and used a transfer punch to mark the holes.
I then drilled out 3/8” holes and moved everything out for cleanup. I used 3M abrasive pads to get everything all cleaned up.

I then started to Primer it up. At this point I am into it for about 4 hours. And I mean a Saturday, not a hard core work day. This has turned out to be a lot easier than I thought it would be. The paint and primer is going to take a while to dry in between coats. I will show the paint and mounting in the next post

Here is another link to Ask Woodman’s Video:

On to PART 2

Porter Cable Band Saw PCB330BS riser install using the Jet riser kit.

I have been pretty happy with my Porter Cable band saw so far. I got some new blades for it a Kreg fence, and I built a heavy duty base on wheels. Ever since I got the pecan log milled up, I have been wanting to try milling for my self. I decided to do the Porter Cable Band Saw PCB330BS riser install using the Jet riser kit.
I got the kit in the mail and opened it up. Comes with everything you need. I dont mind the cheap blade that comes with it. It works just fine to test everything out and get everything aligned.
First thing is to remove the upper part of the saw. To do this you will need a 26mm and a 1 inch wrench. My crescent wrench would not fit, to big. I dont know about you, but those are pretty large wrenches and I did not have them laying around. The 26 mm was a little tricky for me to find.
got it separated
Next I made a template of the top section so I would know exactly where to drill the holes on the bottom of the extension.
I put the template on the bottom of the Jet riser kit and marked the holes.
I then drilled them out with a 5/16 bit.
Test fit looks good!
I then created the template for the top
 Then I drilled the holes in the top of the band saw. It is the only modification I made to the saw itself.
Did another test fit, everything fit great. Painted everything black to match the Porter Cable PCB330BS.
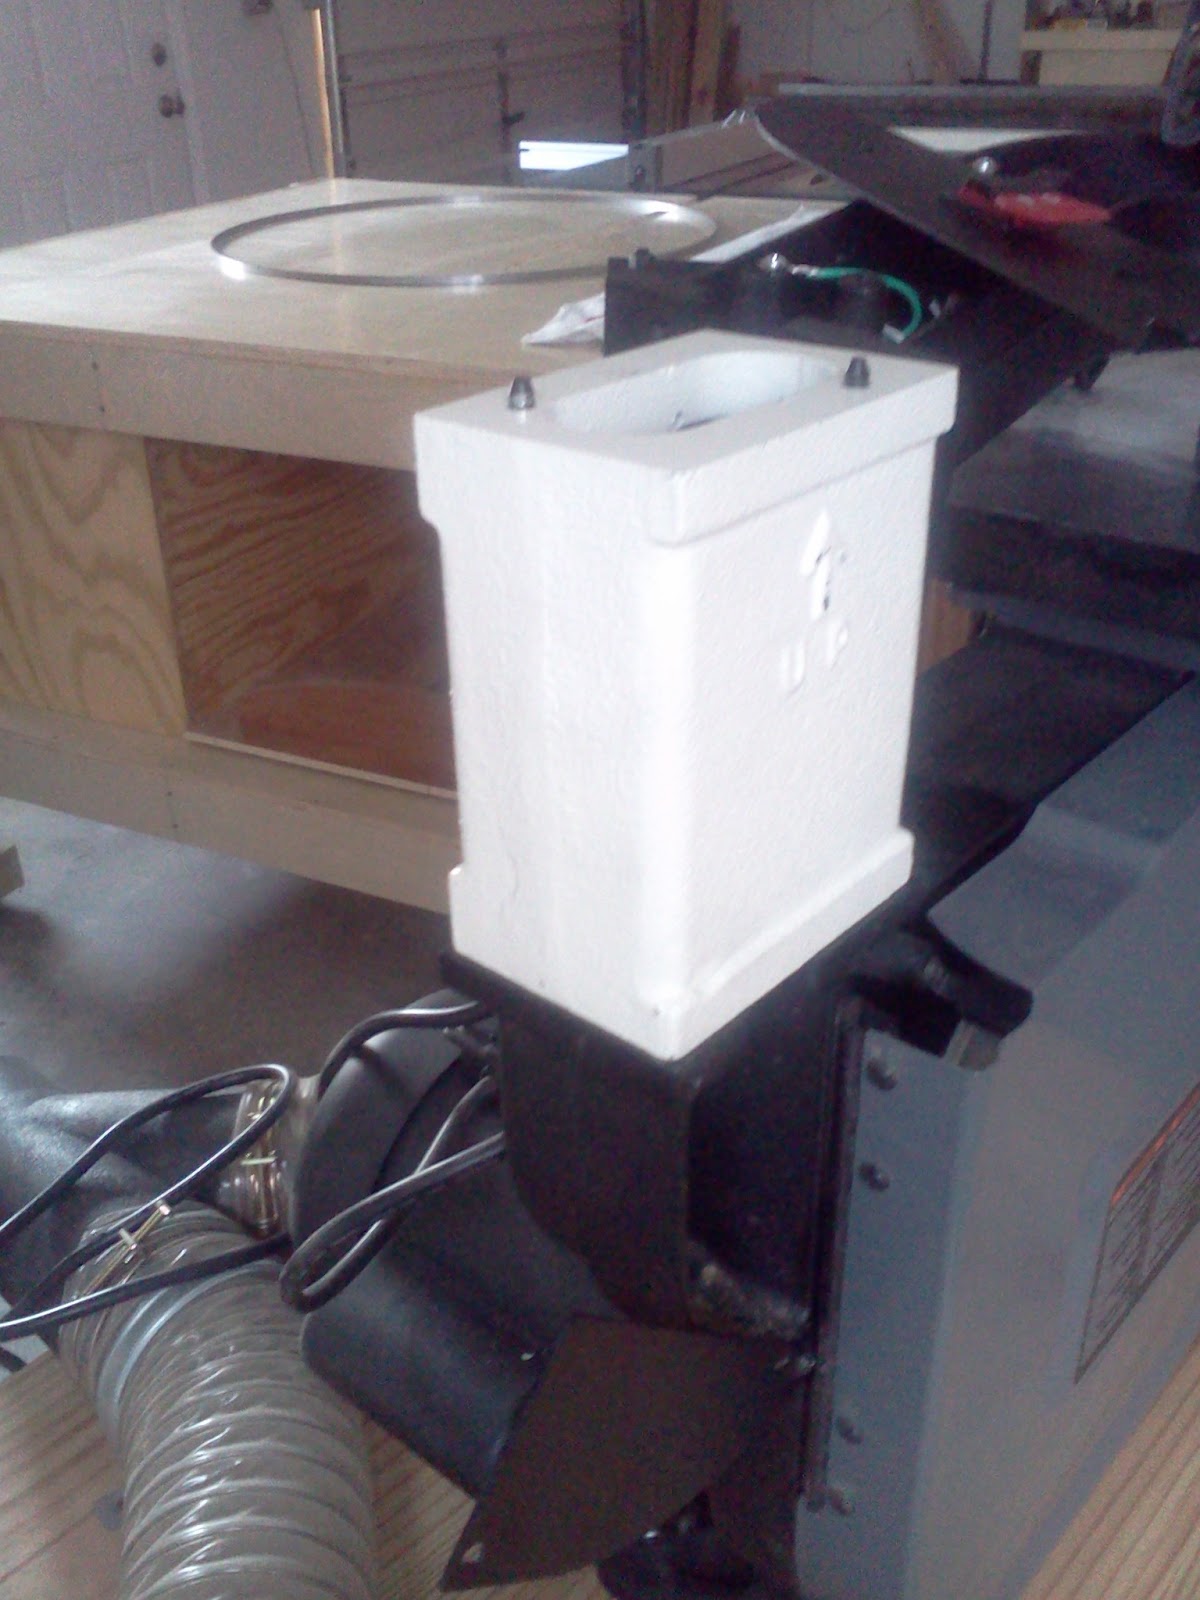
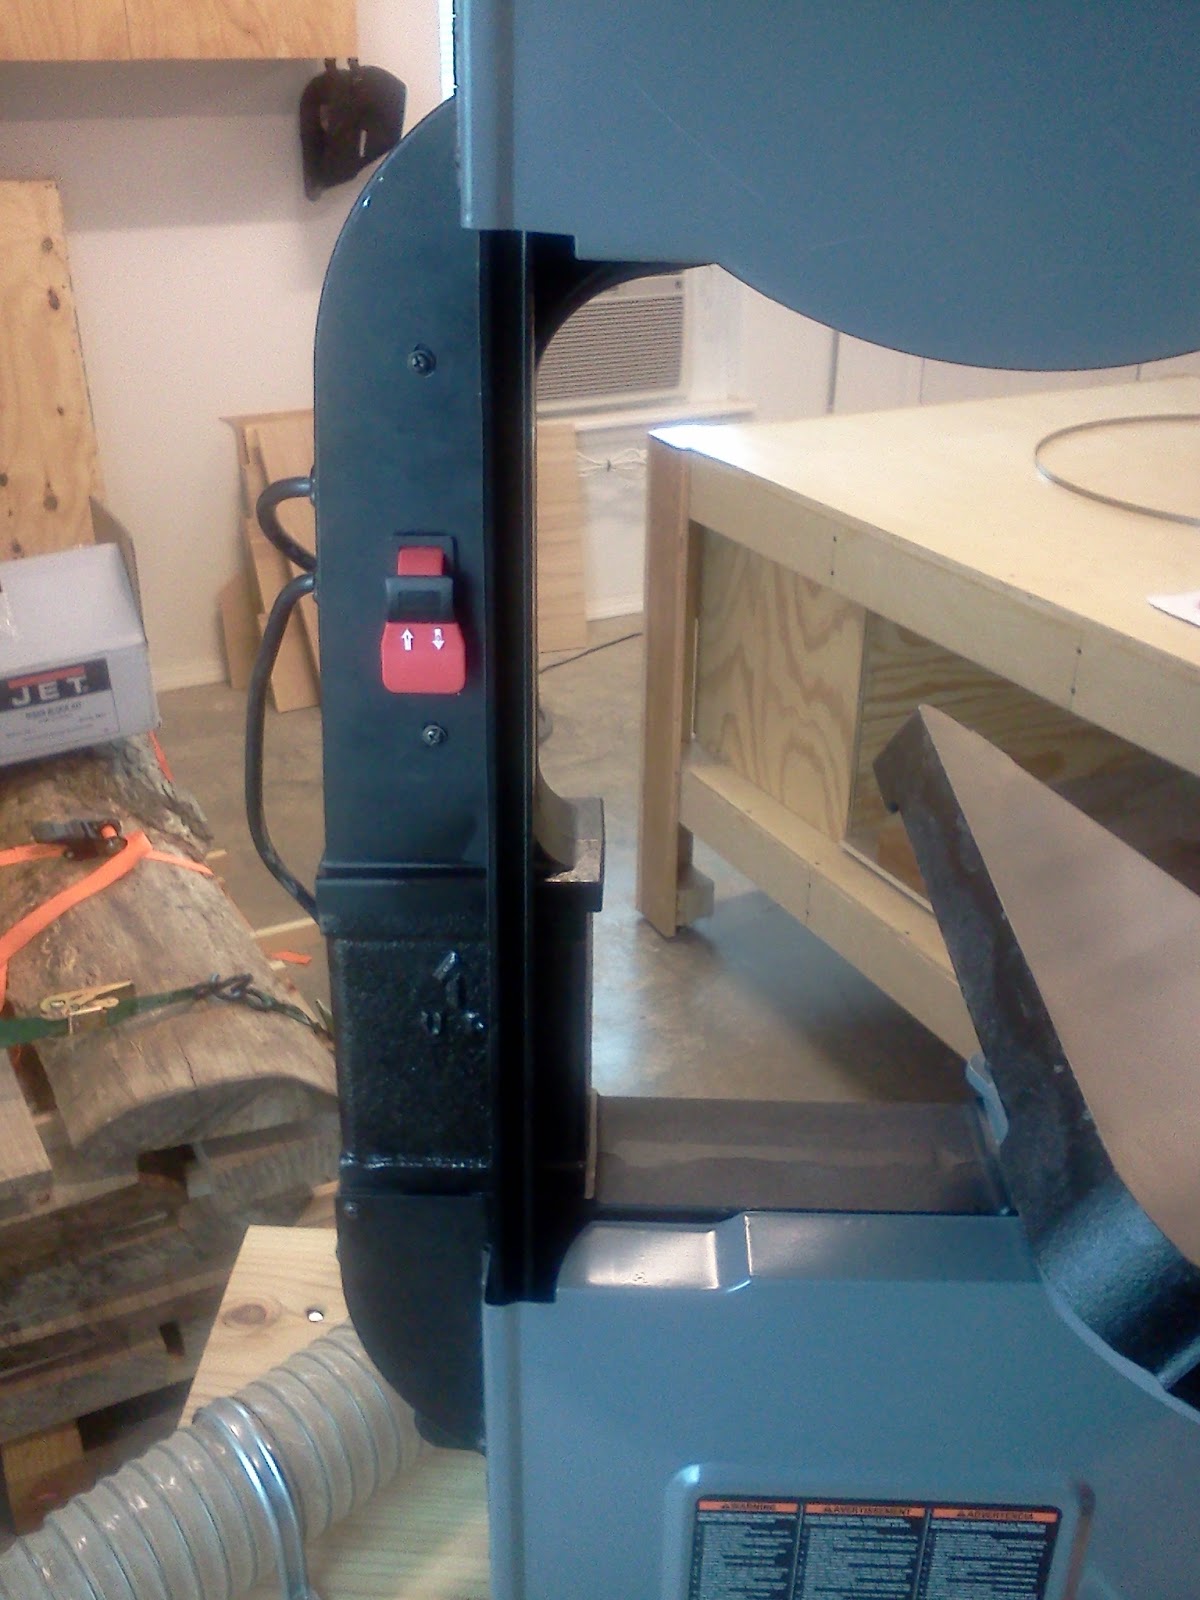
Put the Jet Riser block in place and snugged everything up.
  At this point, I am thinking I am just about done. Couple more small things and done! Nope!
I try and put the new blade guard on, not even at all, It is so far off that I cant even get the mounting screws in. I pull out the Dremel and shave off the nipples on both ends.
Still does not fit, I end up using my Dremel to cut a piece of the upper arm cover away.
Now it fits and both the upper and lower doors close properly.
On to the next challenge, the upper guide bar. If you have been to other sites this is where you need to watch out for a small bearing and spring. They will pop out when you remove the existing guide bar.
Putting it back wont be a problem. You can slide everything back in through the top hole.
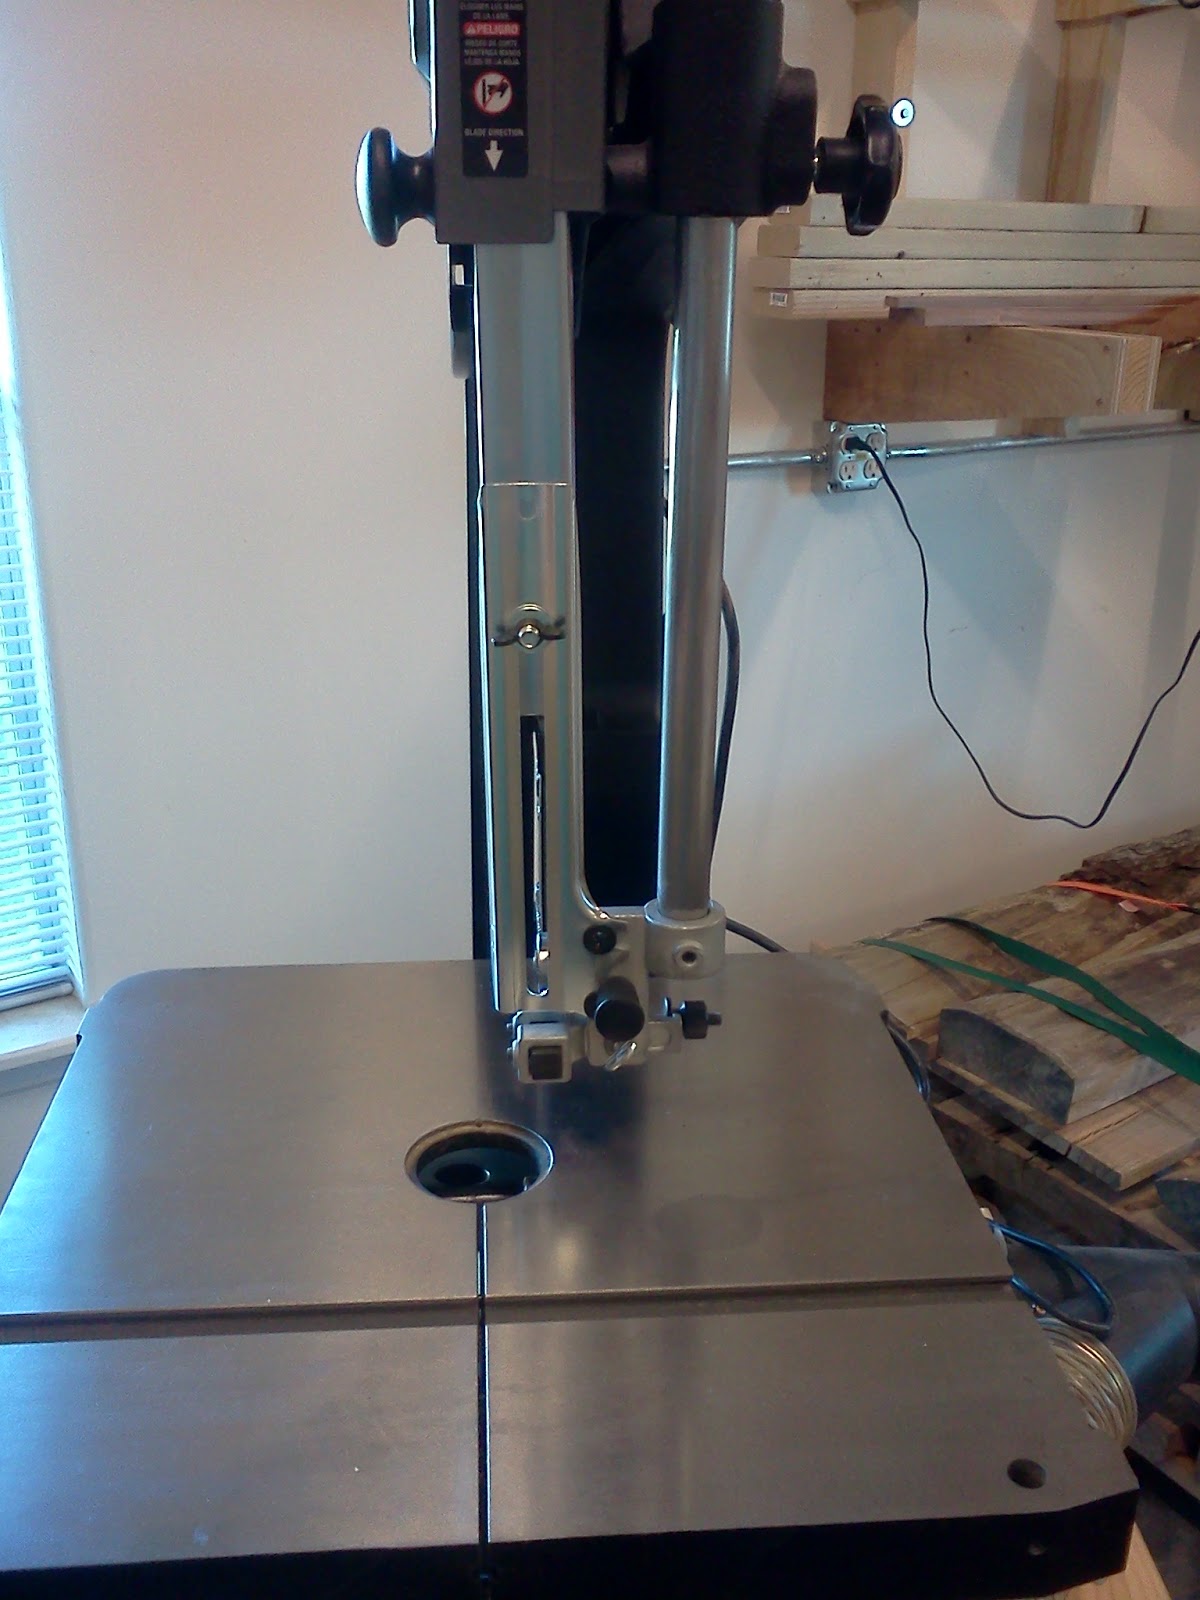
Well, it turns out that the new Jet upper bar guide is a little to thick. I want to keep all modification to the Riser kit just in case I want to remove it. So, I sand down the bar and polish it up until it slides freely.
But we are not finished with the guide post yet, turns out that the guide post seat is even smaller. Back to the Dremel! I grind down the bottom of the post until it fits. Sorry for the bad shot.
The guide post blade guard needs to be modified as well. The one you get it straight, it needs to have the half circle cut into it like the original. If you are keeping up, every major piece except the blade has been modified.
Here is a shot of everything put together
This modification is not for the faint of heart, it had me modifying more than I expected. I know that the Jet 6 inch riser kit was not intended for the Porter Cable PCB330BS, but is it really the best kit for the job? I don’t know. The 14 inch table saw is a great table saw. If I would have know that I wanted to do an extension, I would have looked more closely at the Grizzly band saws. To bad Porter Cable does not make an extension.

Shop Dust Collector – Harbor Freight 2HP Collector


I picked up the very popular Harbor Freight 2 Horse Power Dust Collector for about $150.00 bucks. I think Wood magazine usually has the coupon in it.
 
 
 I am not the original designer of this modification, you probably ran across a few others before you got to this site. This is just my implementation. After unpacking, the first thing I did was paint it up.


 As you can see in the picture above, I cut out the guard in the impeller intake. I read in several places that they had issues with it getting plugged and I did not want to take it apart latter. I will be using a cyclone as well, but that will be a separate post.


I put the base together and added the new Wynn Environmental35A Series Cartridge Kit


Then I mounted the motor and the impeller housing on a piece of plywood mounted to the wall. I also used vibration damping mounts I got from McMaster.
 
 
 When mounting it up, I made sure the holes lined up.


Sealed it up by cutting a piece of the 5 inch hose that came with the dust collector


Here is a shot of the Harbor Freight 2 Horse Power Dust Collector all assembled and tested. The gaping whole will be filled with a Thein Cyclone, I will cover that in another post.
 
 
Copy Protected by Chetan's WP-Copyprotect.