Elgin TED Install Part 1

I ordered The Energy Detective (TED) Pro Home for a couple of reasons. One is that I am not sure my electrical coop here in central Texas is calculating my usage correctly. If you don’t have anything to show your usage you have no choice but to trust them and their meters. When they put in the Net Meter for my solar install they they tried to stick me for around $500 extra because they said the old removed meter was running slow and out of calibration. They could not tell me how long, how slow, or how many owners had that meter so they dropped the charge. The other reason is to effectively break down my usage and find the energy pigs allowing me to reduce usage.
Here is what you get:
One Measuring Transmitting Unit (MTU) with Power Cable
2 Current Transformers (CTs) 40 inches long
One Energy Control Center (ECC) with power cable
One Ethernet cable
Instructions
I will have a non-standard install. I will be installing in my main breaker box located on a pole directly under my meter. I have 3 separate buildings and that is the only place they all come together. I am going to attach the CT’s to the cables going directly to the meter. The smallest circuit I have in that box is 100 amps and the Standard TED Pro Home will only allow you to hook up to a 40 amp or smaller circuit. I spoke with one of the engineers at The Energy Detective (TED) and he said I could do it but needed a fused MTU power cable. Luckily they can provide one.
I received the fused MTU cable as well, it is about 9 1/2 feet long and has fused red and blue wires in addition to the fused black and white wires. I pinned everything out with my multimeter and they are wired the same. I am just going to cut back and cap the red and blue wires.
  I hope to get the install started next week, I have to do some work over in the shop first.

Elgin Drill Press Part 2

Started by putting the speed changer back together. It will be on top so I want to slide it on first.
Next up, put the head stock on and started putting it together. The thing is heavy! I decided to add weight and put it together while it is on the wall.
Again, this thing is heavy! So I got these extra clamps to help hold the load
Put the table mount on using the same clamps as above for extra support.
Got a lot of it put together, just the motor and some minor parts and I will be done!
Hope to be done soon.

Elgin Drill Press Part 1

Getting the drill press set up. It is a ShopSmith 10E and looking at the serial number spreadsheet maintained by the Shop Smith mail group it was built in 1949. Still works great!
It got a little scuffed up during the move so I decided to break it down and give it a rebuild/refresh. The first thing I did was to clean up the way tubes. I used my other Shop Smith 10E as a lathe, hooked up the tubes using an expandable rubber stopper and a home made wheel rest. Turned is on slow and started with150 grit sandpaper to remove the rust and polish them up.
Then cleaned and painted up the base and other parts:
Then hung it up:
Took the headstock and motor apart for painting and cleanup:
and
Got the motor put back together:
 Hope to get more done soon!

Elgin Shop – Climate Control

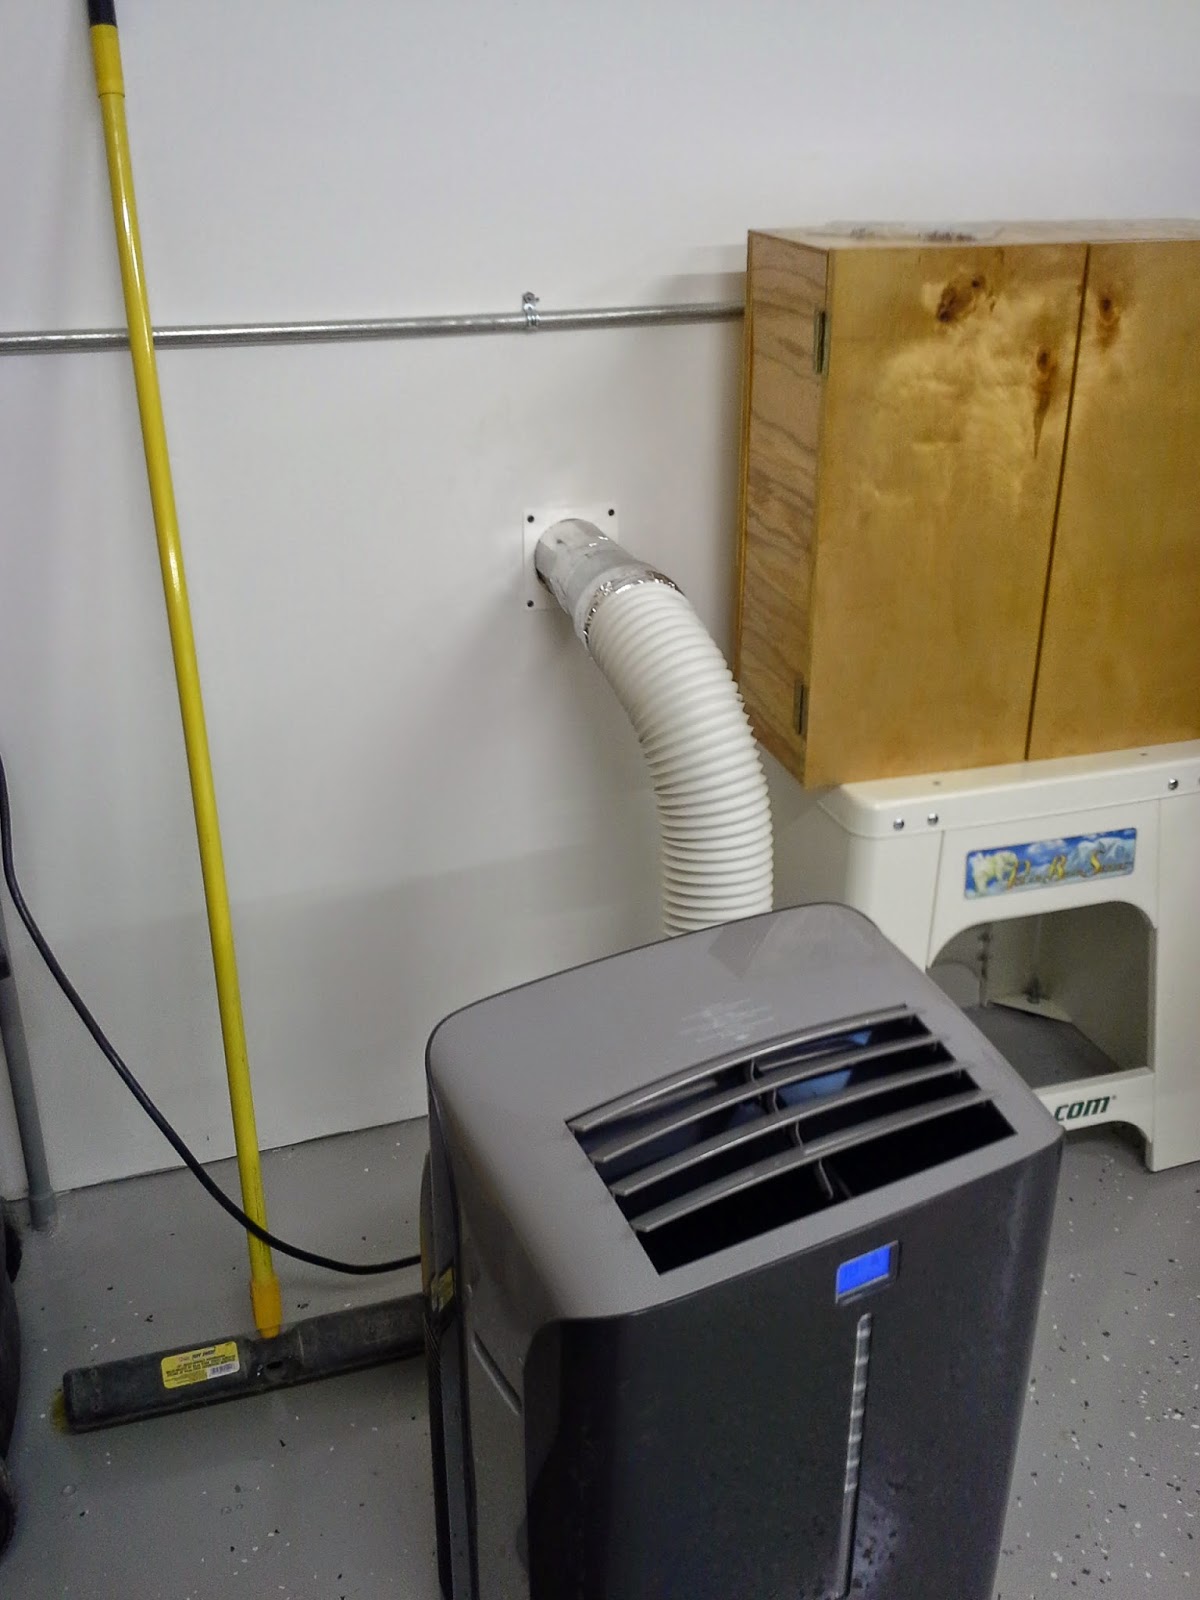
To keep the shop cool in the summer and warm in the winter we got a 13,000 BTU portable air conditioner / heater combo. This is also related to my last post about the garage door curtain. Part of the reasoning of a portable AC/Heat unit is that it can be used as an emergency backup if required.
Instead of using the window vent kit we used a cloths dryer outdoor vent and piped it through the wall:
  The AC exaust hose is 5 inch so we got a 5 to 4 inch vent adapter from our home improvment store. Put it all together and taped it up with metal duct tape:
Next is the drainage. Here is a shot of what I got:
And an outside shot:

Elgin Garage Door Curtains – Trying to keep it cool

The shop is pretty well insulated. R30 in the attic, walls wrapped with a radiant barrier like thisand then R19 insulation. The weak point was the garage door.
To insulate the roll-up garage door we decide to make curtains out of inexpensive Harbor Freight shipping blankets.
We started bending and cutting 2 pieces of 1/2 inch EMT we had left over. We hung it up with a few eye-screws.
We sewed 2 together to provide the length we need.There are 3 sets that we can easly slide out of the way when we need to use the door.
 We can pull it back a little better and tie it to the wall, but you get the idea.

Elgin Cabinets – Part 2

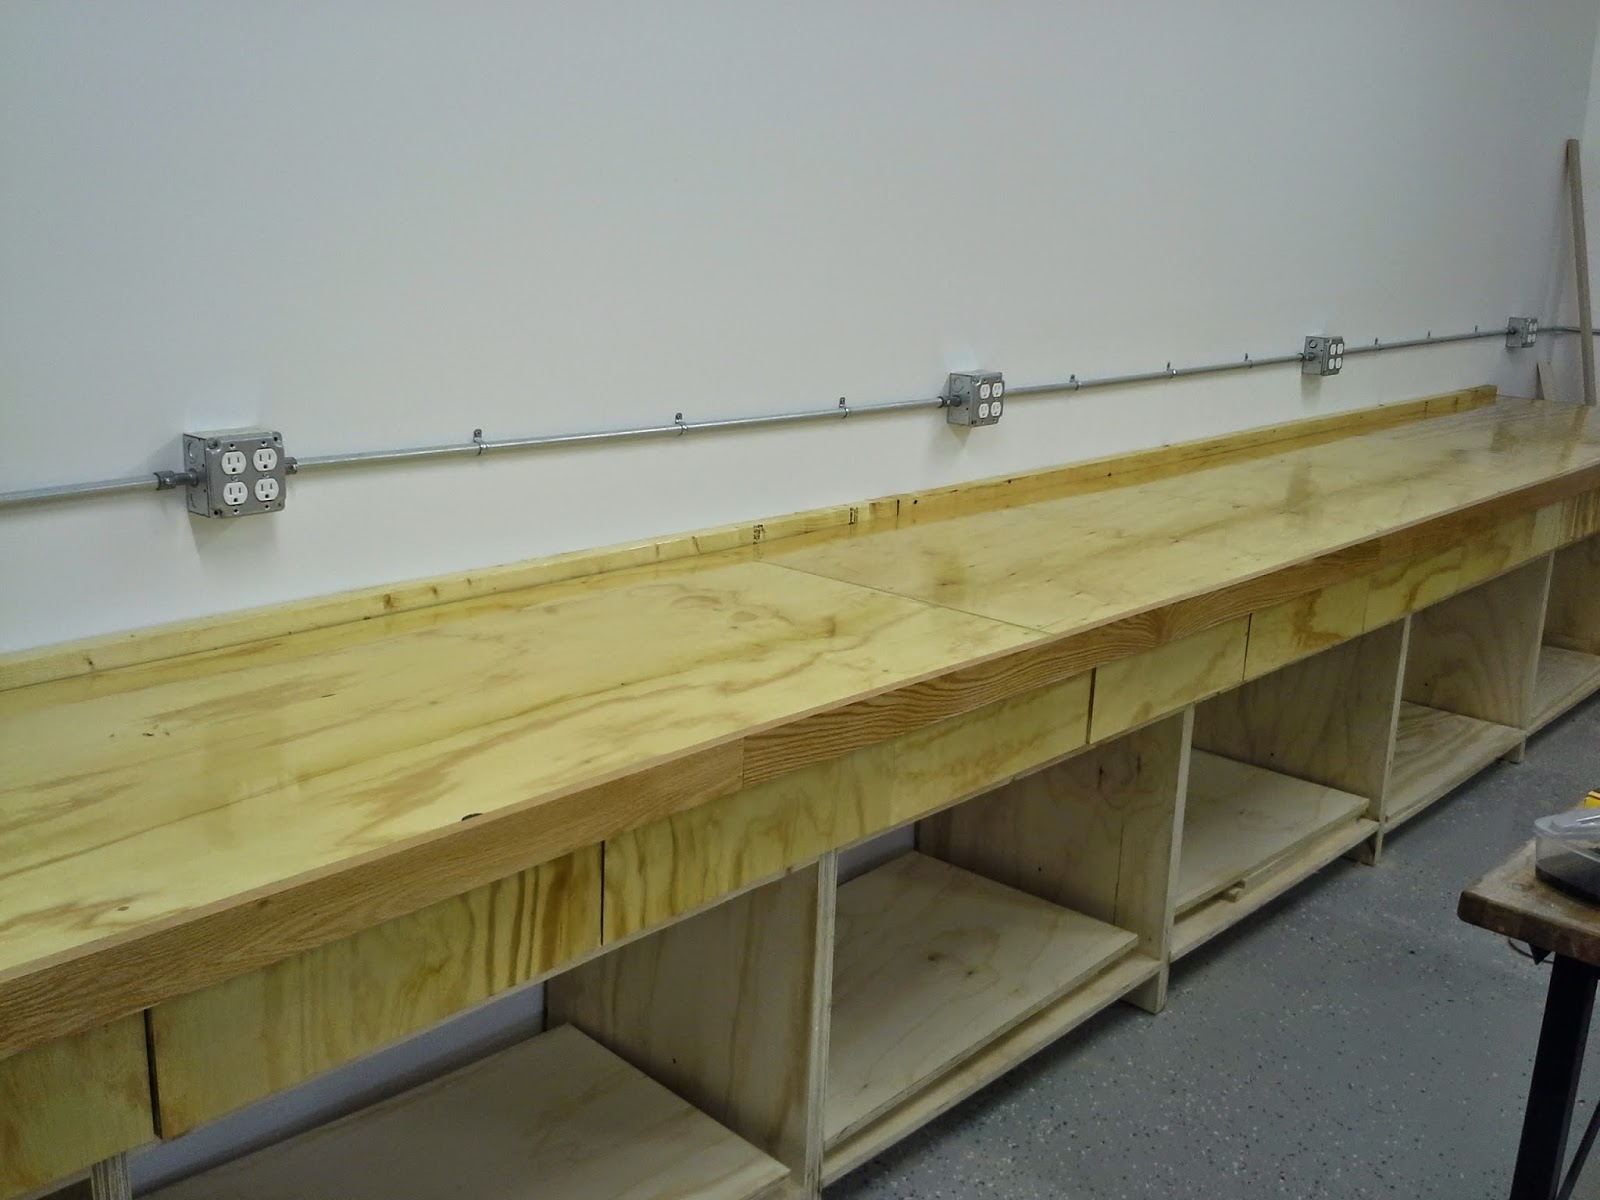
Got a bit more work done. Put a Red Oak trim around the top and sanded it down:
Few coats of Poly and sand paper:

Next cut up the drawer faces, Polly and sanded like the top. And mounted them up:

You can see in the above picture I got the bottom cabinet slide out drawer bottoms cut. I also have the sides cut but dont have them pictured. Hope to get those made and installed this week.

Elgin Cabinets – Part 1

Started on the cabinet lowers. There are 6 sets for a total length of of about 20 feet of counter top. The basic idea for the cabinets came From Norm and the New Yankee workshop, garage workshop series.
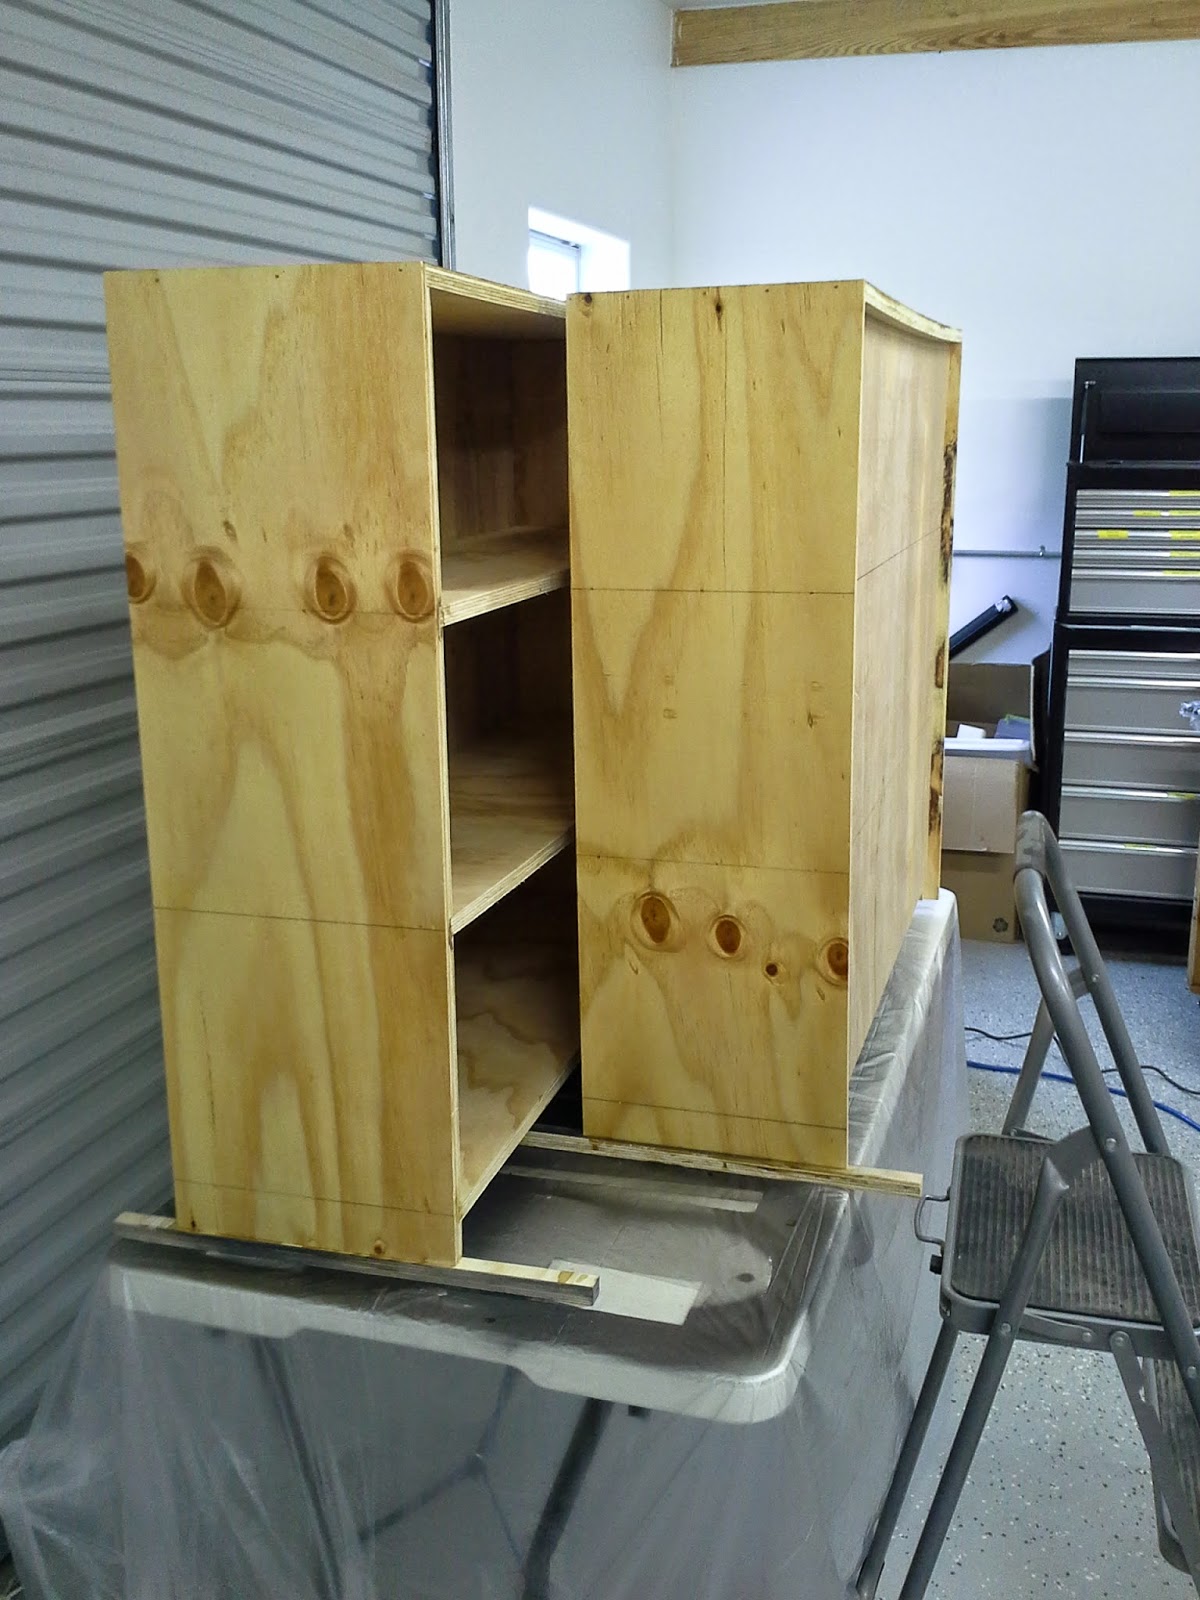
Here is a shot of one of the lowers going together:
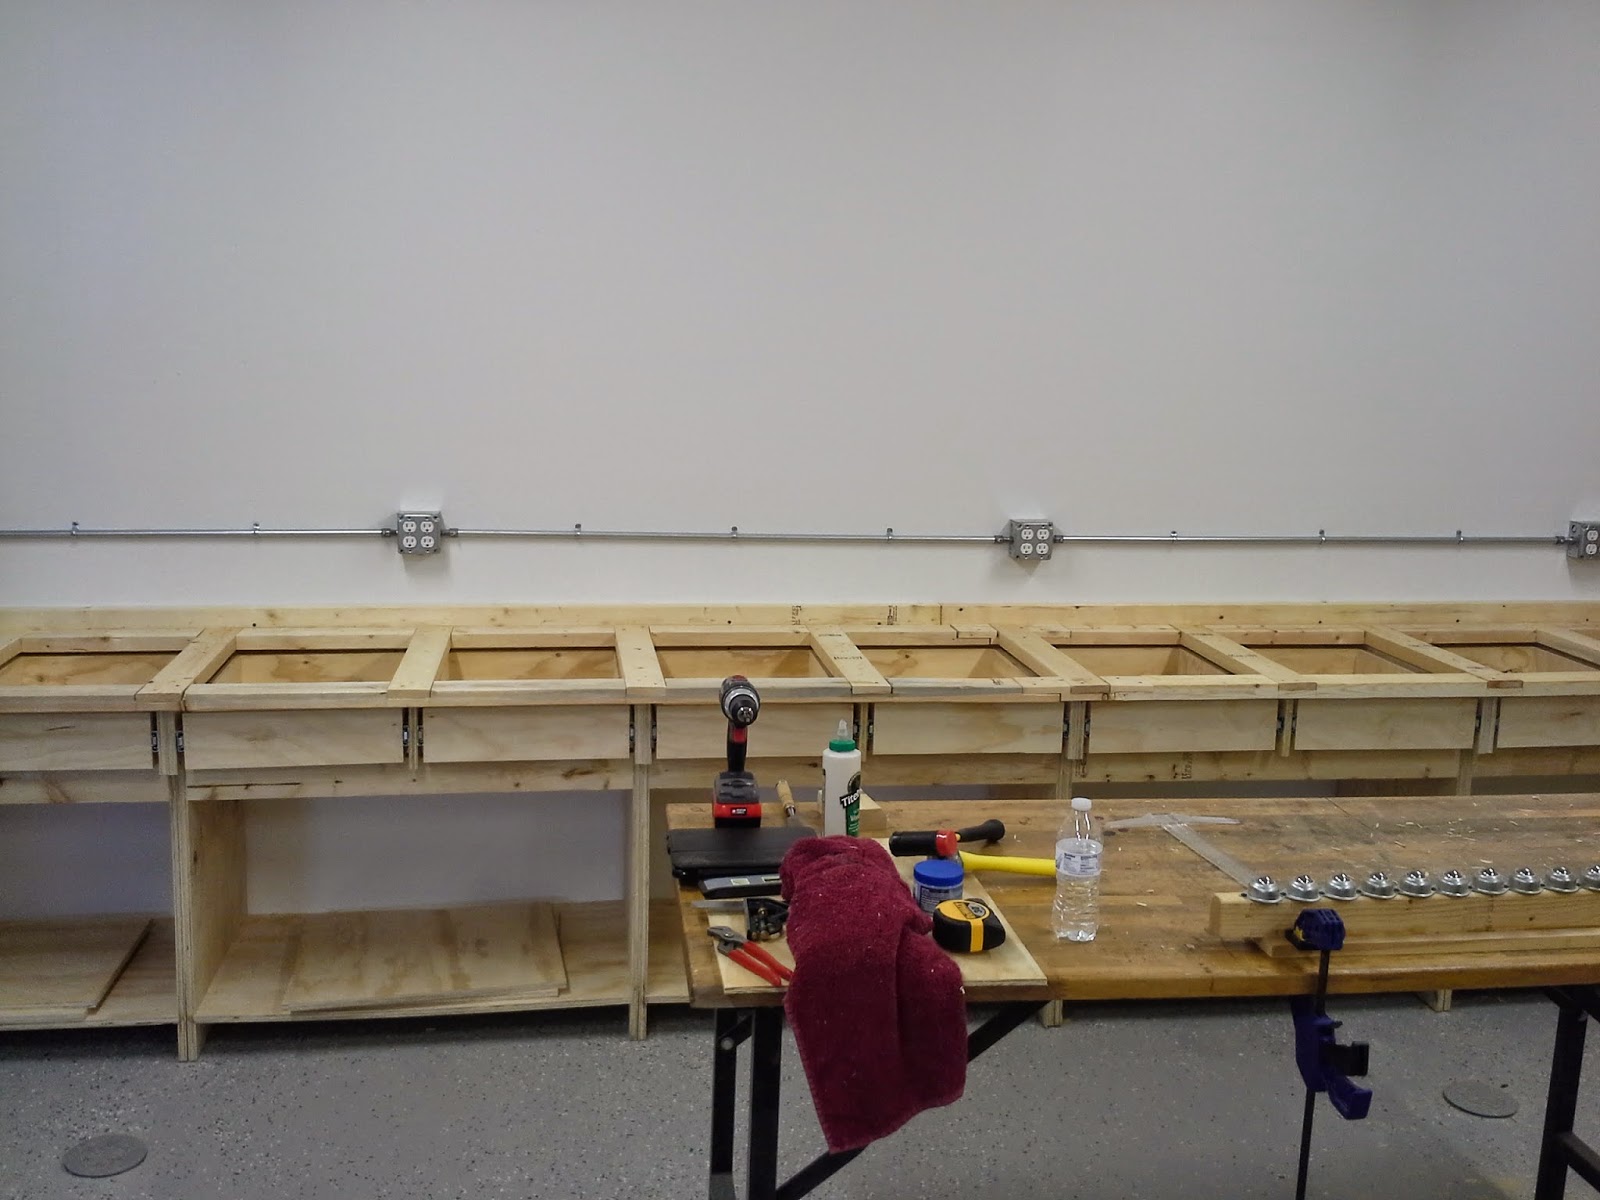
Here are all the base cabinets lined up, leveled, and mounted to the wall:
Drawers installed:
2×4 with lap joints for the counter top:

Here is the counter top plywood screwed on:

Here is a shot of what we have right now:
Copy Protected by Chetan's WP-Copyprotect.