I have been pretty happy with my Porter Cable band saw so far. I got some new blades for it a Kreg fence, and I built a heavy duty base on wheels. Ever since I got the pecan log milled up, I have been wanting to try milling for my self. I decided to do the Porter Cable Band Saw PCB330BS riser install using the Jet riser kit.
I got the kit in the mail and opened it up. Comes with everything you need. I dont mind the cheap blade that comes with it. It works just fine to test everything out and get everything aligned.
First thing is to remove the upper part of the saw. To do this you will need a 26mm and a 1 inch wrench. My crescent wrench would not fit, to big. I dont know about you, but those are pretty large wrenches and I did not have them laying around. The 26 mm was a little tricky for me to find.
got it separated
Next I made a template of the top section so I would know exactly where to drill the holes on the bottom of the extension.
I put the template on the bottom of the Jet riser kit and marked the holes.
I then drilled them out with a 5/16 bit.
Test fit looks good!
I then created the template for the top
Then I drilled the holes in the top of the band saw. It is the only modification I made to the saw itself.
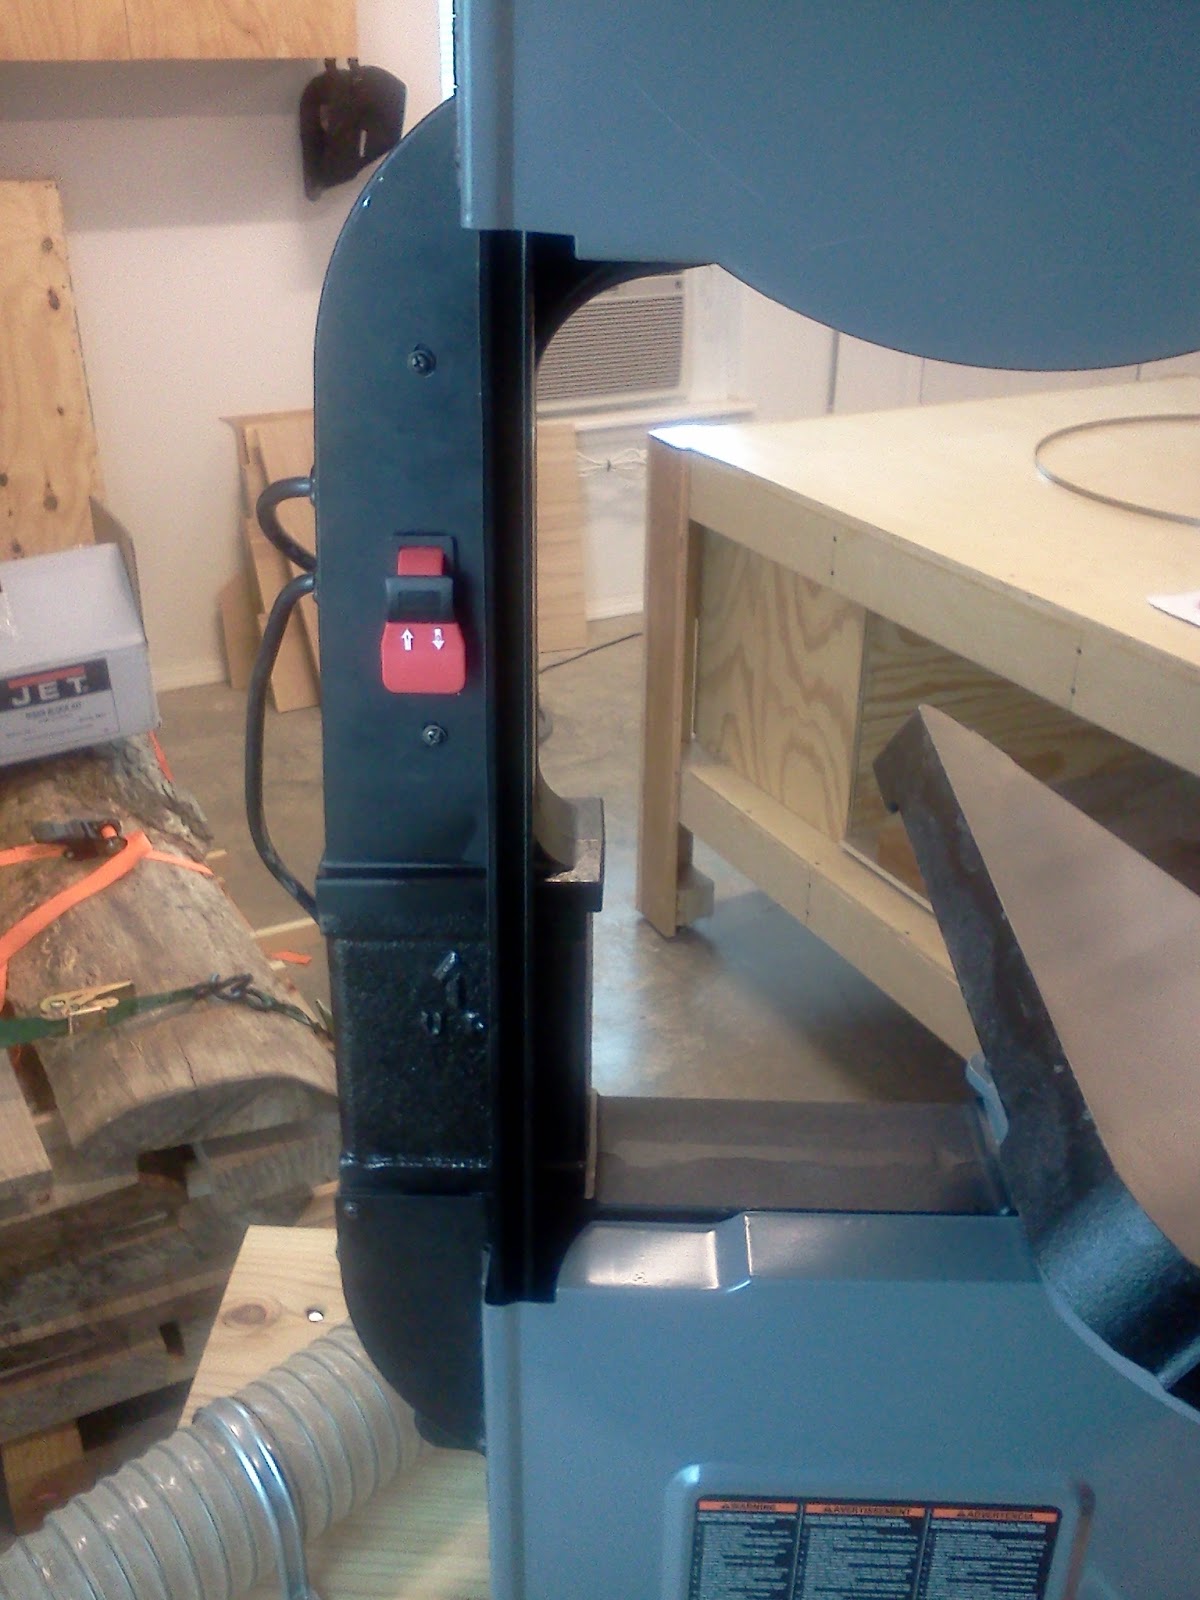
Did another test fit, everything fit great. Painted everything black to match the Porter Cable PCB330BS.
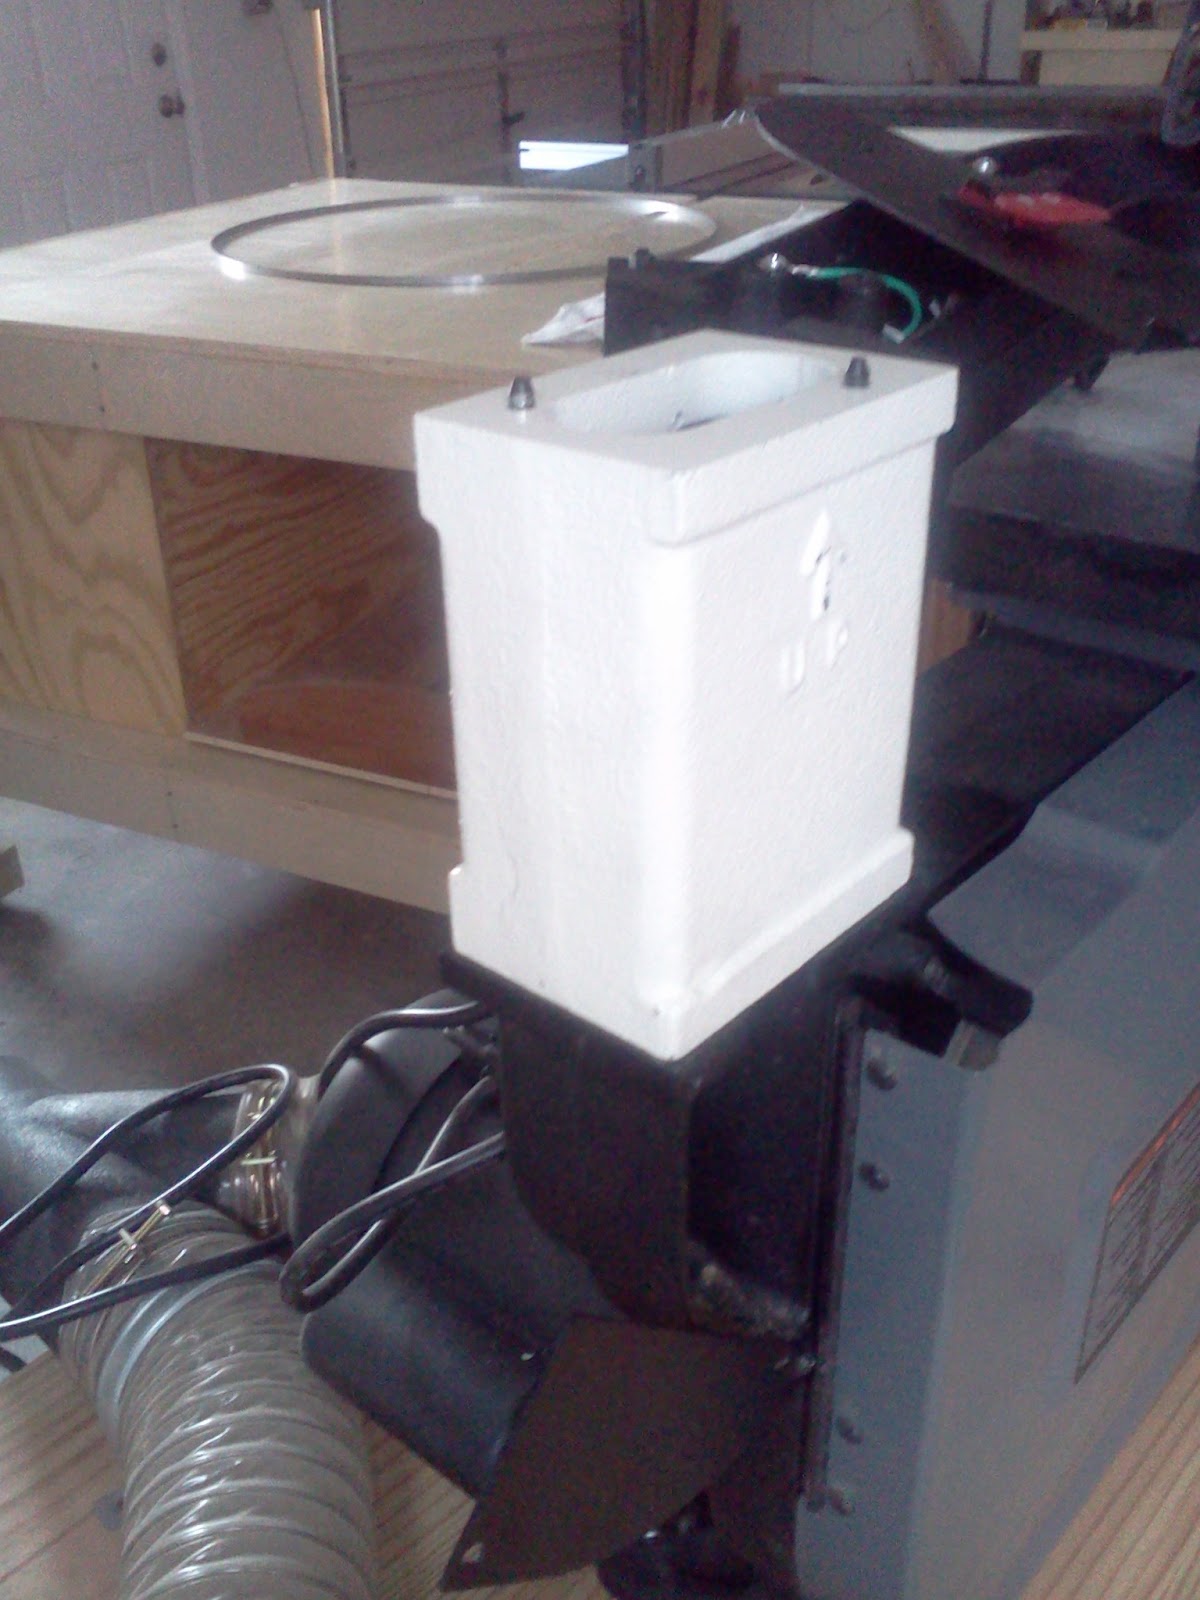
Put the Jet Riser block in place and snugged everything up.
At this point, I am thinking I am just about done. Couple more small things and done! Nope!
I try and put the new blade guard on, not even at all, It is so far off that I cant even get the mounting screws in. I pull out the Dremel and shave off the nipples on both ends.
Still does not fit, I end up using my Dremel to cut a piece of the upper arm cover away.
Now it fits and both the upper and lower doors close properly.
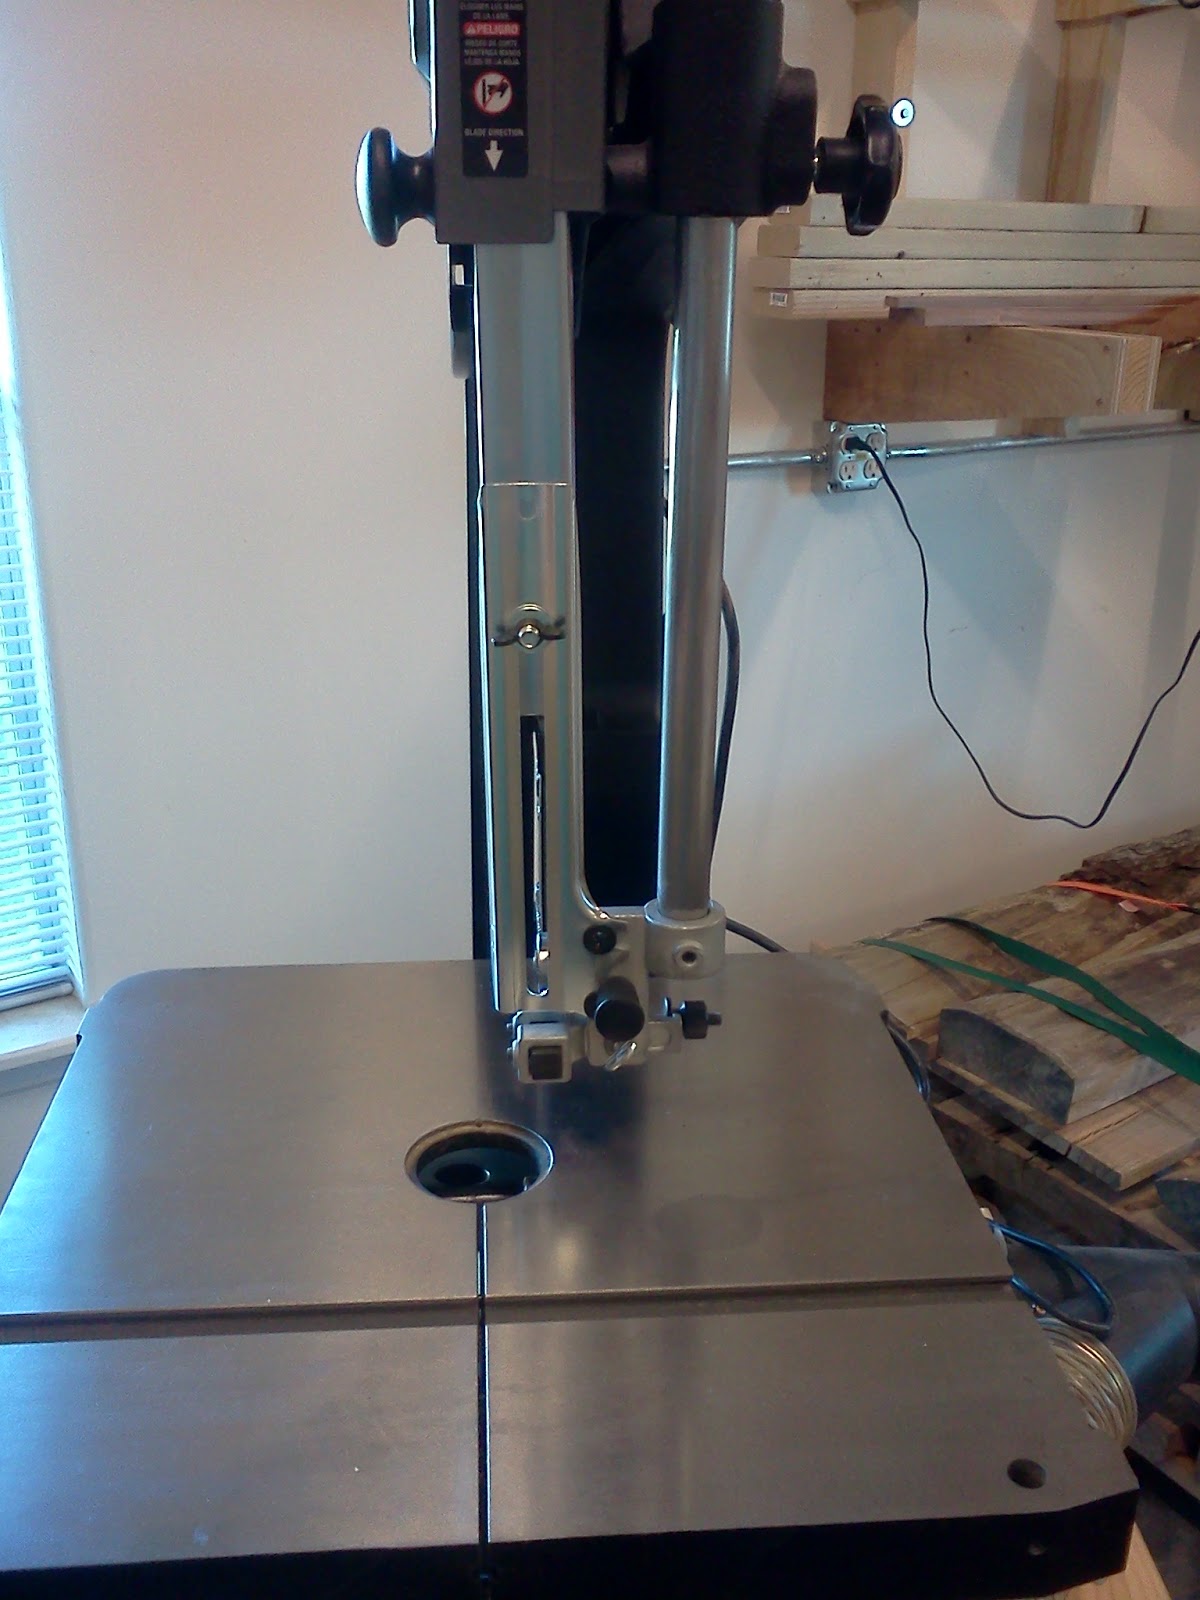
On to the next challenge, the upper guide bar. If you have been to other sites this is where you need to watch out for a small bearing and spring. They will pop out when you remove the existing guide bar.
Putting it back wont be a problem. You can slide everything back in through the top hole.
Well, it turns out that the new Jet upper bar guide is a little to thick. I want to keep all modification to the Riser kit just in case I want to remove it. So, I sand down the bar and polish it up until it slides freely.
But we are not finished with the guide post yet, turns out that the guide post seat is even smaller. Back to the Dremel! I grind down the bottom of the post until it fits. Sorry for the bad shot.
The guide post blade guard needs to be modified as well. The one you get it straight, it needs to have the half circle cut into it like the original. If you are keeping up, every major piece except the blade has been modified.
Here is a shot of everything put together
This modification is not for the faint of heart, it had me modifying more than I expected. I know that the Jet 6 inch riser kit was not intended for the Porter Cable PCB330BS, but is it really the best kit for the job? I don’t know. The 14 inch table saw is a great table saw. If I would have know that I wanted to do an extension, I would have looked more closely at the Grizzly band saws. To bad Porter Cable does not make an extension.










You must be logged in to post a comment.