Homebrew Yeast starter

Yeast Starter How-To
A yeast starter is used as a preliminary method to begin yeast fermentation. For high gravity beers, the yeast starter is necessary for an active fermentation. This procedure will take approx. 12 – 18 hours. Be prepared to either brew, or refrigerate the yeast mixture until ready to brew.
SANITIZE EVERYTHING FIRST!
Remove the yeast at least 6 hours prior to pitching into flask. (White Labs)
Yeast Slap the pack 24 hours before you want to start.
  1. Make sure everything is clean to the eye. Then clean and sanitize using your normal sanitizer the way you normally would.
  2. Bring 3 cups (720ml) of water to a boil and turn off heat.
  3. Add 1/8 tsp of yeast nutrient, either Fermax or Wyeast
  4. Add light Dry Malt Extract (DME), 3oz (approximately ½ cup) Or 3 table spoons of the malt extract you are going to use for batch. Stir until everything is dissolved. Return the solution to a boil approx 15 minutes.
  5. Careful not to burn yourself, remove the solution from the heat and pour into the 1000ml Erlenmeyer flask. Imerse the flask into an ice bath and cool to approximately 70 degrees, about 10-15 minutes.
  6. Prepare you yeast
    1. White Labs: Shake the yeast container to breakup the solid yeast bed. Open the container.
    2. Wyeast: Open the shake and then open the packet.
    3. Dry Yeast: Prepare using the instructions on the packet.
  7. Pitch the yeast into the room temperature water/malt mix in your flask.
  8. Swirl the mixture aerating it well.
  9. Fill your sanitized air lock with water or vodka.
  10. Put the sanitized air lock and stopper in the mouth.
  11. Allow the mixture to set in a dark place at room temperature.
  12. Your airlock should start bubbling in about 12 hours. Fermentation has started.
  13. When fermentation is evident, the yeast starter is ready.
  14. Pitch the yeast starter as you normally would when you brew. Remember to swirl the yeast mixture in the flask very well to re suspend all the yeast from the bottom of the flask.
!!!Be prepared for highly vigorous fermentation – Blow-off setup recommended!!!
For Mead:

Honey Starter (For all meads):

  1. Make sure everything is clean to the eye. Then clean and sanitize using your normal sanitizer the way you normally would.
  2. Warm 3 cups (720ml) of water and turn off heat.
  3. Add 1/4 tsp of yeast nutrient, either Fermax or Wyeast
  4. Add 1 cup of honey from the batch you are going to brew. Stir until everything is dissolved.
  5. Careful not to burn yourself, remove the solution from the heat and pour into the 1000ml Erlenmeyer flask. Imerse the flask into an ice bath and cool to approximately 70 degrees, about 10-15 minutes.
  6. Prepare you yeast
    1. White Labs: Shake the yeast container to breakup the solid yeast bed. Open the container.
    2. Wyeast: Open the shake and then open the packet.
    3. Dry Yeast: Prepare using the instructions on the packet.
  7. Pitch the yeast into the room temperature water/honey mix in your flask.
  8. Swirl the mixture aerating it well.
  9. Fill your sanitized air lock with water or vodka.
  10. Put the sanitized air lock and stopper in the mouth.
  11. Allow the mixture to set in a dark place at room temperature.
  12. Your airlock should start bubbling in about 24 – 48 hours. Fermentation has started.
  13. When fermentation is evident, the yeast starter is ready.
  14. Pitch the yeast starter as you normally would when you brew. Remember to swirl the yeast mixture in the flask very well to re suspend all the yeast from the bottom of the flask.

My new Work Sharp 3000

I have wanted to get something to sharpen my shop tools for a while now. I quickly found out that sharpening was one of those topics that have no consensual answer. It is kind of like the all grain, extract discussion in home brewing. There is no right answer; it is what works best for you.
As a hobbyist and having no current sharpening system. I decided to go with the Work Sharp 3000 dry sharpening system. And I am glad I did.
I put my shiny new Work Sharp 3000 together last night.
I then found the worst chisel I had. I think at one time it was used as a hammer:
Following the instructions both written and in the included DVD I was able to get it looking like this in sort order:
With a little more work, I am very confident I could get it even better. I did the above in about 15 – 20 Minutes. Overall I am pretty happy. The setup was quick and easy, from taking it out of the box to working on the block of metal I found was less than 30 minutes. The preset angles are nice as well and aided in my ability to get started quickly.
I plan to build a stand for it, something to hold the sanding wheels and jigs I plan on getting. Whatever I decide I will post it here.

Bowl Blanks Part 2

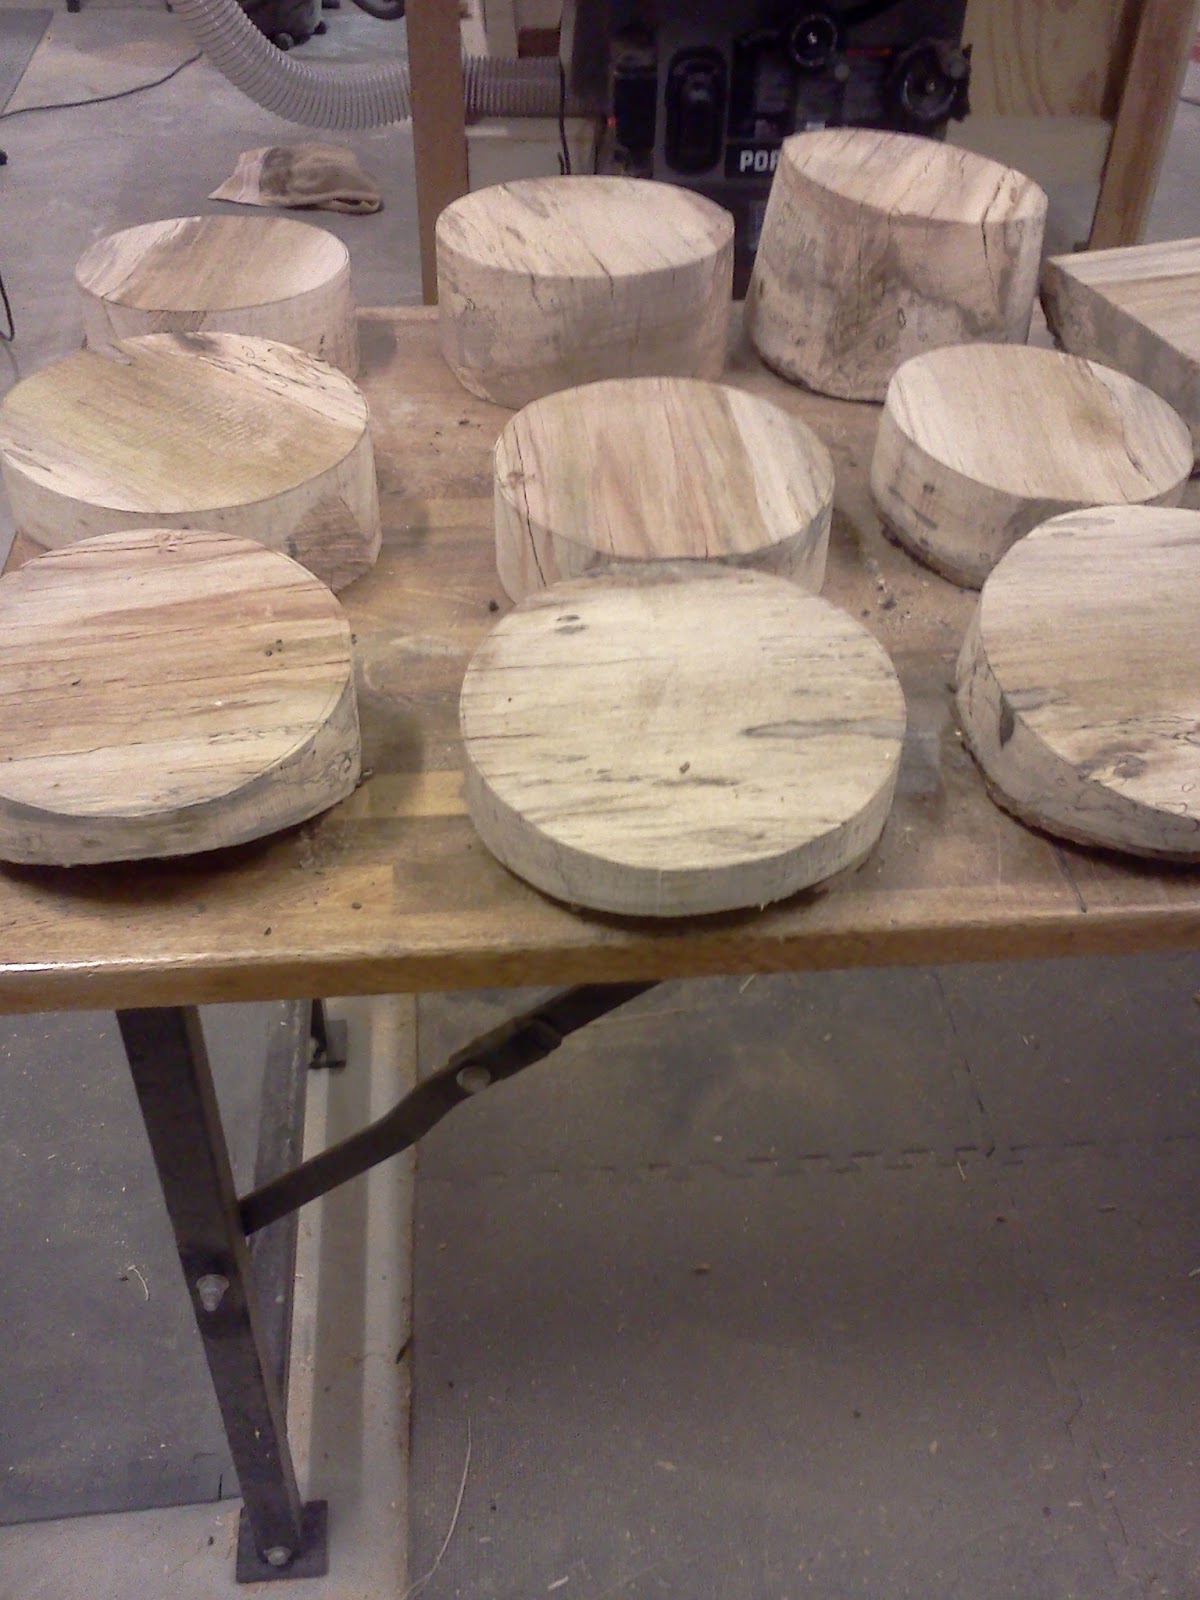
I started by making some round templates. 8, 8 1/2, and 9 inch.

I traced the largest template that would fit with pencil

I cut them with my band saw. Here is what I got for the bowl blanks:

While I was at it, I cut up the other small pieces into the largest chunks I could. The fresh cut pecan is just beautiful.

Home made Borax dip and maybe end seal…

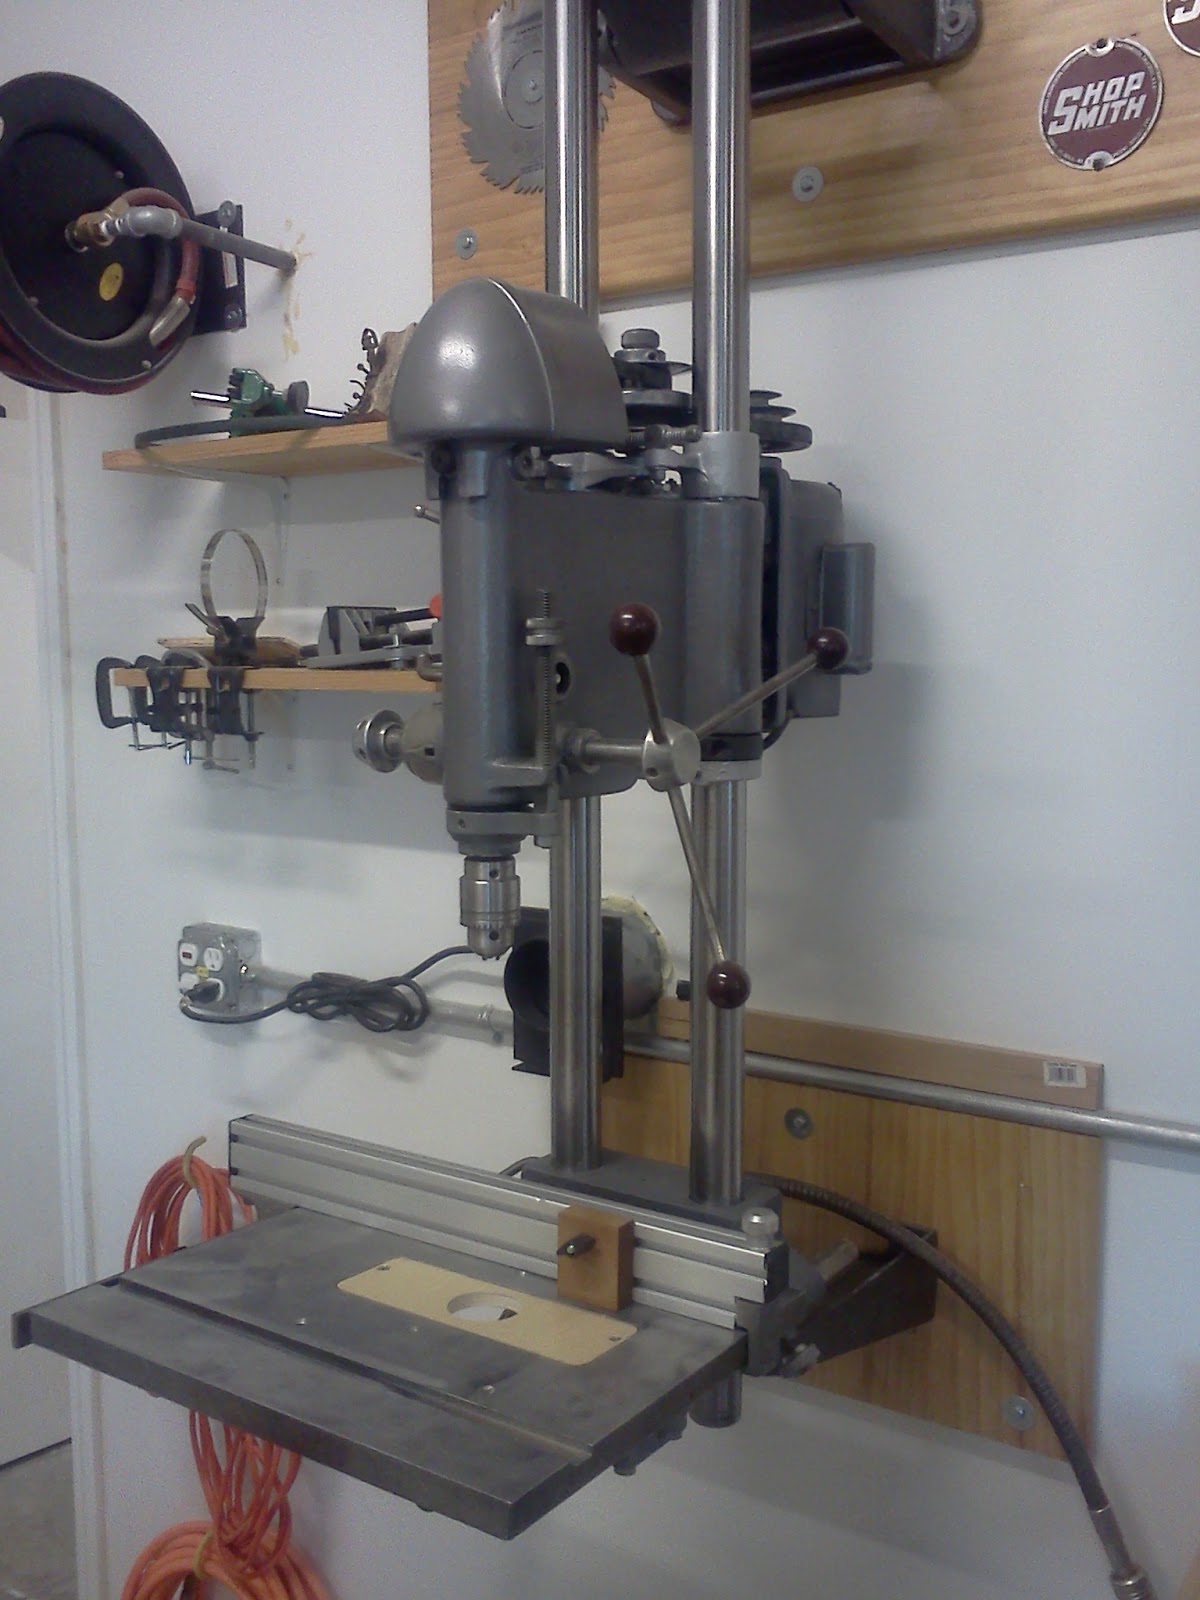
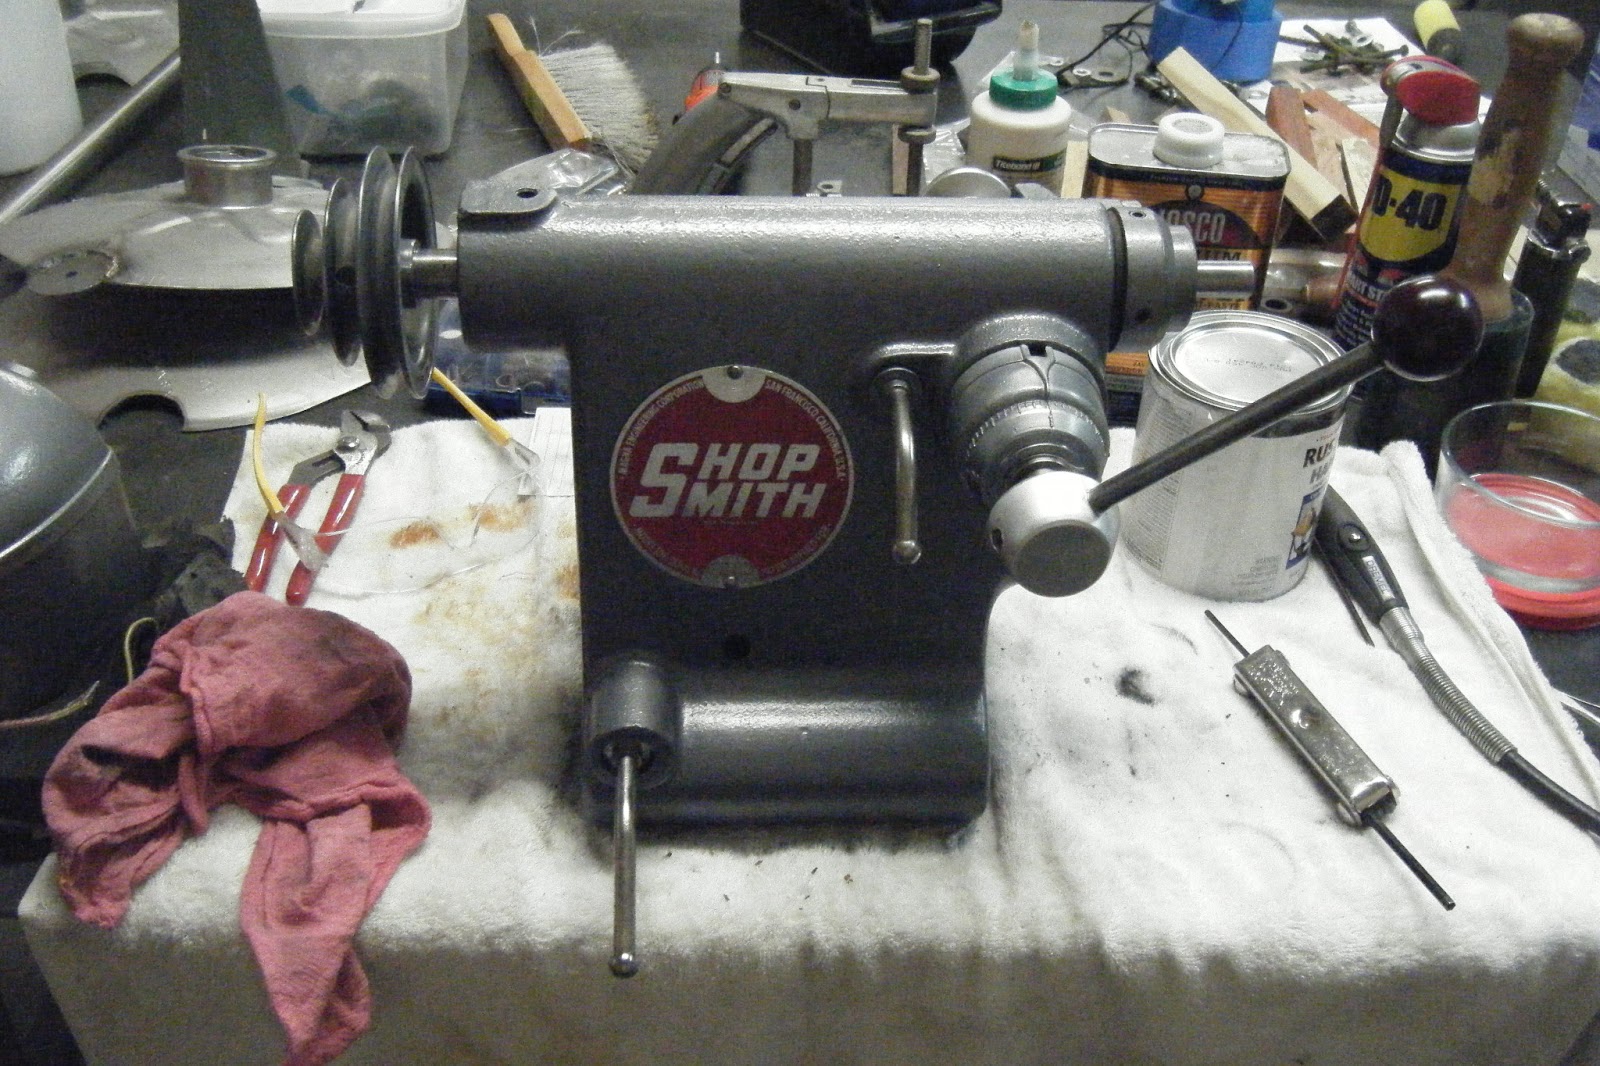
Shop Smith 10E(R) 16061 Restore – My Current Drill Press

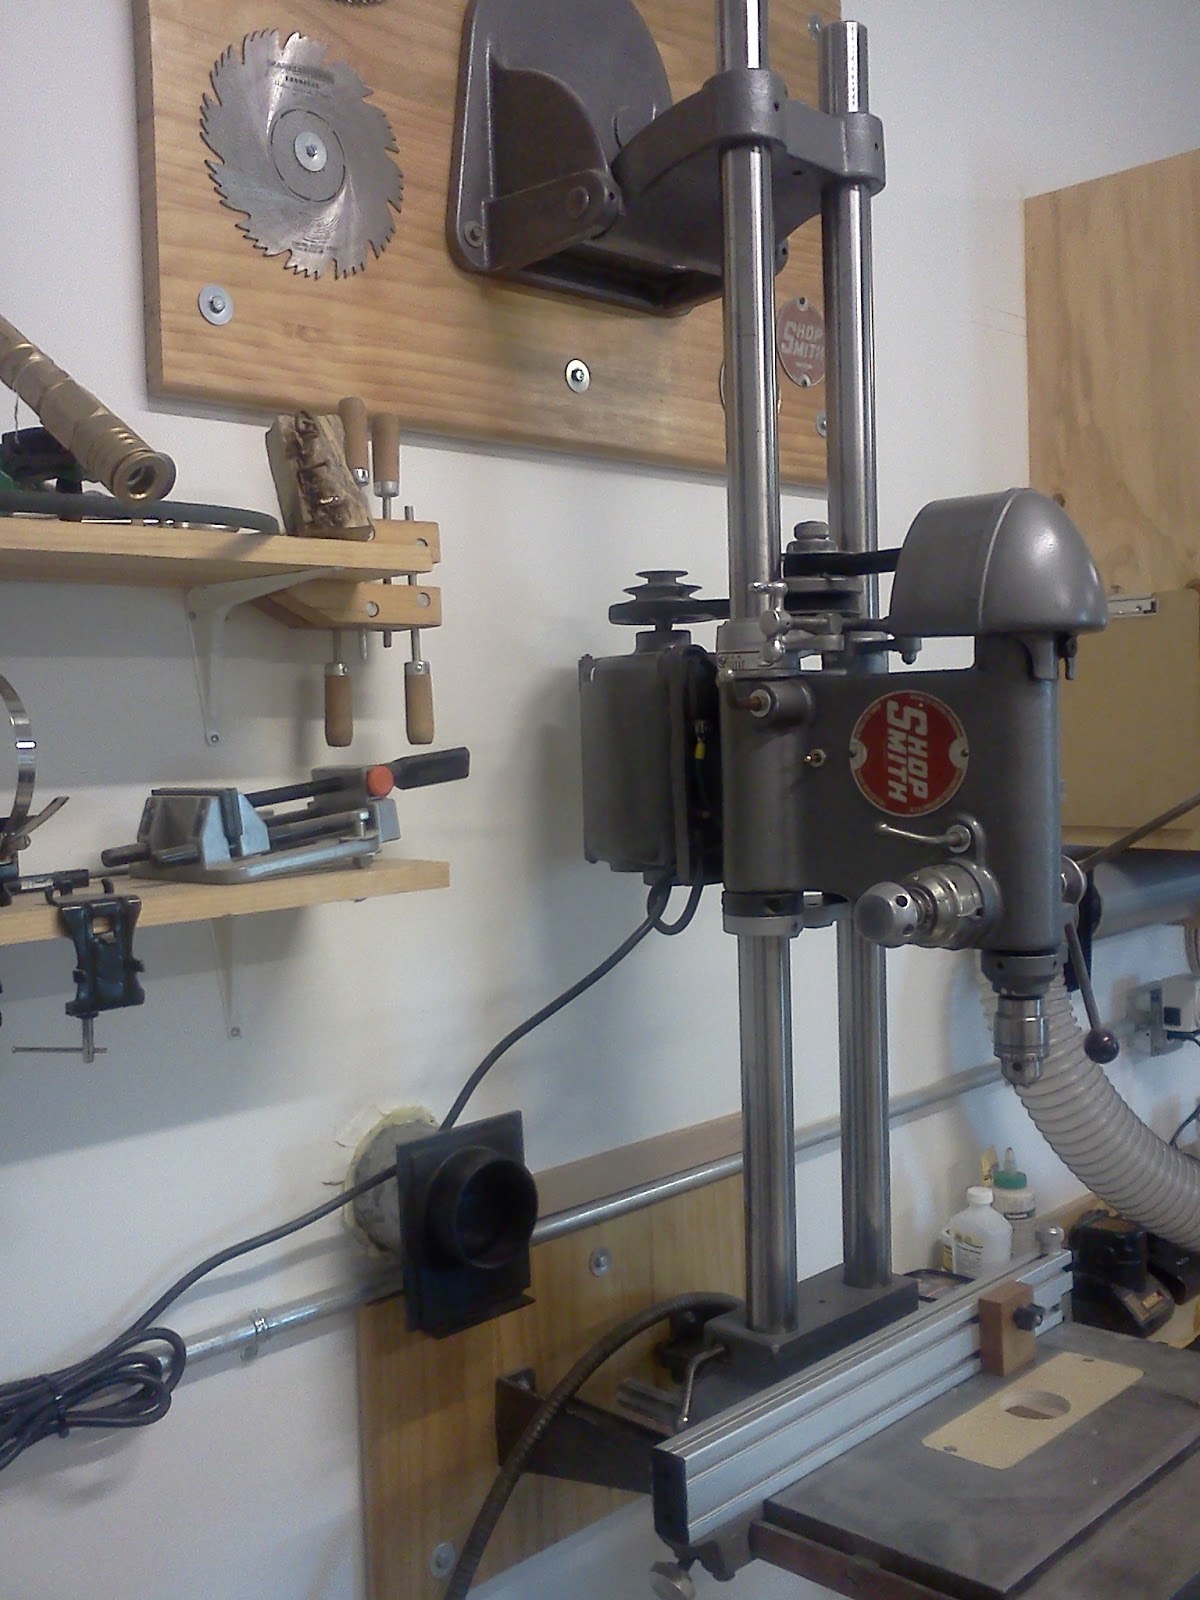
Just some quick pictures of one of my other Shop Smith restores. This one is mounted in permanent drill press mode.

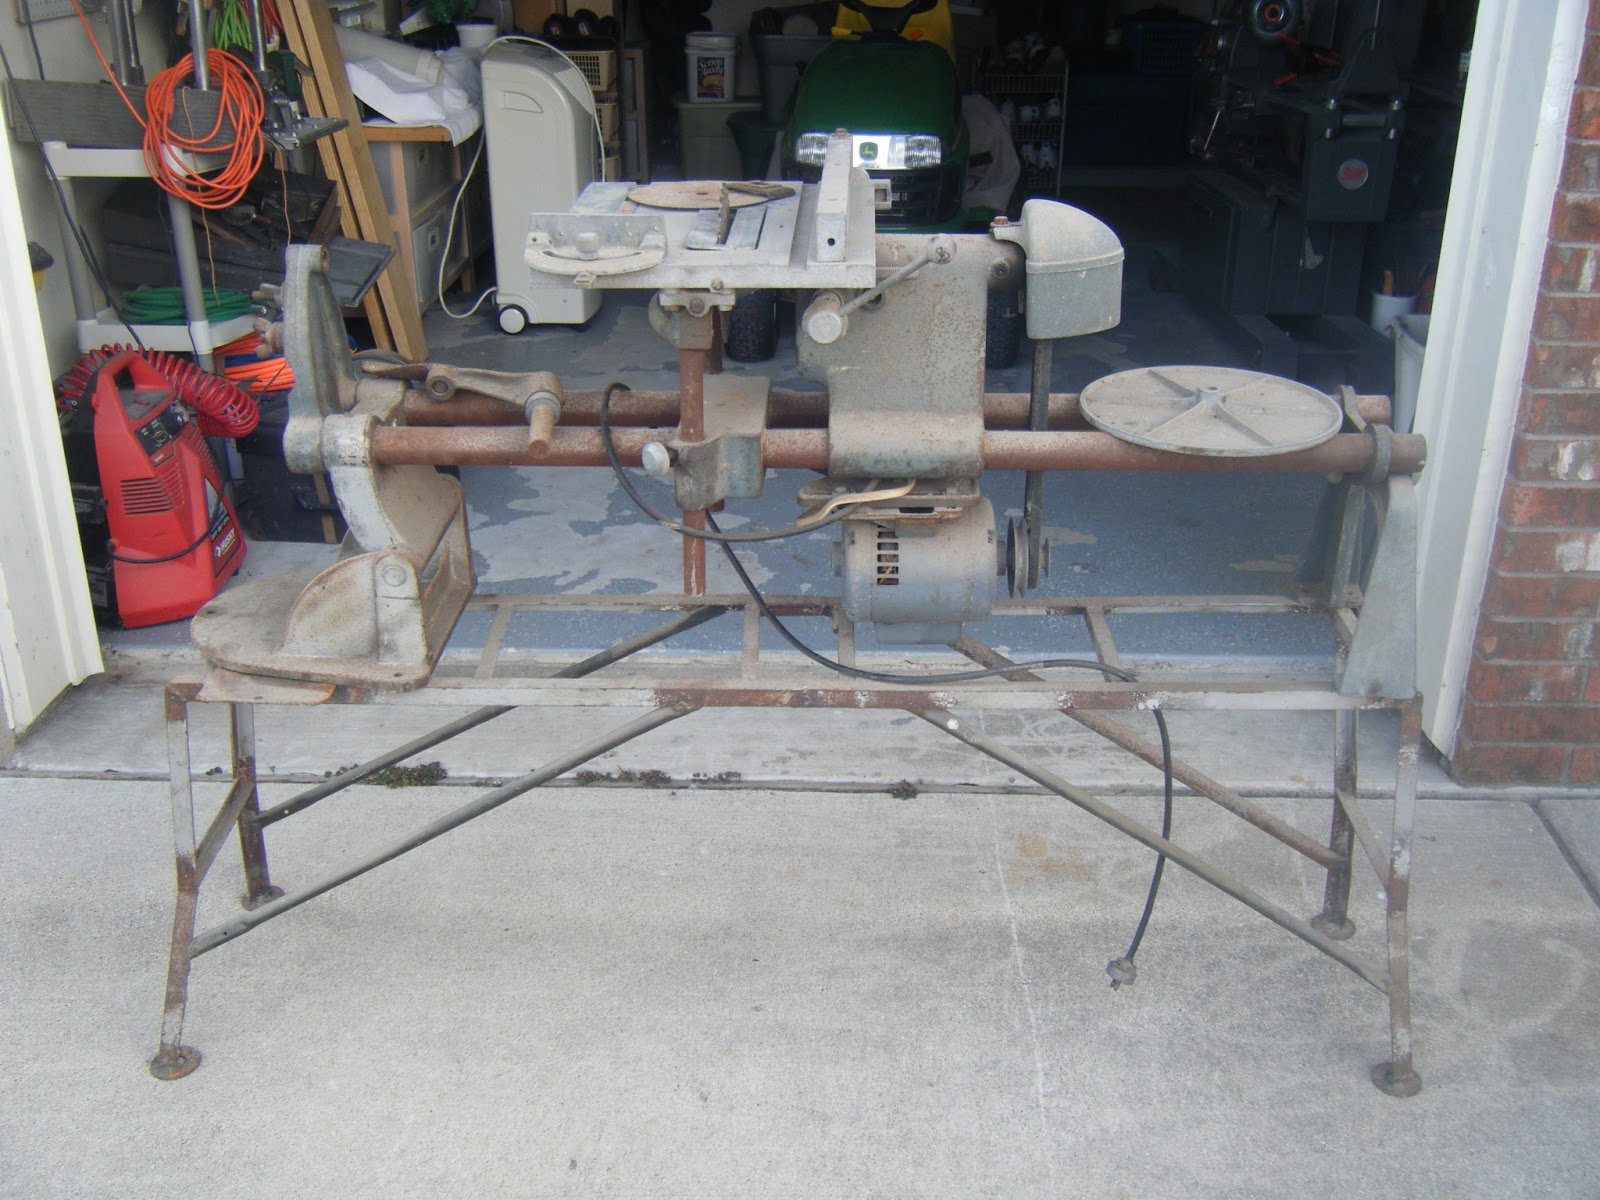
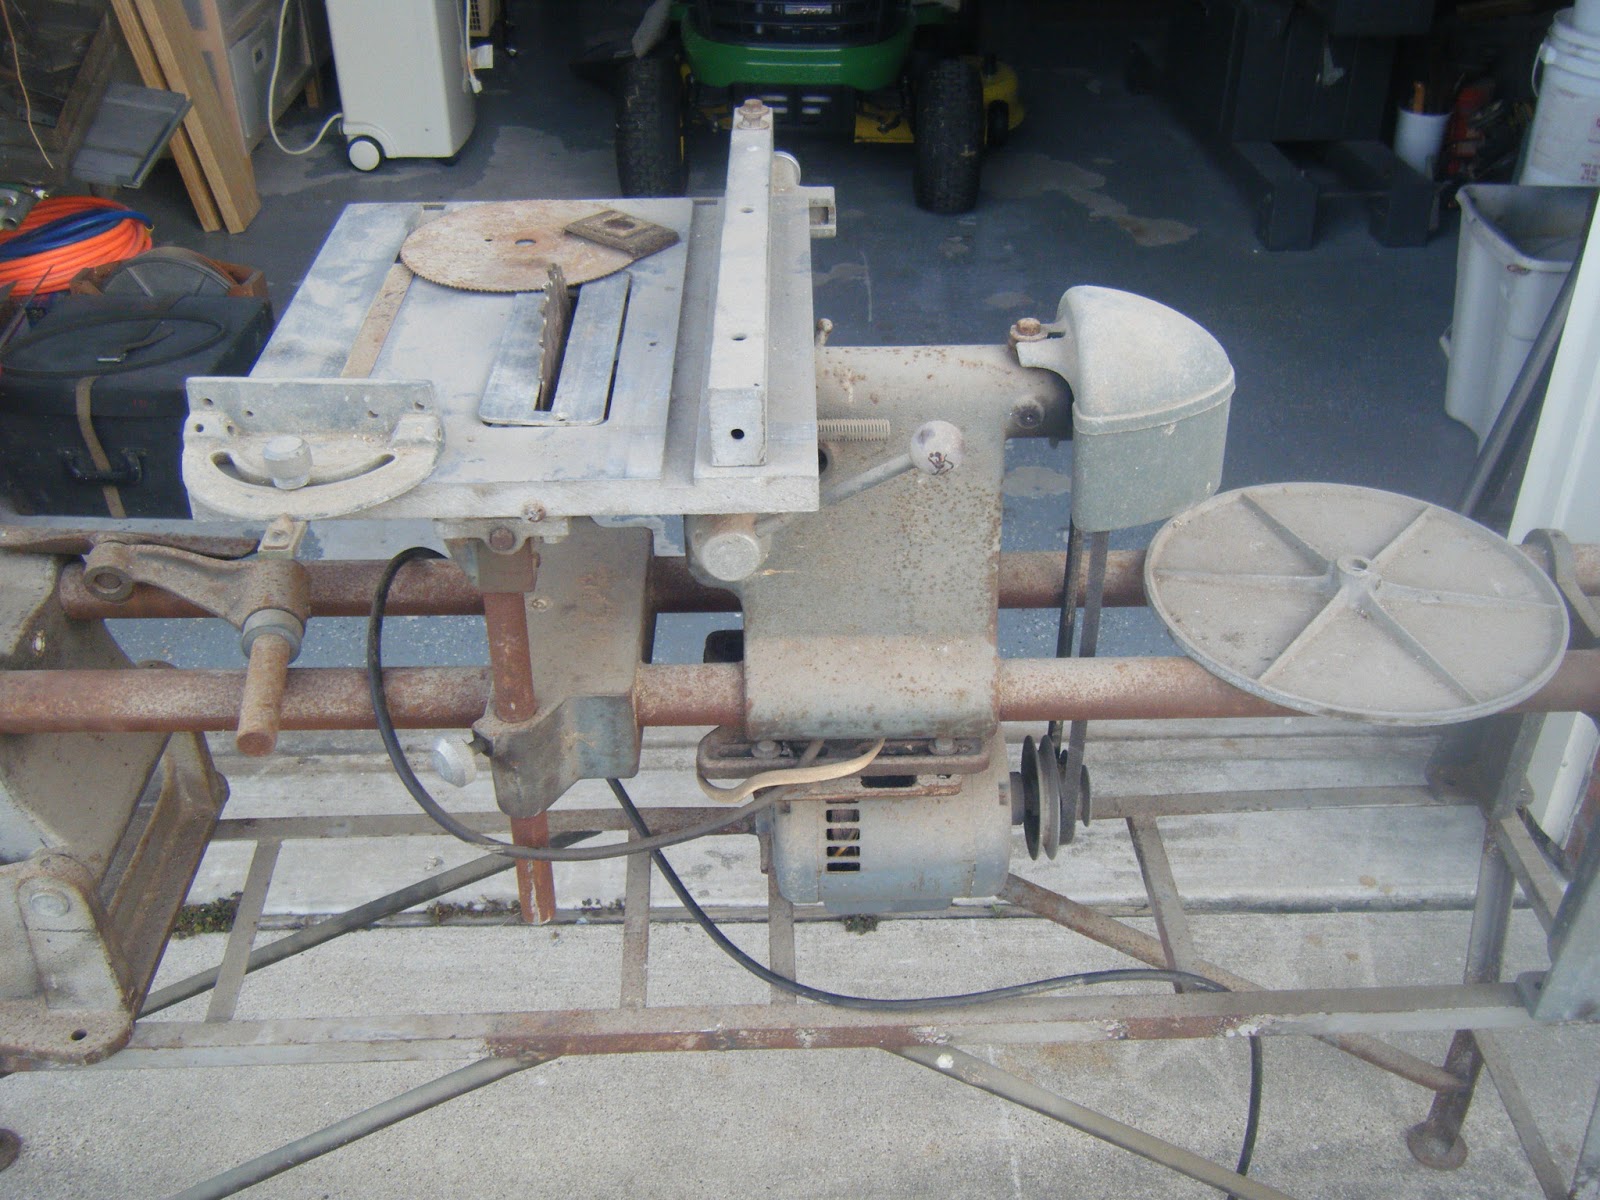
The Before shots

After:

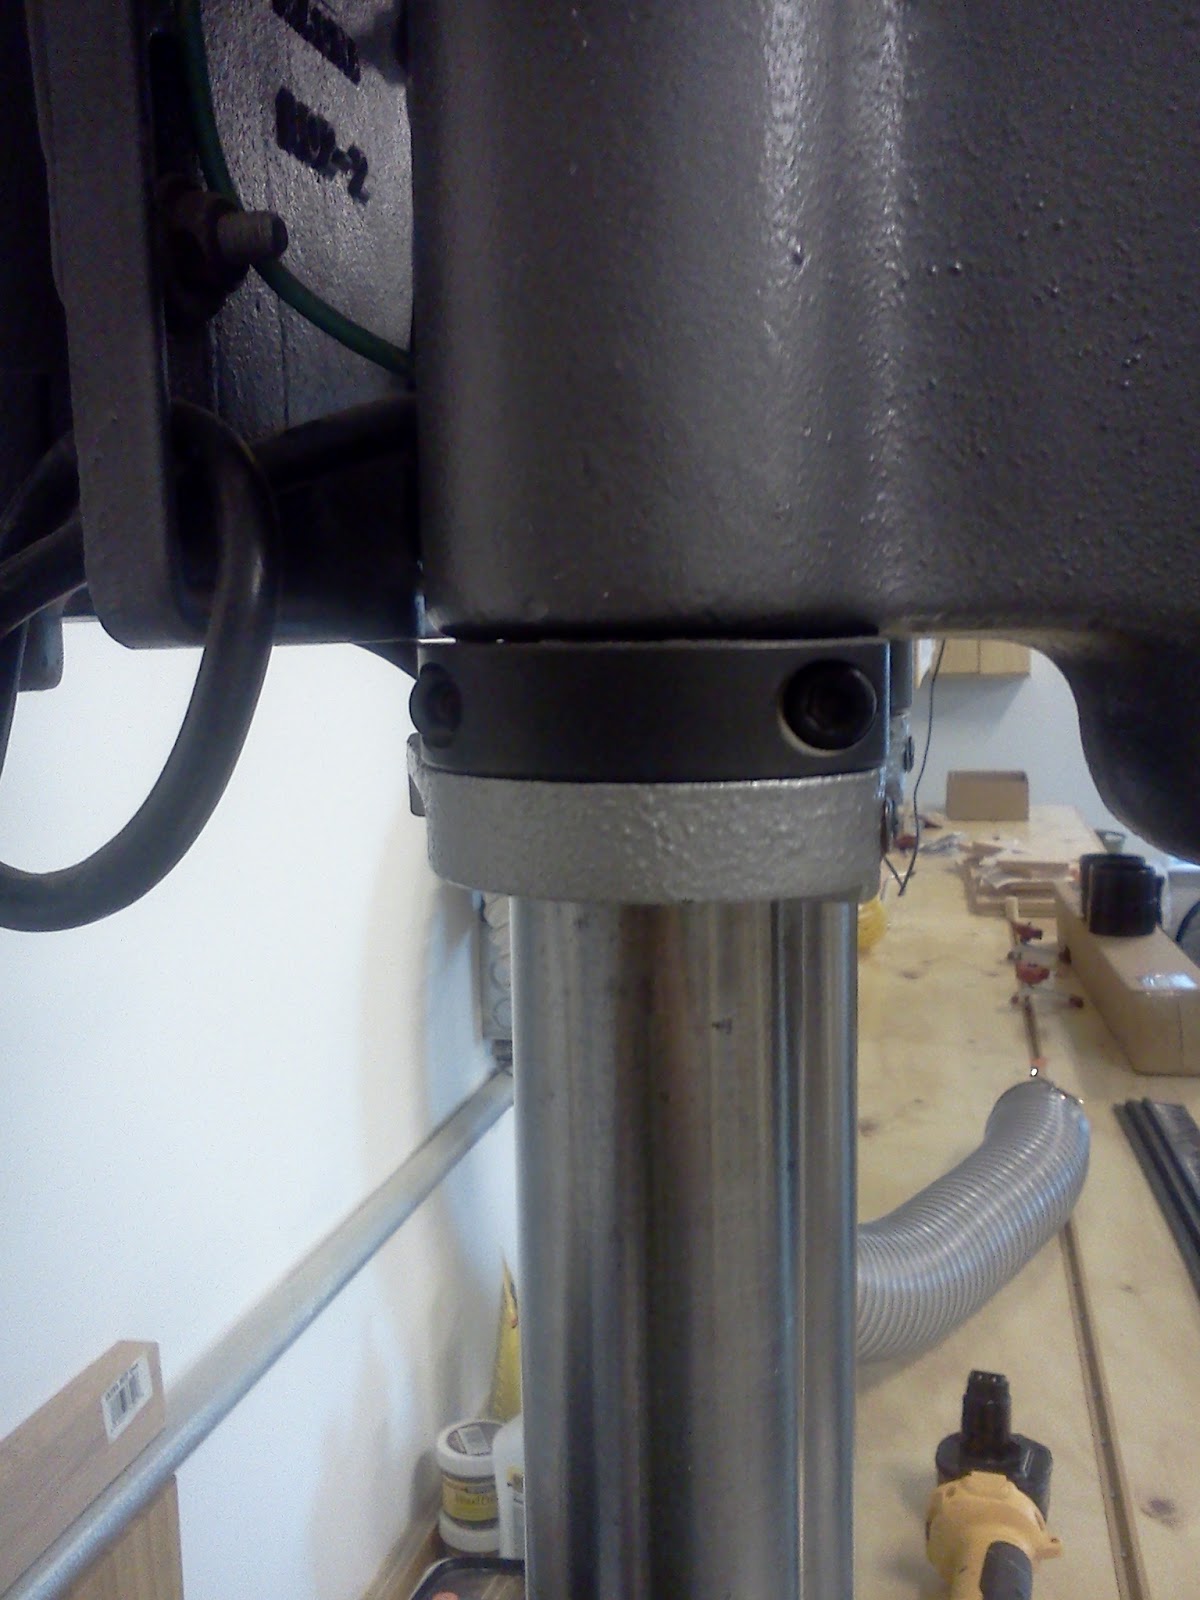
To help keep the VERY Heavy Shop Smith 10E head in place, did I mention it is HEAVY? I went to McMaster-Carr and got 2ea, Two-piece Clamp-on Shaft Collar, Steel, 1-3/4″ Bore Part Number 6436K25 to help hold it in place:

Bowl Blanks Part 1

Using my new chain saw wood holder thing I cut up one of the pieces of pecan that the mill could not because it had a big piece of metal in it. I figure I will make bowls out of it.

Pecan Wood Blanks
Pecan Wood Blanks
I think they will look pretty good. I am going to make some circle patterns and rough cut them on the band saw. Then let them dry for a while. Here is a close up of one of the pieces:
Pecan Wood Blanks
Pecan Wood Blanks

BTW, mead is still fermenting away. Slow but true….

Shop Smith 10E(R) 12103 Restore – Part 2

Here is a quick view of what I did to get it restored

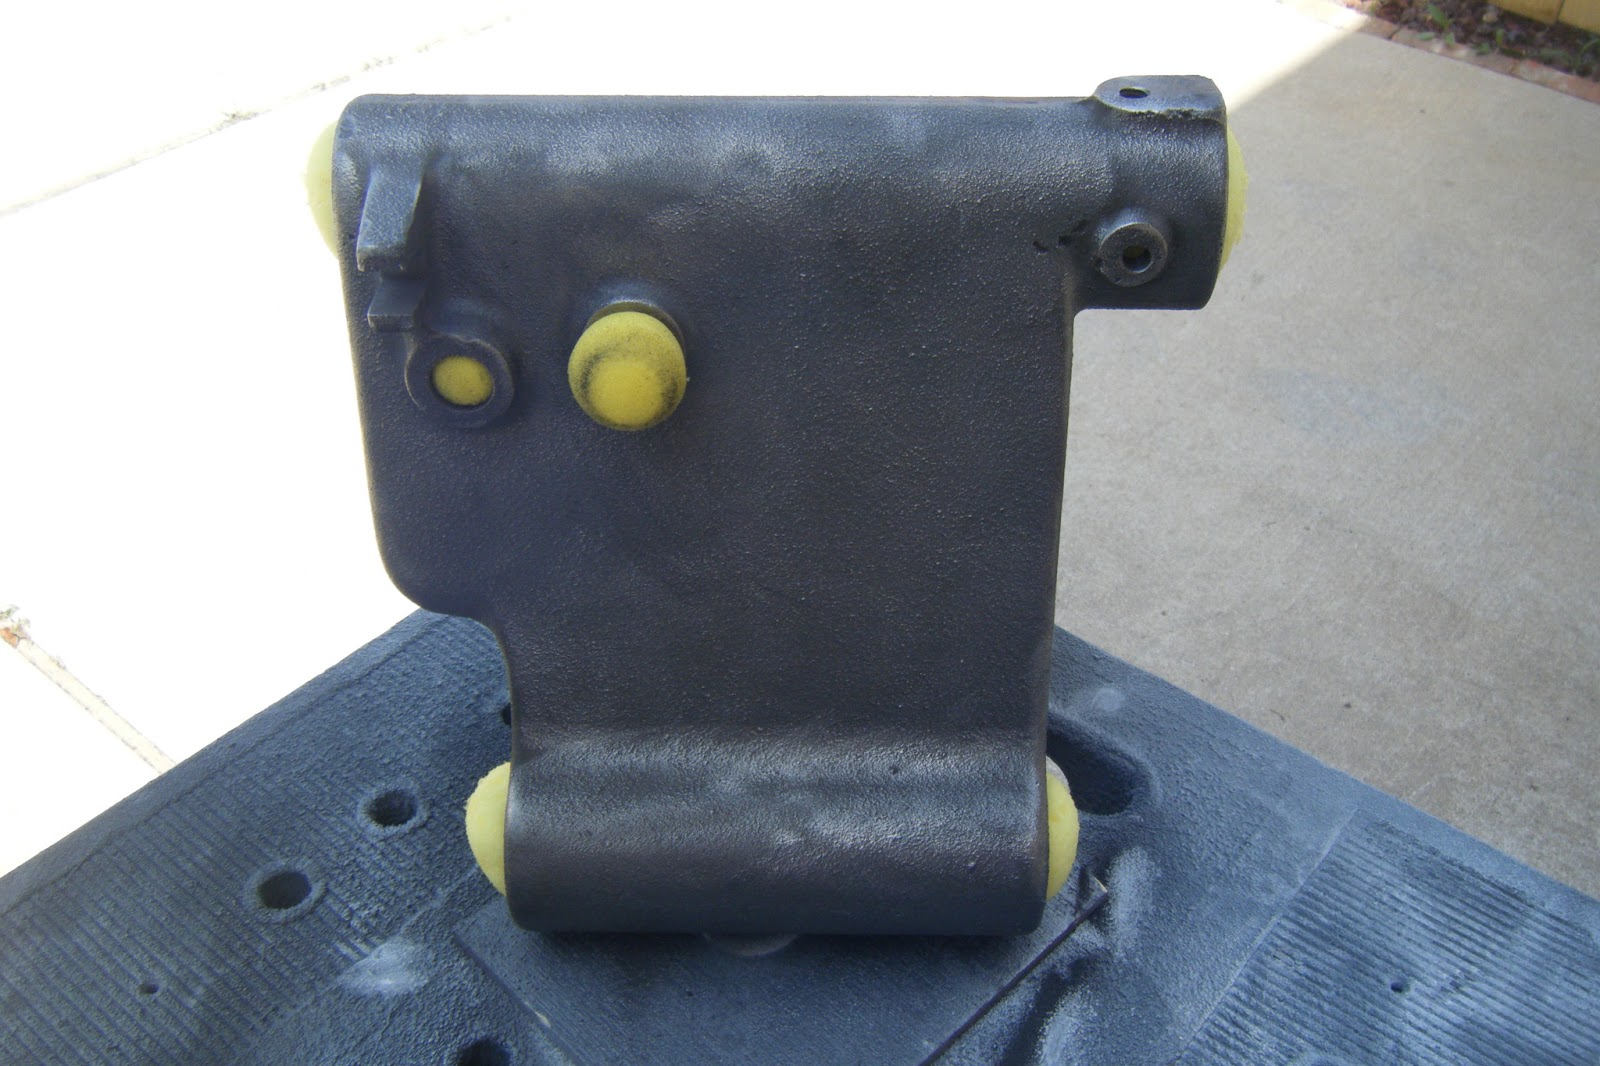
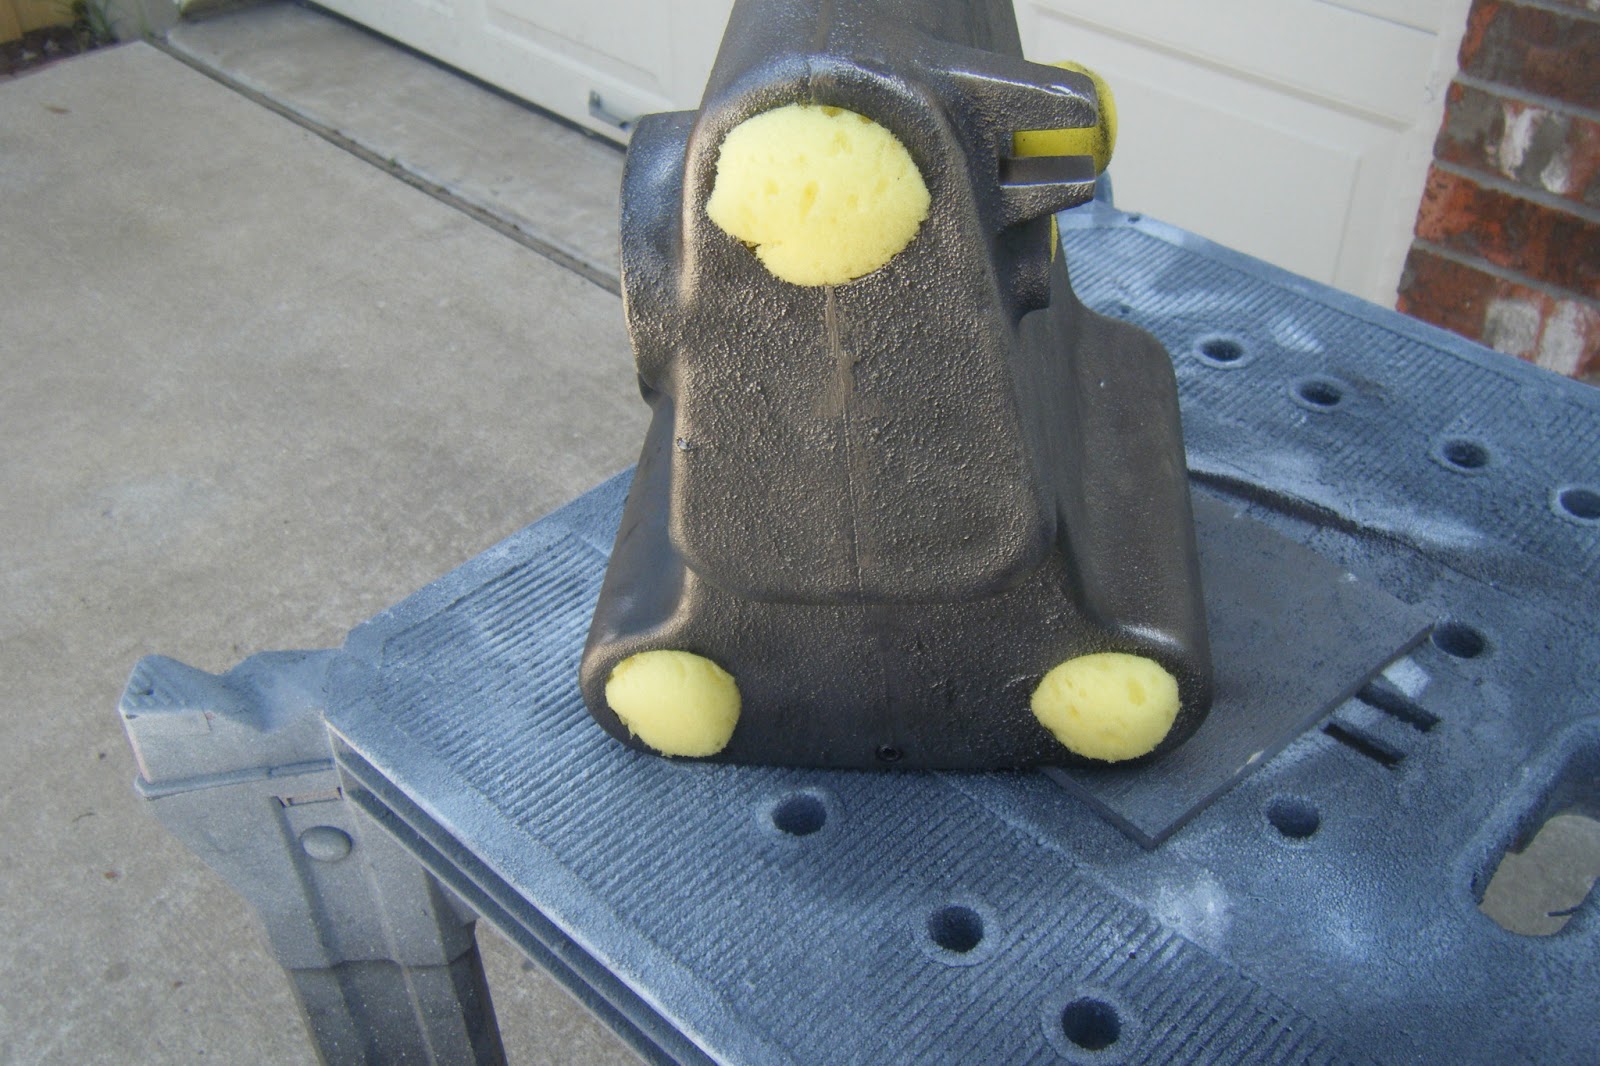
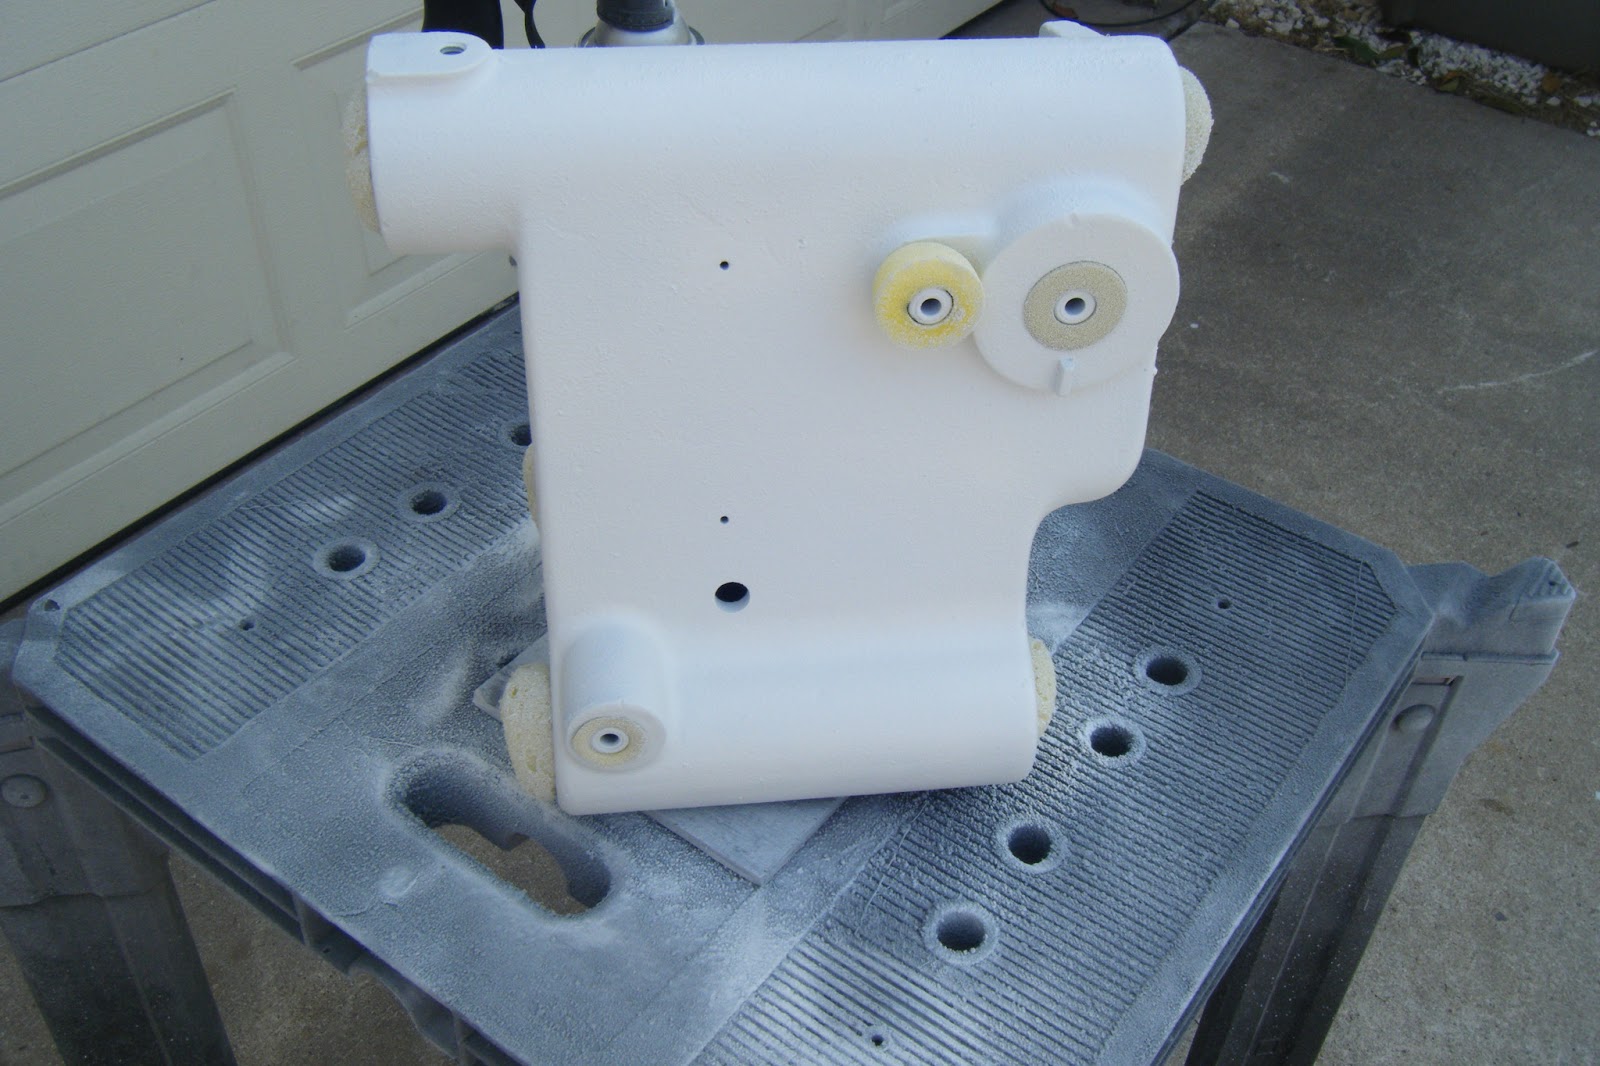
Here are a couple shots of the headstock after electrolysis and a quick hit with the 4 inch angle grinder with a wire wheel attached. I tried filling the holes with cheap roller sponges I picked up from HF, thought I would be able to re-use them…Not!
 Then I primer it up..
And put it back together.
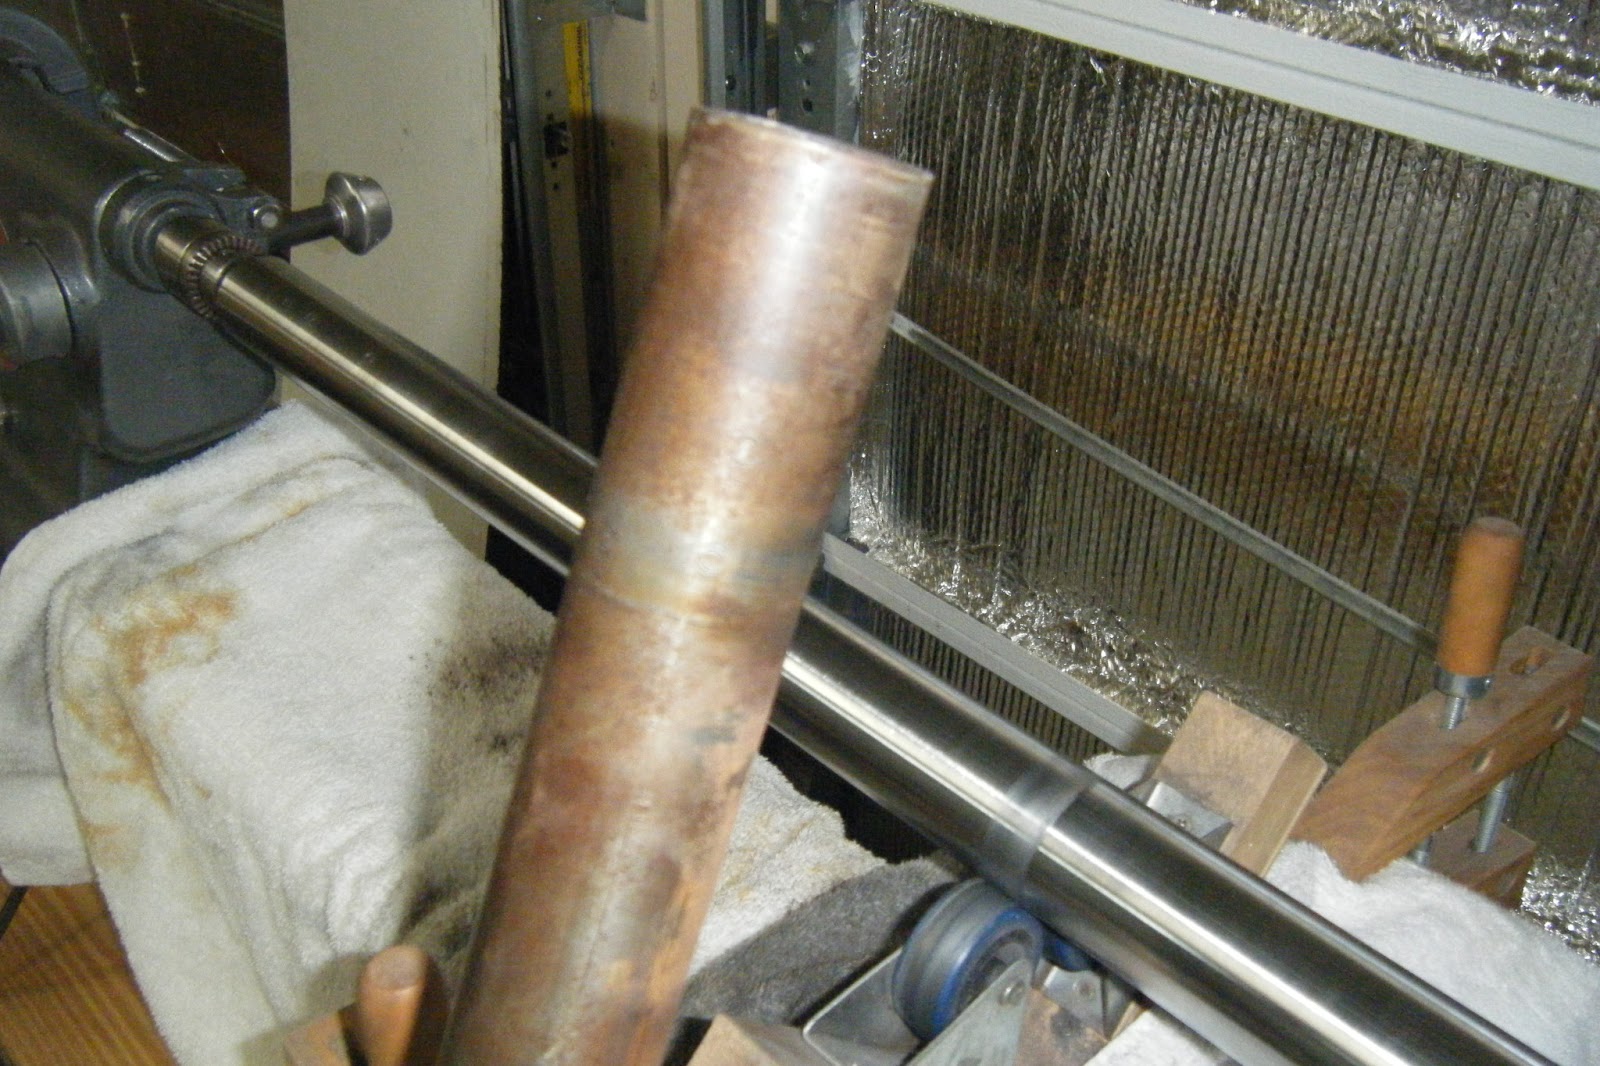
Then the way tubes. The one in front is before and the one on the shopsmith is the almost complete job. After loosening it up with electrolysis, I start with 150 grit and work down to steel wool and then a coat of Johnson’s Wax.
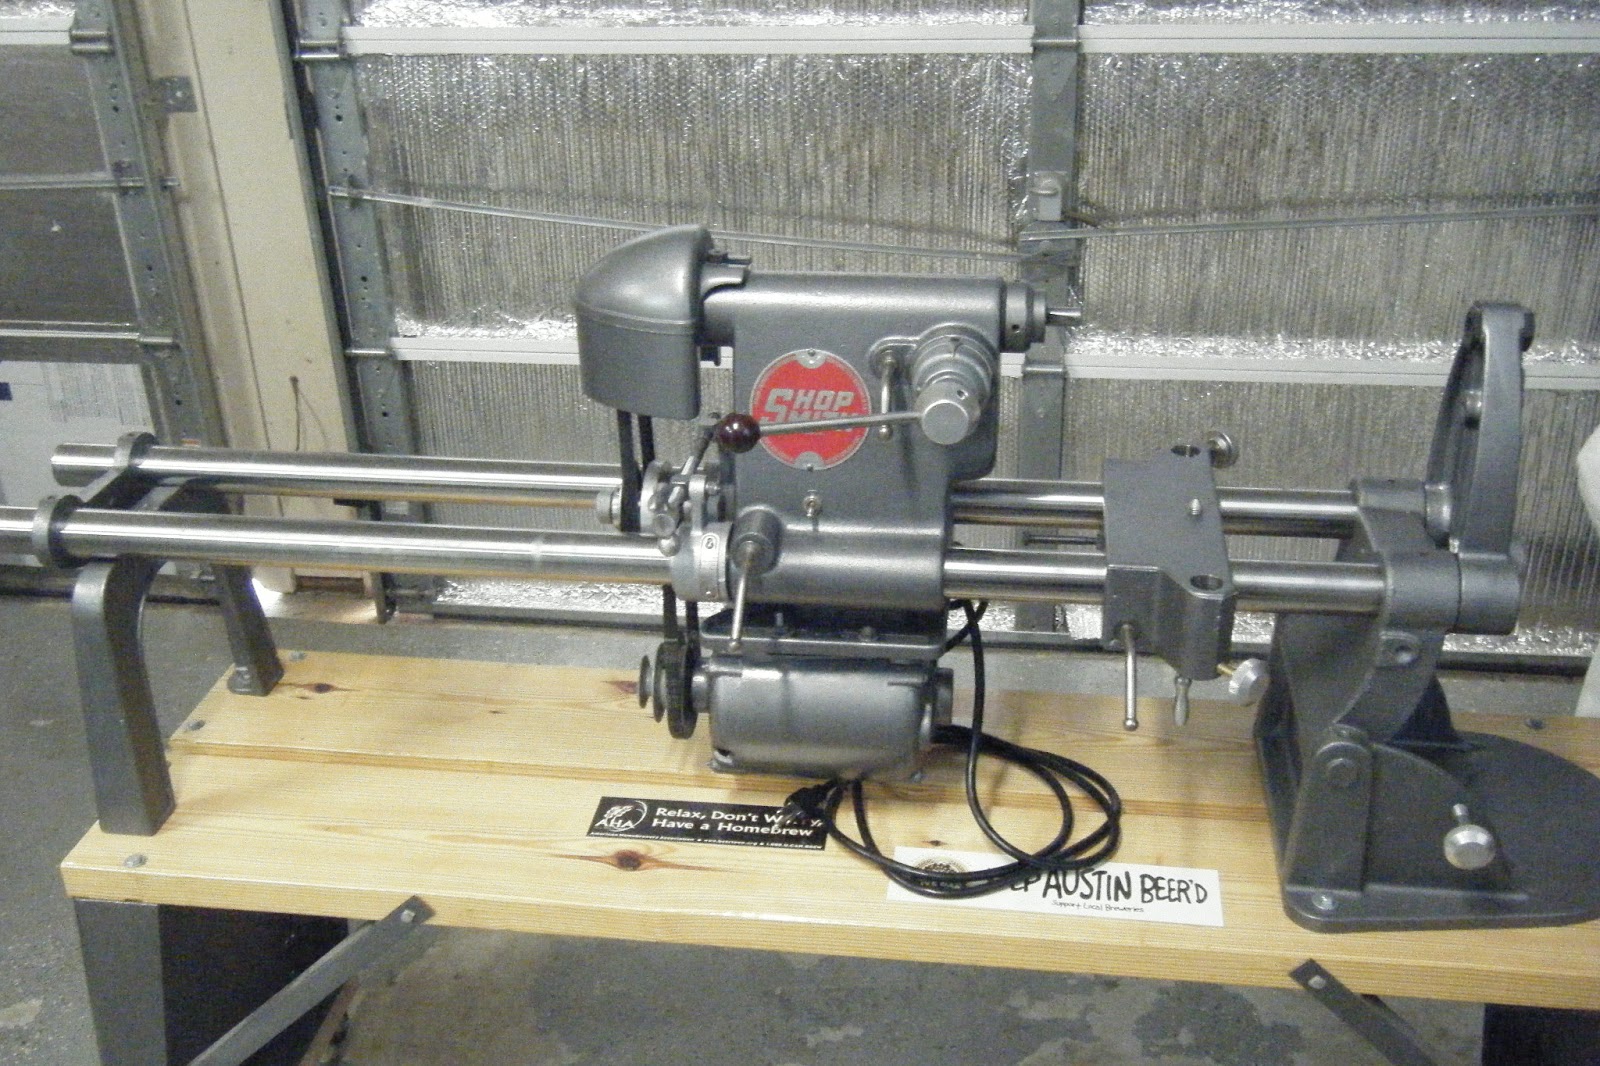
Here is a shot of the completed Shop Smith

Electrolysis – Electrolyte Solution

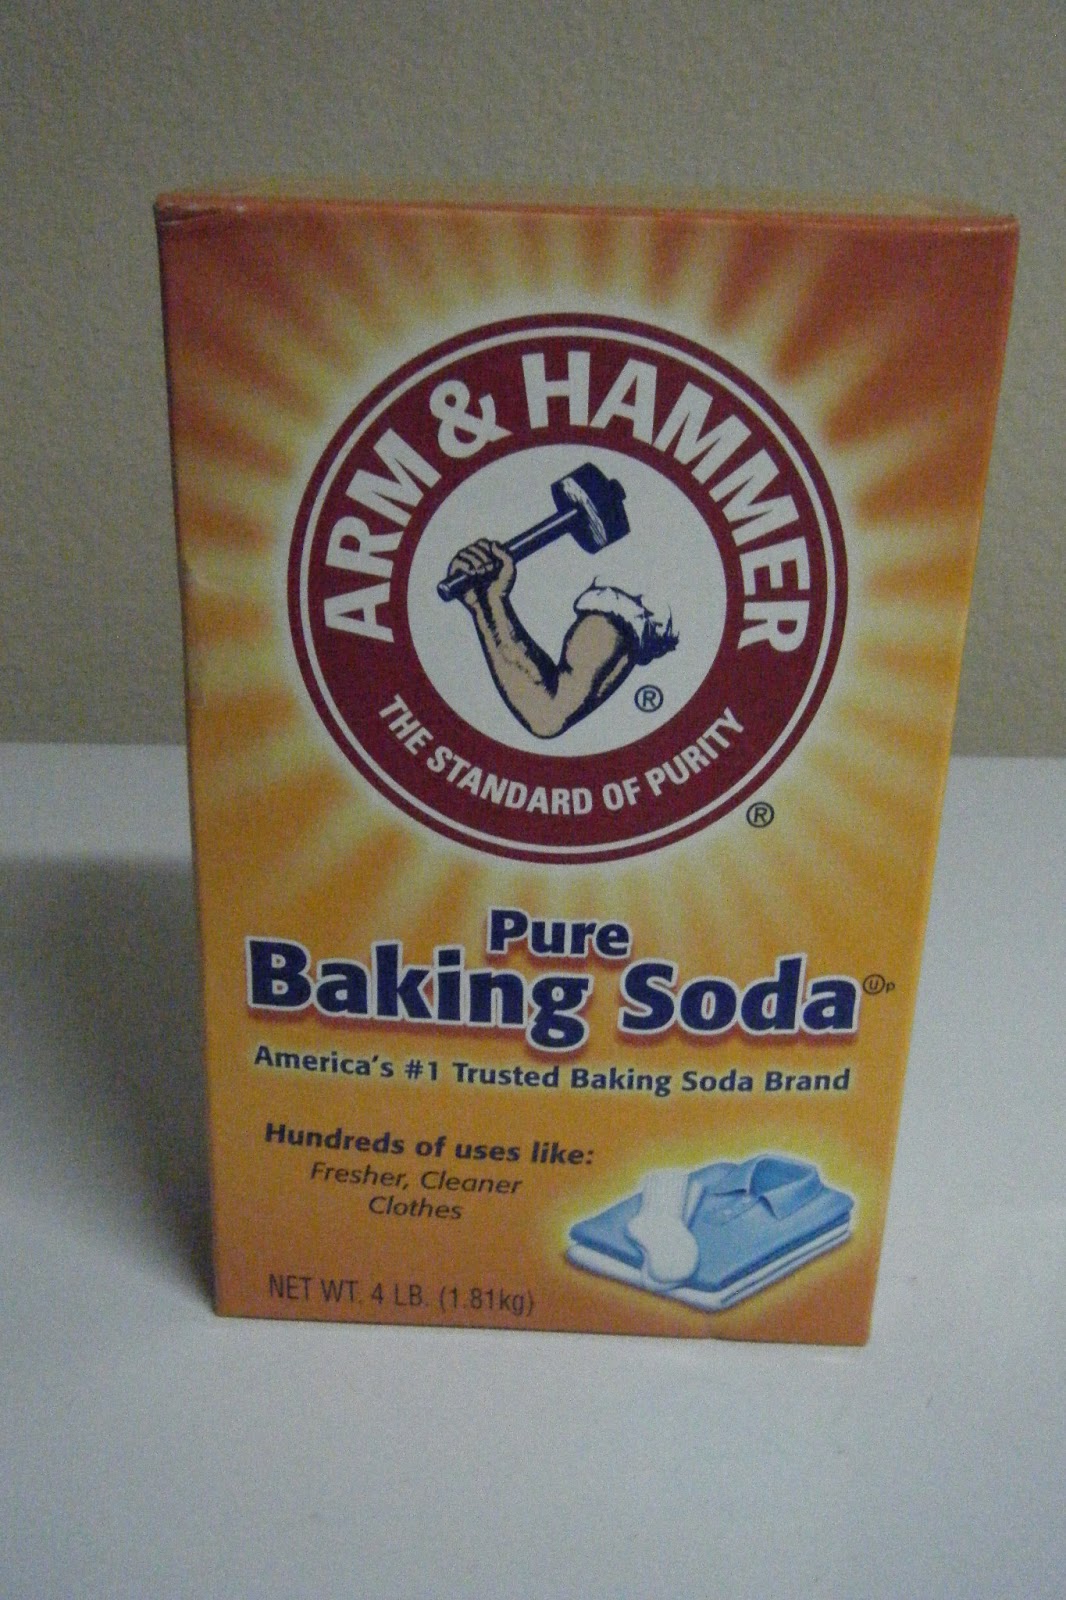
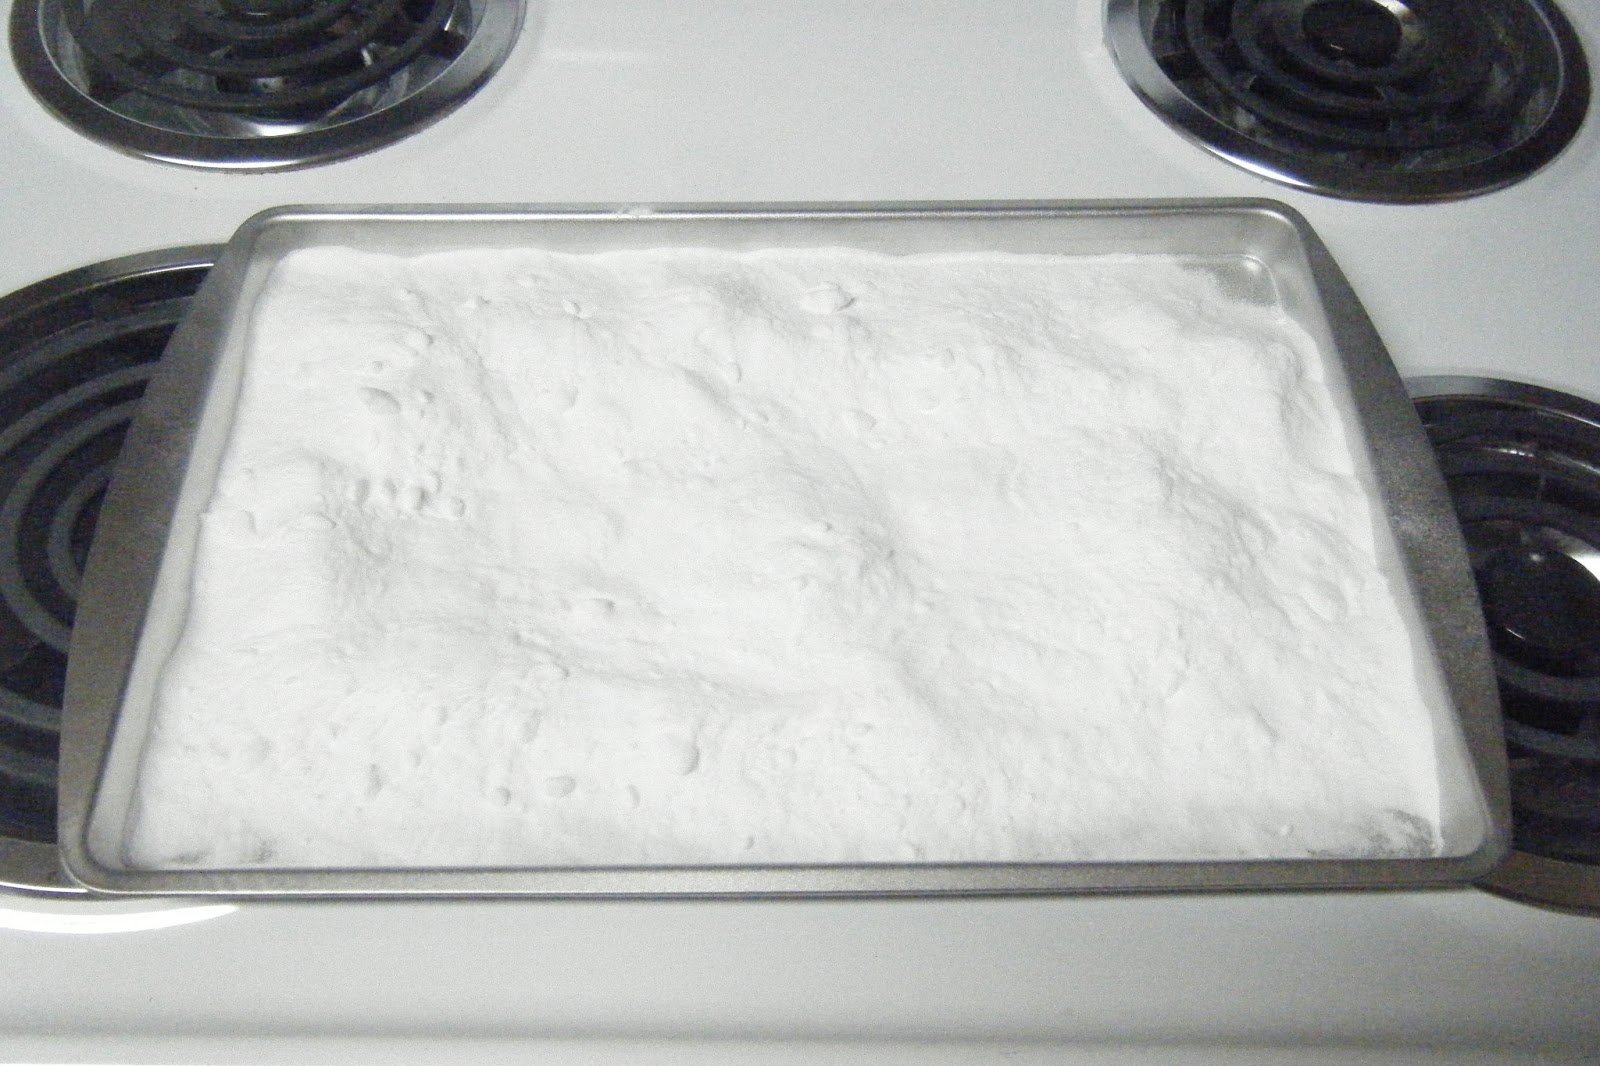
“Just put some baking soda onto a frying pan or a cookie sheet, and bake it in the oven at a little over 300°F (149°C) for an hour. “ You can go to the site for the scientific explanation. I have a lot of baking soda laying around, you can see in my other posts, it worked just fine. 1 tablespoon per gallon.
On a cookie sheet, in the oven at 320 for an hour
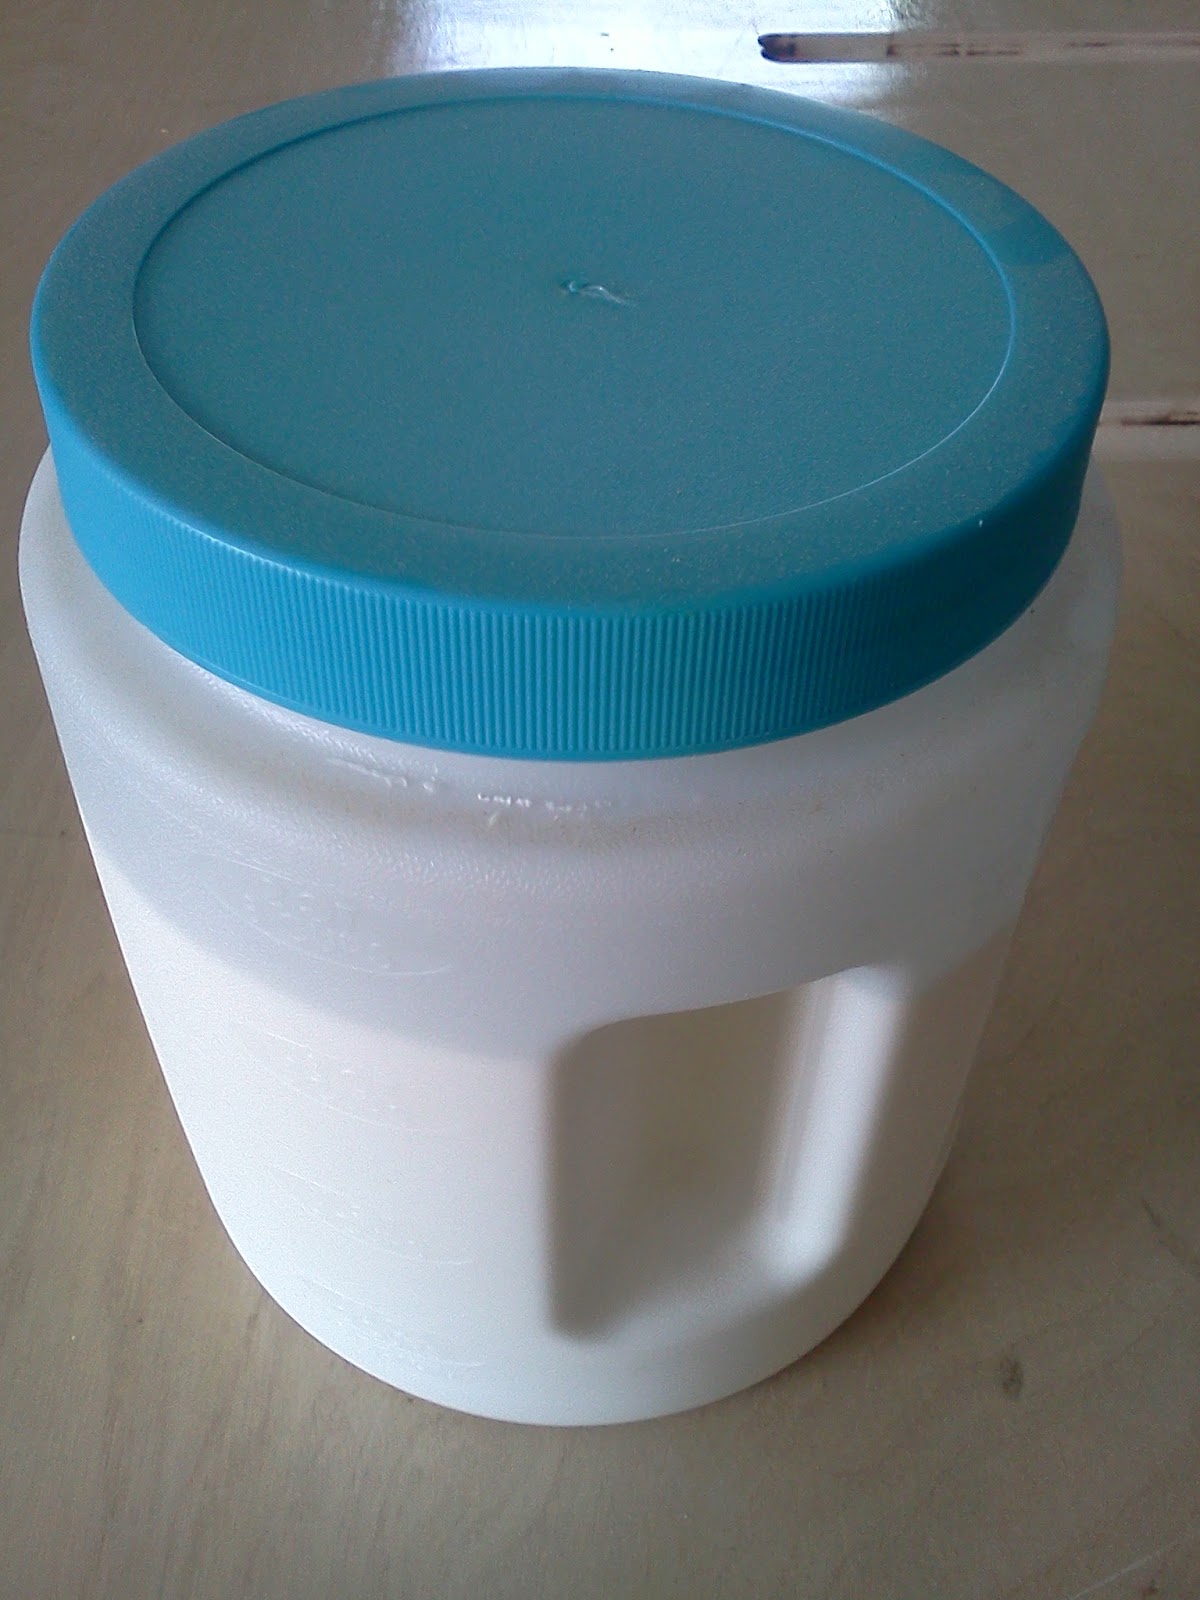
I store it in a plastic container until needed.
You will see the results of all this in the Shop Smith Restores.