
I got the drawer pull outs for the bottom cabinets built and installed:

Poly’d up the bottom cabinet doors:

Got them installed, Still need to do some adjusting:

Started working on the uppers, Hope to get those finished soon:
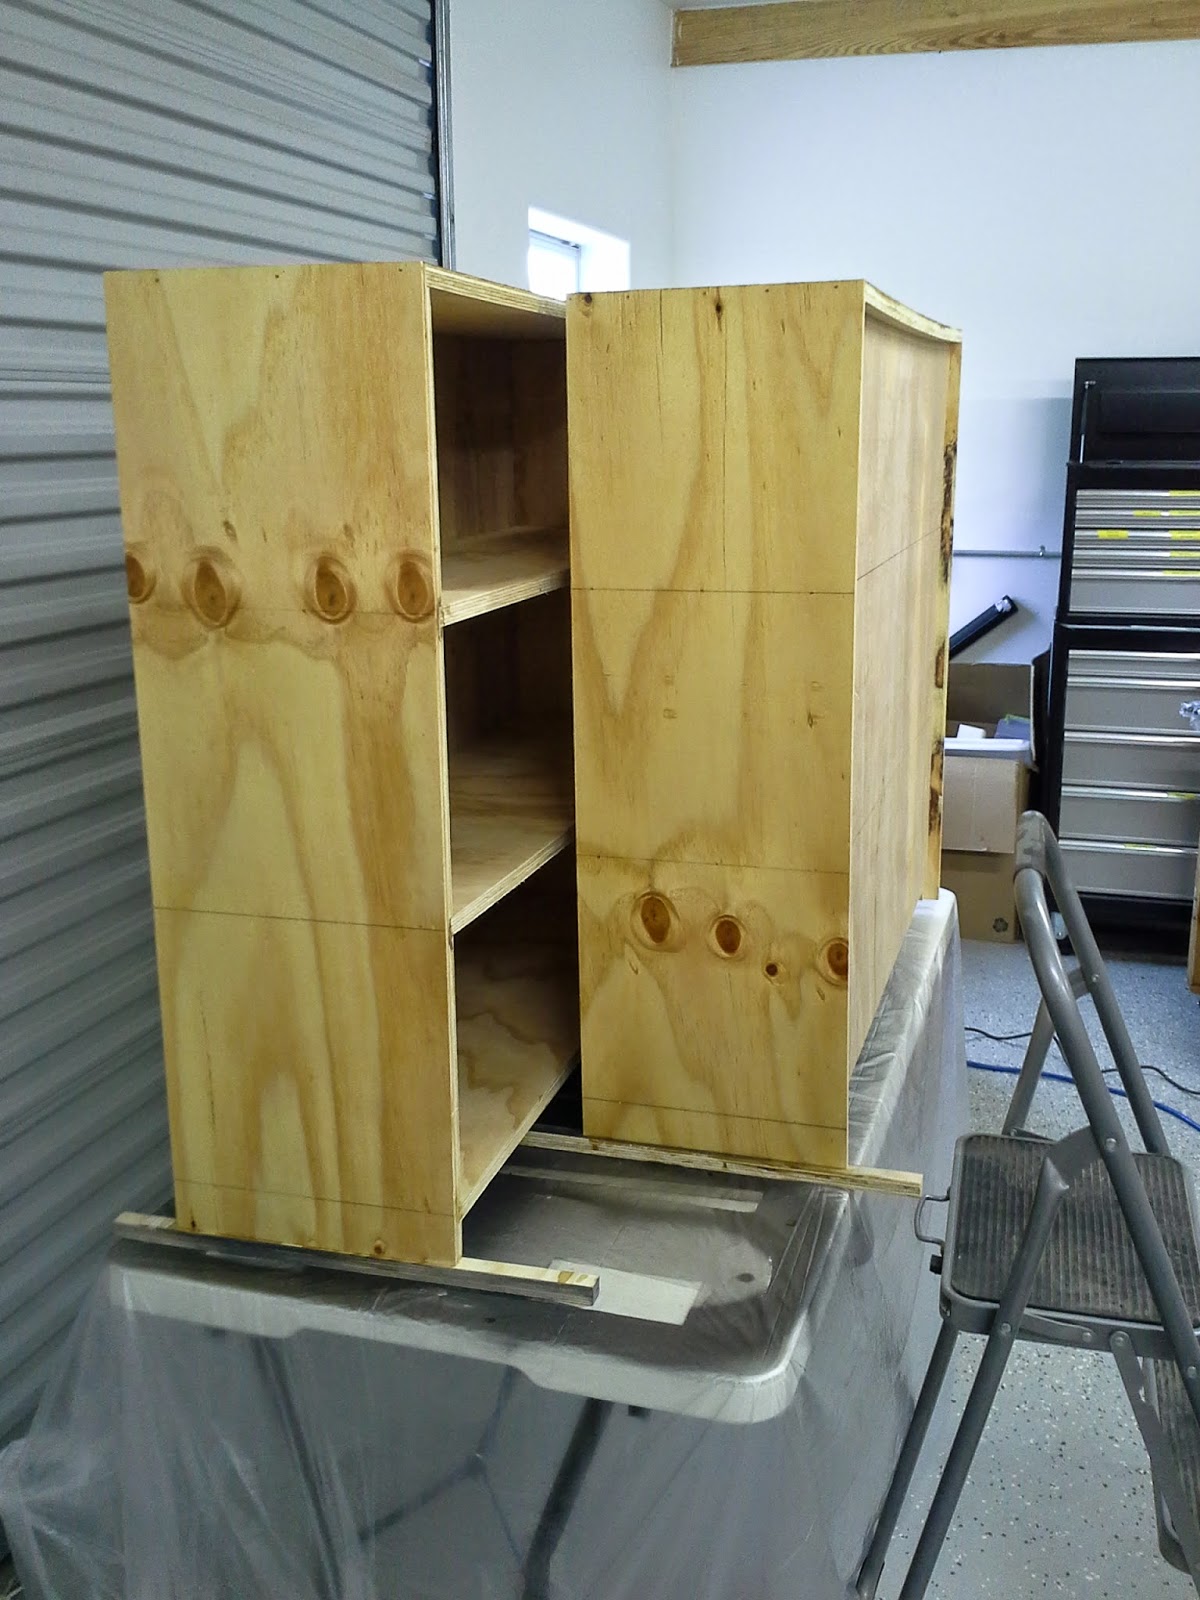


Next cut up the drawer faces, Polly and sanded like the top. And mounted them up:
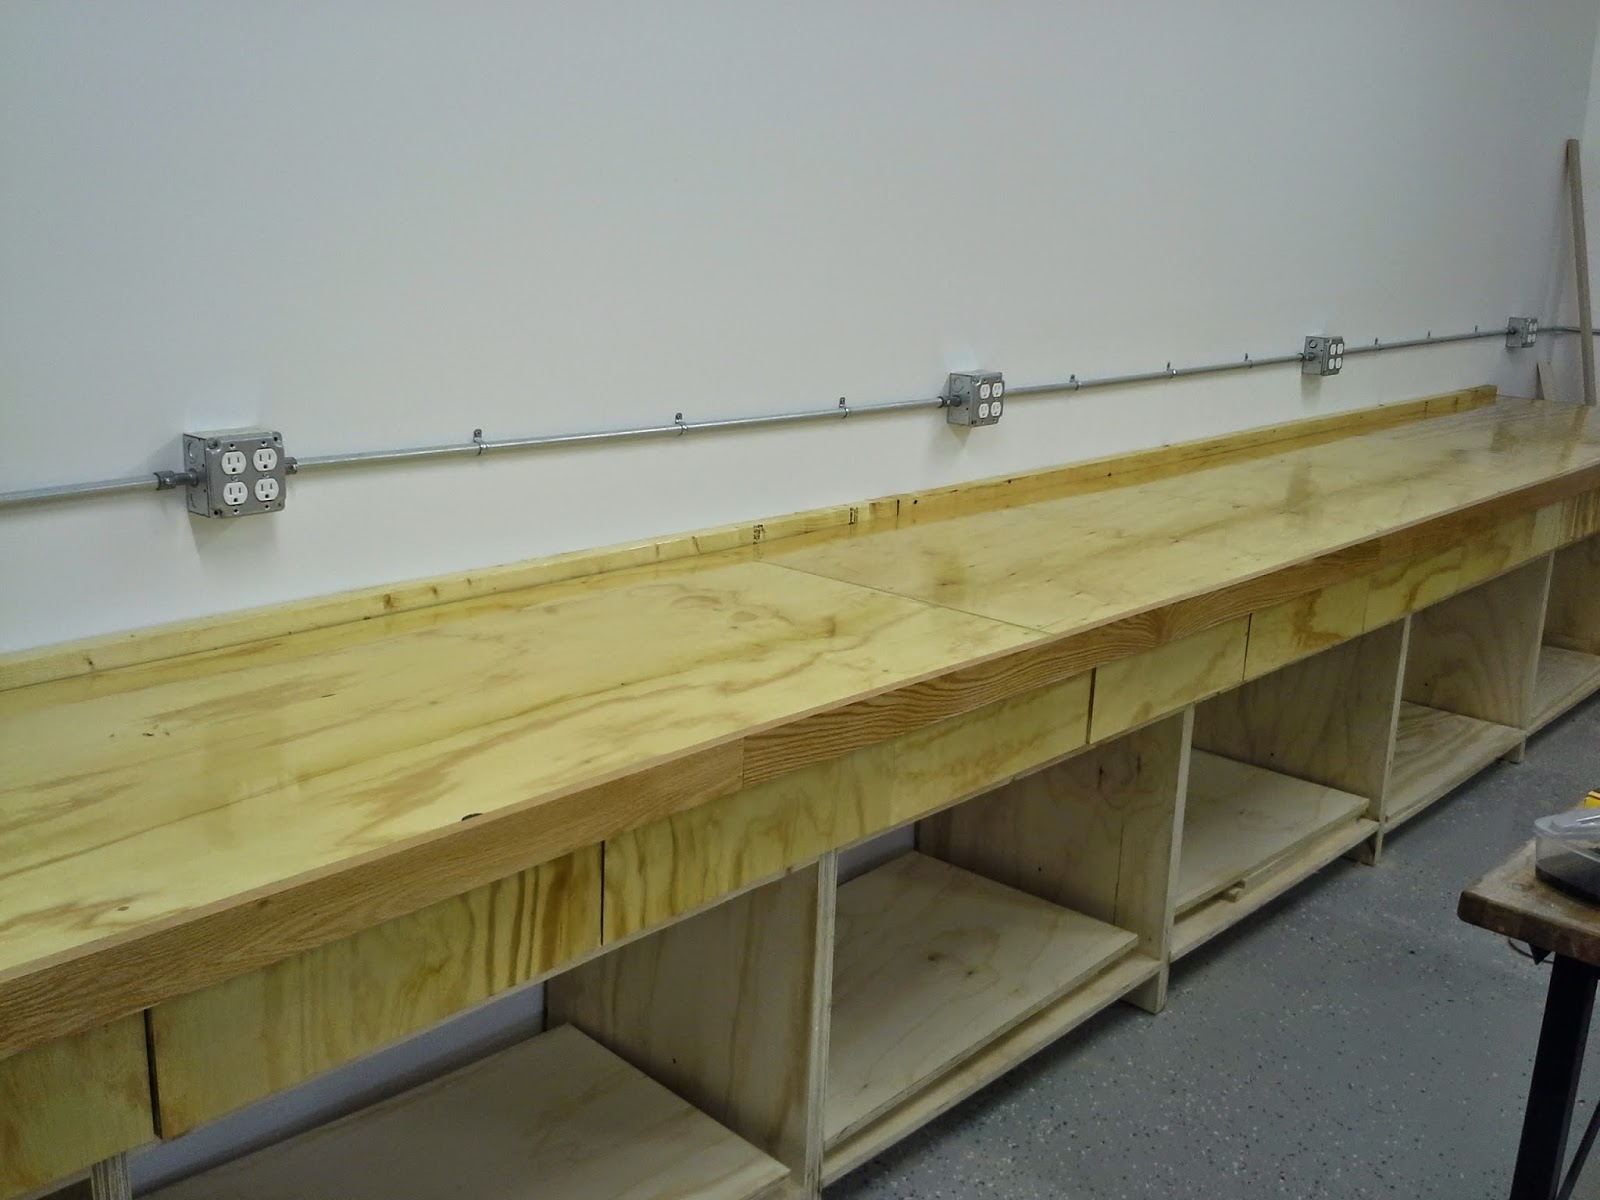


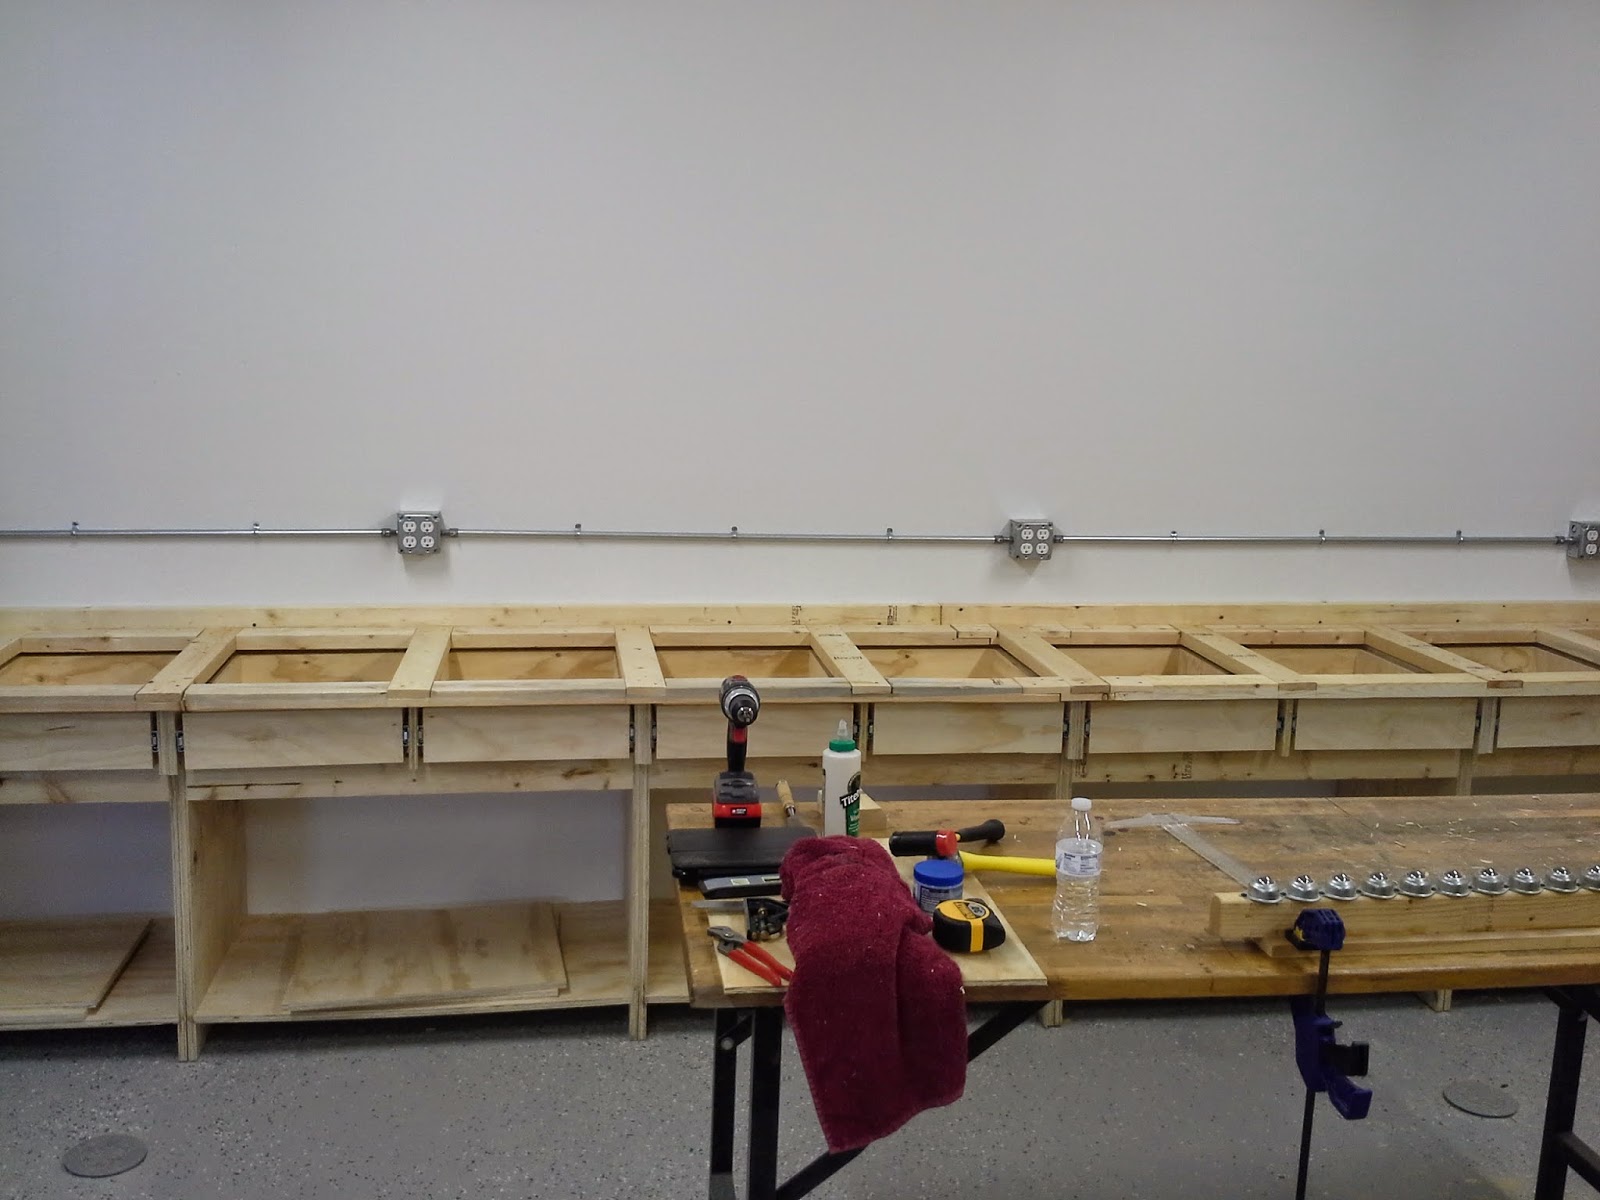
Here is the counter top plywood screwed on:


Got everything moved in and starting to put it all together. The first thing to go back together is the Table saw. There was a little bit of rust on the saw and router table.

And

WD-40, steel wool, and a little elbow grease got most of it out. I am going to use metal polish and my normal maintenance to get it finished out:

Next I attached the shop made DIY – Biesemeyer fence rails and side table

Next up was the OutFeed Table. Pretty much the same as I did HERE. Couple shots of the new one:

And:

I will put the bottom shelf and the miter slots in and call it done.
Let there be light! We have the lights installed. 2 rows of 3 each.

I have 3 lights controlled by each switch. 2 in one row and 1 in the other for each.

Basic Electrical work is done in the shop! Time to start moving in!


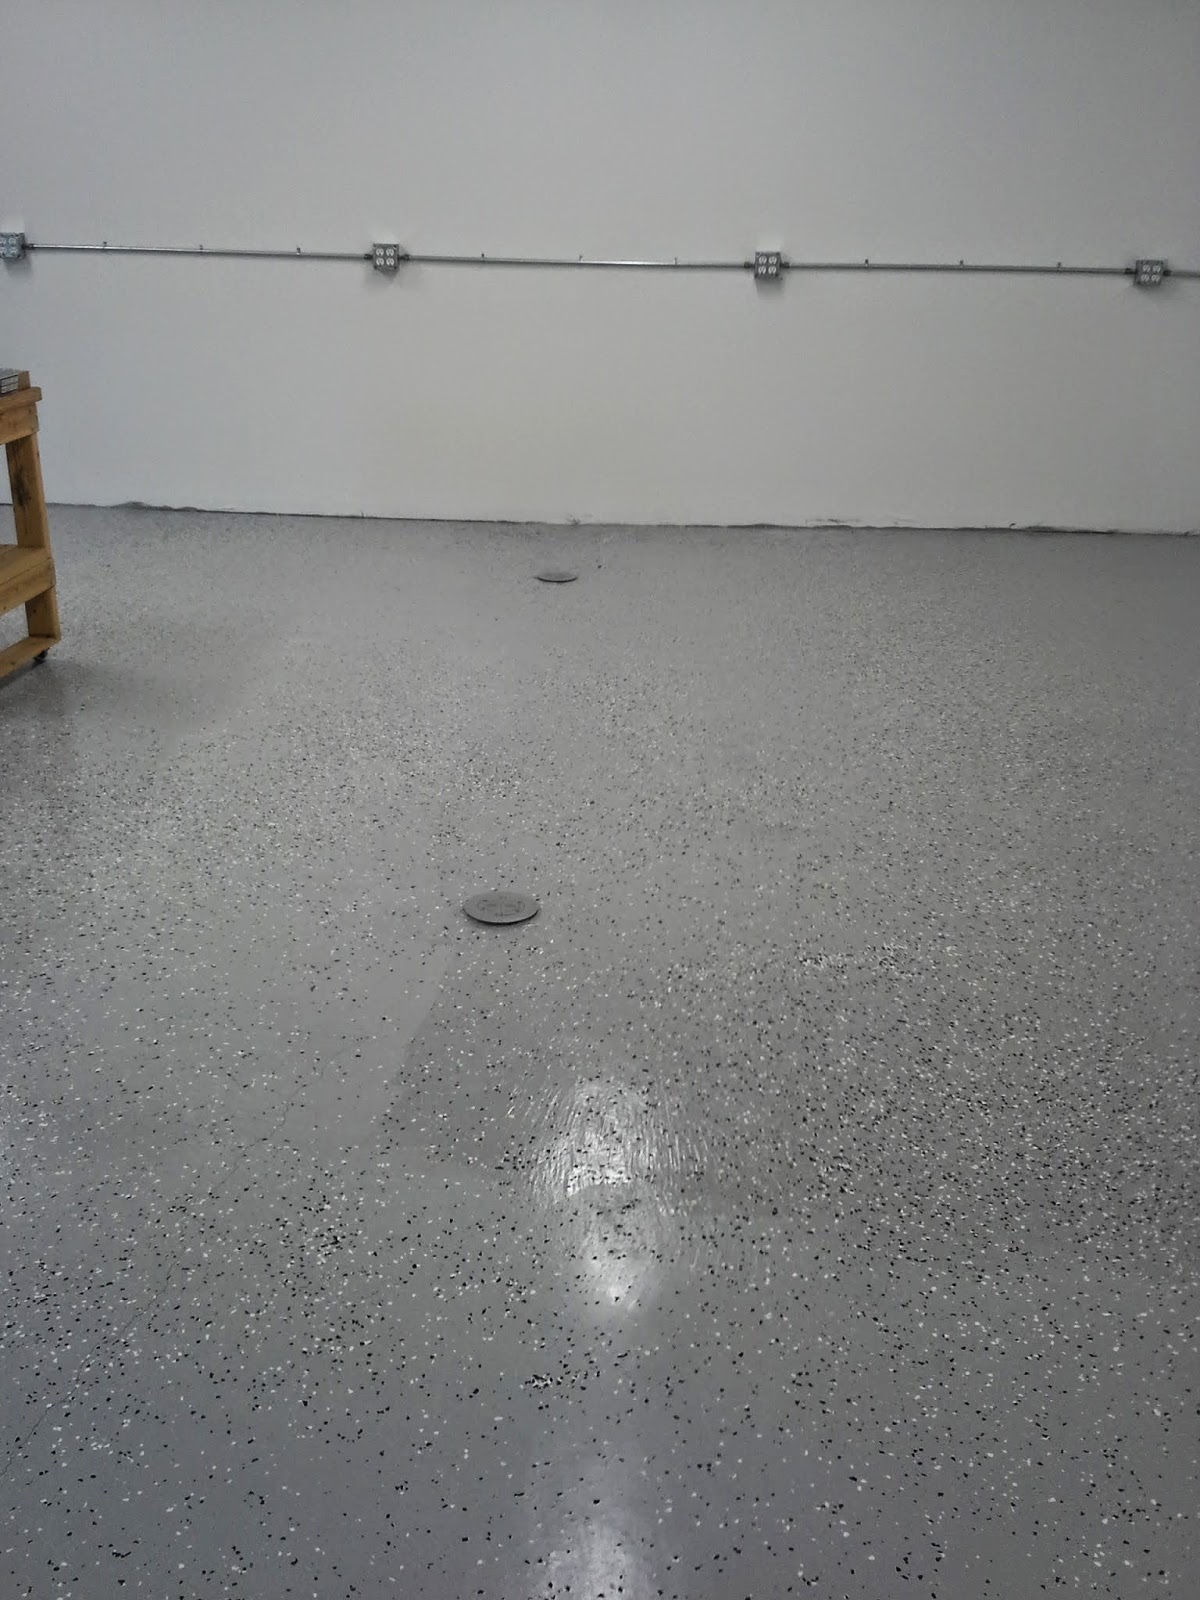
We got the shop floor finished. We used 2 of the Epoxy-Coat kits “384-fl oz Interior High-Gloss Garage Floor Light Gray Epoxy-Base Paint and Primer in One”
We swept all the large stuff out and scrapped what we could off the floor. Then we sprayed it out with the hose and cleaned up with a large squeegee.

Then we used a half Muratic acid water mix in a hand sprayer over the whole floor, then rinsed and squeegeed again. The floor is pretty rough to begin with. Let it dry over night and then ran a lightly damp mop over it. When we finished, you could run your hand over the floor and it would be clean.

We made our own measuring stick for double batches. The one that comes with it is not very good, the lines disappear after the first patch. We transferred the lines from the stick to a scrap piece of ½ inch EMT we had, used a pipe cutter to etch in the lines.

We then prepared and applied as instructed in the included video:

Think it came out pretty good!

We need to touch-up the walls a bit, but over all happy with the way it went down. Time will tell.
We have the power! Hooked up and on when needed. The panel is exposed and we turn everything off when not in use.

With the breakers in and a couple hooked-up:

Then we started hooking up the plugs:

And:

Started on the other side:

We will continue installing the shop plugs and then the lights. We are going to put the caps back on the floor plugs and hook them up after we do the floor. Then we will shift to the back room, we want to get the shop done first so we can start moving stuff in and use it.
What a weekend! The trenching was done Friday after work, went better than expected and we finished the evening ready to lay conduit and 3 strands of 2/0 and one run of #4.


We then dropped it in the trench and buried it up:

We started early and I really thought we would be done in time to go to town for lunch. We finished up around 6 in the evening, learned a lot and had some quality family time.
You must be logged in to post a comment.