My new Work Sharp 3000

I have wanted to get something to sharpen my shop tools for a while now. I quickly found out that sharpening was one of those topics that have no consensual answer. It is kind of like the all grain, extract discussion in home brewing. There is no right answer; it is what works best for you.
As a hobbyist and having no current sharpening system. I decided to go with the Work Sharp 3000 dry sharpening system. And I am glad I did.
I put my shiny new Work Sharp 3000 together last night.
I then found the worst chisel I had. I think at one time it was used as a hammer:
Following the instructions both written and in the included DVD I was able to get it looking like this in sort order:
With a little more work, I am very confident I could get it even better. I did the above in about 15 – 20 Minutes. Overall I am pretty happy. The setup was quick and easy, from taking it out of the box to working on the block of metal I found was less than 30 minutes. The preset angles are nice as well and aided in my ability to get started quickly.
I plan to build a stand for it, something to hold the sanding wheels and jigs I plan on getting. Whatever I decide I will post it here.

Bowl Blanks Part 2

I started by making some round templates. 8, 8 1/2, and 9 inch.

I traced the largest template that would fit with pencil

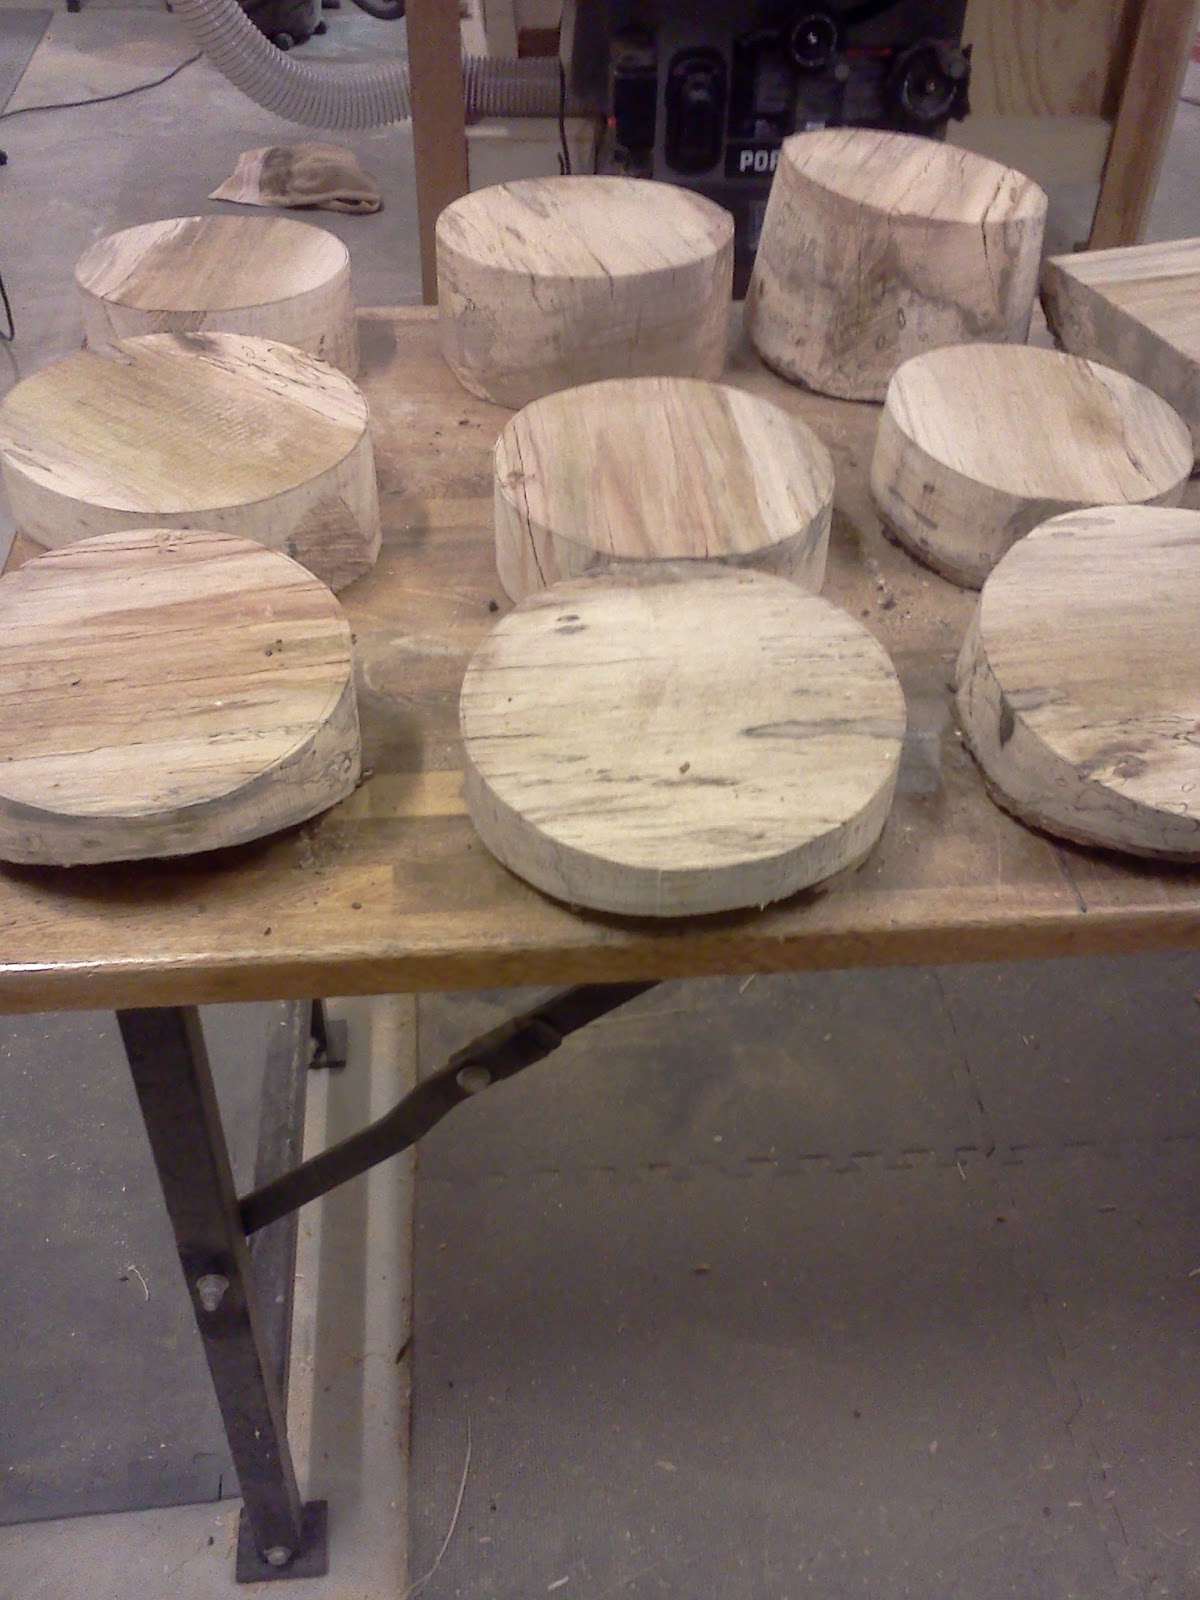
I cut them with my band saw. Here is what I got for the bowl blanks:

While I was at it, I cut up the other small pieces into the largest chunks I could. The fresh cut pecan is just beautiful.

Home made Borax dip and maybe end seal…

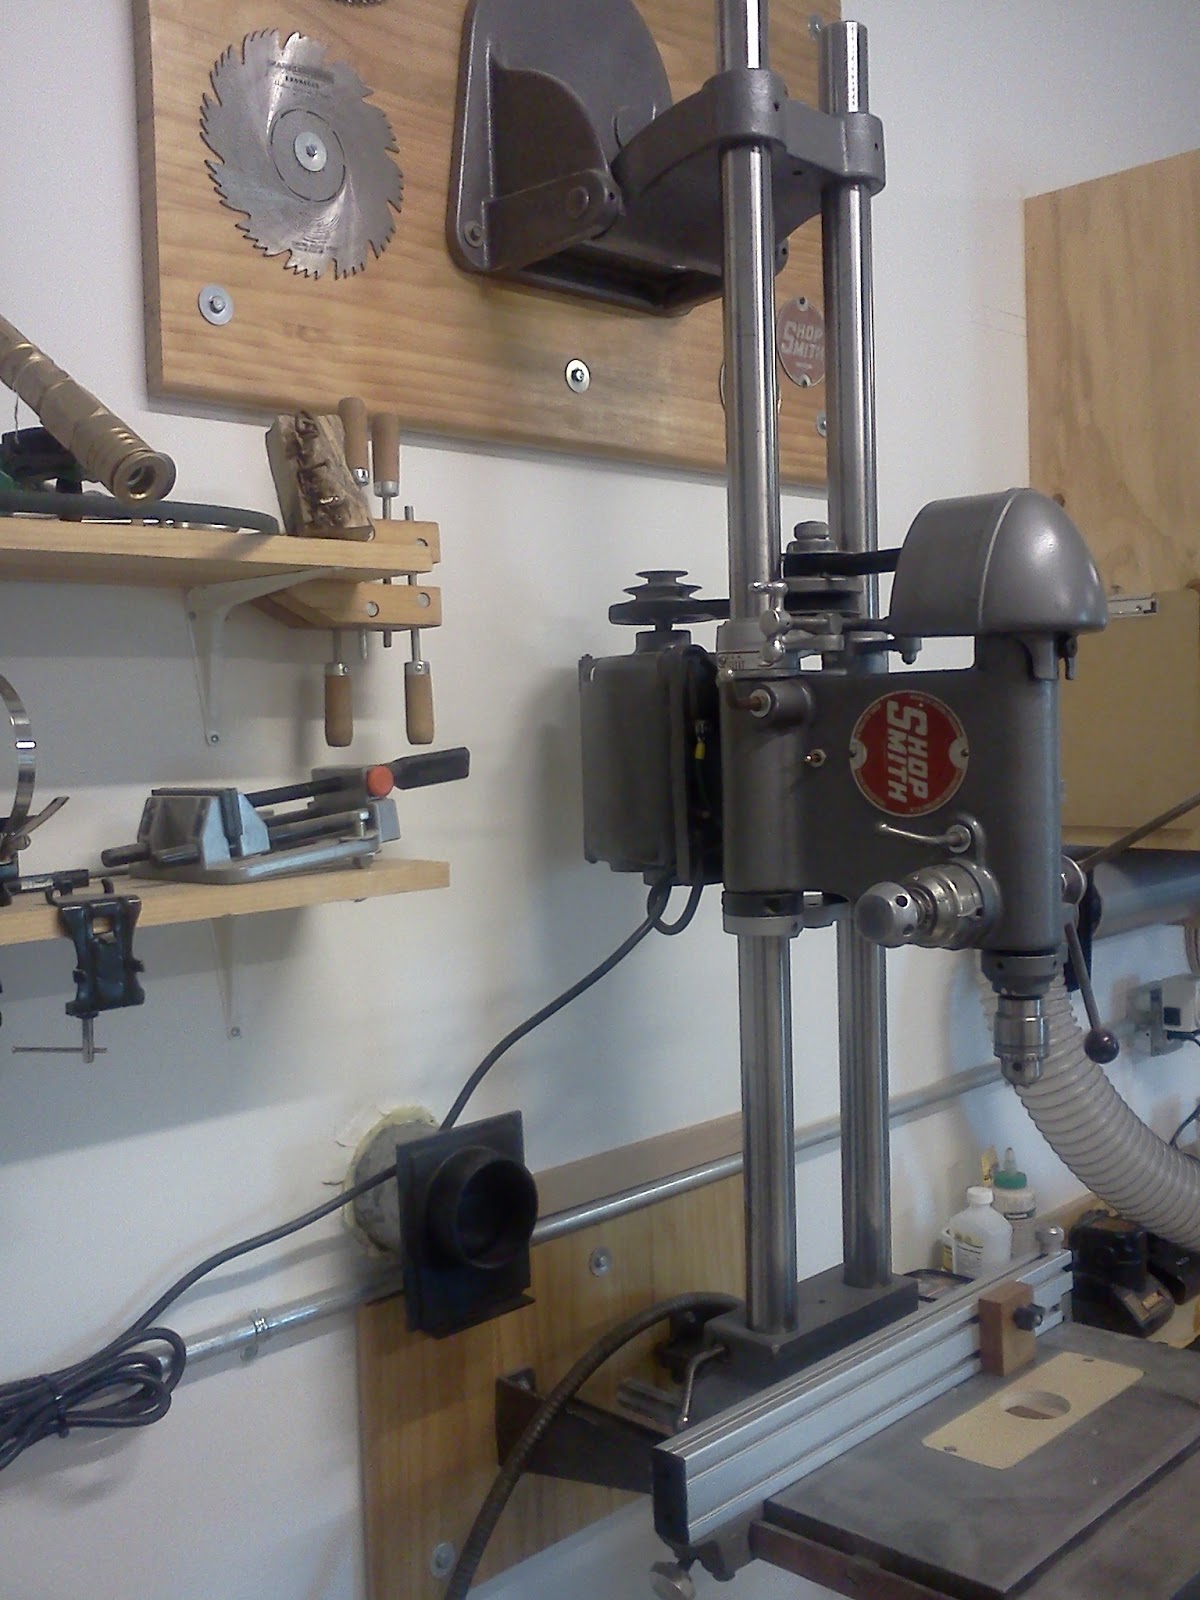
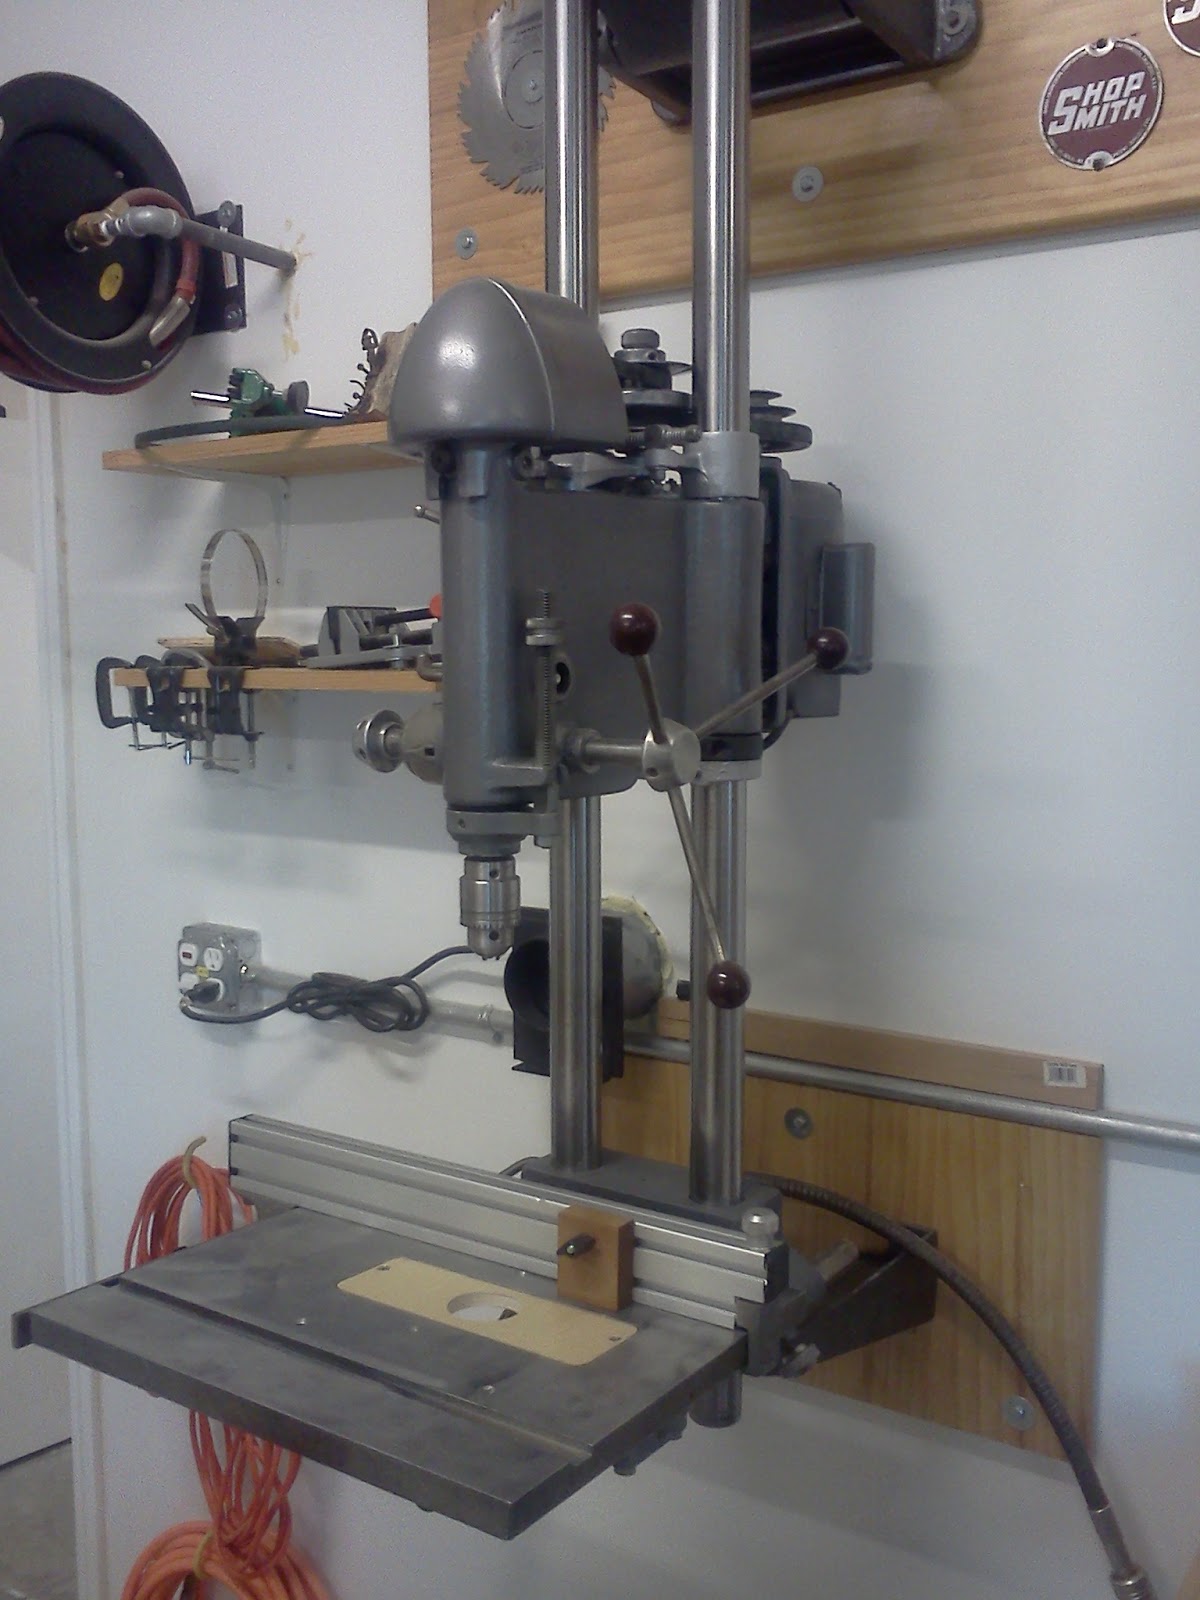
Shop Smith 10E(R) 16061 Restore – My Current Drill Press

Just some quick pictures of one of my other Shop Smith restores. This one is mounted in permanent drill press mode.

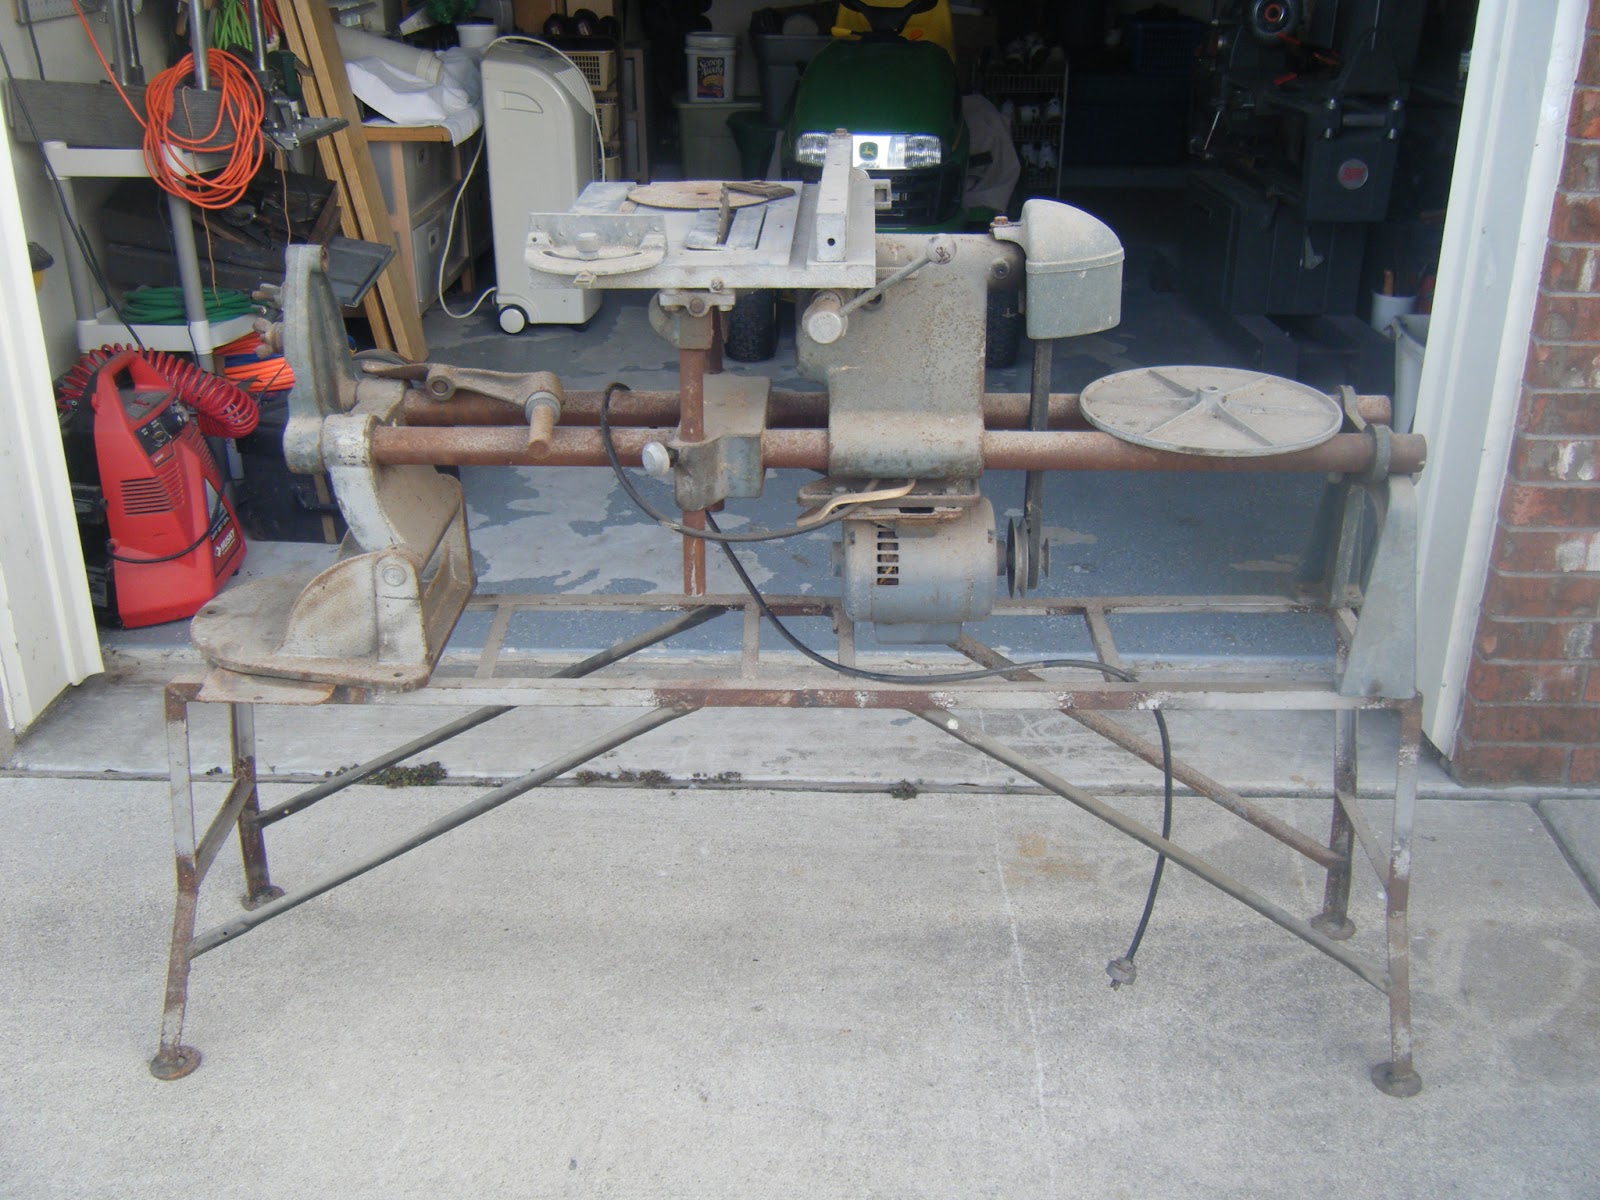
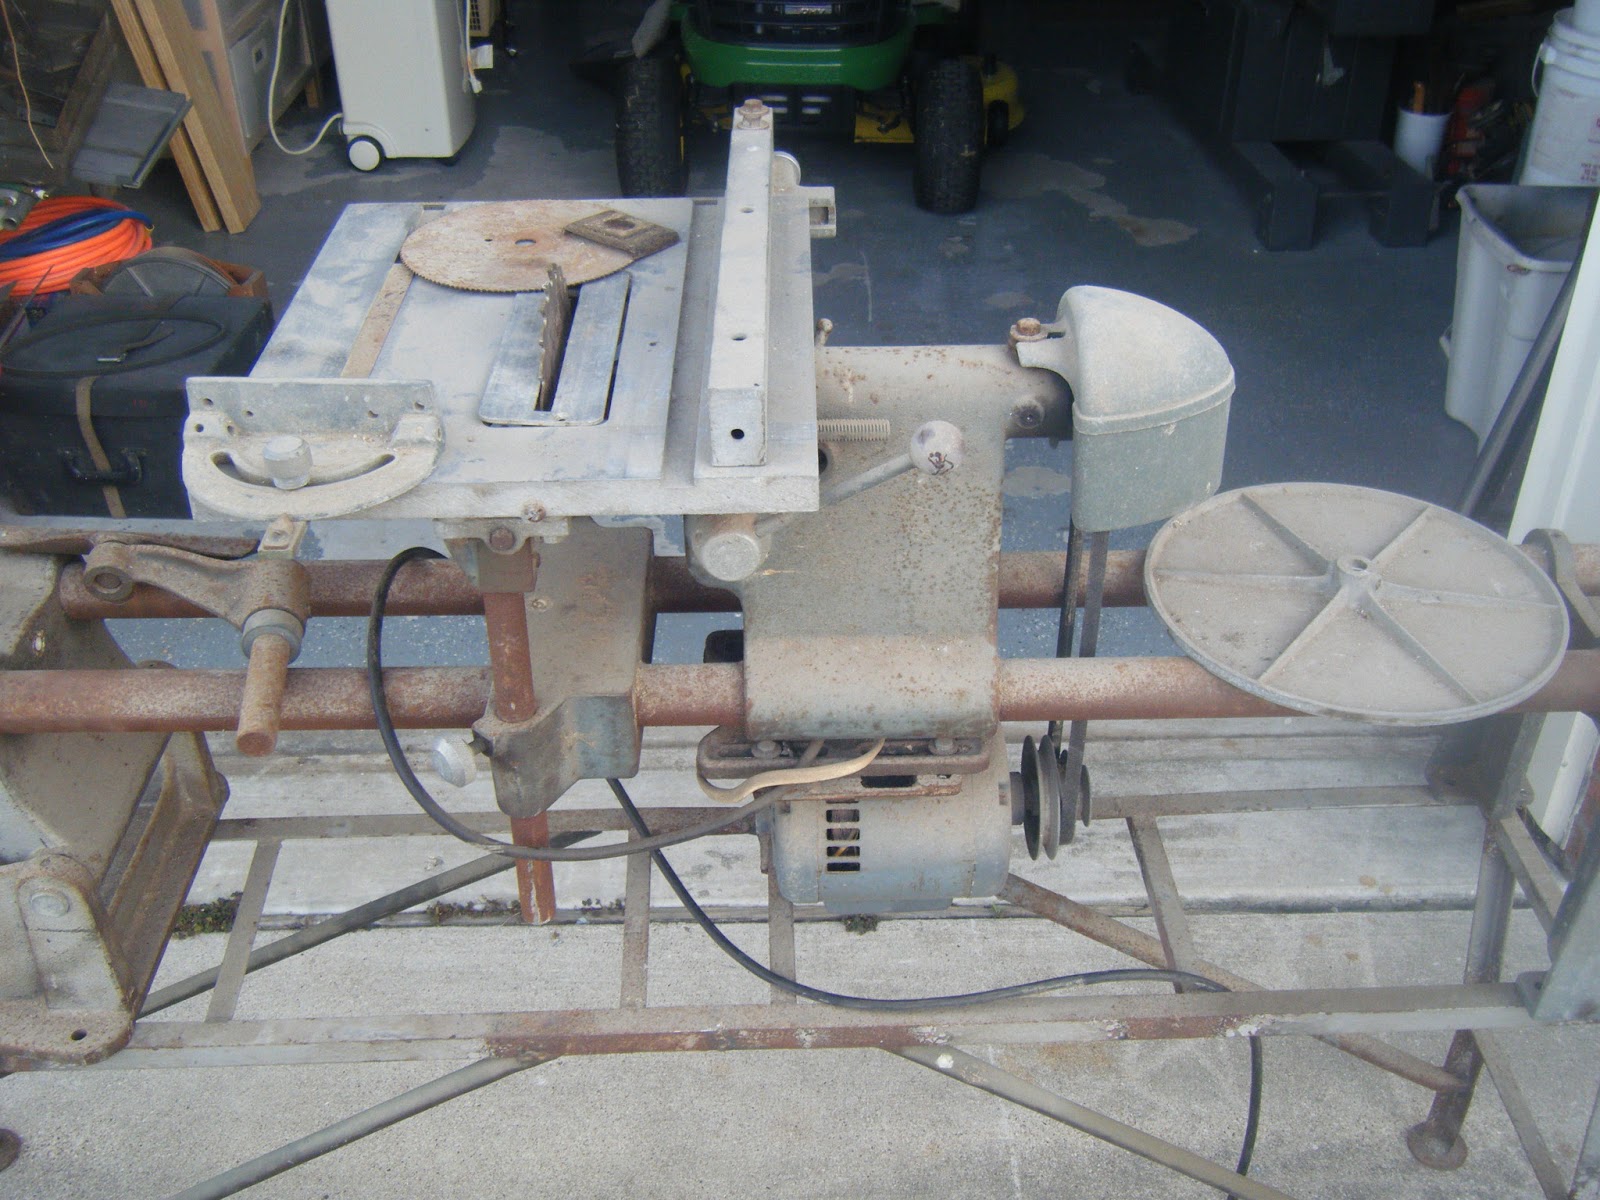
The Before shots

After:

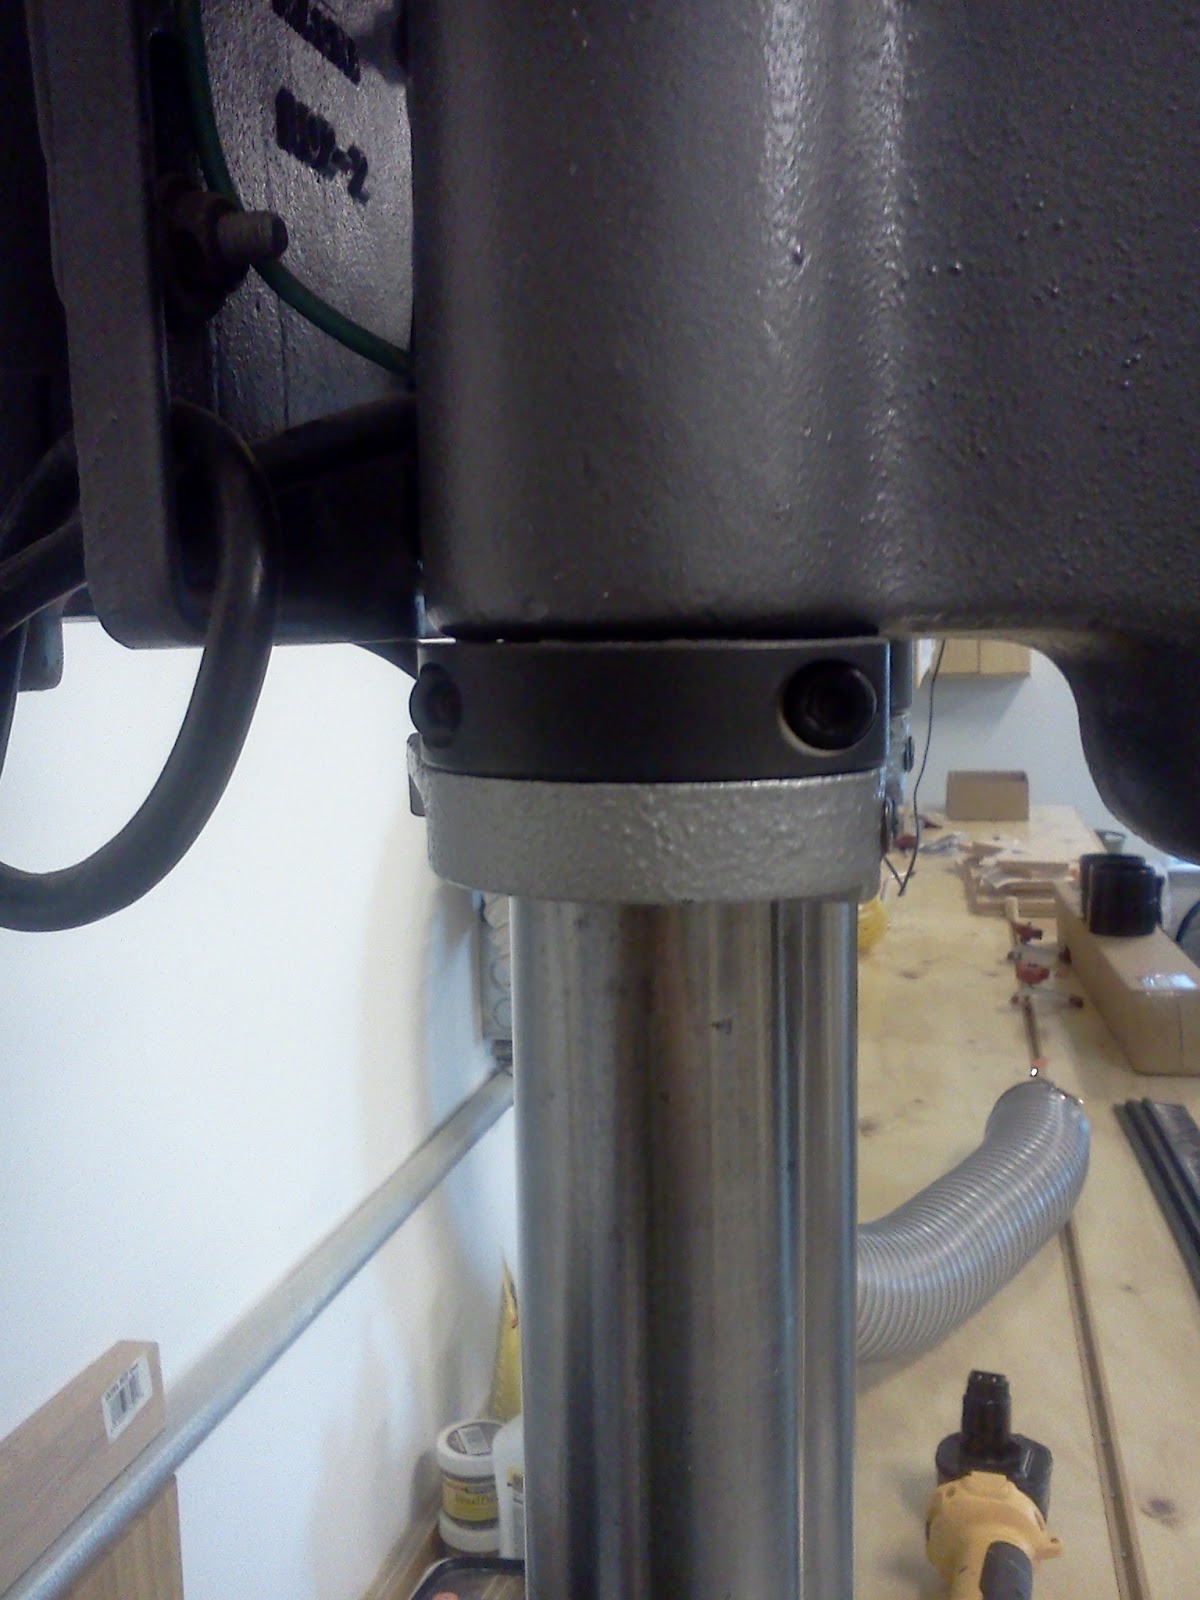
To help keep the VERY Heavy Shop Smith 10E head in place, did I mention it is HEAVY? I went to McMaster-Carr and got 2ea, Two-piece Clamp-on Shaft Collar, Steel, 1-3/4″ Bore Part Number 6436K25 to help hold it in place:

Bowl Blanks Part 1

Using my new chain saw wood holder thing I cut up one of the pieces of pecan that the mill could not because it had a big piece of metal in it. I figure I will make bowls out of it.

Pecan Wood Blanks
Pecan Wood Blanks
I think they will look pretty good. I am going to make some circle patterns and rough cut them on the band saw. Then let them dry for a while. Here is a close up of one of the pieces:
Pecan Wood Blanks
Pecan Wood Blanks

BTW, mead is still fermenting away. Slow but true….

Shop Smith 10E(R) 12103 Restore – Part 2

Here is a quick view of what I did to get it restored

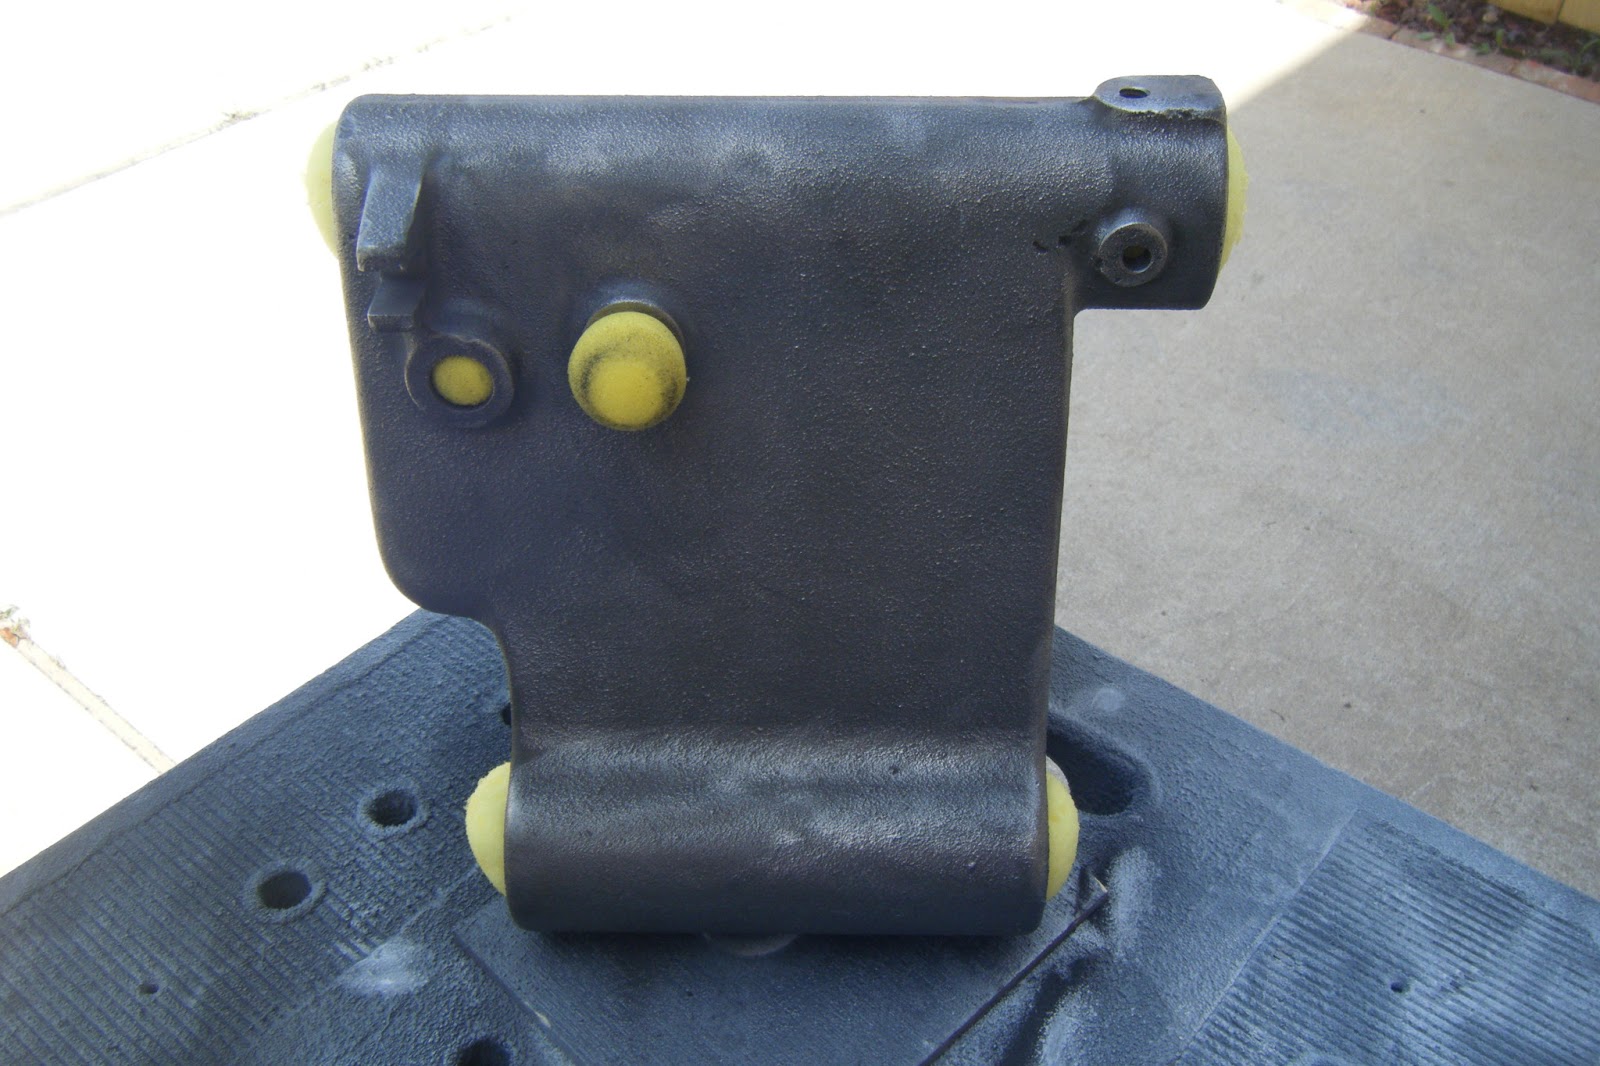
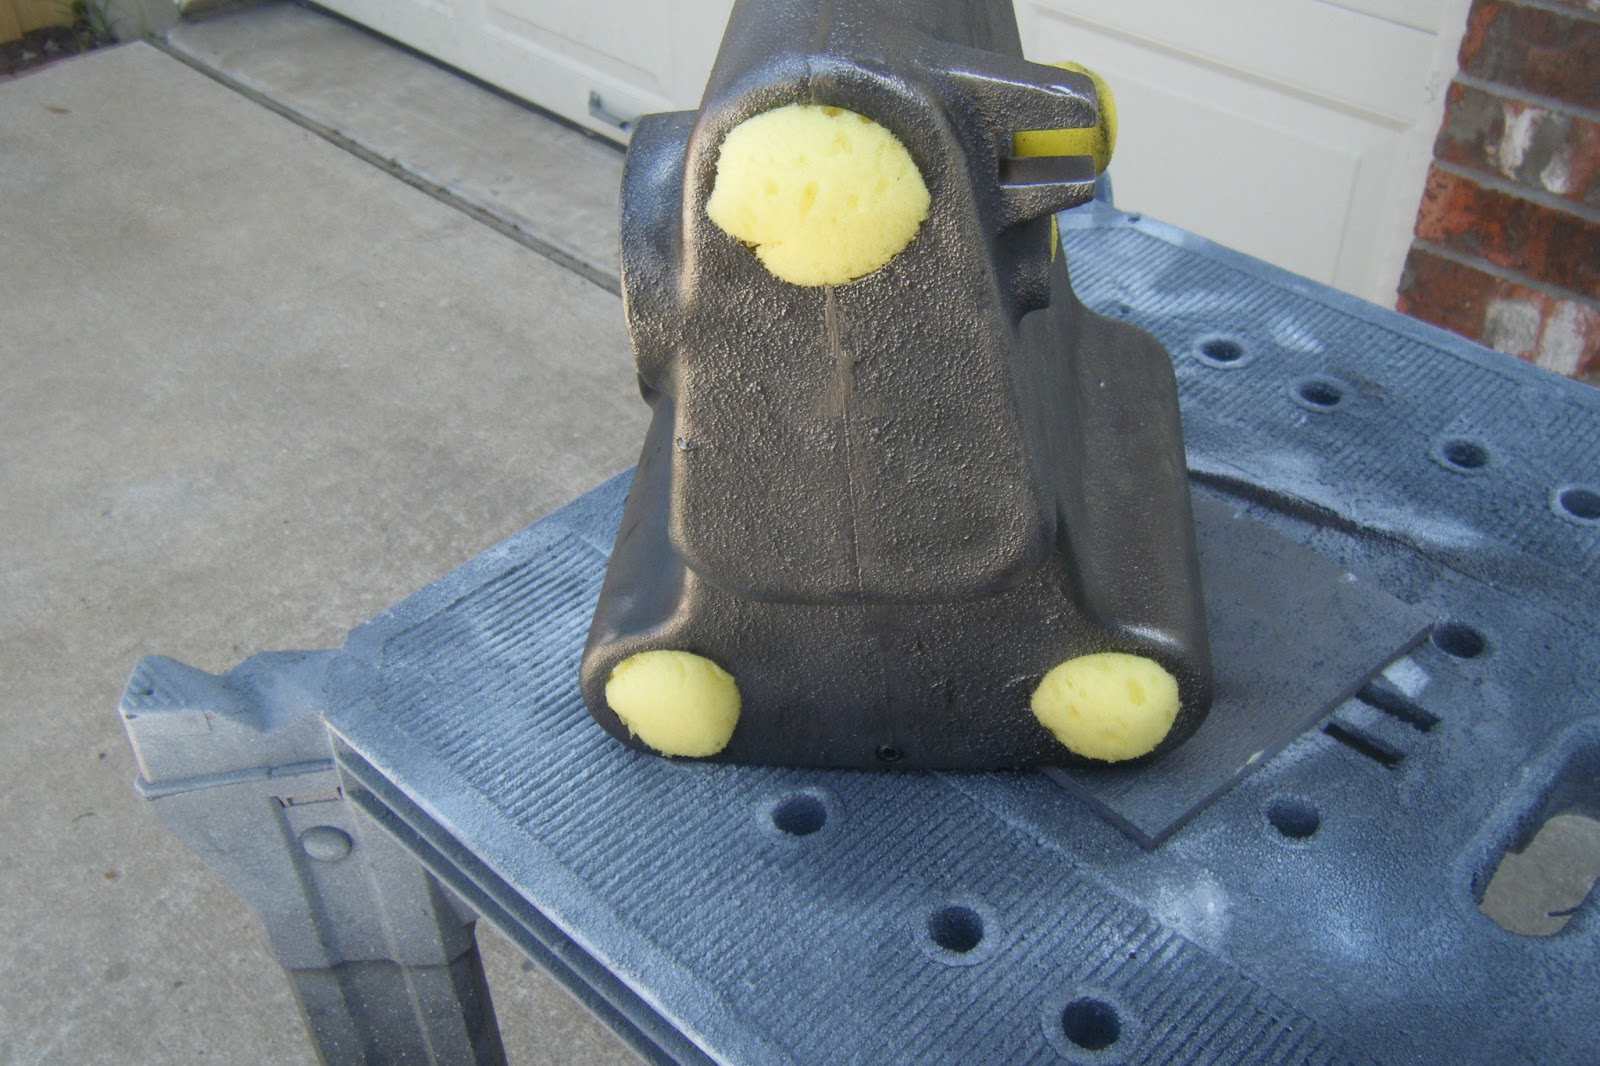
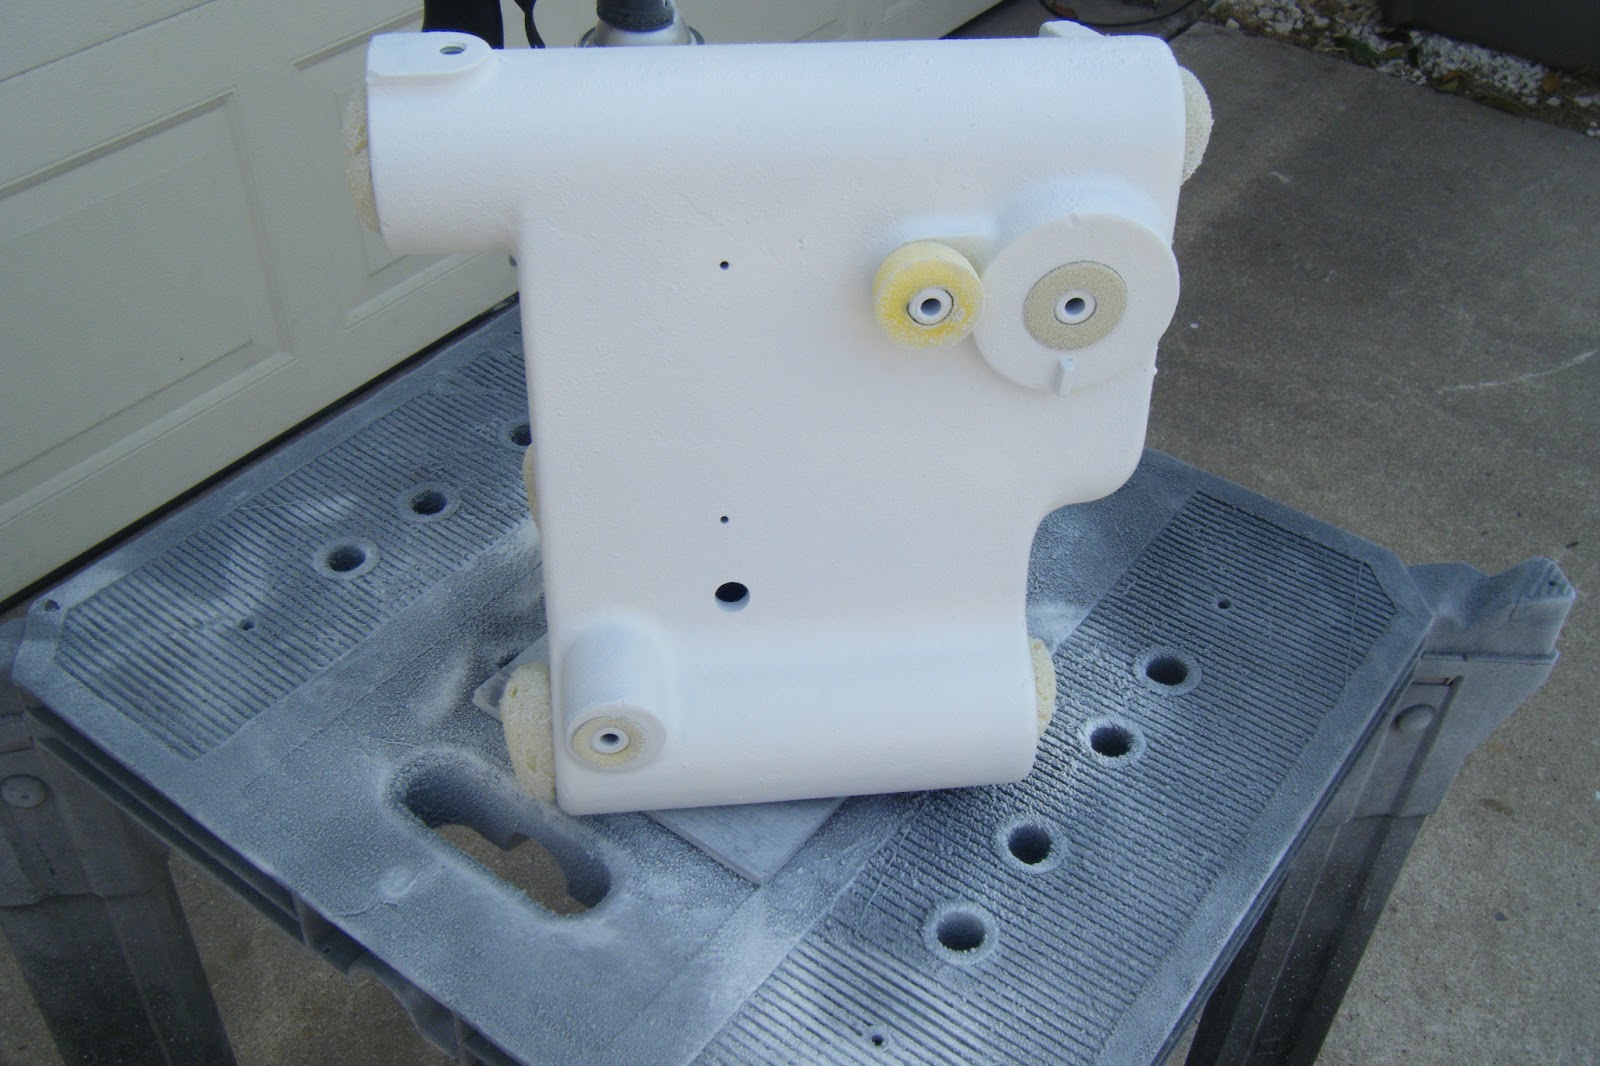
Here are a couple shots of the headstock after electrolysis and a quick hit with the 4 inch angle grinder with a wire wheel attached. I tried filling the holes with cheap roller sponges I picked up from HF, thought I would be able to re-use them…Not!
 Then I primer it up..
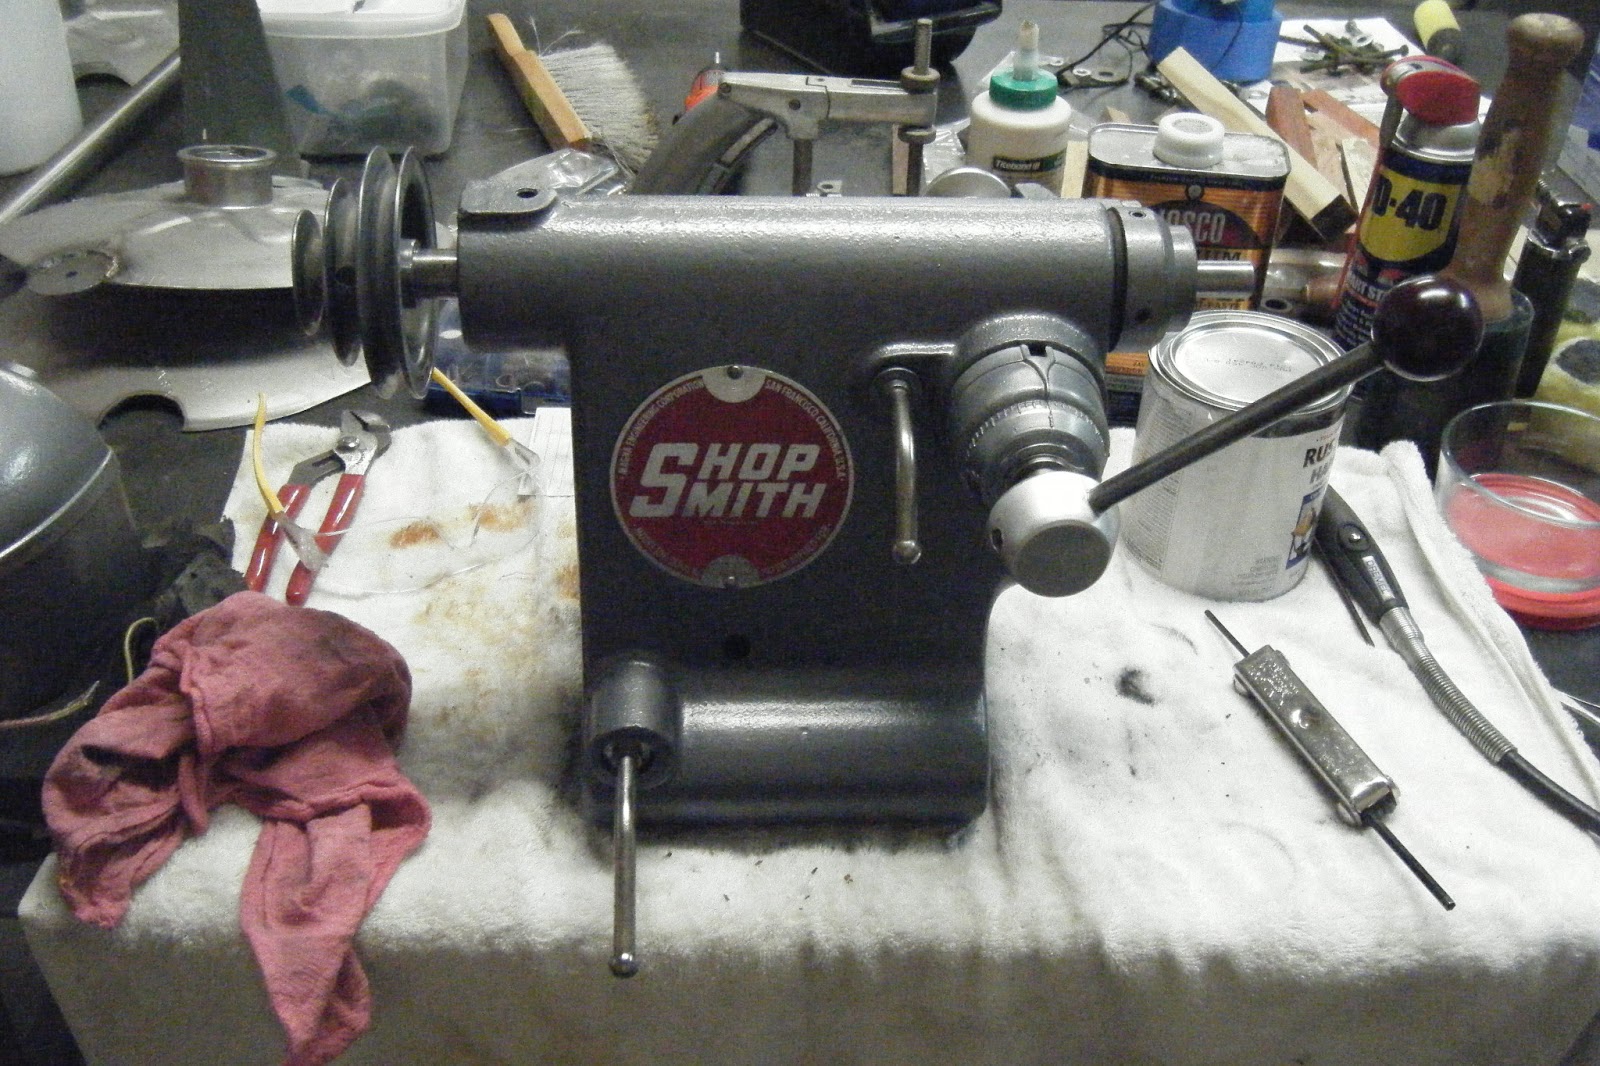
And put it back together.
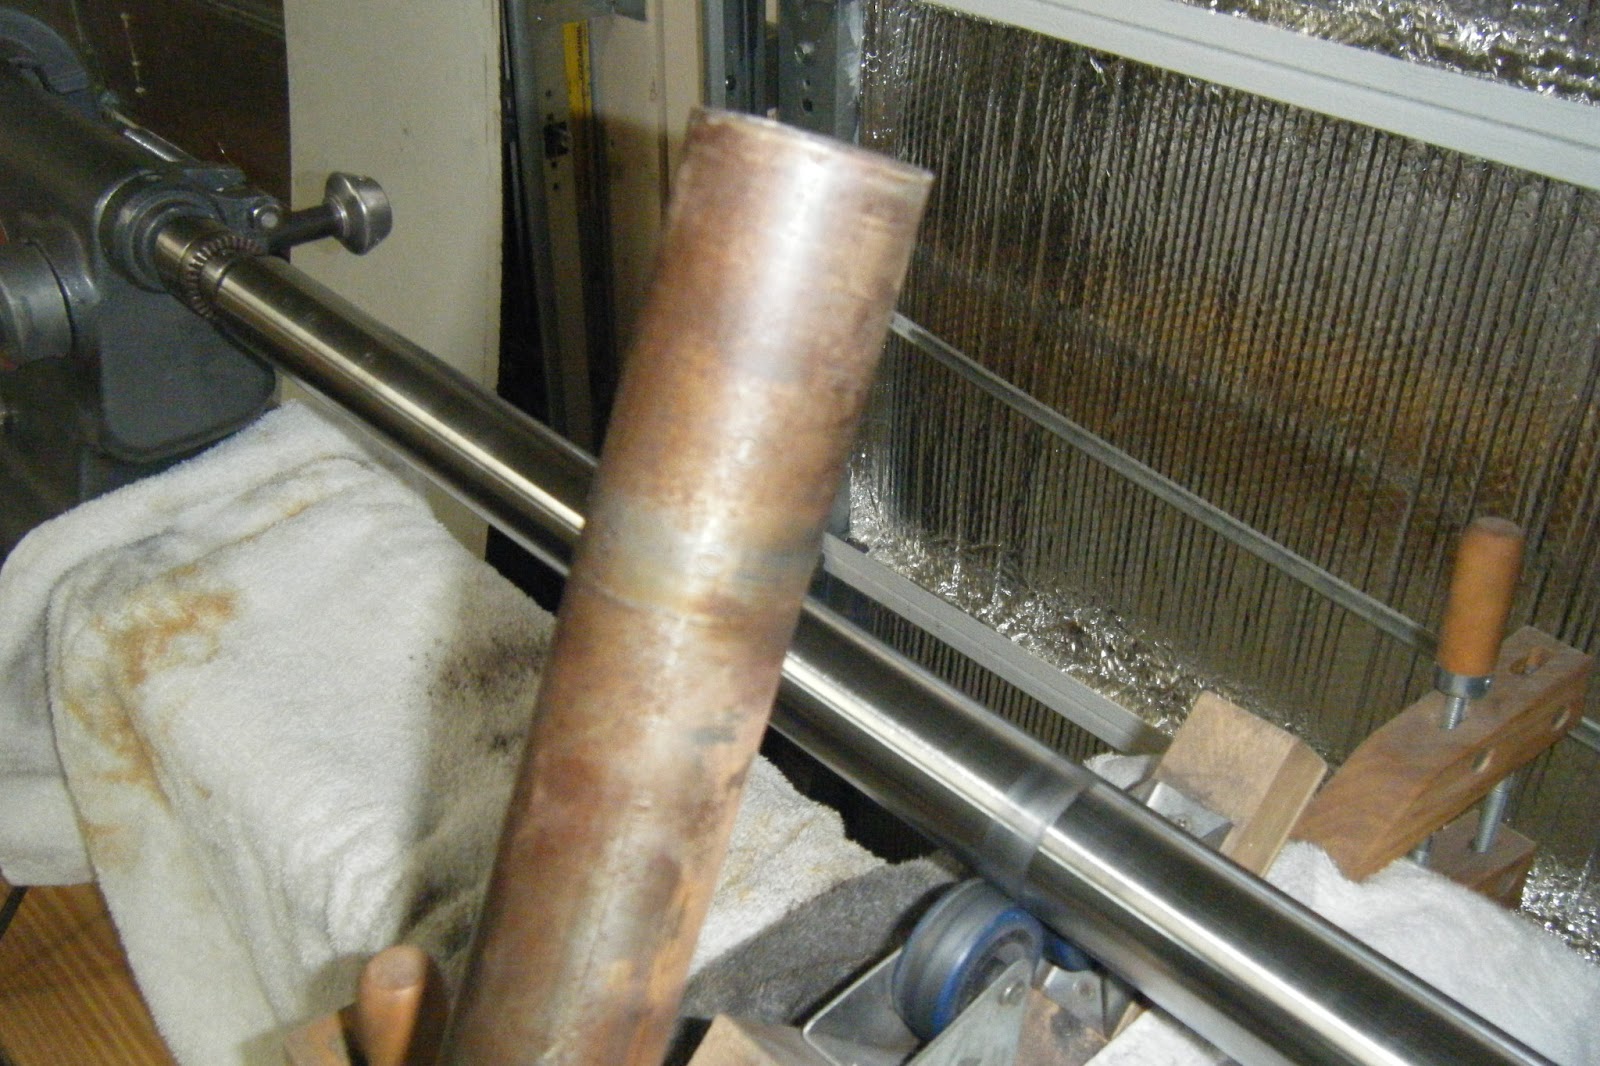
Then the way tubes. The one in front is before and the one on the shopsmith is the almost complete job. After loosening it up with electrolysis, I start with 150 grit and work down to steel wool and then a coat of Johnson’s Wax.
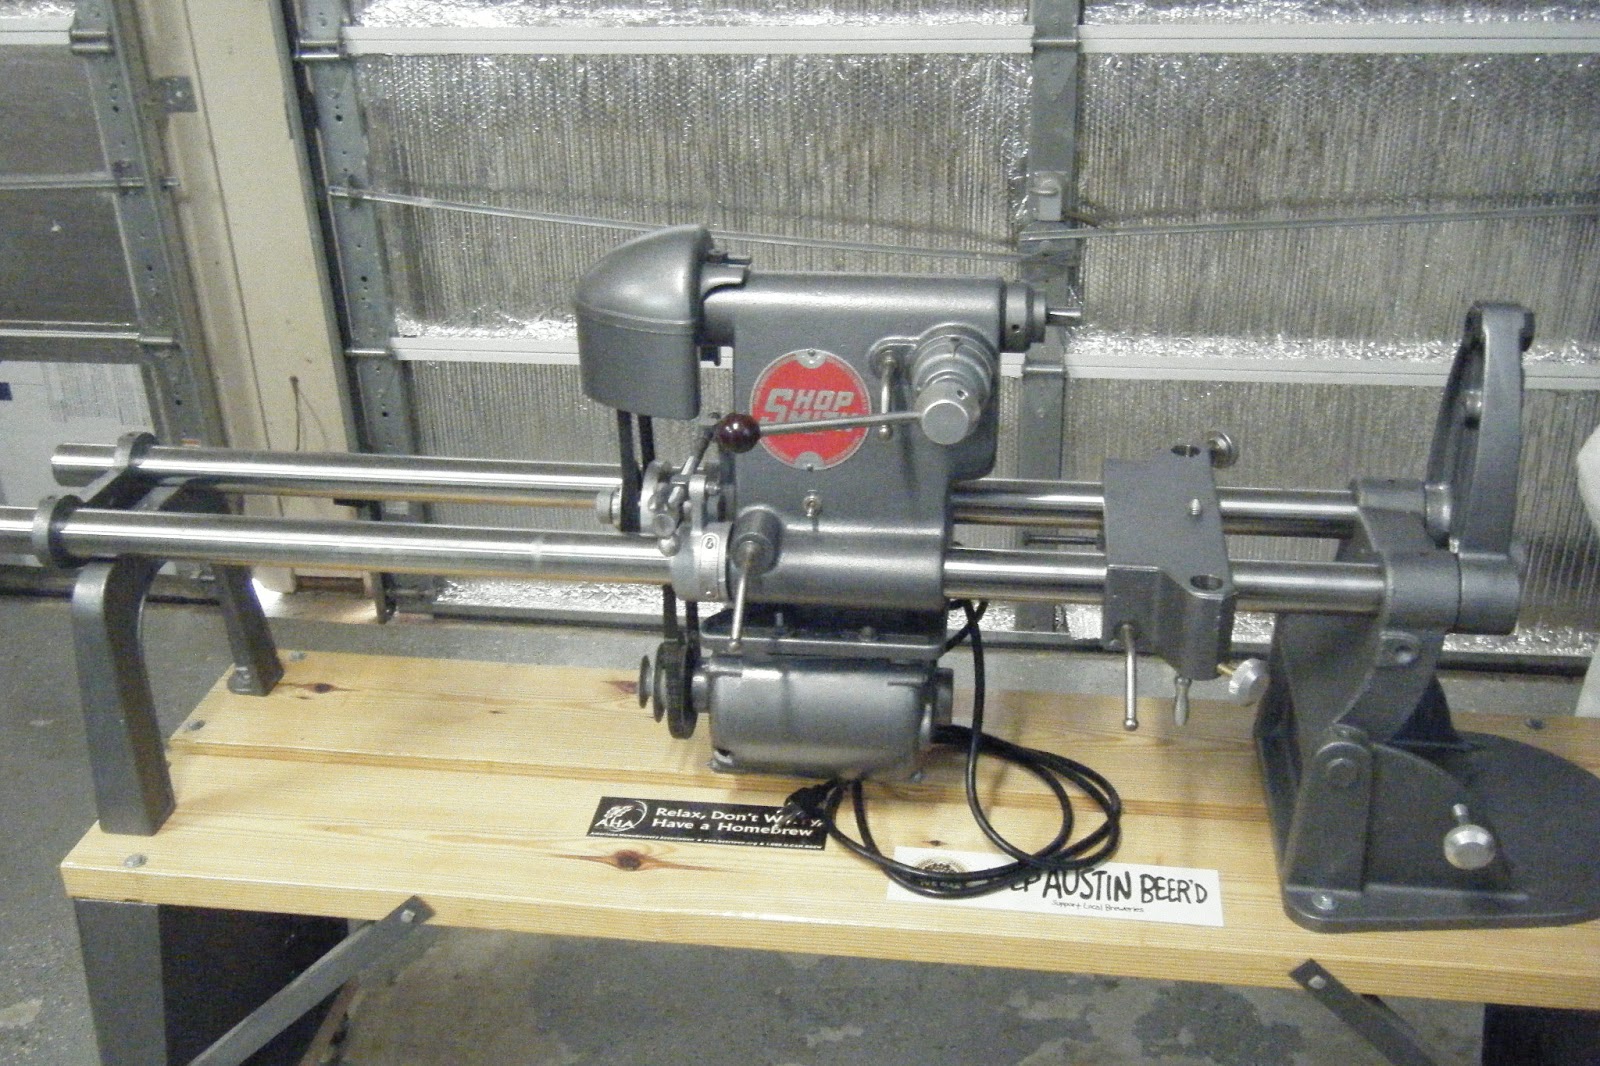
Here is a shot of the completed Shop Smith

Electrolysis – Electrolyte Solution

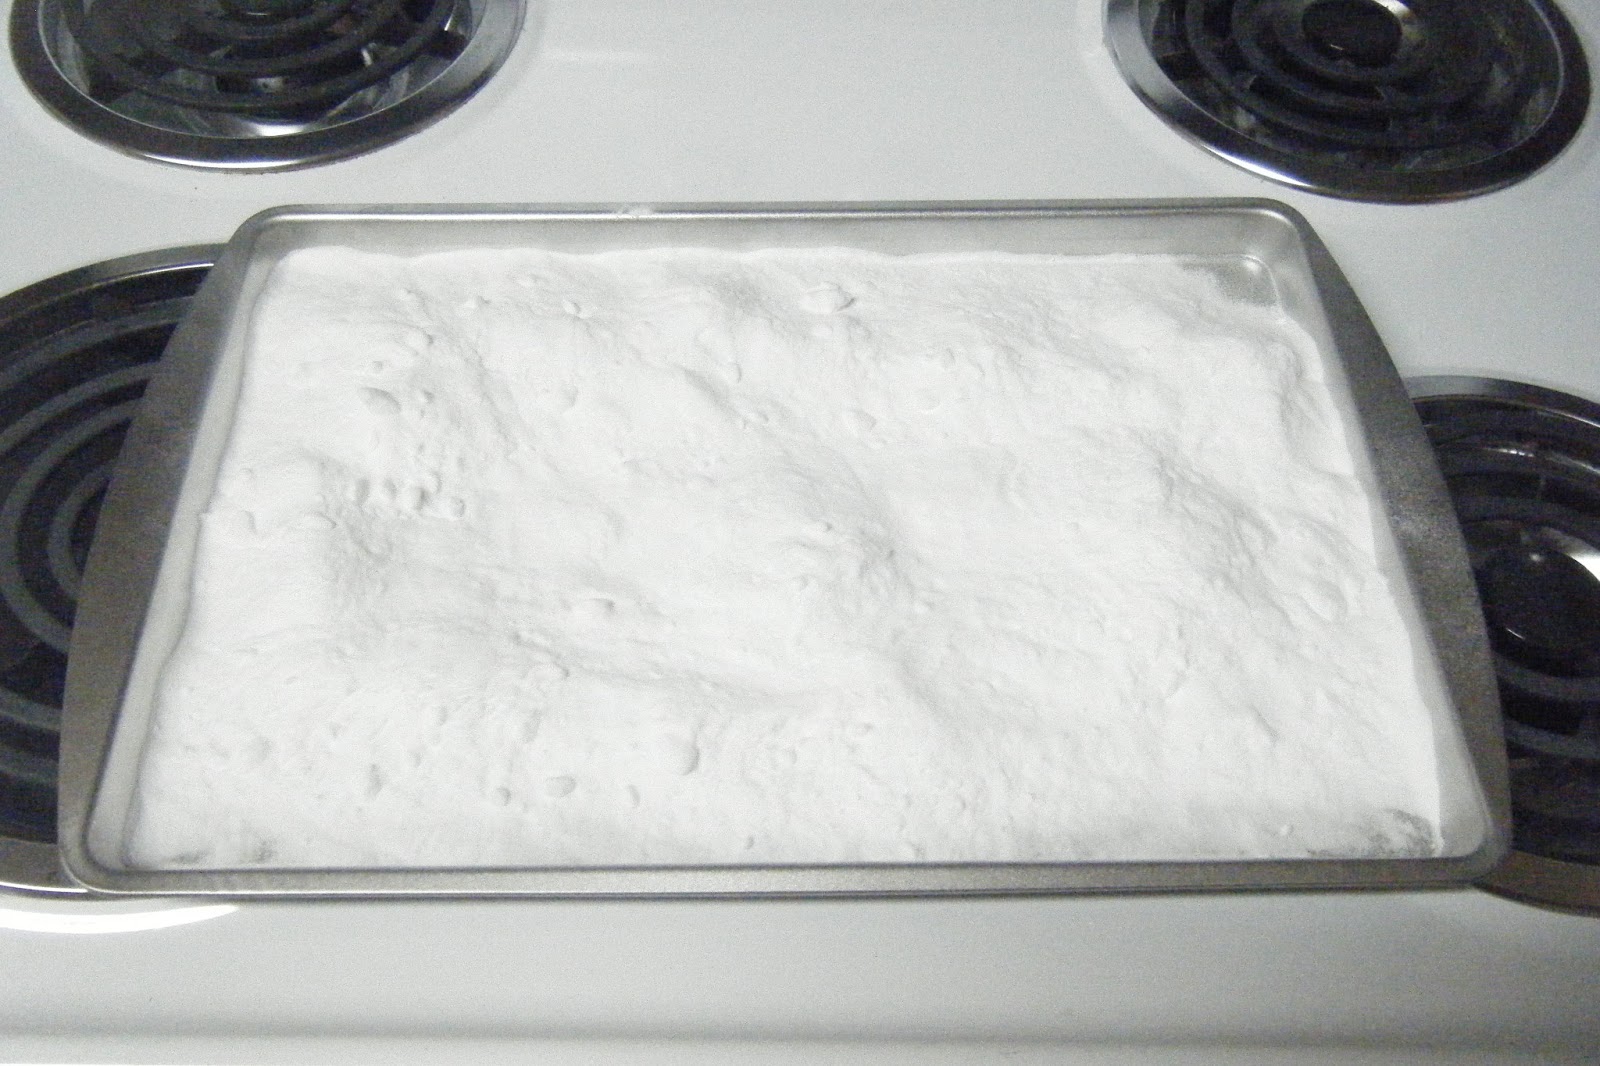
“Just put some baking soda onto a frying pan or a cookie sheet, and bake it in the oven at a little over 300°F (149°C) for an hour. “ You can go to the site for the scientific explanation. I have a lot of baking soda laying around, you can see in my other posts, it worked just fine. 1 tablespoon per gallon.
On a cookie sheet, in the oven at 320 for an hour
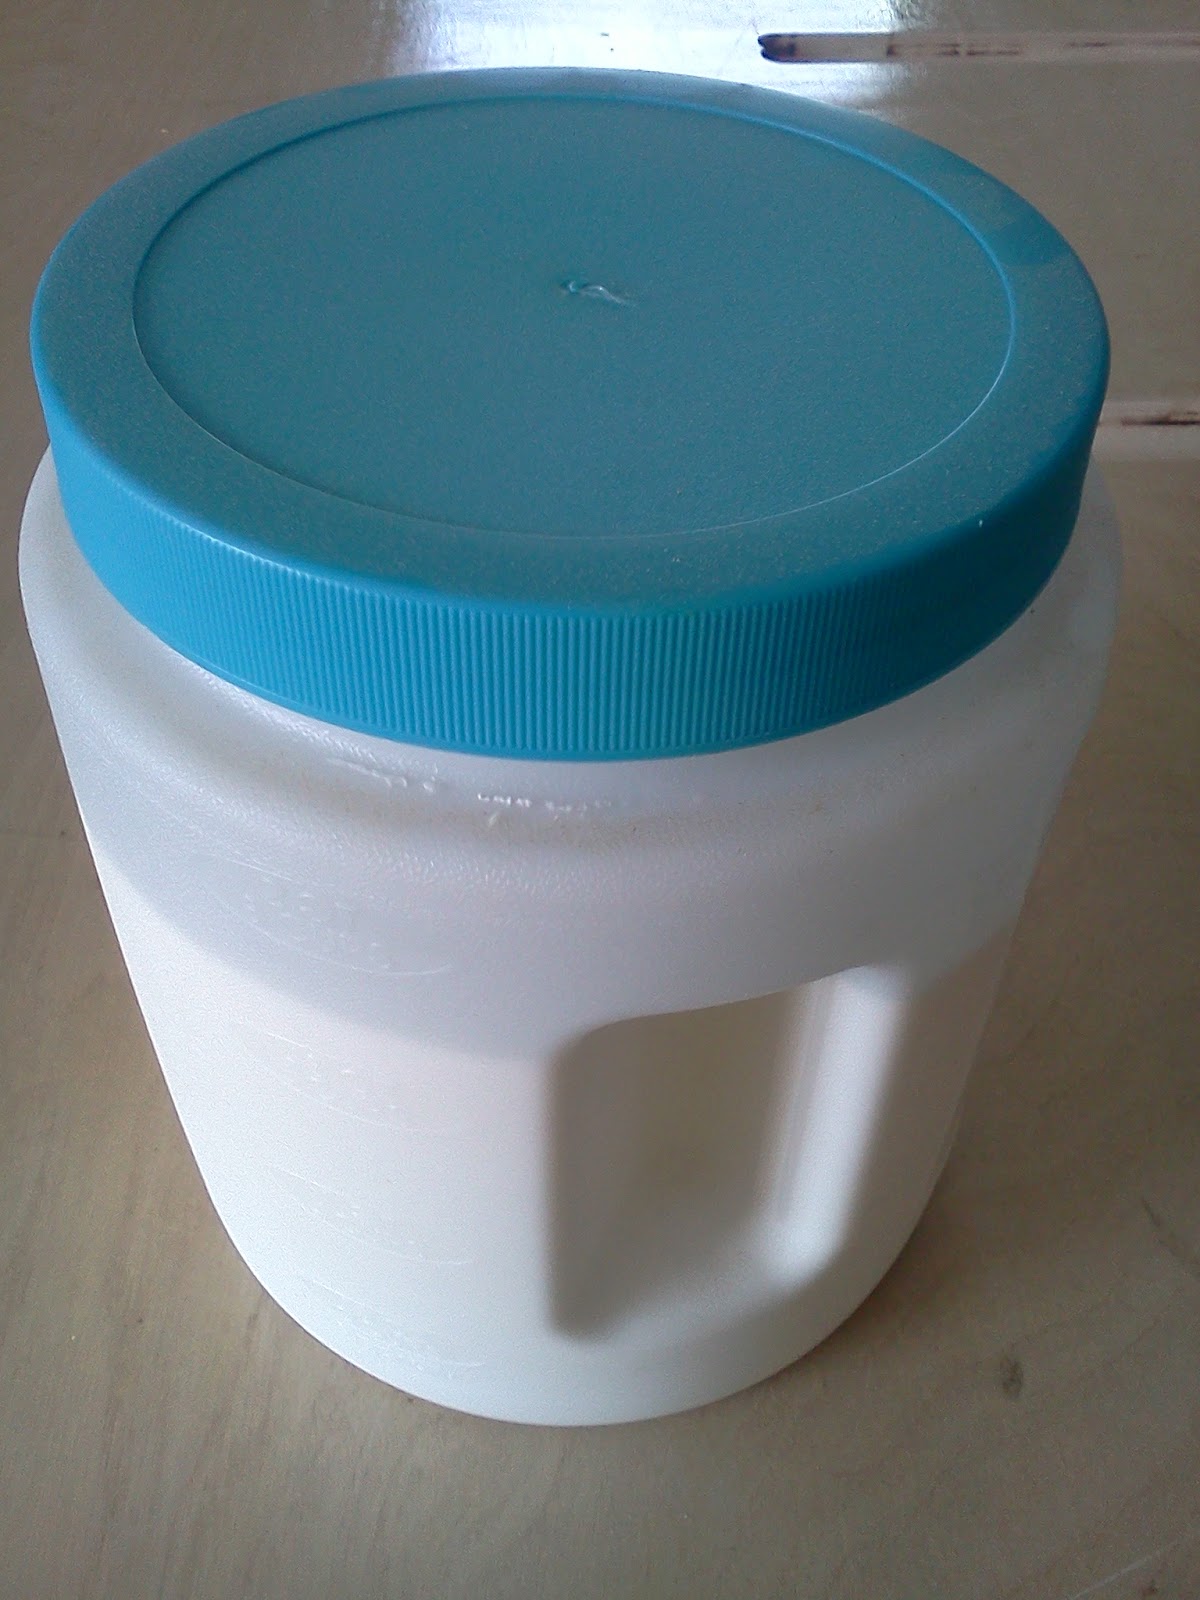
I store it in a plastic container until needed.
You will see the results of all this in the Shop Smith Restores.

Electrolysis – Just the Vats man!

Here are a few of my most used electrolysis vats. Re-bar seems to work just fine for me, I am not restoring gold or sunken pirates treasure. Just my own treasures. I have not seen pitting, staining, or anything else bad.
I drilled a small hole on each side of the re-bar, wrapped the copper wire around the re-bar. This also help hold the re-bar in place.
Don’t pay attention to my cable colors. Positive on the outside re-bar, negative on the part.
I use this one for medium size objects.
Action Shot:
Small Parts Version:
 Action Shot:
And my last entry. I use this one to do the long objects. Primarily Shop Smith Way tubes
Action Shot, I made some modifications to the re-bar, but it is the same vat.

Electrolysis – Power to the process!

I have been using electrolysis for a while now to remove rust from all my iron Shopsmith parts. I received my original inspiration here: http://www.instructables.com/id/Electrolytic-Rust-Removal-aka-Magic/. Here is what I do to make it work:
Lets start with how I am going to get DC current to the processes. I started by doing some research with the all knowing Google and came up with these sites:
I did not like the idea of leaving the power supply together and I had a nice box to put it in. I put in a GFCI plug I had laying around and added the mounting hardware for the power supply board:
I then took the Power Supply apart and wired it up as the websites above describe. Well…almost the same….
I then mounted it in the box. I kept some extra wires for future testing, and I jumper-ed all the grounds off the single ground wire:
Here is the outside:
Here is an outside shot with both power supplies:

Next I will show some vats I made and the to the electrolyte.

Copy Protected by Chetan's WP-Copyprotect.