Elgin Shop – Table Saw and Out Feed – Follow-up

Finally got around to adding some much needed finishing touches to my out feed table. First up, miter slots. Pretty straight forward; lined it up, marked it up, and routed it up.
I also routed out a lip so I could get it over the metal support bar on the back of the table saw and bring the whole out feed table flush with the saw and side table. I noticed that the out feed table legs are rubbing the rear ‘L’ bracket and wont let me bring it flush. You can see the black marks on the legs
To fix it, I cut the offending piece away:
Then I finished the switch for the router table and added a 4 inch dust collector port.
The dust collector port is a 2 to 4 inch adapter. The table saw only has a 2 inch port. The adapter on the saw is a quick disconnect so I can quickly remove if I need to move things around:
Here is a complete shot:

Elgin Air Compressor Setup

Got my air compressor setup. Made a couple wood blocks with a 1 inch hole cut in half to mount the gear:
 Mounted the filter and oiler. I put in a split before the oiler for ‘clean’ air the tools that require oil will be attached after the oiler.
Here it is all ready to go. I installed male connectors to both oiler and clean air outputs. Spool is hooked up to the clean air and I have a hose read for the oiler side.

Elgin Shop Dust Collector – Harbor Freight 2HP Collector Externally Vented – Part 2

Got the first 4 inch pipe run. I am not going to show every run here, just the core run. You will see other runs in future posts.
I am using 4 inch sewer pipe, it is thick enough for what I am doing and much cheaper that regular 4 inch PVC.
I used 2 small sheet metal screws to help hold everything together. I did not glue everything together, I want to be able to take everything apart if I need to.
Here is a shot of a Wye with a blast gate:

Elgin Shop Dust Collector – Harbor Freight 2HP Collector Externally Vented

Back in the shop! I decided to vent my 2 HP Harbor Freight Dust Collector to the great outdoors. Hereis my original HF dust collector installed in the old shop. I will continue to use Thein Cyclone I built so there will only be fine dust blowing out.
First thing I did, while I had everything apart was touch up the paint:
Using 2×4’s and some very long lag bolts we got the Harbor Freight 2 HP motor mounted on the wall. The 2×4’s are mounted to the wall with 5 inch lag bolts screwed into the wall studs, the mounting bracket is bolted on using 2 inch lag bolts screwed into the 2×4’s.
Mounted up the impeller shroud:

I had to notch out one of the 2×4’s to get it to work:

Cut a hole in the wall and attached the vent. I sealed everything up with HVAC tape.
Here is a shot of the outside. Sealed everything up with clear silicone:
Here is what I used to build the vent. Metal 4 inch vent and a metal 5 to 4 inch reducer. Not pictured are 2 rubber 4 inch grommets I used to seal each end of the pipe.
I built a cart to hold the Thein Cyclone and hooked everything up. Added wheels to the cart so I could just roll it out and empty.
Next up if putting in 4 inch PVC for the plumbing.

Elgin Window Replacement

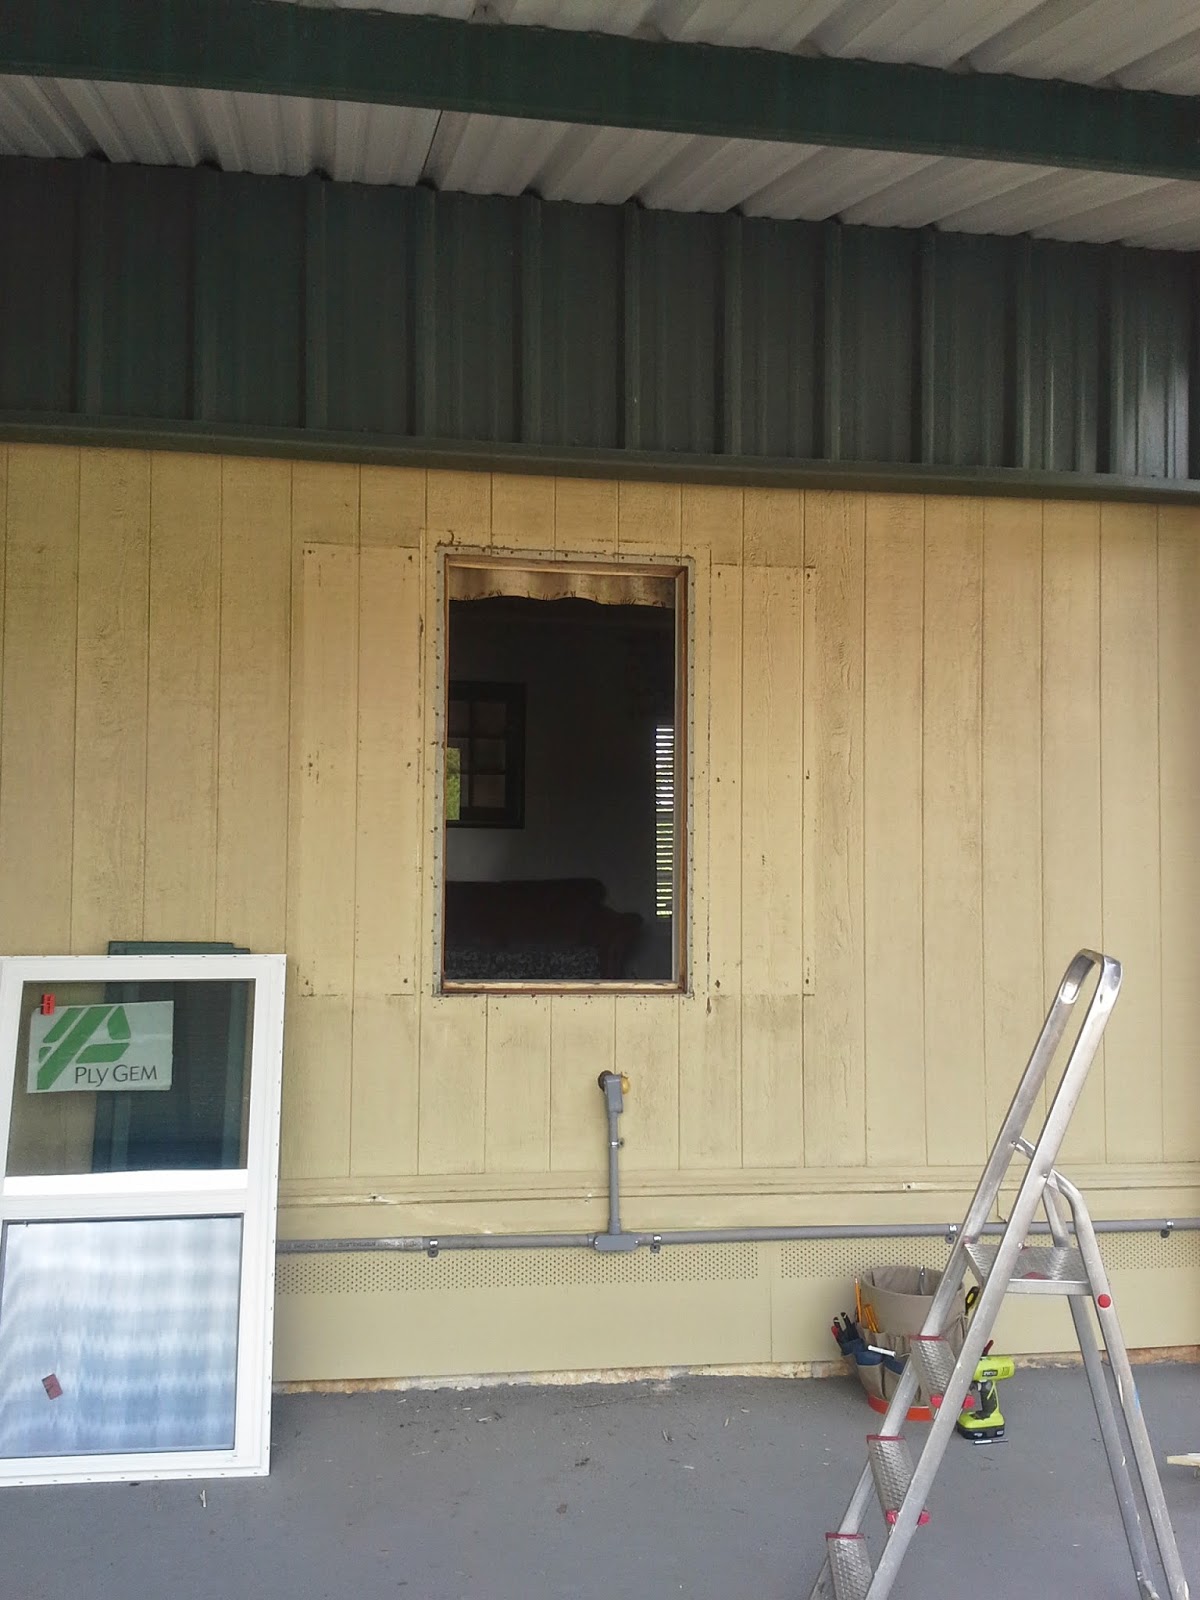
We decided to replace the old single pane windows in the old homestead. Here is what the original mobile home windows looked like:
We removed the shutters and about 100 screws holding in the old window and popped it out. We replaced the windows while the weather was cool so we would not waste more energy than needed.
We took about an inch off the window board:
Then we slid in the new PlyGem double pane tinted windows.
Applied the cedar trim and sealed it up. We will paint it when we do the whole house:
We got these windows at HD for about $100 each. To us they are well worth the investment and we will soon see a return. Now all of our windows are energy efficient, open easily, and have screens.

Elgin Master Bed and Bath Remodel Part 2

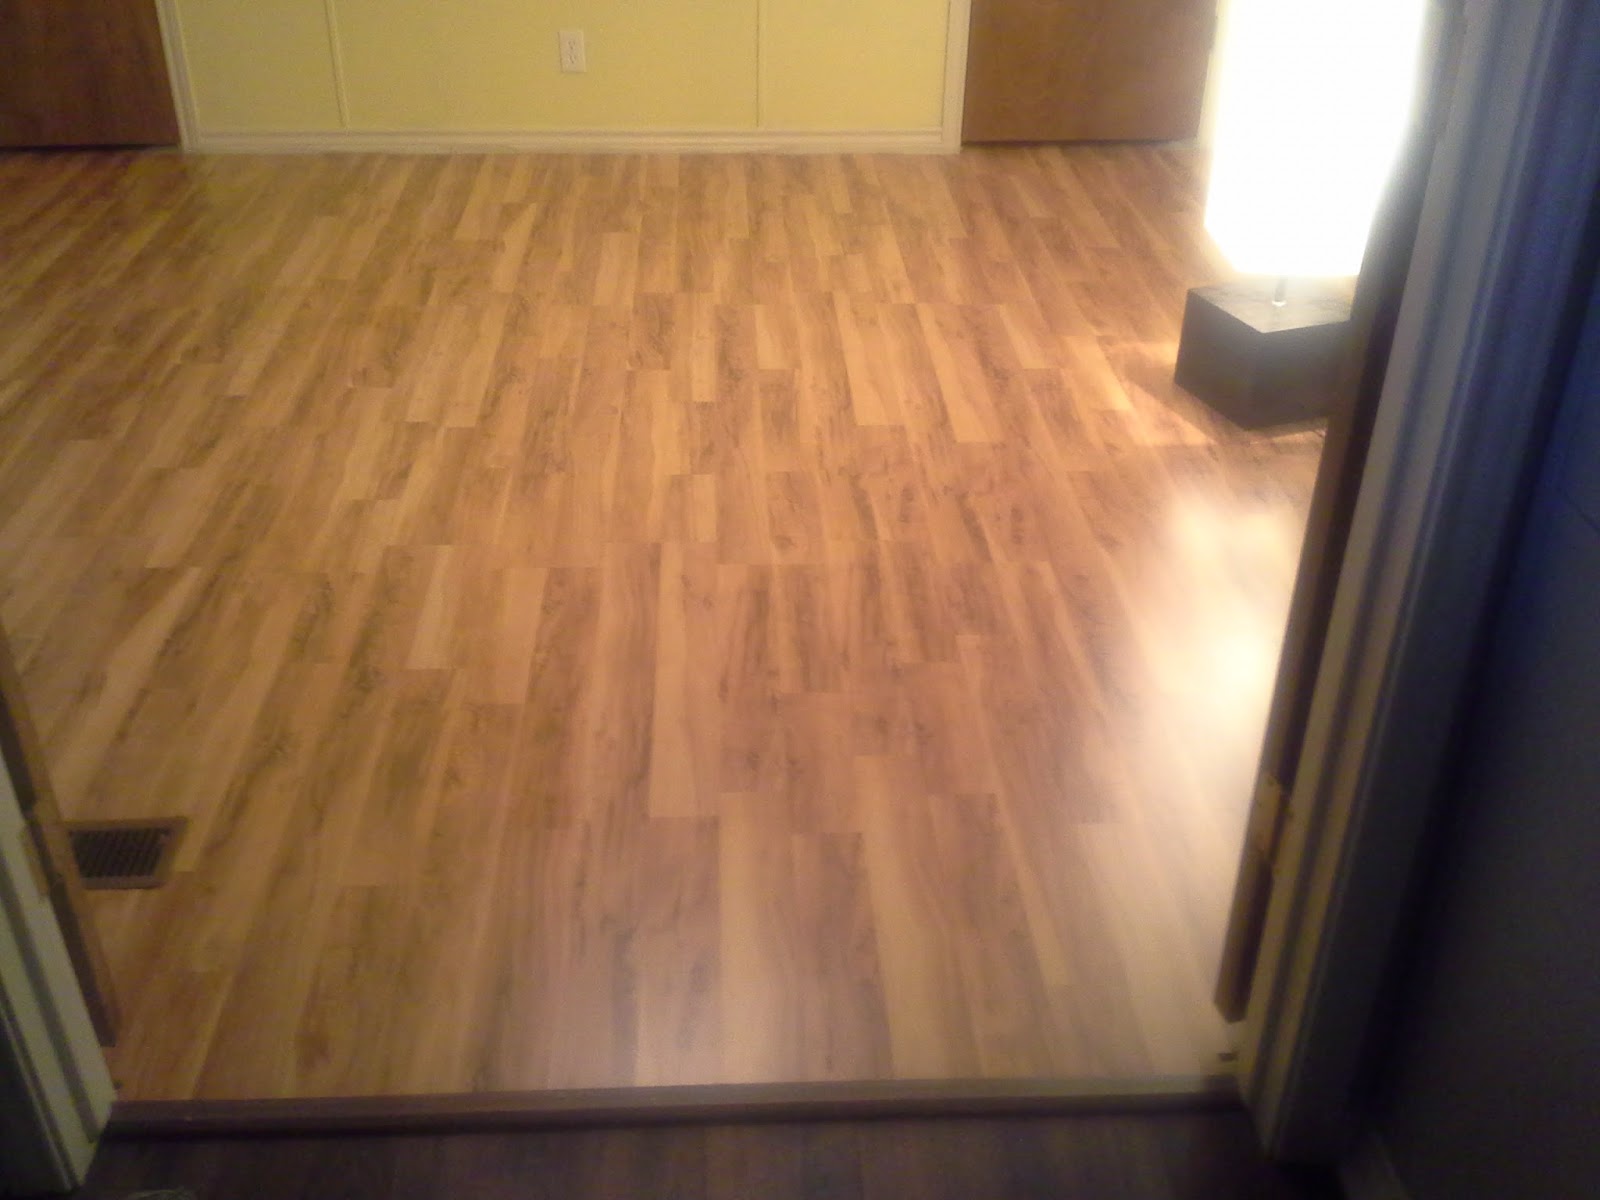
We got the floor done and trimmed in the master, came out pretty good.
Got a lot done in the bathroom as well, can not even tell the Garden tub was ever there:
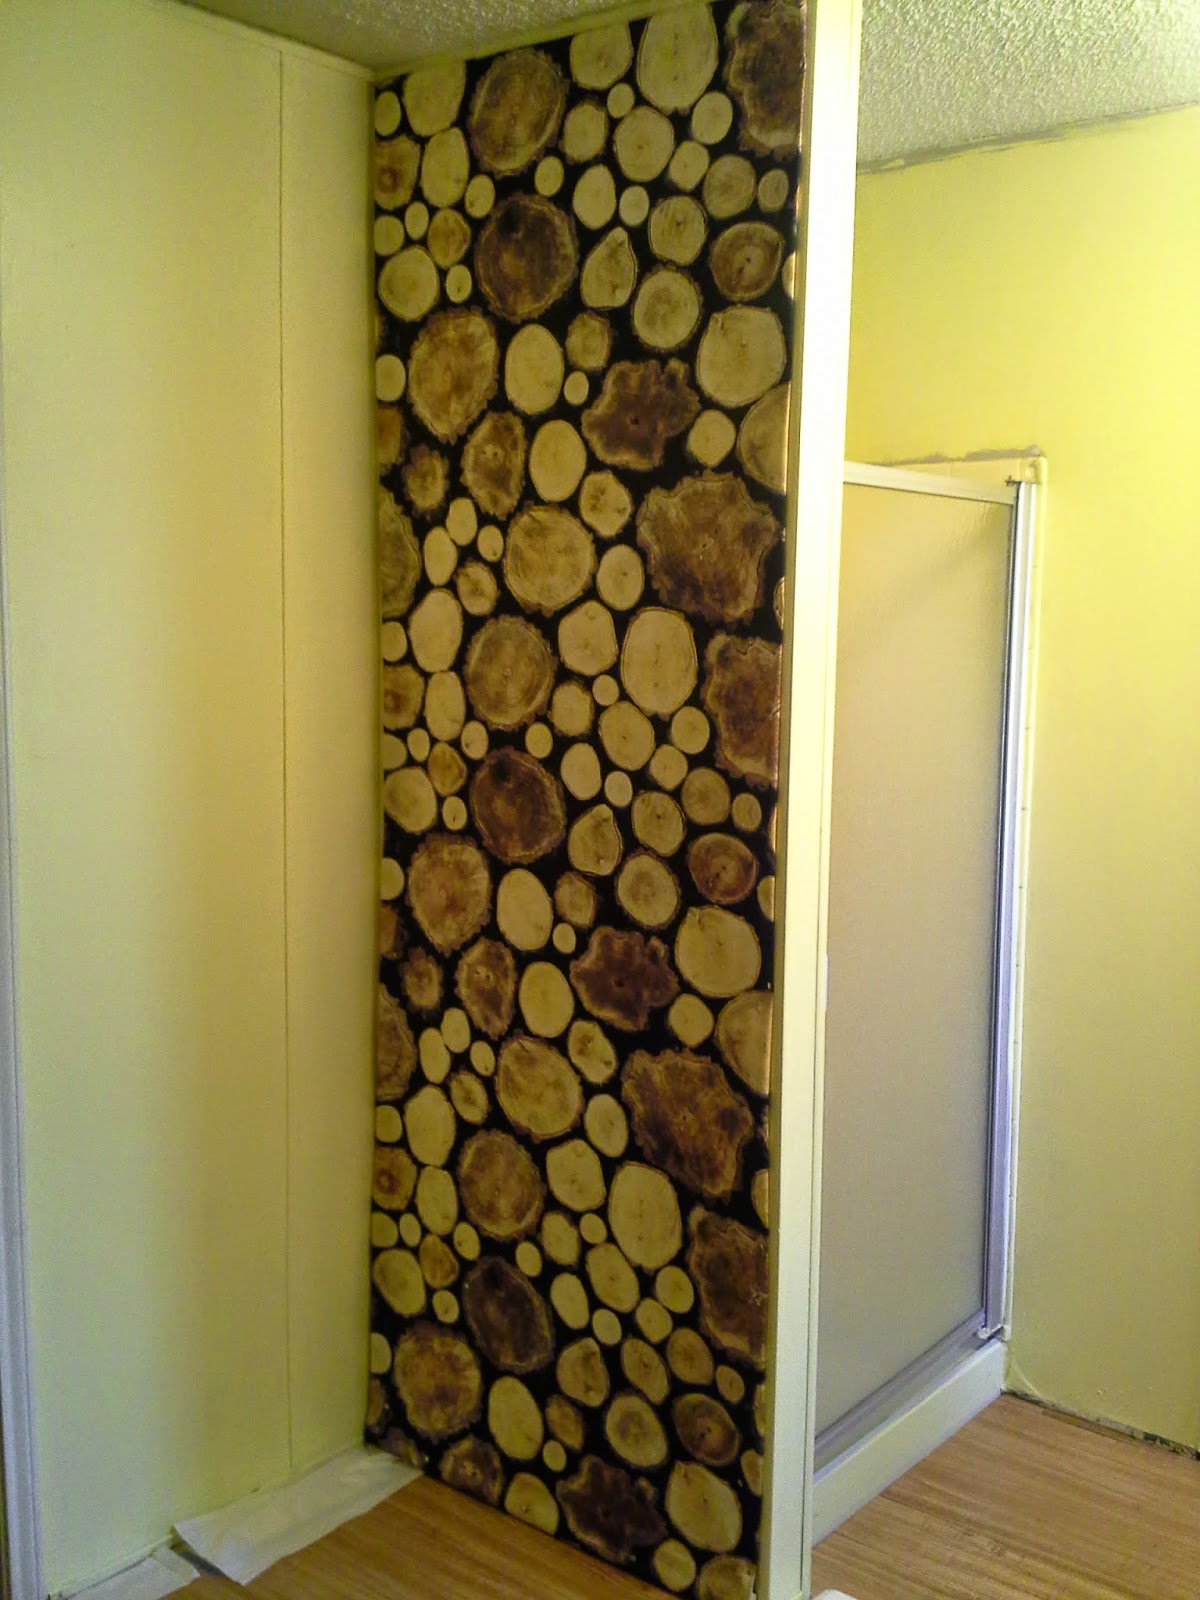
The wife had a great idea to use cloth to cover the access panels on the wall next to the shower. If we need access or just want a change all we have to do is un-tack it.
Still need to do some touch up and finish work but it is done for the most part.

Elgin Master Bed and Bath Remodel Part 1

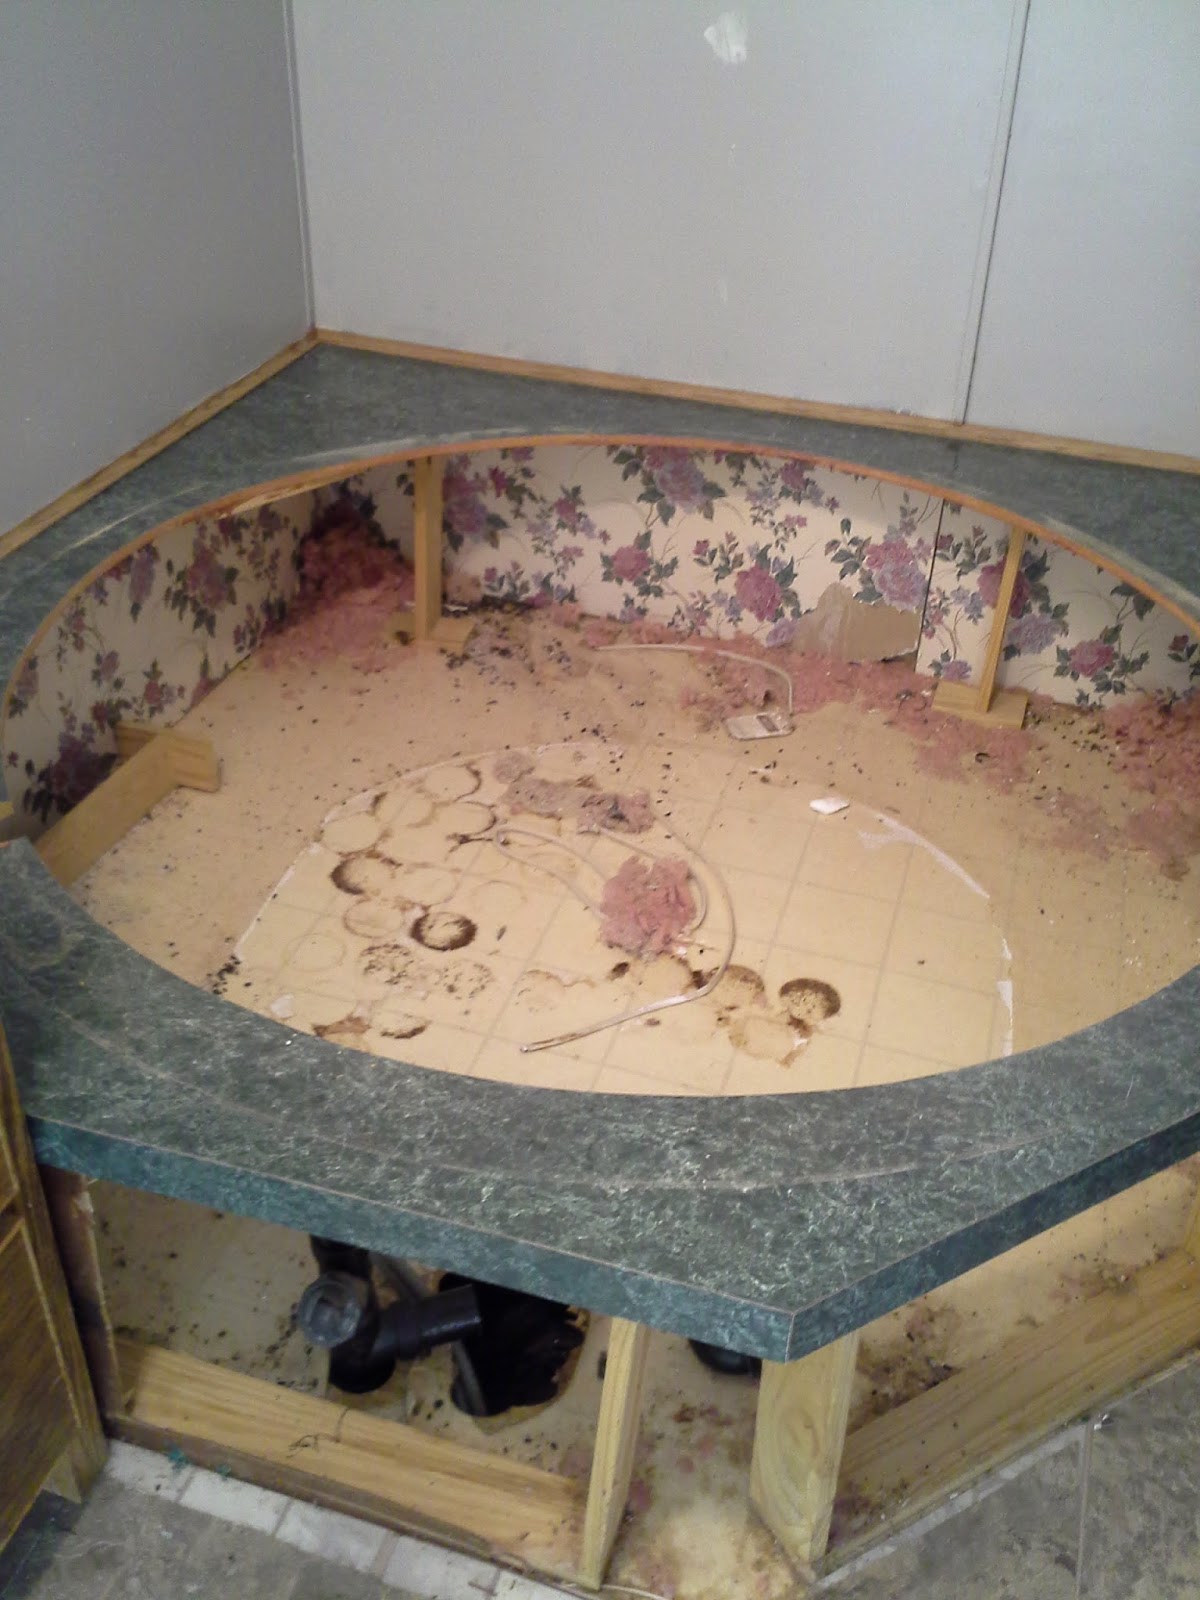
It is hotter than heck outside so it is time to do some indoor projects. One of the big ones we have been wanting to do is remove the massive, round, ugly garden tub from the master bath. I think the pool in our other house was smaller than this thing. And yes, that is shag carpet on the side…
We shut off the water and disconnected the water and drain pipes. Lucky for us there was an access panel making it a lot easier for us. We removed the 4 screws holding it down and the garden tub came right out.
Knocked down and remove the frame and we are left with pipe and a huge hole.
We removed the flooring all the way down to the plywood which is in really good shape minus the massive hole. Very happy about that. Newer homes use OSB we have 3/4 inch thick quality plywood.
We cut and capped all the lines, turned the water back on to make sure we did not have any leaks. Then we placed everything under the floor put in some insulation and spray foamed the hole. We will cut it flush when it is dry and we start to lay the new flooring.
One of the things we did as we are ripping stuff apart is to look at the AC/Heating vents. We noticed that they were dirty and not sealed very well. It looked like they had been taped at one time, but it was worn off.
 We cleaned and re-sealed:
 I don’t know if this happens to other folks, sometimes when you start something you get a little carried away? Yea…. No more carpet in the master or the closet.
Hey the floors look good in here too! Now for some touch up painting and flooring.

Elgin TED Install Part 2

Installed The Energy Detective (TED) Home Pro. After verifying with great folks at TED, I cut off and capped the blue and red wires from the MTU power cable:
I then went to the main breaker box and installed The Energy Detective (TED) MTU power cable. I hooked up the black, hot wire to the ‘A’ side of the 100 Amp circuit breaker feeding the shop and the white, neutral to the neutral bar.
I then attached the 2 Current Transformers (CT)s. Red dot facing the utility.
Then I powered it up.
I was able to keep it all with in the main circuit breaker box:
It is a very long MTU power cable but I made it fit. I verified that I could get to the Footprints software and see the MTU. Then I buttoned it up.
Now I need to setup and play with The Energy Detective Footprints software. I will post how it goes.

Elgin Power Line Communications Part 1

Started wiring up the electrical for the Enphase Envoy solar box and The Energy Detective (TED) devices. Both use Power Line Communication (PLC) . The Envoy uses it to communicate with the micro-inverters and TED uses it to communicate with the MTU that will be hooked up in the breaker box.
I put a 2 plug box straight off the breaker box in the shop, I have a shared neutral and gave each plug its own hot. One will be on the ‘A’ side and the other will be on the ‘B’ side. The Enphase micro inverters come in on both sides and I isolated the Envoy to the ‘B’ side, I will set TED up on the ‘A’ side. Here is a quick Phase explanation page 8
Here is a shot of the breaker box:
Worked for the Envoy, full bars!
Now to finish the rest of the outlets and lights.
Copy Protected by Chetan's WP-Copyprotect.